Photographing the Northern Lights - An in Depth Guide
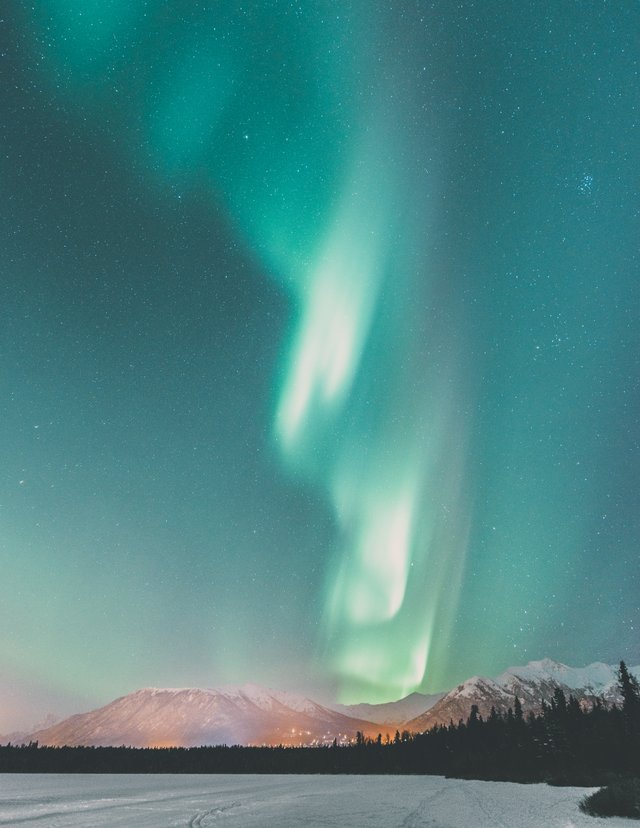
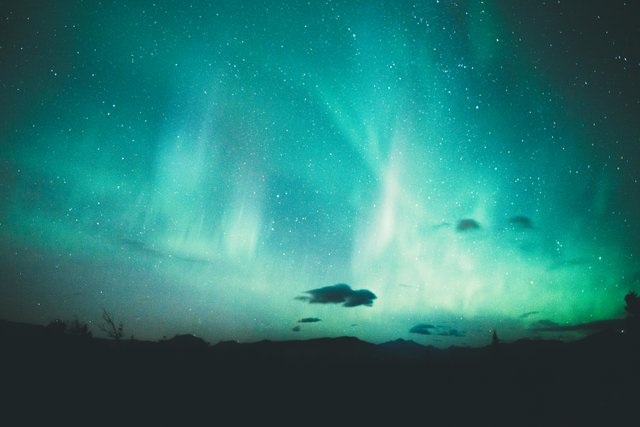
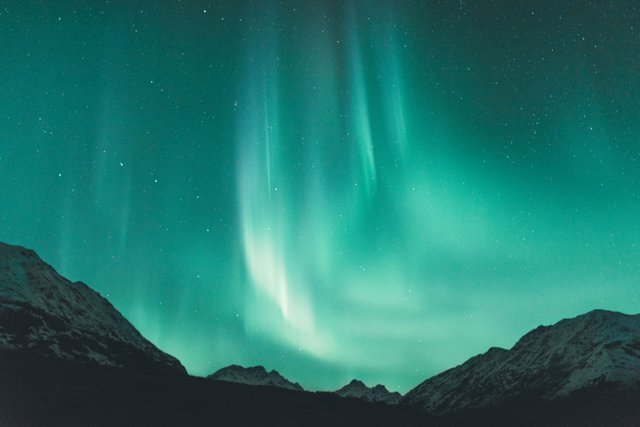
Witnessing the Northern Lights is one of the most amazing and humbling experiences you will ever encounter. All notions of doubt whether it’s worth being out in the cold and missing sleep are rapidly thrust aside when you catch your first glimpse of the lights. They will begin slowly and gently and eventually become a sea of green and blue overhead. They can be calm or voracious as they dance in the sky above.
What are the Northern Lights? - Aurora Borealis
“The Northern Lights are actually the result of collisions between gaseous particles in the Earth's atmosphere with charged particles released from the sun's atmosphere. Variations in colour are due to the type of gas particles that are colliding. The most common auroral color, a pale yellowish-green, is produced by oxygen molecules located about 60 miles above the earth. Rare, all-red auroras are produced by high-altitude oxygen, at heights of up to 200 miles. Nitrogen produces blue or purplish-red aurora.”
Credit: https://www.northernlightscentre.ca/northernlights.html
Photographing the Northern Lights often comes down to two main aspects: Persistence and Location.
You need to be in a location far enough north to see them either overhead or on the horizon. Try to find the darkest location possible. While it can be possible to see the Aurora over moderate city lights, it can be incredibly difficult. Get as far away from artificial light as possible.
Among many other data points, one of the most important, is the Kp level. This number determines how far south the lights will be visible at a certain latitude. The scale ranges from 0 to 9, with 9 being the most intense geomagnetic storm (the northern lights).
For instance, at about a 3, the lights can be seen directly overhead in Fairbanks, Alaska. Northern latitudes have a greater chance of seeing them due to the fact that the Kp does not have to be high for the lights to be overhead. Norway has long been considered one of the greatest places to see the lights. It is extremely far north and amazing shows have been seen overhead at a Kp of 1!
This brings me to the next point: Persistence.
I have been out between midnight and 0700 numerous times and have seen nothing, even when the Kp was high. Check the forecast and be persistent. The visibility of the lights often comes in waves. They typically will start to appear faintly around midnight and then continue to build as time goes on. This is not a hard fast rule, however. In Anchorage during the winter, the sun can set as early as 1540! I have seen the lights come out a few times within an hour of sundown. Luck and timing play a major role.
They don’t call it “Aurora chasing” for nothing ;) I will usually go out at night if the Kp is anywhere above a 3 due to my high latitude in Anchorage, Alaska.
You can check the Aurora forecast here: http://www.swpc.noaa.gov/products/aurora-30-minute-forecast
Check the weather
Nothing ruins your night more than not checking the weather and realizing it is overcast. Fortunately, we get quite a few cold clear nights in Alaska during the winter. The northern lights are also active during summer, but it is often too bright to see them.
The Photographic Process:
YOU DO NOT NEED AN EXPENSIVE CAMERA TO CAPTURE THE LIGHTS.
I have seen photos of the northern lights that were shot on a smartphone. Will you get better results with a DSLR or mirrorless camera? Absolutely. But they are not necessarily required.
I shoot my photos with a Nikon D610 on manual mode. This means I control the Aperture, ISO, and Shutter speed.
The Exposure Triangle
Aperture: How wide your camera lens can open. Wider = More light
Lenses that are ideal for night shooting have an aperture of f/1.2, f/1.4, f/1.8, or f/2.8
ISO: How sensitive the cameras sensor is to light.
Higher ISO = a brighter image but also more noise.
Digital noise occurs when the ISO of a camera is raised. More expensive cameras with larger sensors typically have less noise at higher ISOs compared to cheaper cameras and smaller sensors.
Think film grain but not nearly as appealing.
Shutter Speed: How long your cameras shutter is open to allow light to fall on the sensor.
The faster your shutter speed, for example 1 or 2 seconds, the more detail you will get in the Aurora band compared to shooting at 15 seconds. Because the Northern Lights appear in bands that move and pulse, long shutter speeds will blur the detail in the bands. The shutter speed you need will depend on how strong the lights are. I aim for under 10 seconds and have sometimes shot as fast as 3 when the lights were very strong and moving quickly.
When shooting at night, you want to keep your ISO as LOW as possible to produce the cleanest image. Depending on your camera that may only be up to ISO 400 or 800.
Some mirrorless cameras like the Sony A7sII, however, can push the ISO to 50,000 and still get a relatively clean image. Like I said, sensor size and camera quality affect how your camera will handle noise at high ISO’s. Experiment with different ISOs to find the point at which you are happy with the amount of noise in the image. If you have questions regarding your particular camera, I can most likely offer some guidance on how far you can reasonably push the ISO and still produce a clean image.
With my Nikon D610 I try to keep ISO under 2000.
This is where a wide aperture lens comes into play. With a wider aperture you can allow more light into the camera therefore reducing your need for higher ISO’s. I typically shoot with a 24mm lens that has an aperture of f/2.8. I would consider f/2.8 a MINIMUM for night shooting, however I have captured the lights with a kit lens at f/5.6 albeit with more noise because I had to boost the ISO. (higher f number = less light traveling through the lens and onto the sensor).
Lens Selection
You will want to shoot a wide lens (in terms of focal length) to obtain as much of the scene as possible. I shoot with a 24mm, however, I have recently been looking into wider lenses.
12mm, 14mm, 16mm, 18mm, 20mm, and 24mm all offer a wide field of view.
I personally wouldn’t go past 14mm as you typically start to get quite a bit of distortion at those super wide focal lengths.
Image Format
No matter what situation I’m in, I shoot all of my images in RAW format. This means that the file retains all of the information and detail that the sensor captured. With a format like JPG, the camera will discard information it doesn’t feel is necessary. RAW images look flat and muted to begin with but they are designed to give the photographer A LOT more control in post processing for color and exposure adjustments.
White Balance
If you shoot in RAW you can change white balance after the picture is taken, in an editing software such as lightroom, which I use. If you are shooting JPG, you will want to change the white balance to something in the range of 3,000 to 4,000 before taking the picture. If you are not experienced with RAW files yet, shoot RAW+JPG, that way you can use those RAW images in the future when you get more experienced with editing.
GET A TRIPOD
It’s nearly impossible to take clean and sharp images of the Aurora without a tripod. You don’t need something expensive. I have been using a $20 tripod from my local camera store for 2 years and have never had an issue. As long as it’s stable and you’re comfortable adjusting it in the dark, you’re good to go.
Focus
This can be one of the hardest parts of shooting at night. You want to manually focus your lens to infinity. Almost every lens, save for those that are designed for astro and night shooting that have what is called a “hard stop” at infinity, can be focused past infinity. Often times the marking of infinity on a lens will not actually be true infinity.
If you have a DSLR or Mirrorless camera with live view: Open live view and set the lens to manual focus. Press the magnifying glass to zoom in on a bright light or star in the distance. Manually focus on that object. This is the easiest way to get focus at true infinity.
Self Timer / Cable Release
If you do not have a cable release or remote to activate your cameras shutter, use a self timer. I set my camera to have a 2 second delay from when I press the shutter to when it takes the picture. This will eliminate any vibration and movement you cause by pressing the shutter button.
If your lens has Vibration Reduction or Image Stabilization: TURN IT OFF
If you leave it on, the camera will continue to compensate for micro movements even on the tripod and produce a blurry image or blurry stars.
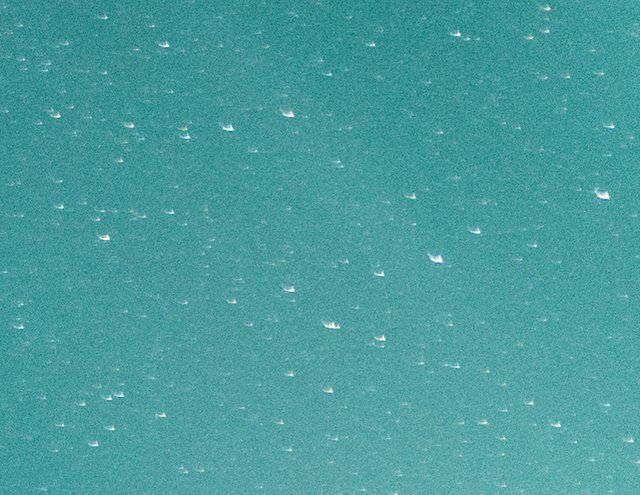
(As you can see, I left Vibration Reduction on and it made the stars very blurry)
Bring extra batteries
Chances are if you are out looking for the lights, it’s cold. Batteries drain faster in colder weather.
Lens filters
It’s usually recommended to remove any lens filters you have on when shooting at night. Light can enter the filter and bounce around before hitting the sensor, this can cause random spots of light to appear in the image that don’t actually exist in the scene.
My Typical Process
Set aperture to the widest possible f-stop (f/2.8 on my 24mm)
Set shutter speed anywhere from 2 - 15 seconds depending on how bright and fast moving the Aurora is
Adjust ISO to produce a properly exposed image
Manual focus on a bright object in the distance
Set self timer
Adjust white balance
Experiment with different ISOs and shutter speeds throughout the night
Drink hot chocolate and try to stay warm :)
It can get down to -40 Fahrenheit where I shoot!
The Aurora will change in both brightness and speed throughout the night. Leave the aperture as wide as possible and experiment with different combinations of ISO and shutter speed to capture the detail in the Aurora and get a bright image. Often times if the Aurora is faint, your camera will be able to pick up a lot more detail than your eyes.
If the Aurora is strong enough to see with just your eyes, take time to enjoy it. There’s nothing like staring up at the sky and watching the lights dance. Capturing them is fun but being in the moment can be even more rewarding. Go out with friends and don’t get discouraged if you don’t see the lights, just keep trying when the forecast is good.
If you made it this far, thank you so much for reading! I hope you found something useful and I would love to hear your feedback. If you enjoyed this please consider upvoting, commenting, and following. If you have questions or suggestions be sure to let me know :)
- Chase
Your photos are mystical. And of course, very professional!
That's amazing... A friend was there some weeks ago and she told me about this magic beauty. Can't wait to go there as soon as possible, actually that's one of the 3 first places I want to see and feel. Very nice shot ! Cheers.
It's definitely an amazing place. Hopefully you'll be able to visit soon!
Wonderful blog and photography @chaseburnett
I really like the one
Thankyou so much for sharing the beautiful scene
Me too! I just made it my wallpaper! Such gorgeous shots!
😍 @melissajarquin
The first time I saw the northern lights was when I was a young girl. We were living in northern Ontario at the time. The colors were yellow and some pink and I have to say , I was terrified. Seriously. They are amazing but for a little kid from the city it was scary.
Thanks for the great tips and for reminding us that photography isn't point and click easy. Sometimes things work out and other times not.
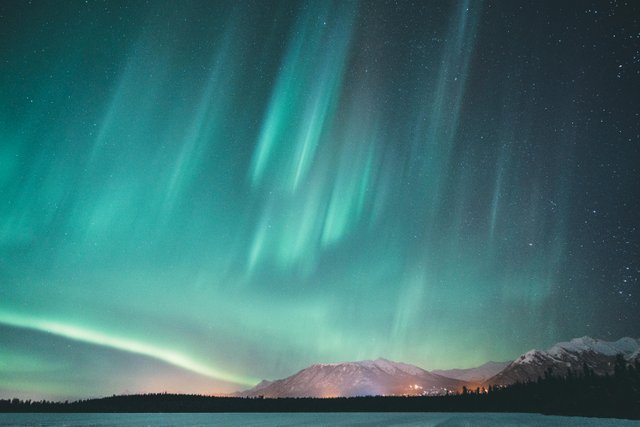
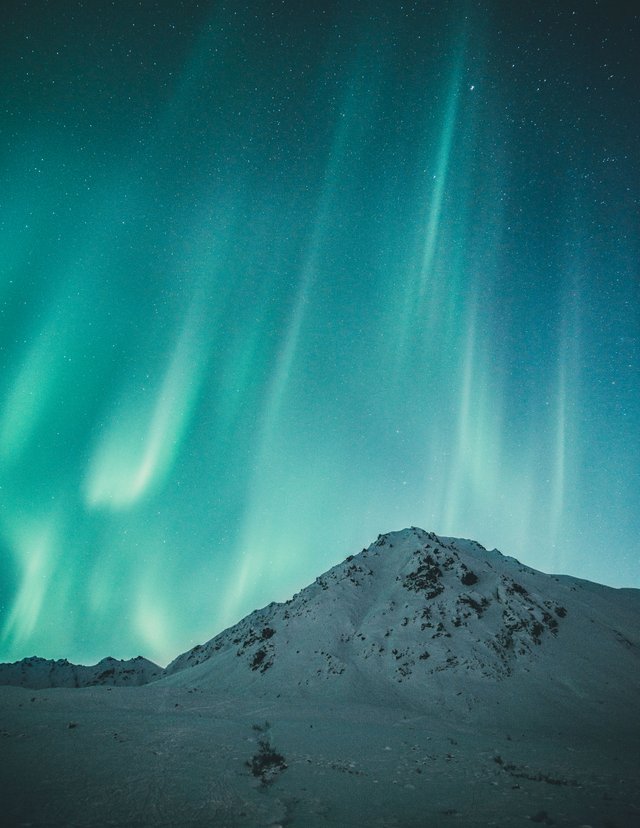
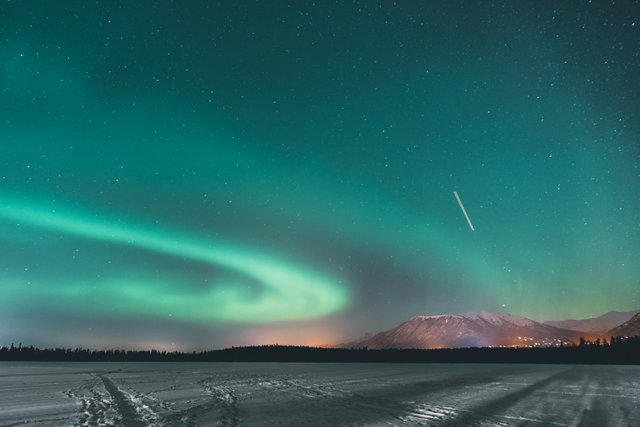
Your photos are amazing . I love the one with the circular lights and what looks to be a shooting star!
Thanks for the feedback! I can definitely see how it would be scary if you didn't know what it was!
Dude, cut the crap! I saw you post this same exact meme on a bunch of different posts and I was like 'yeah, whatever.' But on a post memorializing @adept and now here too?!
Really great guide, thanks for putting the time into it to help out people who want to photograph the Aurora for themselves!
Love the tip about turning off Vibration Reduction - that's an easy one to forget. ;)
Agreed.
Believe it or not I've still never photographed them.
I believe it - as much as you travel you tend to end up in more southern locales, right? Come to Northern Canada!
I've done it quite a few times ;) Glad you enjoyed it. Thanks!
I've still have yet to see these. Need to go back to Iceland or Finland to see these <3
Got panoramic view of the ocean where I live (Tromsø, Norway). In the winter I am so lucky to see the northern lights dancing over the sea from my livingroom quiet often. Never ceases to amaze me... Truely beautiful
That's amazing. I would love to visit Norway one day.
I never bothered even to try to photograph the aurora borealis, somethings are better to experience live than to look at photos :-)
Great photos, i saw the lights in Reykjavik and then again in Akureyri in Iceland . It was bloody cold and my fingers went numb whenever i took my hands out of my gloves to change settings on the camera.
Worth it though.
Agree about the tripod and remote,that way once your set you can operate the camera with your hands in you coat pockets.
Good post.
pure magic ! Well done!
Amazing shots! Congrats!
Thanks so much!