How To Create a Perfect White Photographic Background
Use Adobe® Camera Raw or Lightroom to create a perfect white background for cutouts!
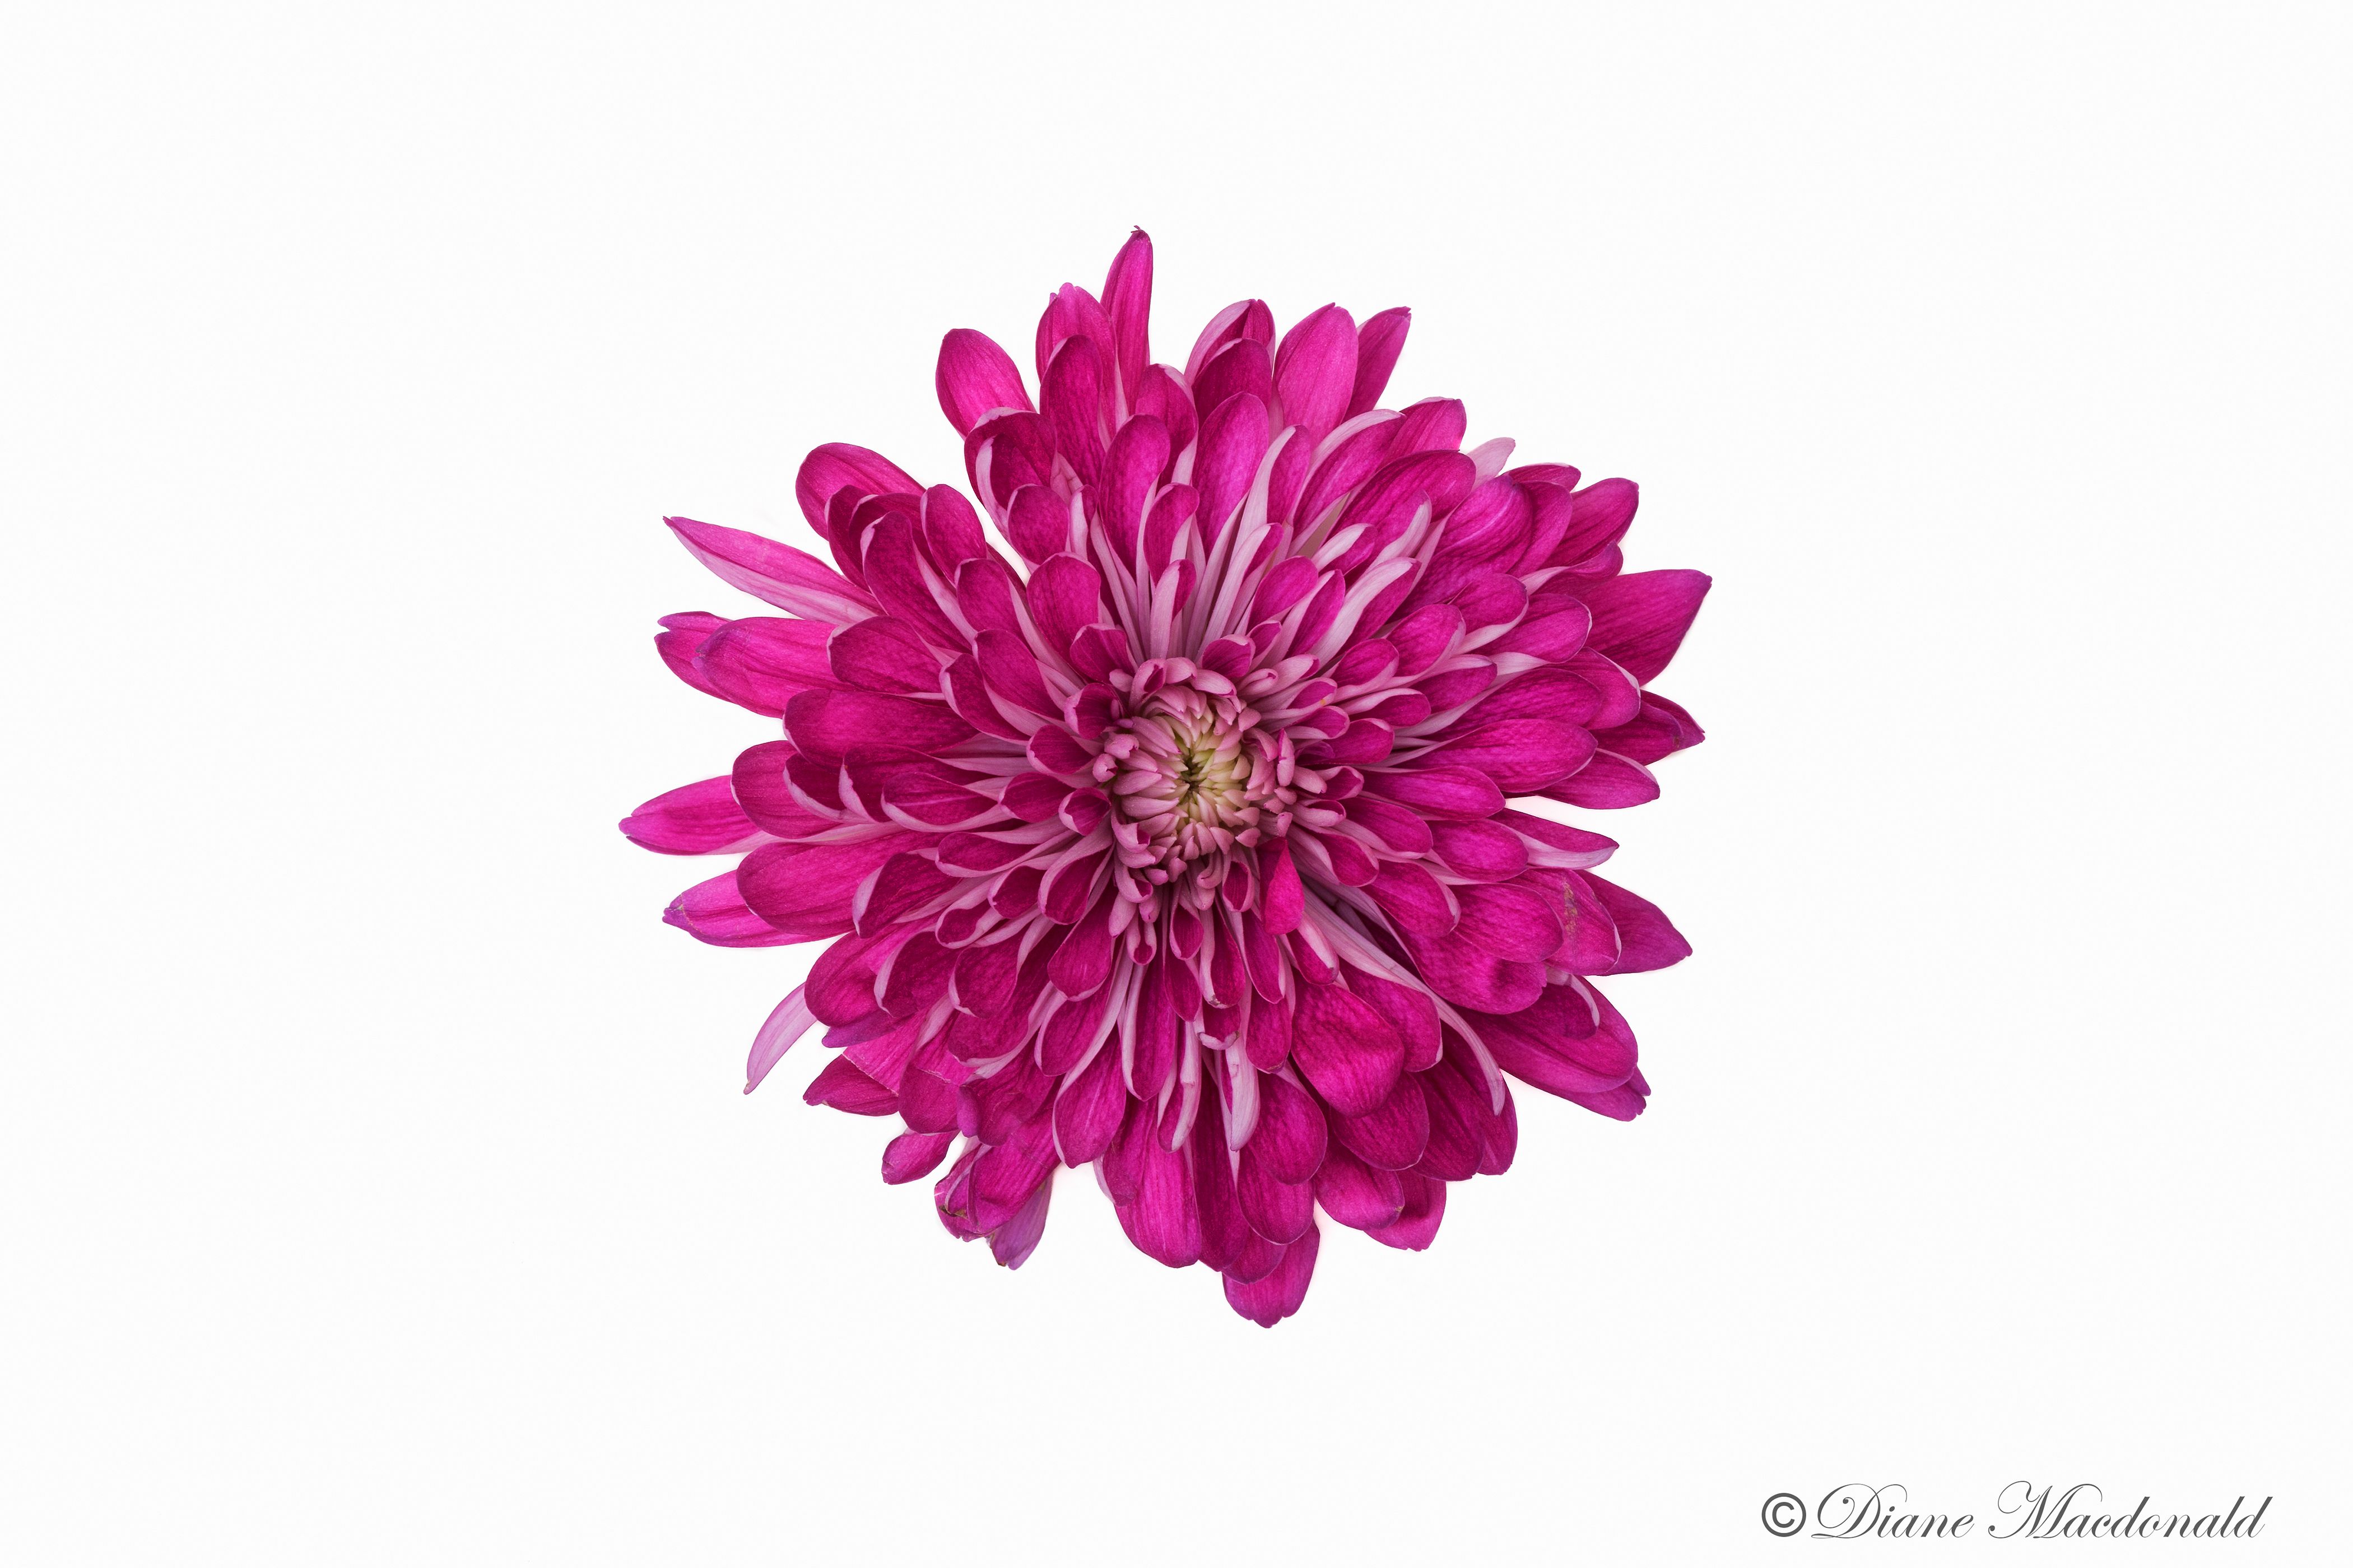
Image ©Diane Macdonald. All Rights Reserved.
Click on the image to view full screen!
| Camera | EOS 5D Mark II |
| Lens | EF100mm f/2.8 Macro USM |
| Exposure | 1/125 sec; f/13; ISO 200 |
| Post-processing | Adobe Photoshop® CC 2018, Adobe Camera Raw |
Assuming that you have done a fairly good job of photographing an object on a white background, here is a very simple way to perfect that background.
When you are photographing a model or a large item like a vehicle against a white background, the method of doing this is to make sure that the background is lit to be overexposed about four stops more than the subject. However, when you shoot table top items like I do, the items are sitting right on the white background, so there is no way to light the background separately from the subject matter. This means that you have to do some post-processing in Adobe® Photoshop to create a whiter background. Depending on the subject matter, this can be a bit tedious.
I have just discovered a very simple way to do this in Adobe® Camera Raw, and also in Lightroom in the Develop Module. I use Camera Raw, so I am going to show you how to do it there. I believe that the commands are identical in Lightroom, so if you are a Lightroom user you can still use this technique.
The first thing I always do in Camera Raw, is process the image, because a raw file is very flat and needs to be adjusted according to your taste in processing.
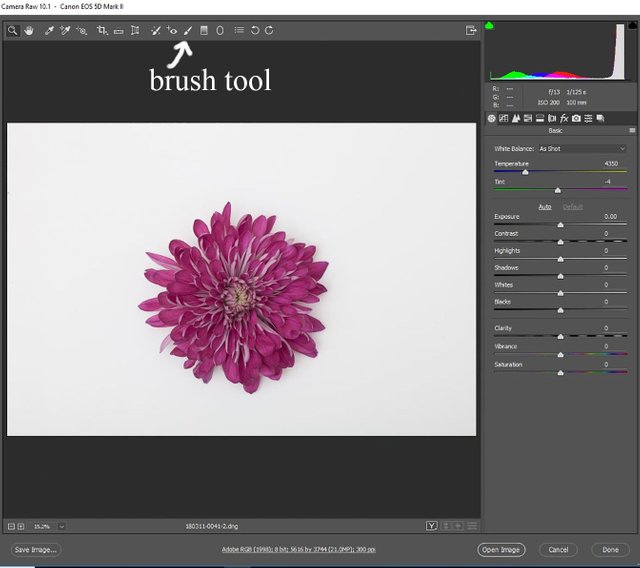
Fig.1
Some images require more processing than others. This one just required a few tweaks as follows in Fig. 2.
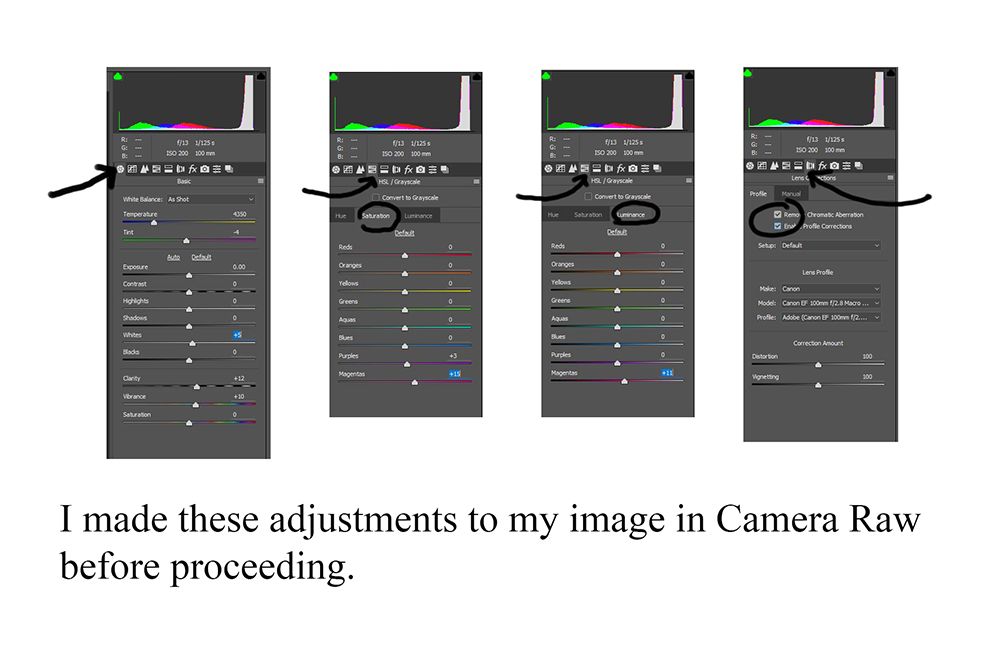
Fig.2
Once the subject matter looks the way you want it to, click on the brush tool as shown in Fig. 1. This will bring up the dialogue box in Fig. 3. Increase the exposure as shown, making sure that Auto Mask is selected.
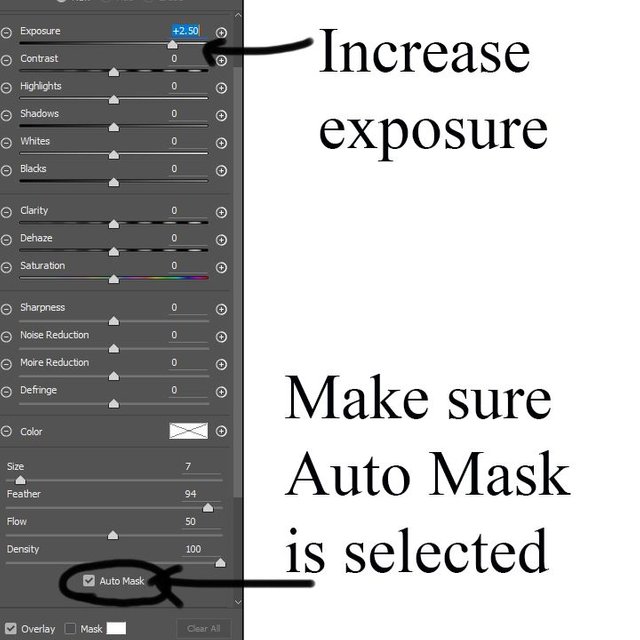
Fig.3
Paint around the the outside of the image with a large brush.
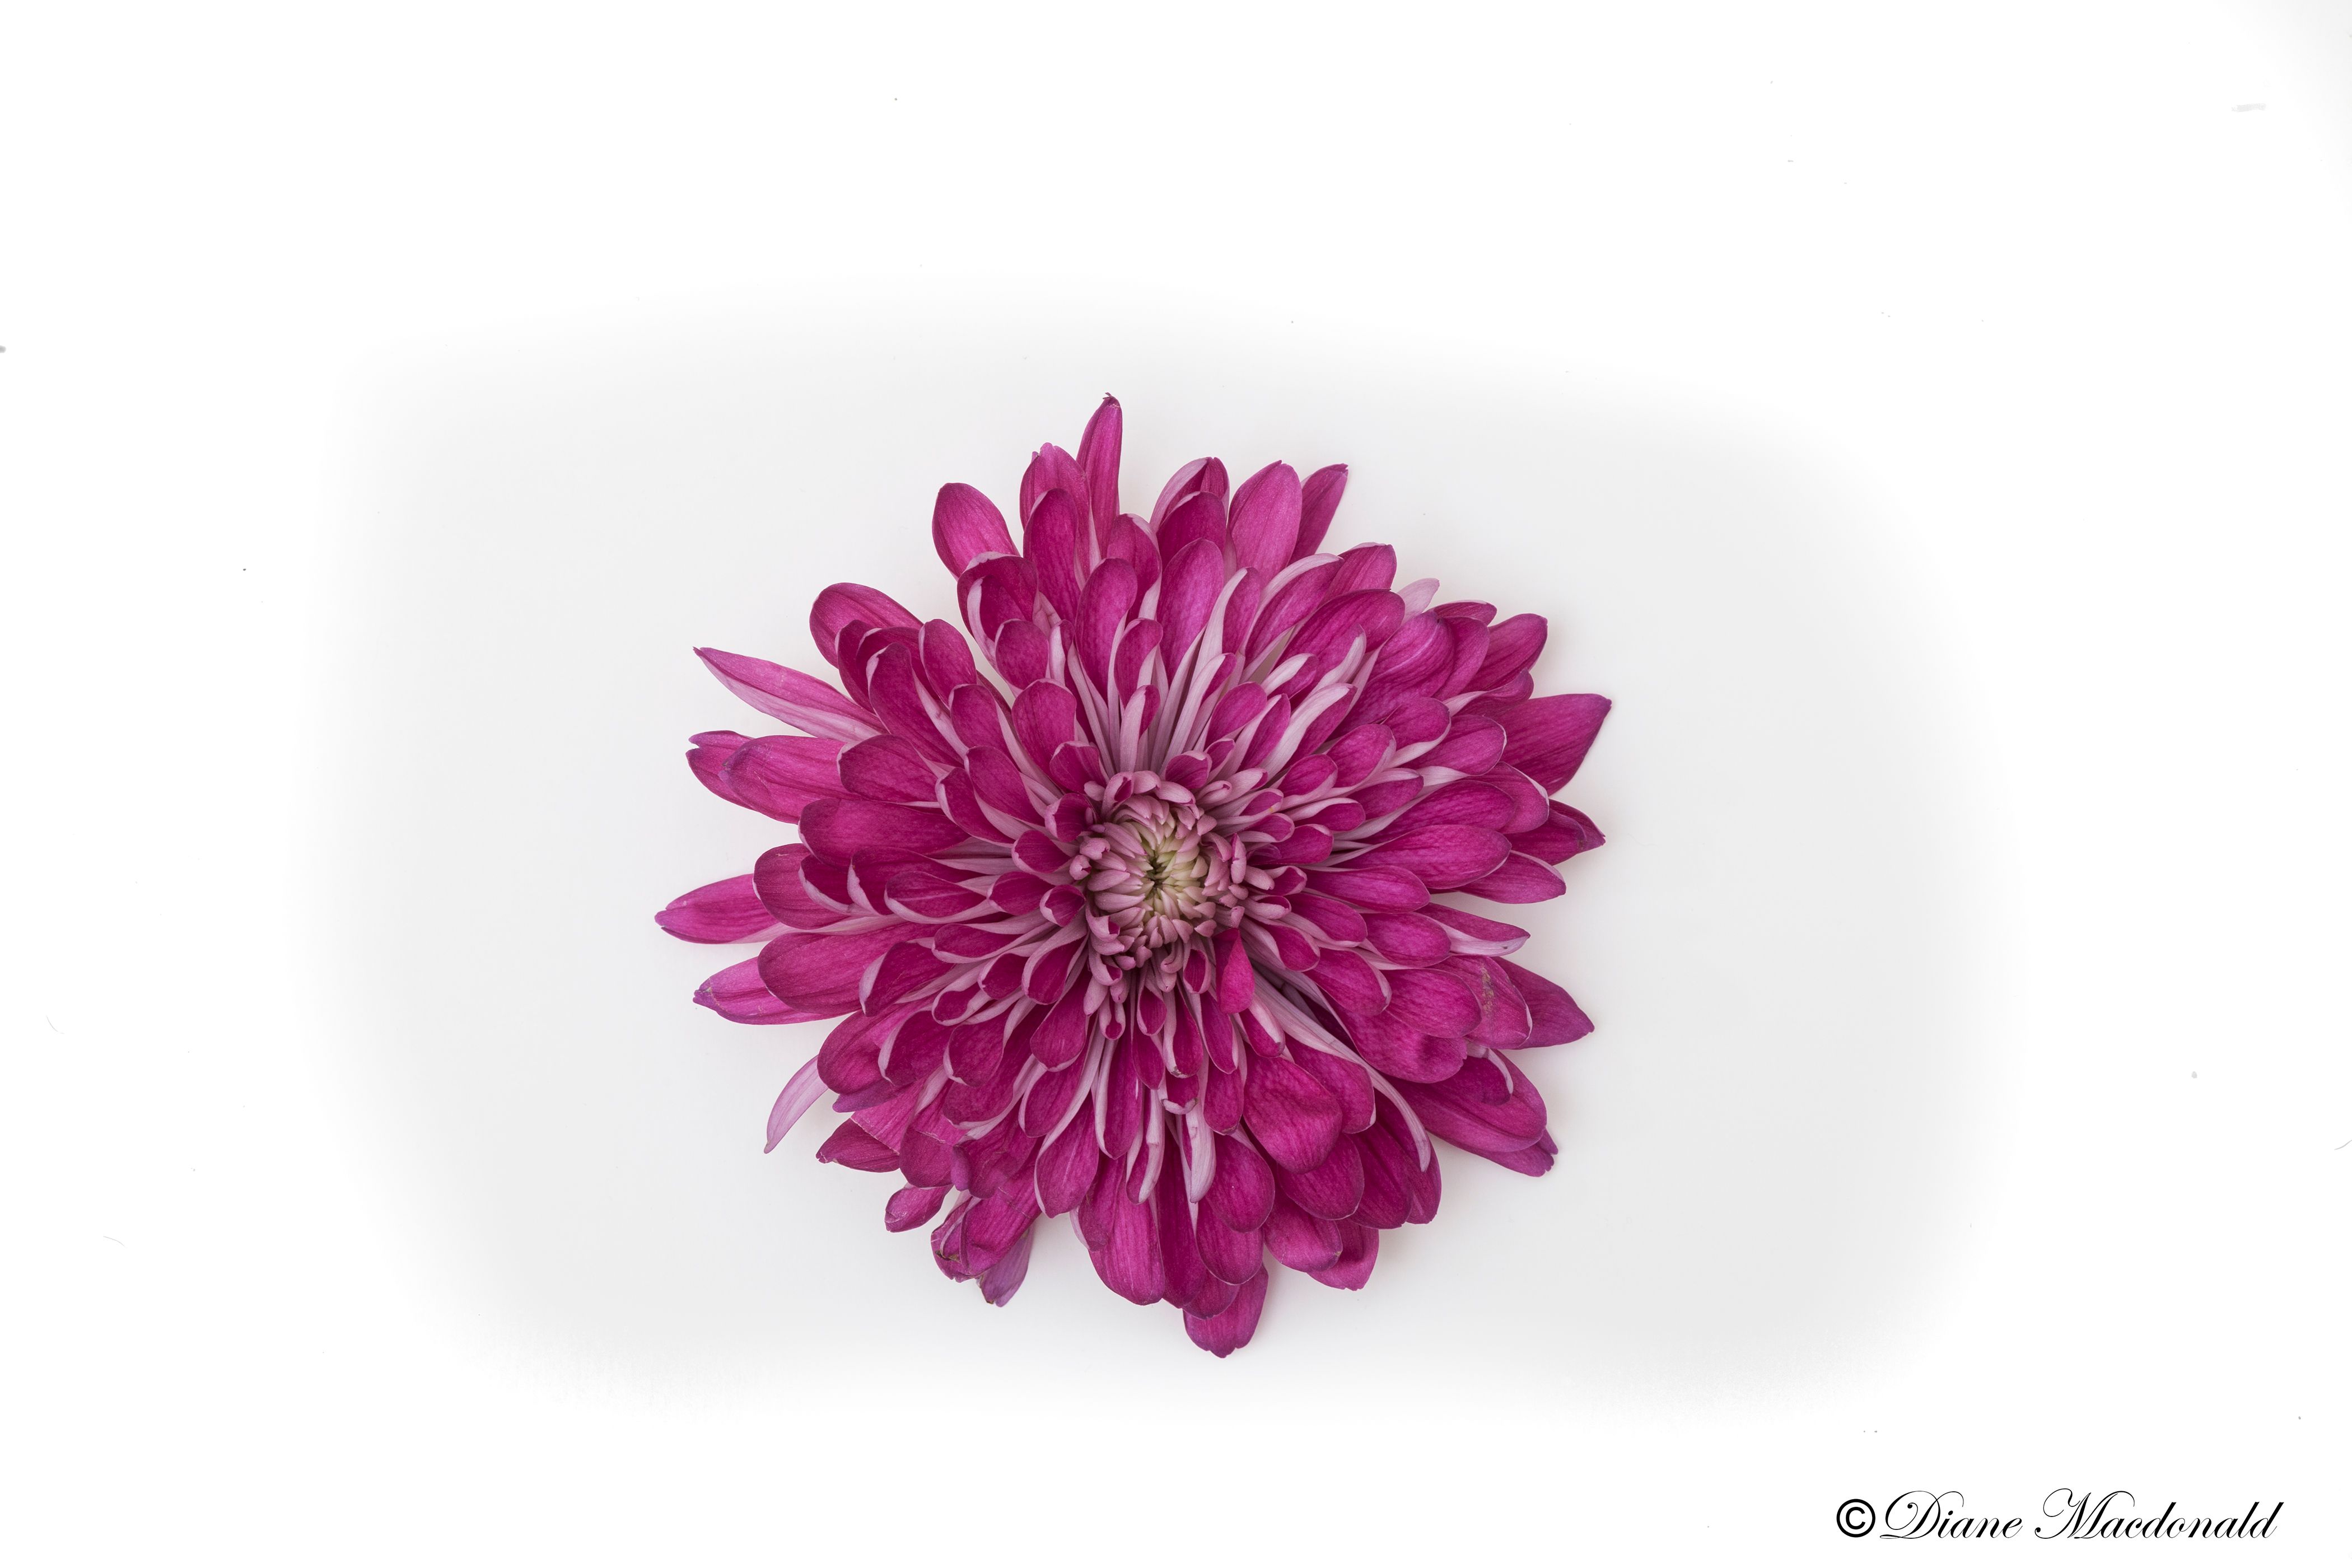
Fig.4
Make the finishing touches with a smaller brush as seen in this iPhone shot of the screen showing the curser.
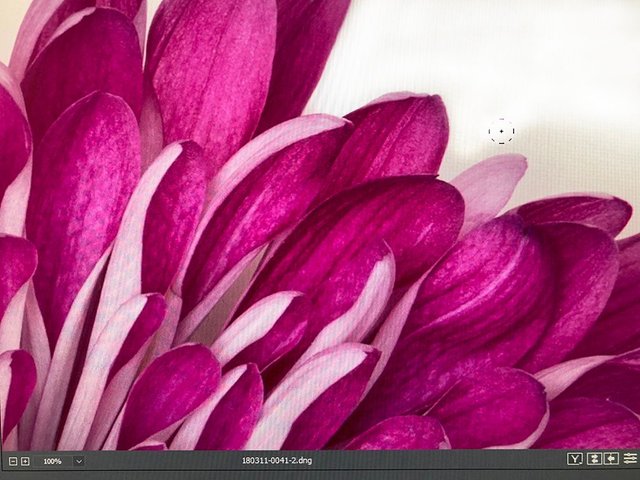
Fig.5
The great thing about this technique is that the main subject is auto masked, so you can paint close to it without affecting it!
So, what are you waiting for? Let's see your perfect white backgrounds!
Check my last photography-101 post, What is stock photography?.

Great pictures and very informative. Thanks for sharing!
_ - _ - _ - _ - _ - _ - _
Want a few smiles and laughs? Check out @puddlejumper for new jokes each day!
Good job showing the broad strokes, I'll definitely give this a try.
Be sure to let us see what you achieve!
A useful tut, Diane, will give it a try on some of my pics!
Have you tried it yet? It is such a time saver!
I have, for a white object though, not a white background 🙄
That will work too, but I guess without the auto masking turned on!
I had to use the automasking, to make sure the edges are selected more accurately. Even with automasking there were some hits and misses. Hope to use the photo next time in your contest :)
It is so easy. I wish I had discovered it sooner!
I never do touch up with photos before, might be good resources for me to learn 😁
Yes, I hope so! Let me know how you get along!