SEC 20w3 | Skirt base pattern tracing for ladies
I am on the moo n participating in this creative lesson. I never thought I will be able to learn and practically do this lesson. I wanted to admit in cutting and stitching course but couldn’t and now my dream of that comes true. I am not only delighted but also honoured to participate here and ofcourse disappointed that I missed first two lesson but I will try to participate them at home. Now let me show what I learnt from this course. Before starting I want to to @Lunasilver , from the bottom of my heart.
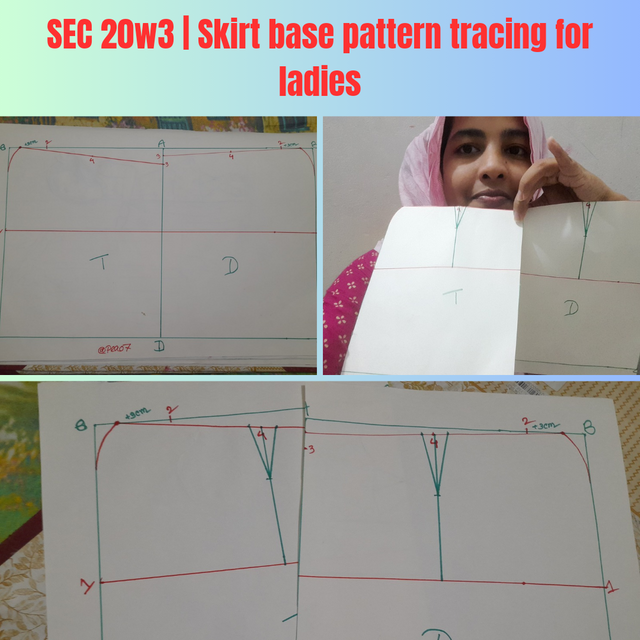
My Learning
To make our basic skirt pattern for Ladies of all ages with personal and industrial I took all important measures. In my case I chose to use the measurements for a size 8 skirt beacuse it is exactly my measurments. My measurment are given bellow :
Skirt pettern layout for size 8
| Measurement of parts | Size in cm | 1/4 |
|---|---|---|
| Waist circumference | 64 | 16 |
| Hip circumference | 88 | 22 |
| Hip height | 15 | - |
| Skirt length | 45 | - |
 |  |
|---|
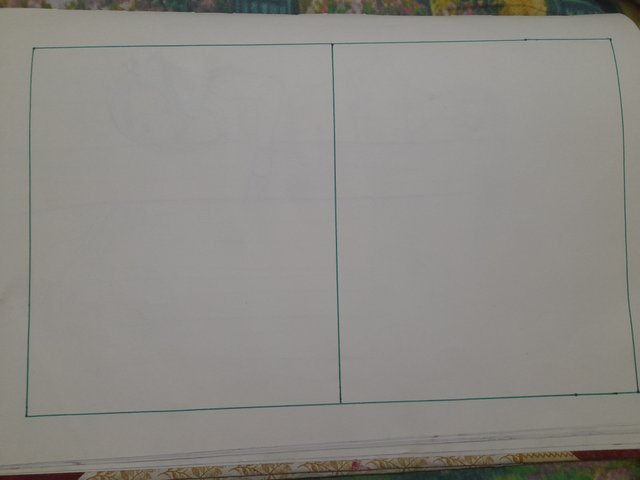
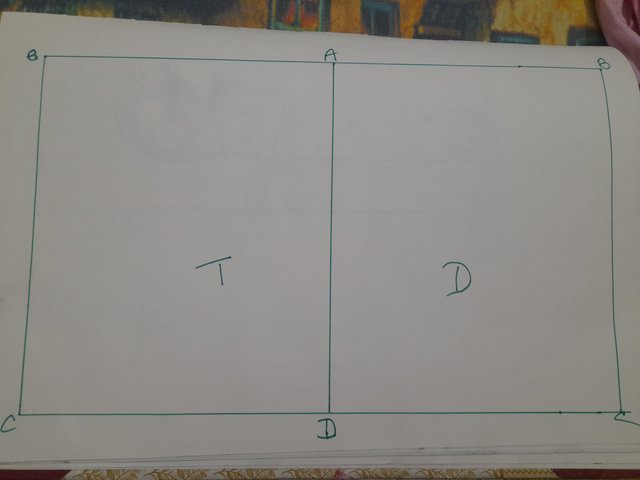
In the beginning I took a paper, two color markers so that I can mark the measurements very easily, scissors. First I made a rectangular box. Then I labeled them with ABCD so that I can easily understand the measurements. Here I will use 1/4 of each size.
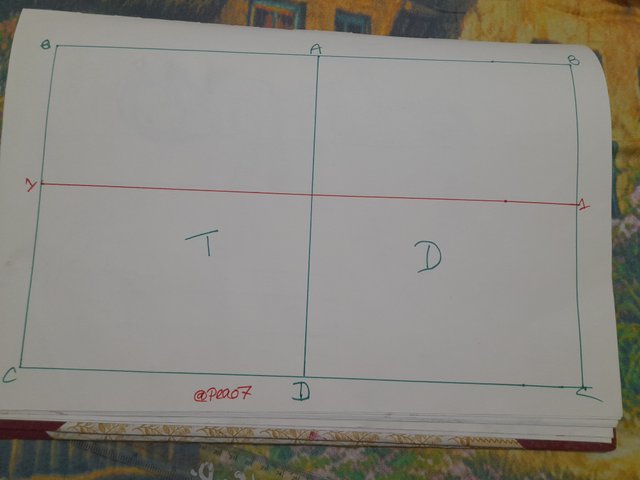
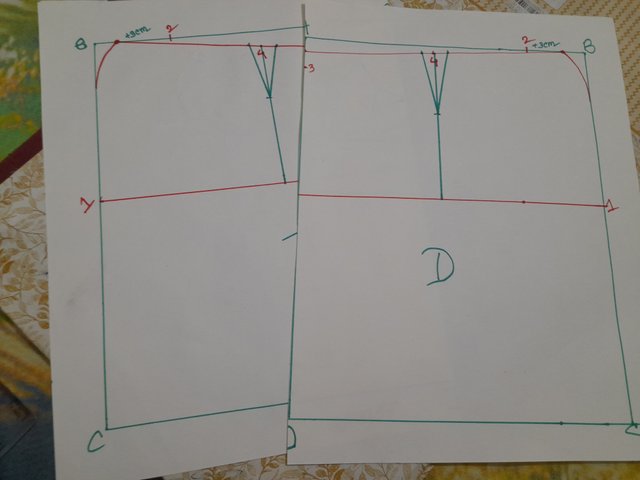
First I divided the rectangular box into two parts according to my hip length of 15cm. This is point 1 which crosses B and C.
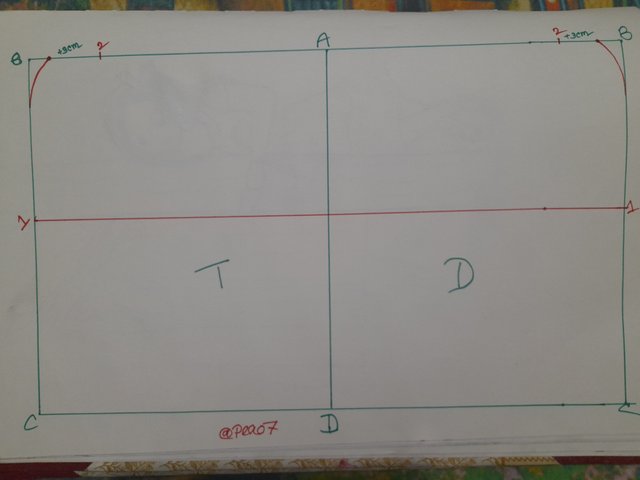
Now I draw a point along the circumference of the waist from A to B and make a soft curve from there by extending another three centimeters. This is point 2. To put it more simply, the curve will go down from B to C.
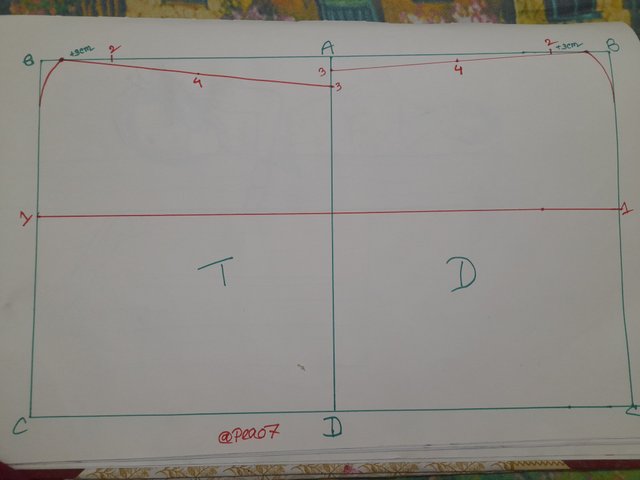
A to D along under 2 cm in the back pattern box. In the front pattern box, lower it by 1 cm. Then we draw a straight line to meet them and this is our point 3. Since the two straight lines have a difference of 1 cm, one will be up and one will be down.
 |  |
|---|---|
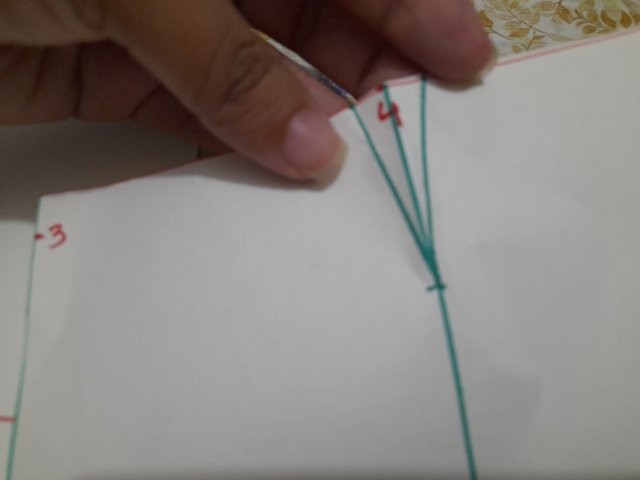 | 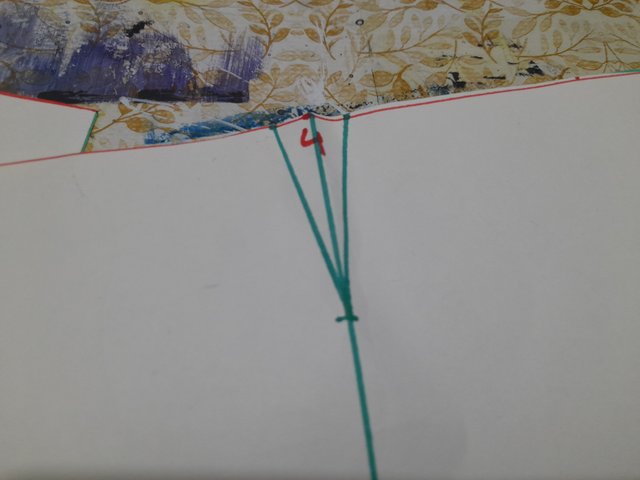 |
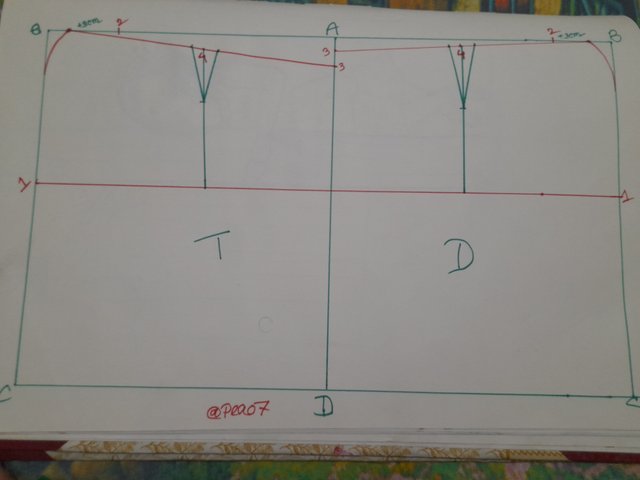
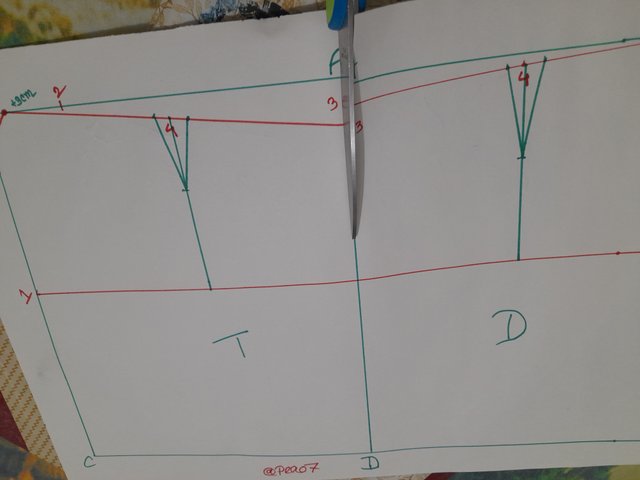
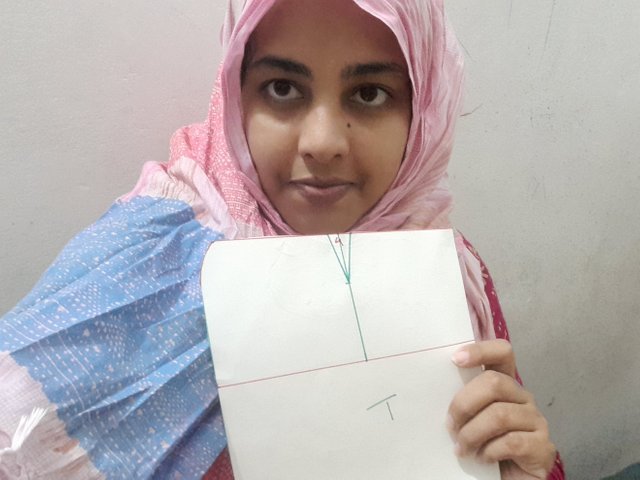
Then I draw a straight line between two and three. Draw a straight line from both sides. And this is point 4. Another thing I have done here is to make Clamp. I made the clamp 1.5 cm from point 4.Then I cut my marked areas with scissors. This time I tried to take a picture of it with the clamp closed. Hope you understand.
 |
|---|
 |  |
|---|---|
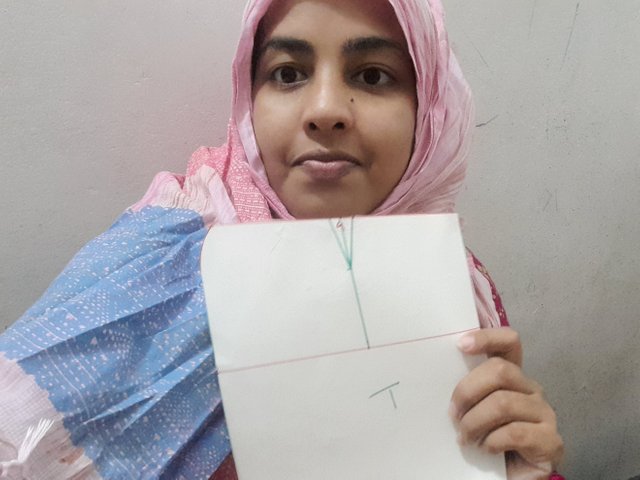 | 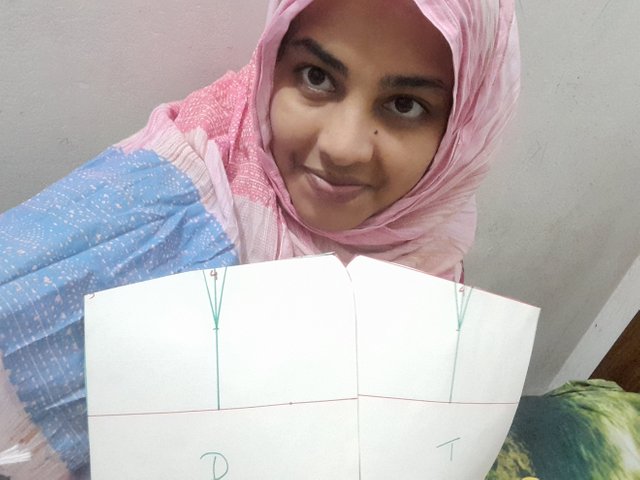 |
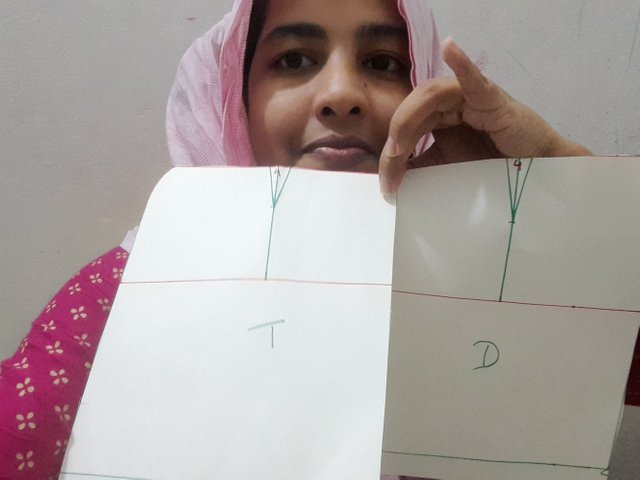
Taking some selfies with the layout in the skirt trying it on for the first time.
I am inviting my friends to participate here
@aviral123
@pathanapsana
@nanidi
Upvoted! Thank you for supporting witness @jswit.
Upvoted. Thank You for sending some of your rewards to @null. It will make Steem stronger.
Hola. Es muy bueno tener una nueva compañera participando en este excelente curso. Espero disfrutes el proceso y puedas ponerte al día con las clases anteriores.
Éxitos
Thanks friend for your comment. Yes, I had to visit privious classes. I am sorry for replying late. Hope we will meet again in our next lesson. Till then good luck.