SLC22W4 | Basic Children's Clothing Pattern Layout| Class #4
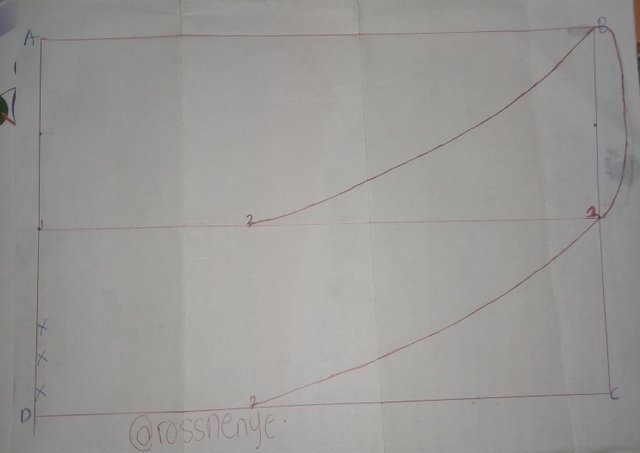
| Round Neck |
|---|
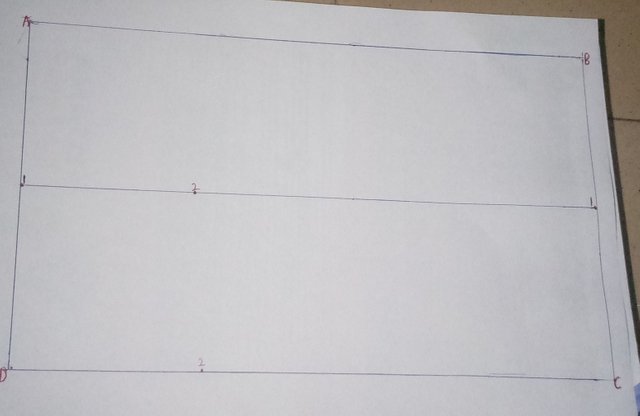
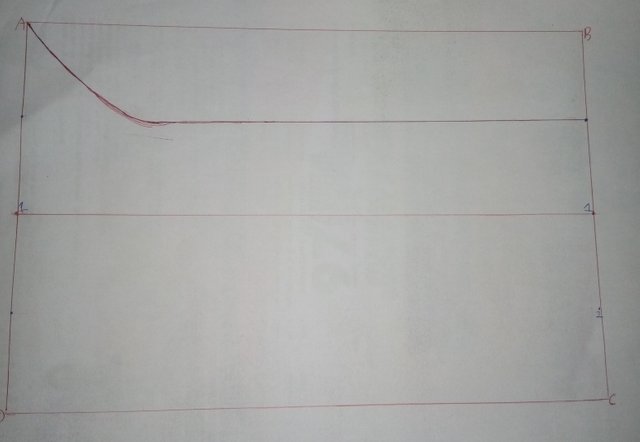
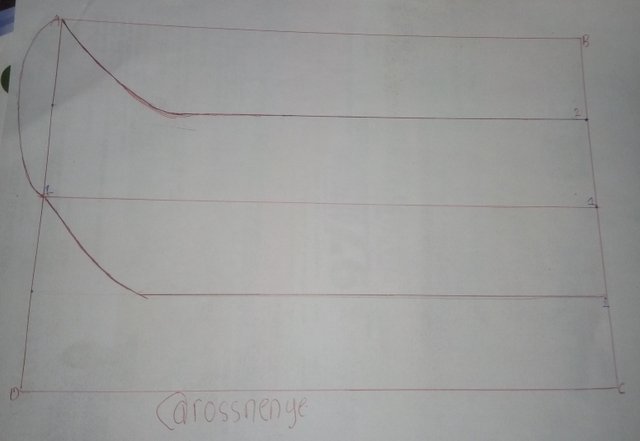
- First of all, draw a box then square it with 1/2 the width of the back 15cm by 5cm, 10cm. I used 5cm for mine.
Point 1: Locate the middle of the lines between Point AD and BC
Point 2: Divide line AD by 4. Divide Line BC by 4
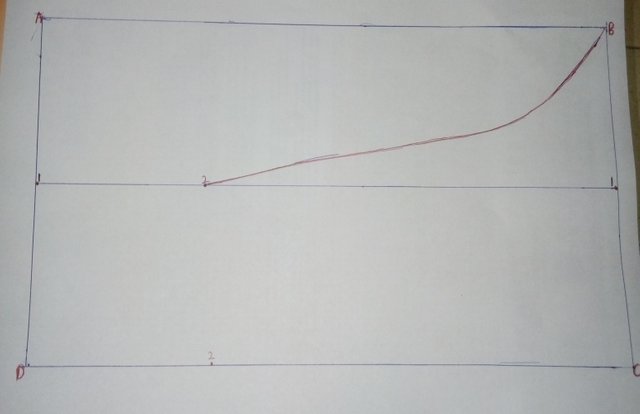
Then join point 1 and 2 through a curve.
Also join point 2 and B through a curve.
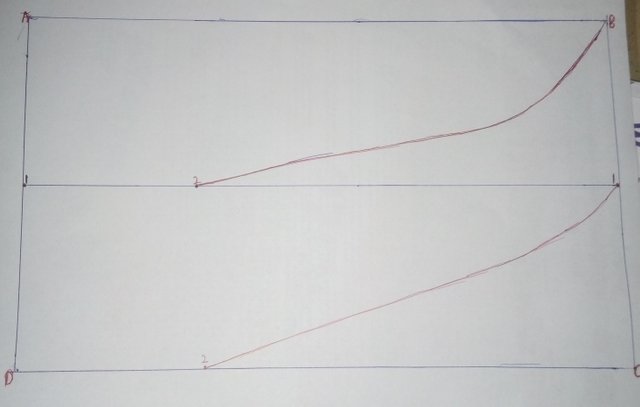
- Then join B and 1 Outside the box and the C shape join B with 1
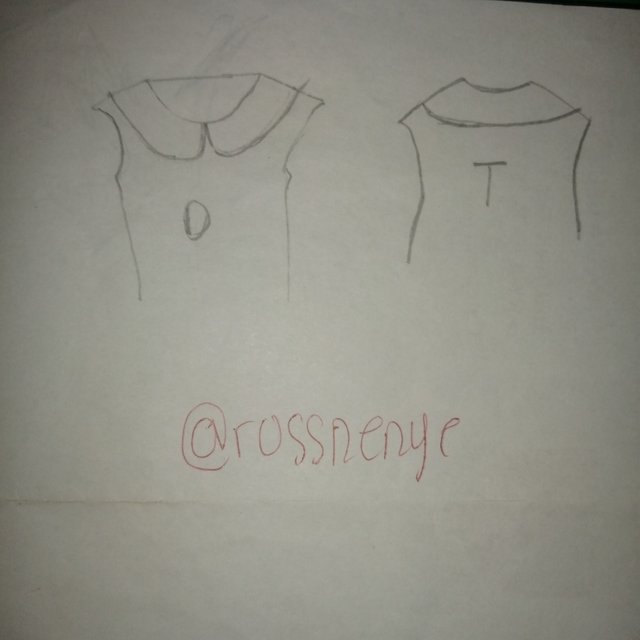
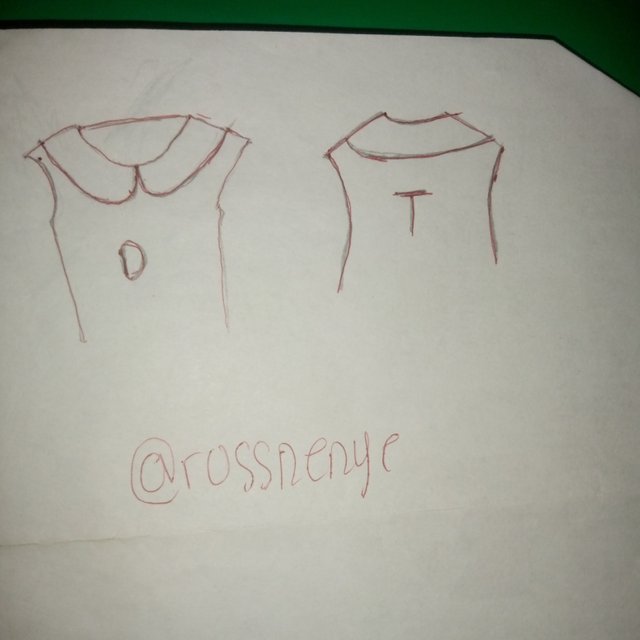
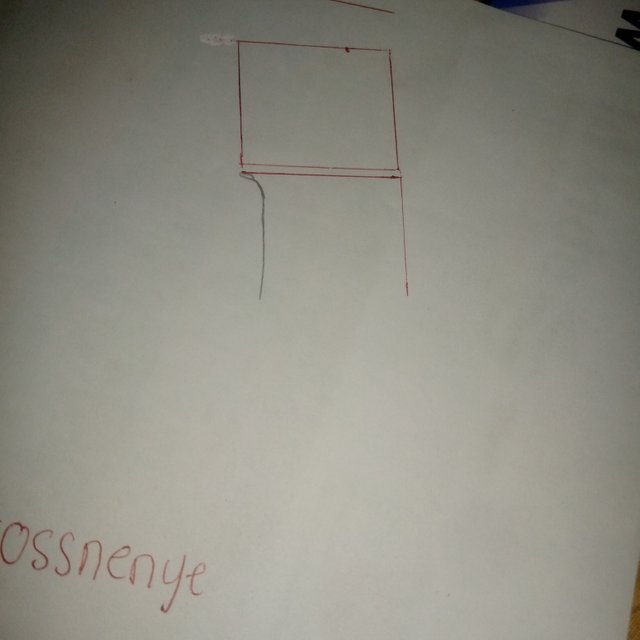
| Baby Collar |
|---|
Draw a box with 1/4 of the back circumference and the width of the neck multiplied by 2. And then label A,B,C,D, in each corner.
Point 1: Locate the center of the box between Point AD and BC.
Point 2: Divide the line that passes through AD and BC by 4.
Then, join points 1 with 2 through a smooth curve.
Join A with 2 through a smooth curve
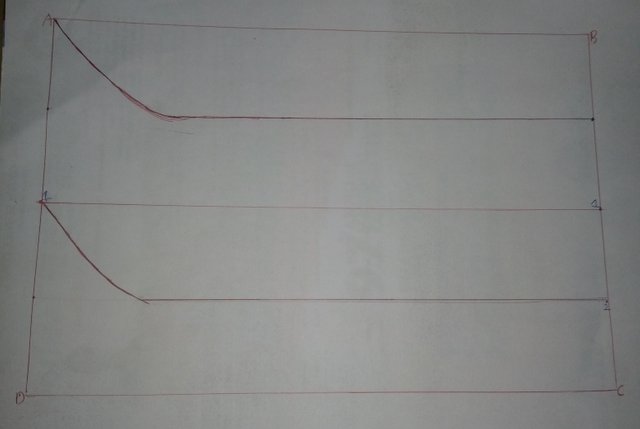
- Join A and 1 through a Curve as a C shape outside the box.
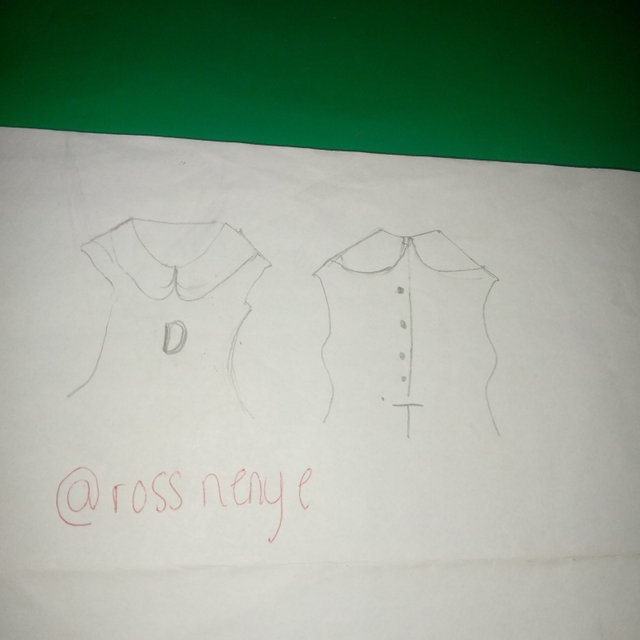
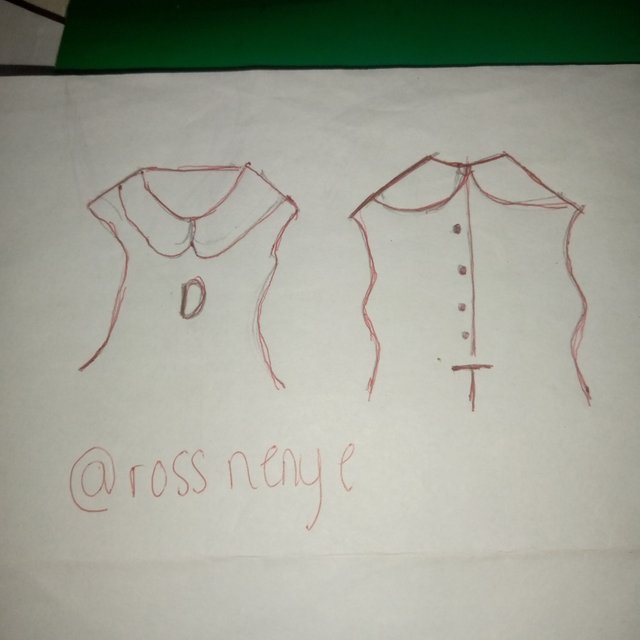
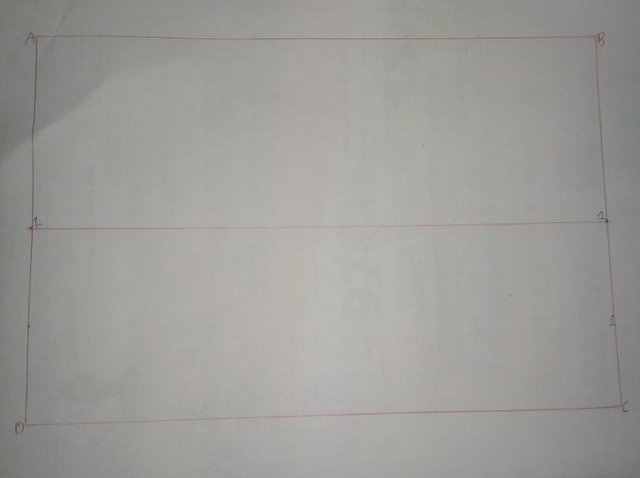
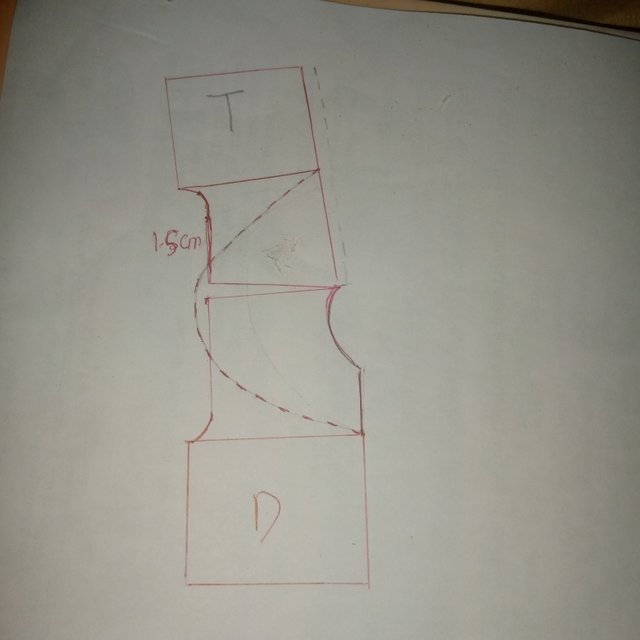
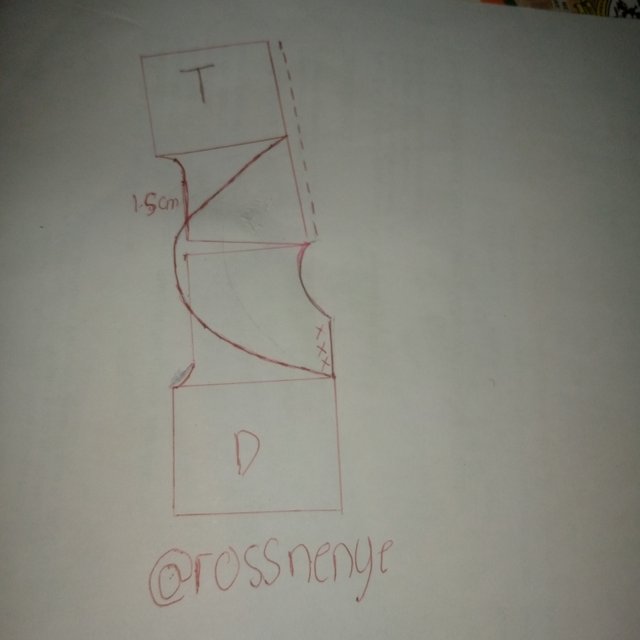
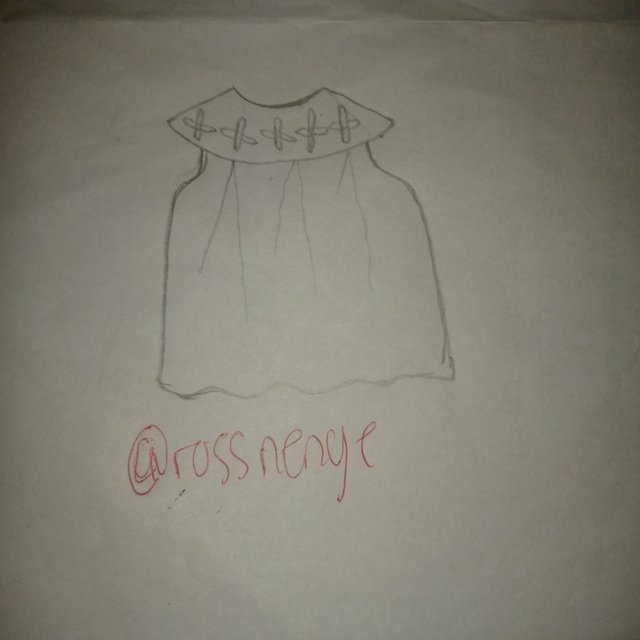
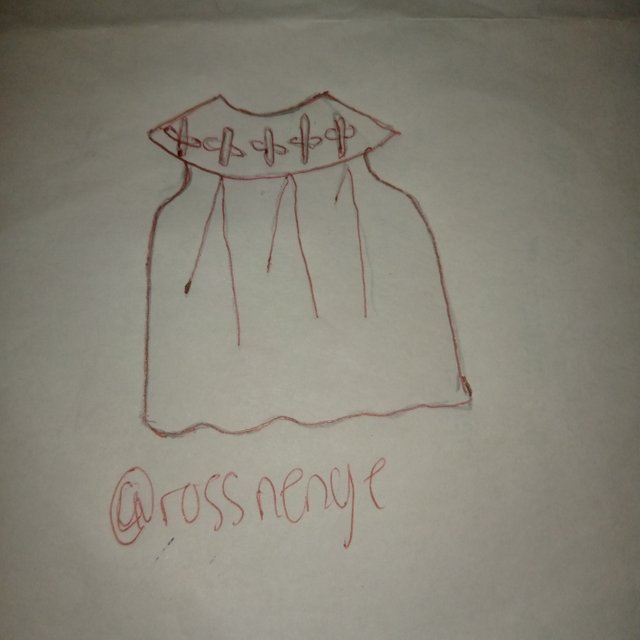
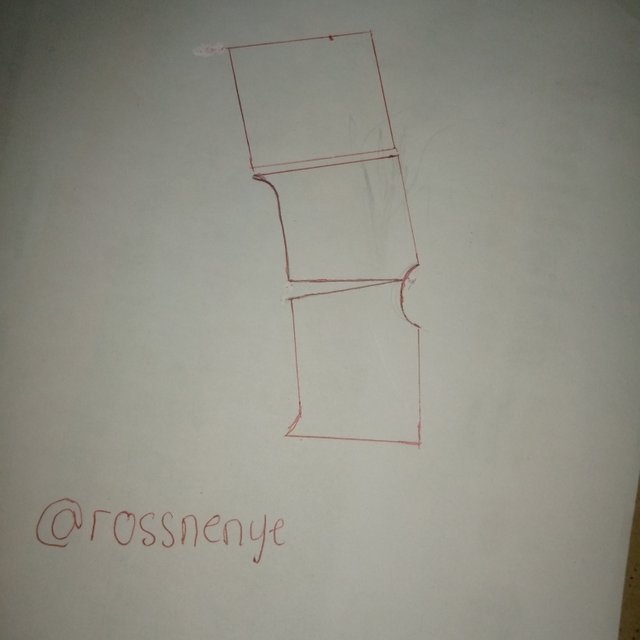
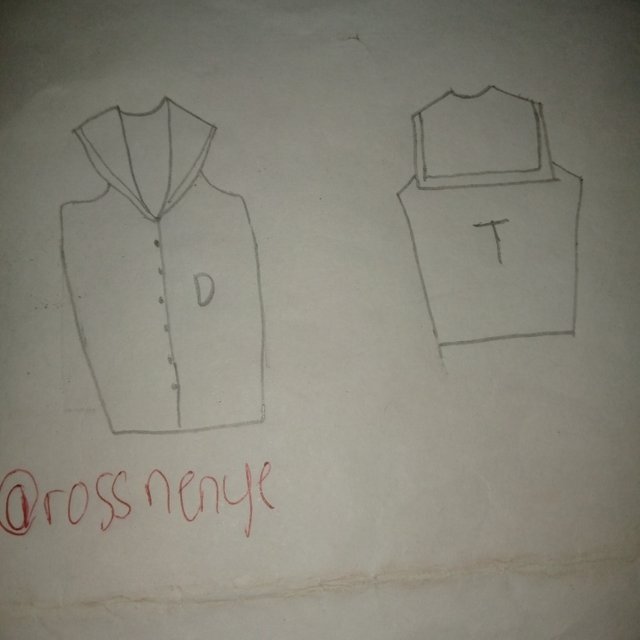
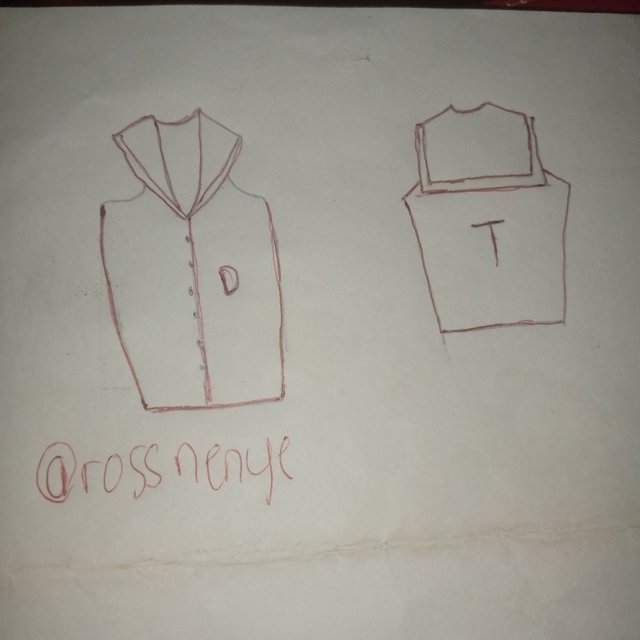
| Yoke-type collar |
|---|
To make this type of collar, I first of all of joined the front pattern with the back pattern at the shoulders at a distance of 1.5 cm. This is because I was making the Collar for a small size. You will use 2cm measurement if you're making for a large size.
At the neckline, the skirt is dropped by 10 cm both at the front and at the back, with a 2 cm opening at the back for the buttons to cross.
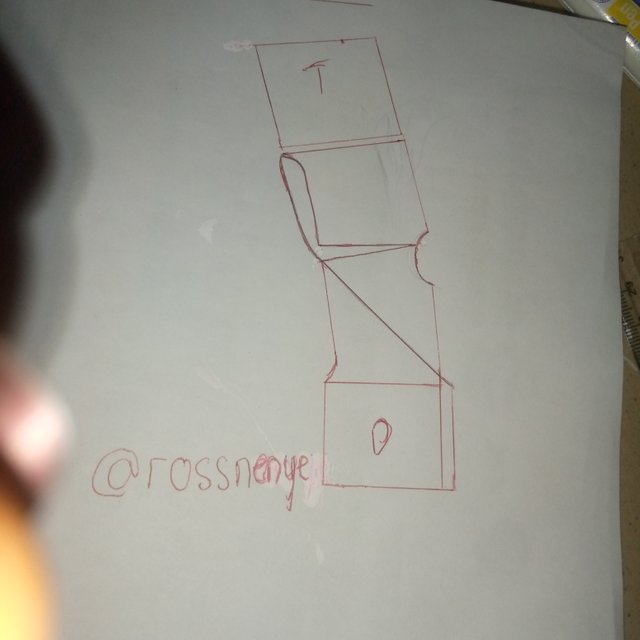
| Sailor collar |
|---|
For this, the patterns are also joined with a 1.5 cm opening just like the Yoke-type Collar.
Measure 12cm or more in the front of the pattern from the neckline down to the E line inorder to give more depth to the "V" shape.
Then, from the neckline at the back we go down 12 cm or more, depending on the design squared at a 90°C angle with the shoulder.
At the shoulder, go down 12 cm or more, and then join with a gentle curve with the front point that we made previously, leaving a square at the back and a "V" at the front.
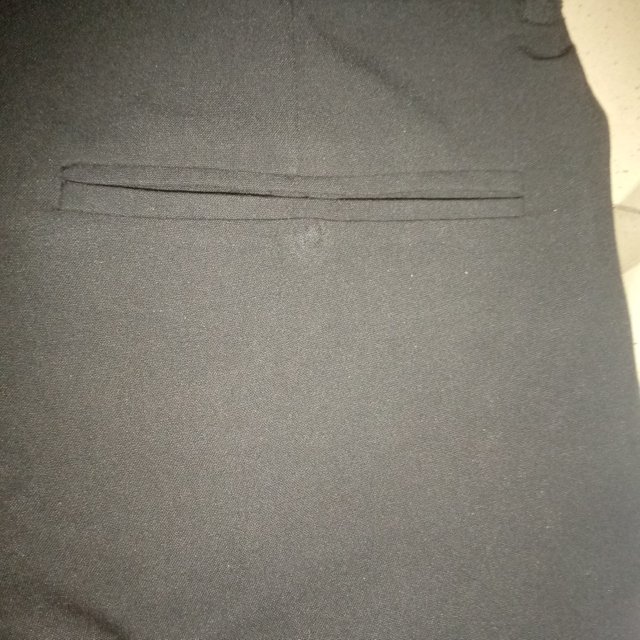
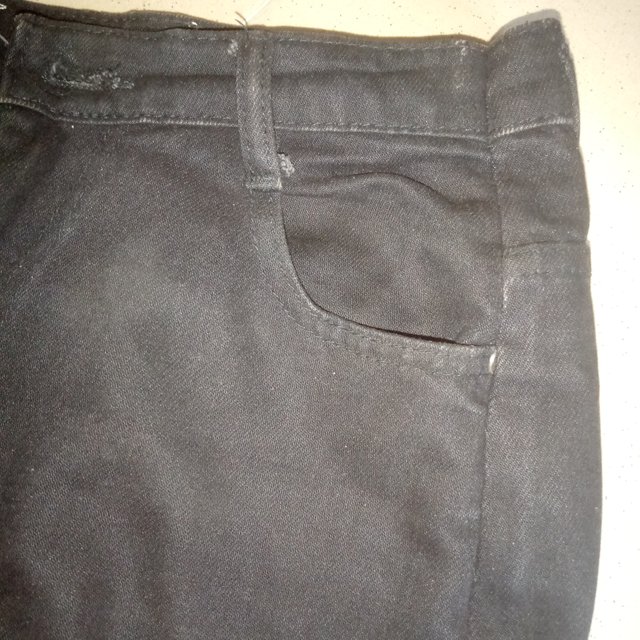
| Types of Pocket |
|---|
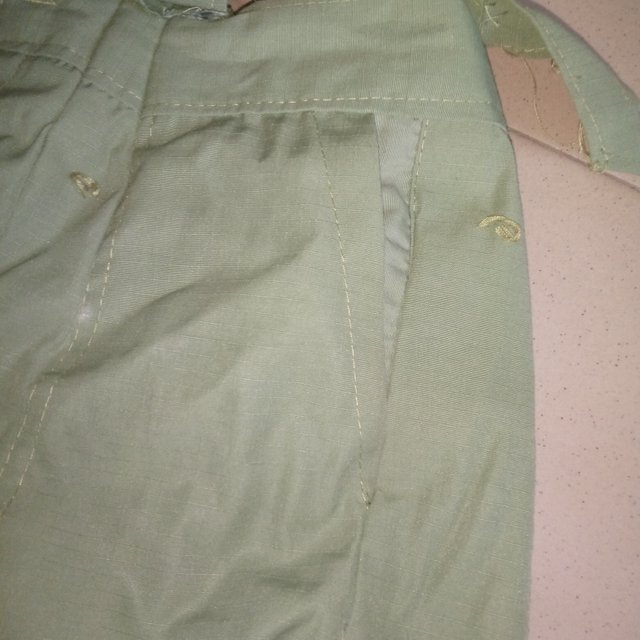
- Welt pocket
This type of pocket is mostly seen in outfits like Trousers, suit Jackets.**
- Round patch pocket
This type of pocket is mostly seen in Shirts, Trousers, dresses and shirts .
Double stitched pocket
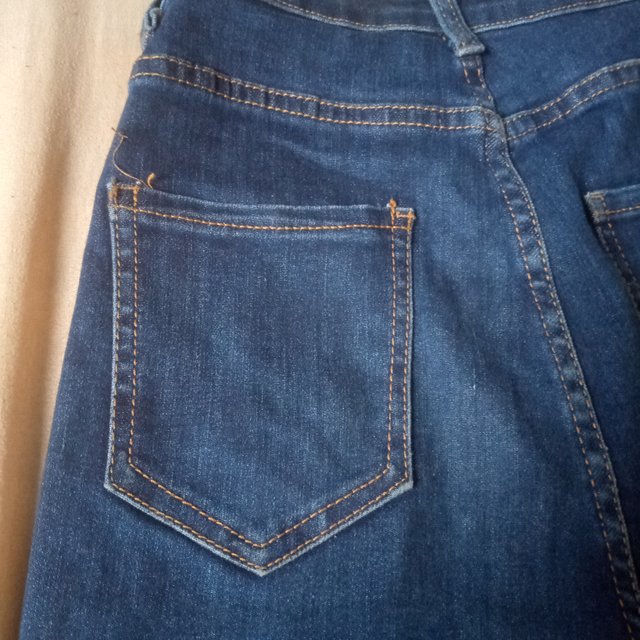
This type of pocket is mostly seen at the back of Jean trousers.
- Straight patch pocket
This type of pocket is mostly seen in wears like Jean trousers, overall, panties etc
Thanks for reading through my post, I invite @dqueen, @m-fdo and @missyleo to participate in this contest.
Bienvenida amiga @roeenenye, muy buena explicación del tema, solo debes tener más precisión al momento de realizar las piezas debido a que si no le das una forma correcta (semi-curva), tiende no realizar bien las piezas al momento de cortarla sobre tela, los resultados no serían los esperado.