Speed Up Your Wordpress Site Part 1
Source
Hosting
Where you host your site can have a great bearing on its performance, and usually you get what you pay for. Skimp on this first step and no matter what else you try to do, your host will forever be a bottleneck. Do your research and read recommendations. Personally I use Dreamhost and have never had a problem with their services. In case you want to check them out, here's a referral link. Shared hosting is the lowest tier in terms of price and performance. I am subscribed to Dreamhost's VPS service and am happy with the performance of sites on this package. The ultimate would be a dedicated server, but costs rise substantially and are not worth the outlay for several Wordpress blogs.Images
If your pages contain a lot of images, particularly large ones, they can substantially slow down the loading of your site. The first thing to be sure of is that you are not needlessly uploading very high resolution pictures. There is no point to uploading an image of 4000 x 2665 pixels when one of 1920 x 1279 will do. Even that may be unnecessarily large and in most cases you could shrink it down even further - using Photoshop or many other image editors. Of course, if you are a photographer or artist, you may want to show off high resolution images, and that is fine. But do not put extremely high resolution images on your homepage. If you homepage takes more than 3 seconds to load, you are at greater risk of losing that visitor. Longer than 5 seconds and that risk increases massively. Again, unless you are an artist or photographer, you should consider only uploading jpeg images. They are a great option as they present a good balance between image quality and file size. Take this image for example: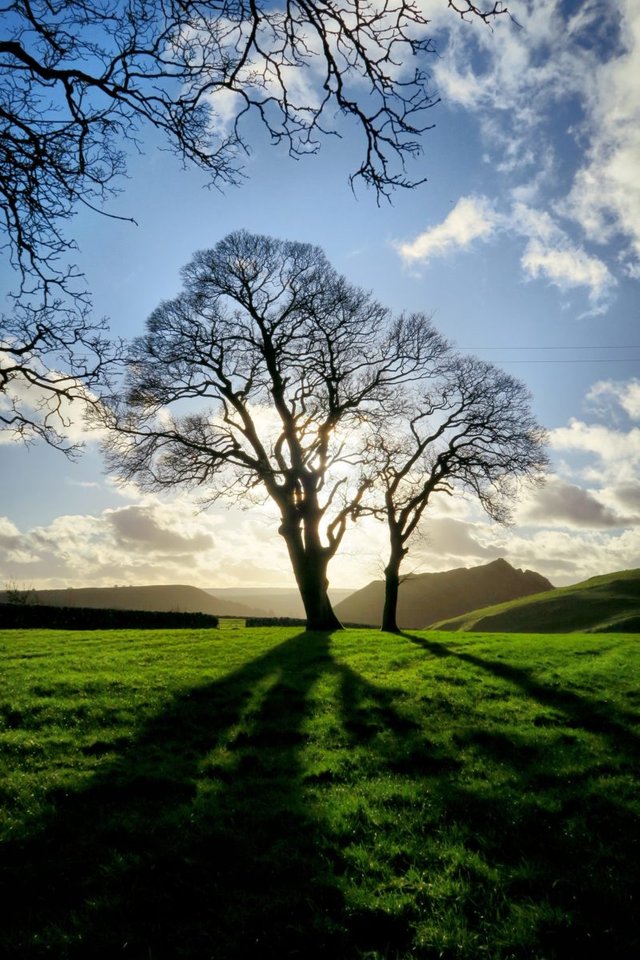
As a png, at a resolution of 2048 x 3072 pixels, its file size is 9.87 MB - due to settings on my blog, it will not display at such a large resolution. Let's first take it to Photoshop and save it as a jpeg.
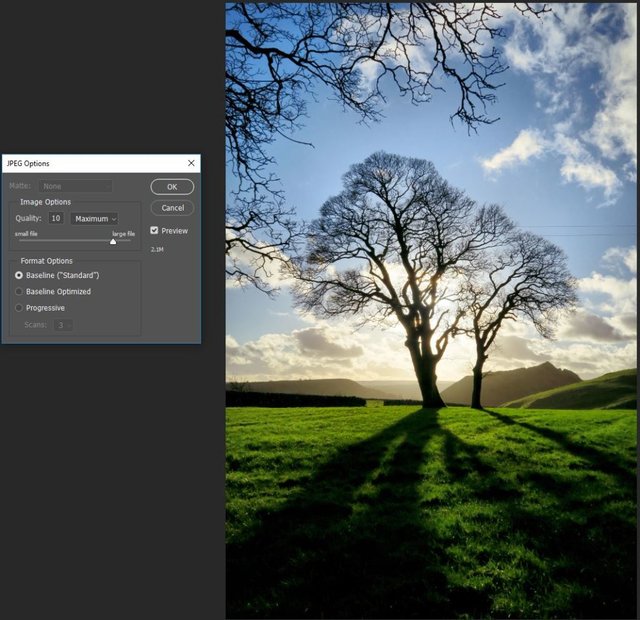
Its new file size is now 2.11 MB. Taking it a step further I will also decrease the resolution to 1100 x 1650 and once more save it as a jpeg.

The new file size is now just 792KB - a drastic change with little perceivable difference in image quality on the web page, but one that loads much quicker. So, do you need to go through each and every image on your blog and take it through image editing software? Nope. Plugins to the rescue. I used to use reSmush.it and it does a decent job of keeping your image sizes smaller. However it doesn't have much in the way of options. Instead I found Imsanity and have been using it for a while now. It does a great job, has several useful options and is free.
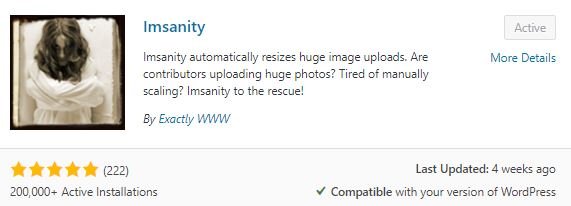
What I like about this plugin is that you can set the maximum sizes to allow on your blog, you can dial in the jpg image quality you want, it has options to automatically convert png and bmp images to jpg and you can bulk resize all of the images in your media folder.
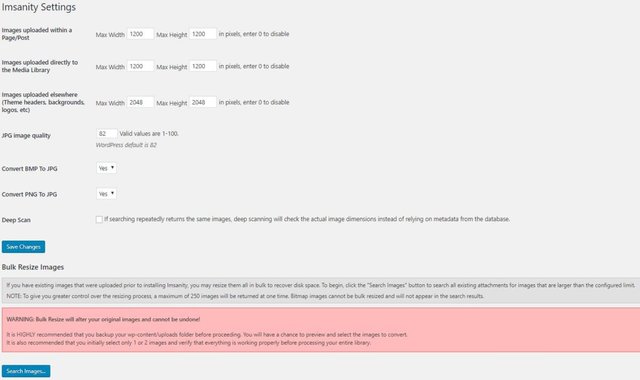
To bulk resize your images, click on Search Images, allow Imsanity to go through your media folder, and then click on Resize Selected Images. I think you'll agree it's much quicker than going one by one, editing the images in Photoshop and then re-uploading them to your site. In the next post I will show you how to analyze your page speed and talk about caching solutions to further speed up your site.
* * *
Posted from my blog with SteemPress : https://www.muxxy.co.uk/speed-up-your-wordpress-site-part-1/