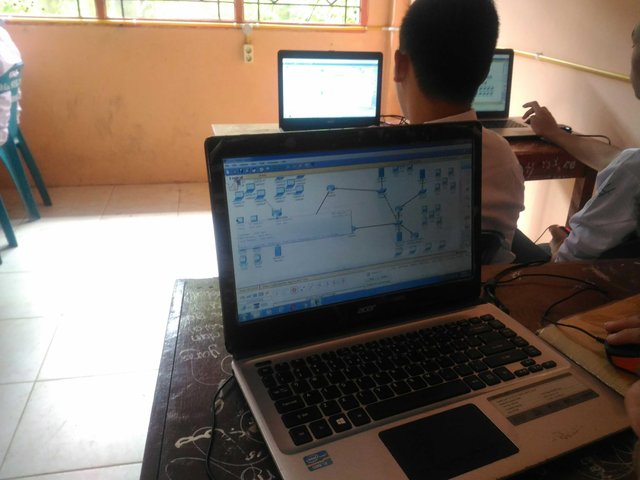
📡🛰VLAN network creation activity with simulation on packet tracer with my students🛰📡
Hello everyone ... In my activities today I will teach my students how to create a VLAN Network in Packet Tracer.
VLANs are in OSI Layer 2 and on Layer 2 there is also a Switch so that it can be said that I will teach my students about Switching. Well, before I started teaching them, as usual I always explained first about methods and strategies and also what is a VLAN?
A. Definition
Virtual LAN or VLAN is a group of devices on one or more LANs that are configured using third-party devices so they can communicate and devices that are connected to the same network, even though they are in different LAN segments. So because VLANs need a third party which means the VLAN cannot stand alone and we have to configure it ourselves according to our wishes.

Okay now I will start and immediately practice while explaining to my students. Okay, for example we want to connect two LABs that have their own servers, so we want to connect them with just one button.
Then how do you do it ...?
The following is an example of topology that we will design to be seen and studied so that it can be practiced directly. And also for friends who want to try to follow these steps with steps.

Then the client will be able to connect using DHCP on the server network. Before setting DHCP, we must configure the VLAN ID first, because if we set DHCP directly, the client PC will be confused because both servers are connected to the switch and are not separated using VLAN ID.
B. Tools and Materials
- PC or Laptop
- Tracer package
D. Objectives and Objectives
Here we will create two VLANs, namely VLAN 100 lab_a and VLAN 200 lab_b. Then we will add one router to connect to the Switch port so that the server can connect to each other.
C. Stage of Implementation of Activities
1. The first step, open your packet tracer and make the topology as above. Pay attention to the ports that you connect, because that also affects the configuration.
For example here:
1-5 ports that we use for LAB A
Port 11-15 we use for LAB B
Then port 24 we use for the router
2. Then give IP and Gateway to both servers. For example like this:
Server0: IP 172.16.10.1/24
The gateway: 172.16.10.254
Server1: IP 192.168.1.1/24
Gateway 192.168.1.254
3. There is a gateway on the Router, so the server can connect to each other.
If it is configured and understood, then we enter the switch configuration. Enter the CLI tab and you can change it. There is a gateway on the Router, so the server can connect to each other.
4. If it is configured and understood, then we enter the switch configuration. Enter the CLI tab and you can change it
5. Then type a command like this
Switch#vlan database
Switch(vlan)#vlan 100 name lab_a
Switch(vlan)#vlan 200 name lab_b
Switch(vlan)#exit
Switch#sh vlan
6. The function of this command is to create a VLAN ID for each server. There doesn't have to be 100 or 200, what's important is that you fill in the free sent from 1-1005. If you want to know more about VLAN IDs, here is a link to explain more details about VLAN IDs
7. After you create a VLAN, it will appear like this and a VLAN ID will appear
8. If you have created a VLAN ID, try entering the port used by LAB A and LAB B. Here, our LAB A and LAB B provide each VLAN ID. For example, an example like this:
Switch(config)#interface fa0/1
Switch(config-if)#switchport access vlan 100
Switch(config-if)#exit
Switch(config)#interface fa0/2
Switch(config-if)#switchport access vlan 100
Switch(config-if)#exit
Switch(config)#interface fa0/3
Switch(config-if)#switchport access vlan 100
Switch(config-if)#exit
Switch(config)#interface fa0/4
Switch(config-if)#switchport access vlan 100
Switch(config-if)#exit
Switch(config)#interface fa0/5
Switch(config-if)#switchport access vlan 100
Switch(config-if)#end
9. Next, we give VLAN ID to LAB B
Switch(config)#interface fa0/11
Switch(config-if)#switchport access vlan 200
Switch(config-if)#exit
Switch(config)#interface fa0/12
Switch(config-if)#switchport access vlan 200
Switch(config-if)#exit
Switch(config)#interface fa0/13
Switch(config-if)#switchport access vlan 200
Switch(config-if)#exit
Switch(config)#interface fa0/14
Switch(config-if)#switchport access vlan 200
Switch(config-if)#exit
Switch(config)#interface fa0/15
Switch(config-if)#switchport access vlan 200
Switch(config-if)#end
Switch#sh vlan
10. After that, the active port will appear after we provide VLAN ID
11. The next step, we add a router to connect two LAB servers.
12. Then we activate the gateway on the Router
Router(config)#interface fa0/0.100
Router(config-subif)#encapsulation dot1q 100
Router(config-subif)#ip address 172.16.10.254 255.255.0.0
Router(config-subif)#end
13. Next to VLAN 200
Router(config)#interface fa0/0.200
Router(config-subif)#encapsulation dot1q 200
Router(config-subif)#ip address 192.168.1.254 255.255.255.0
Router(config-subif)#exit
Router(config)#interface fa0/0
Router(config-if)#no shutdown
14. Next we see the results

15. But that is, the server still cannot connect with each other. Because on the router port we have to put it into trunk mode. The trick is to enter commands like this on the Switch
Switch(config)#interface fa0/24
Switch(config-if)#switchport mode trunk
Switch(config-if)#end
16. Now we try to ping the LAB A server to the LAB B server or vice versa

17. It turns out it's been successfully connected
Photos of activities during teaching


Results and conclusions
In a topology like this, we can configure DHCP after we separate LAB A and B ports using VLAN ID. Because if it is not separated or the term is not specified for each ID, each client PC in LAB A and B will be confused about choosing the server to be requested or DHCP service request. Then, the server cannot be connected because their IP is different from each other. Then the Router is used to route different IPs so that both servers can be connected. But after the router is configured, both servers feel that they are not connected to the router because Trunk mode has not activated the Router port.
