Needlework Monday - Decor cup polymer clay. Cute owls. Handmade from @elenka
Hi, Steemit!!!
Greetings dear readers!
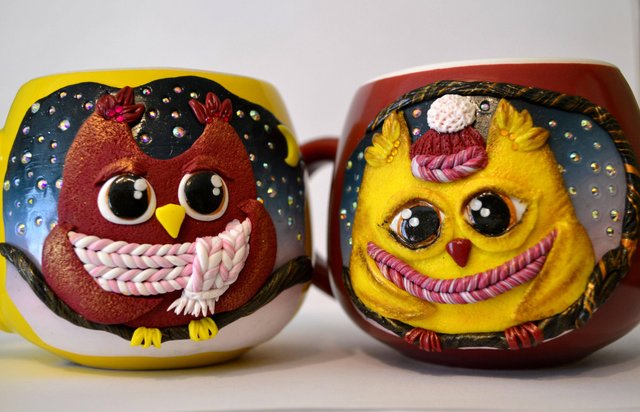
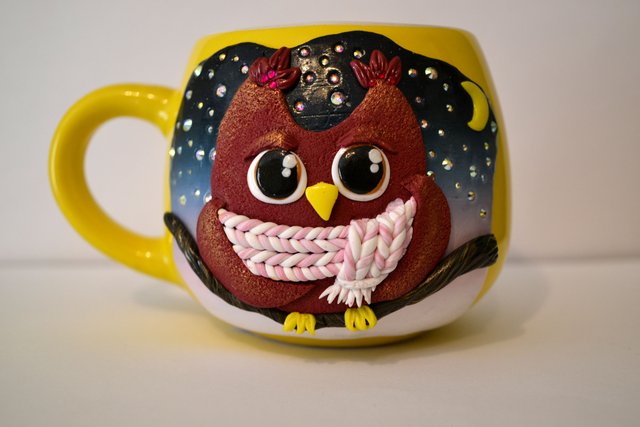
I want to show you how you can decorate cups with cute owls that will not leave anyone indifferent.
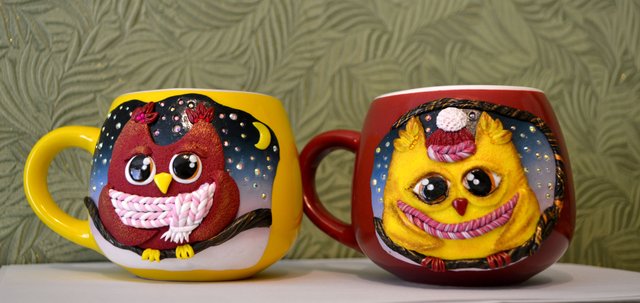
I made this pair of cups as a present for my friend. I really wanted the gift to be warm, cozy and always uplifting.
I hope you enjoy my idea and this workshop will be useful!
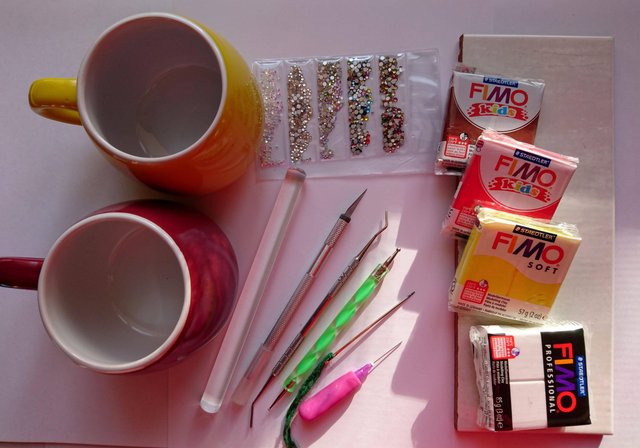
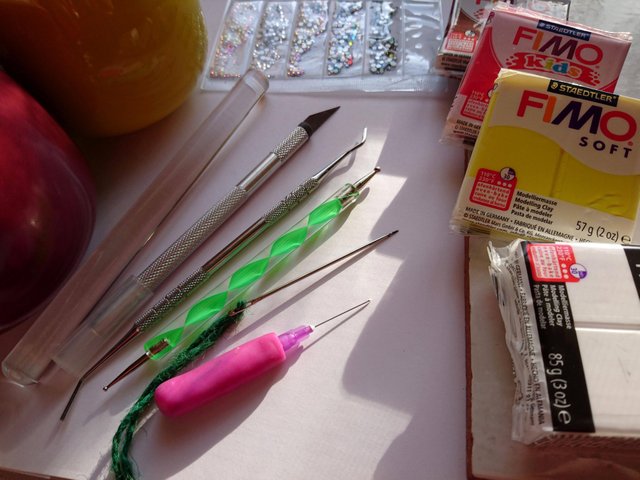
Tools and materials:
- polymer clay "FIMO"
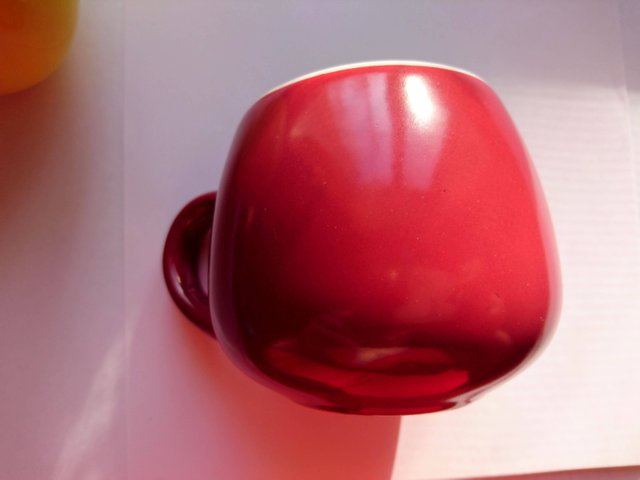
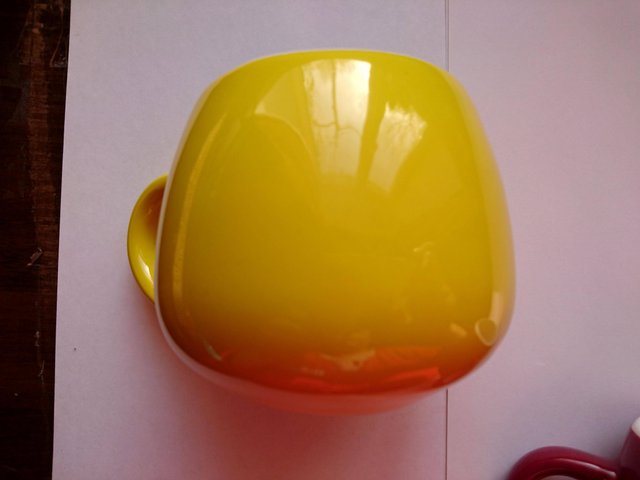
- cups
- work surface (sheet of paper, ceramic tile)
- scalpel and blade
- acrylic rolling pin
- hard bristled toothbrush
- stack and dots
- large and small needle
- paste machine
- pastel
- rhinestones
- polymer clay varnish
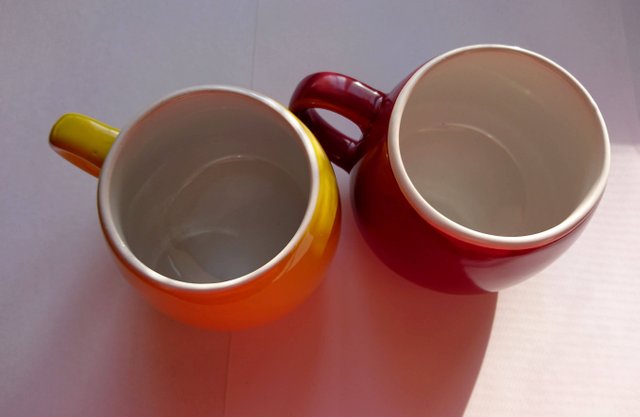
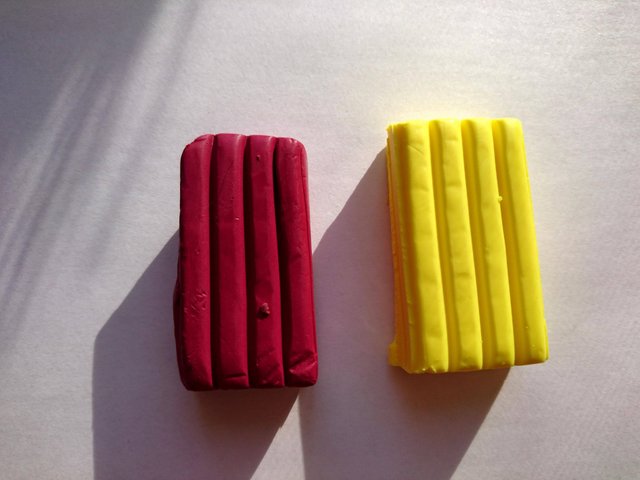
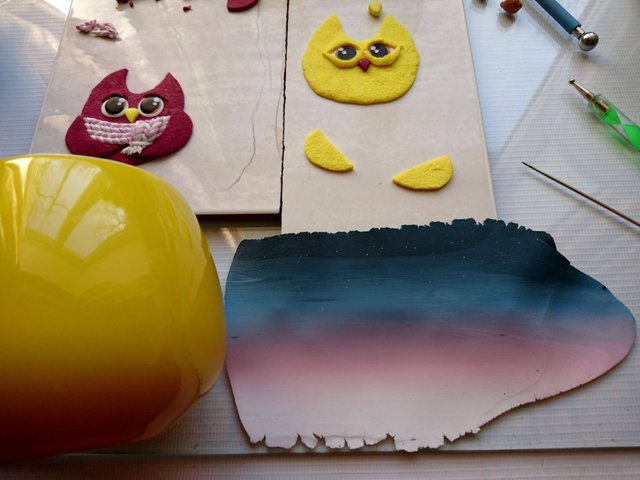
First, I select the main colors of polymer clay, from which I will sculpt owls. I roll them into layers of about 0.5 cm thick.
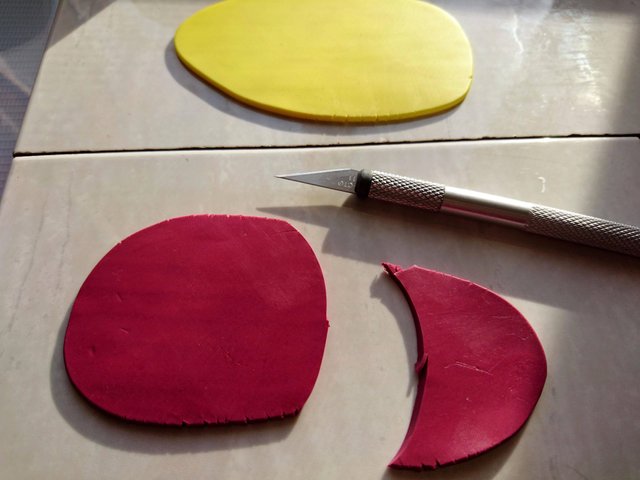
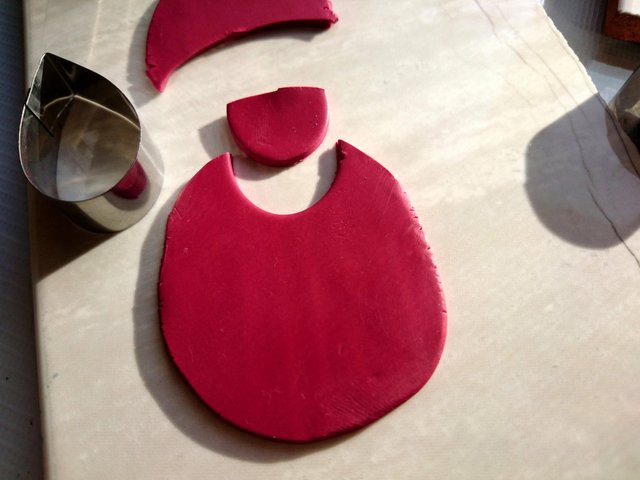
I cut out the contours with a scalpel. Using a cutter drop, I cut out the shape of the ears. Please note that I’m working on two characters at the same time.
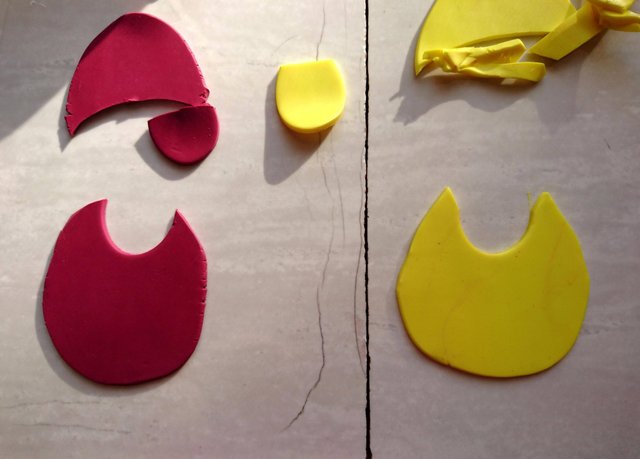
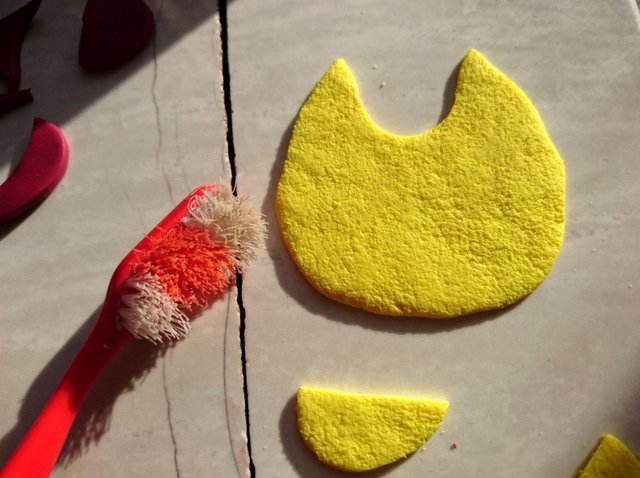
I create a “fluffy” texture with a hard-bristled toothbrush. I cut out the wings of owls and brush them as well.
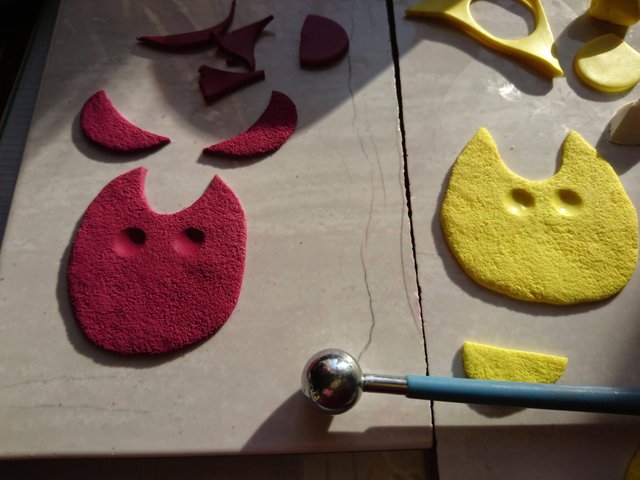
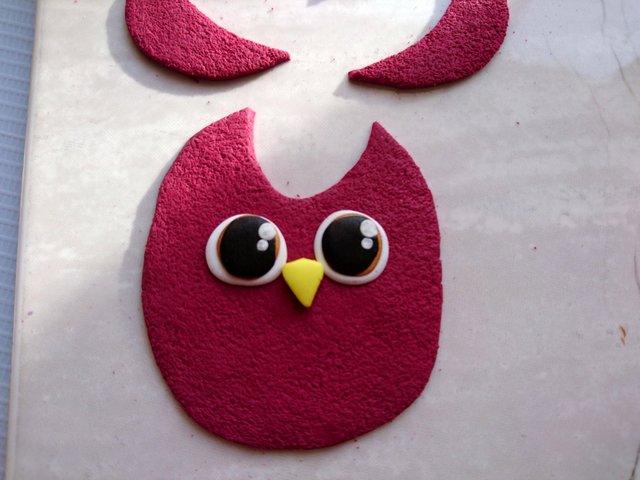
Dots with a big ball outlines where the eyes will be located.
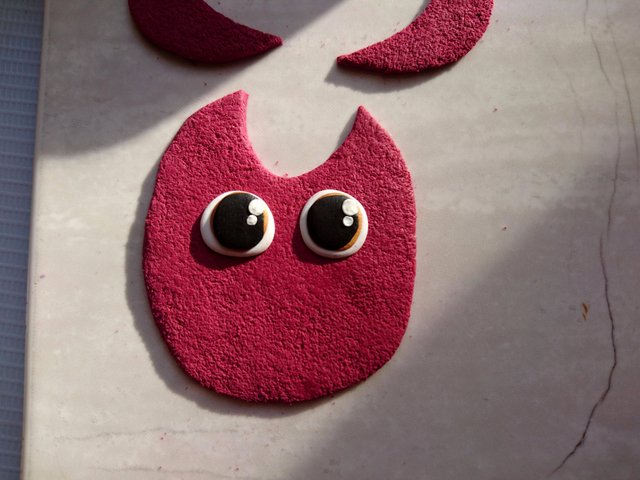
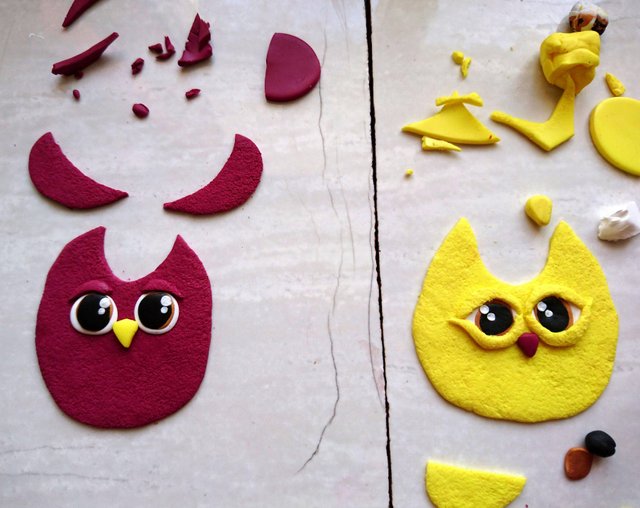
I mold my eyes like this - on a circle of white color I impose circles of gold and black. And then from the small white balls I make glare in the eyes.
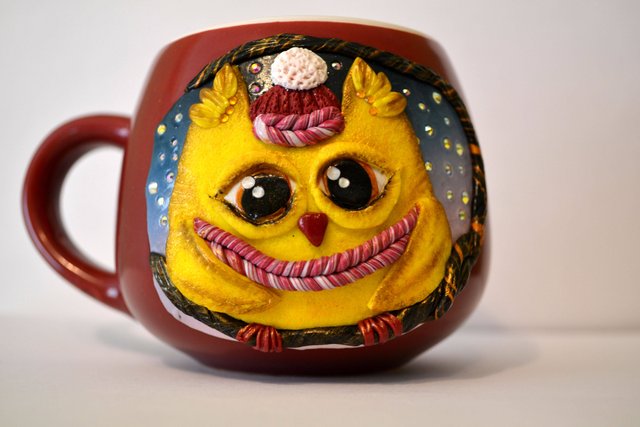
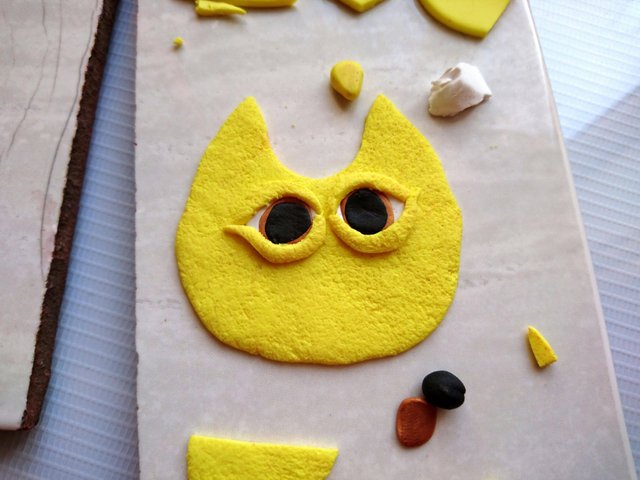
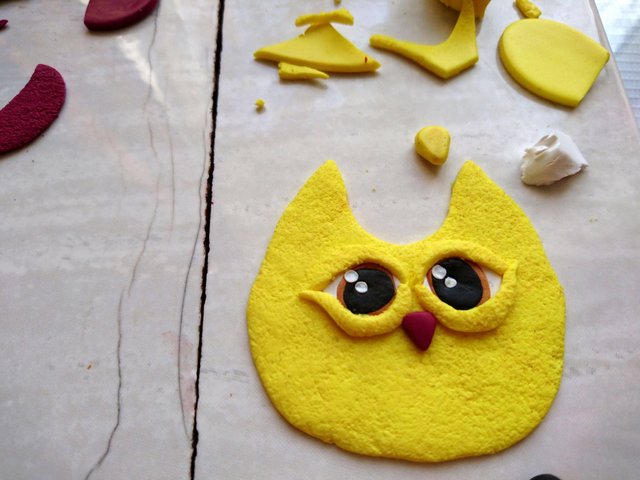
The yellow owl blinded her eyelids, decided that so her look would be even more expressive.
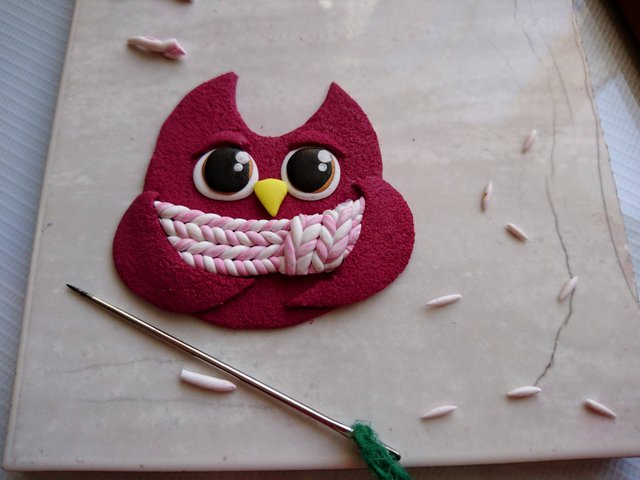
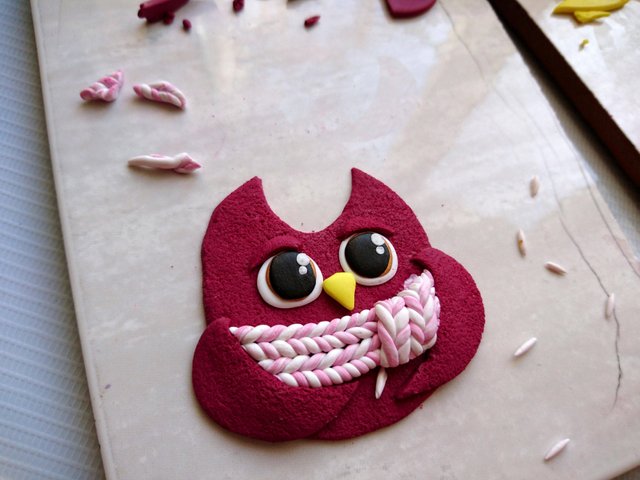
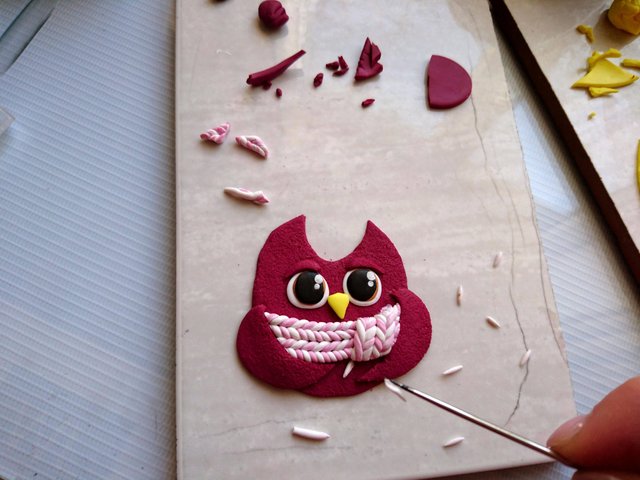
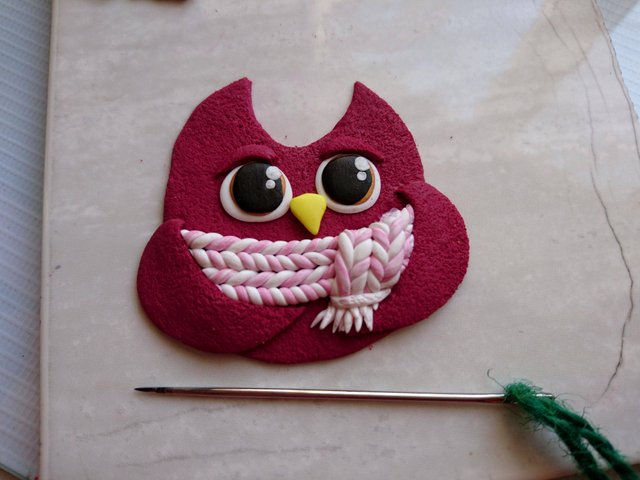
I begin to invent and create details of the character's image. To make a scarf, she rolled alternately thin threads of polymer clay. On the scarf I made a fringe from small pieces that I laid out with a needle.
The time has come to transfer the owls from a flat surface to the cups. To do this, first degrease the cups with alcohol.
I wanted to make an interesting composition on each of the cups, so I made a background from the reservoir with a color transition that would resemble an evening starry sky.
Gently cut and attach the background to both cups.

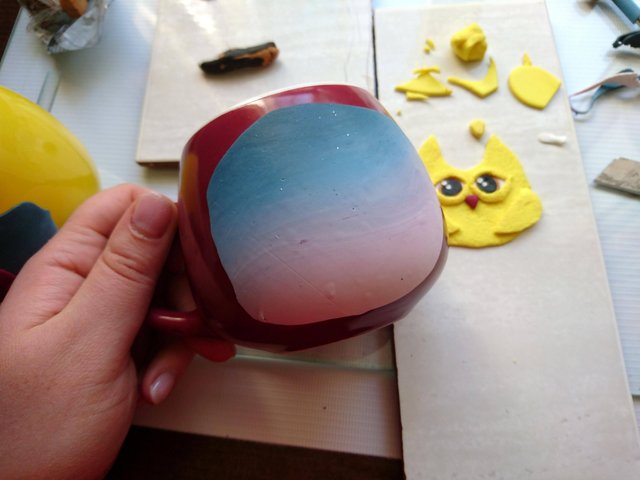
I transfer the owls to the cups and carefully press all the contours so that they stick to the background. Add details in the form of tree branches and paws.
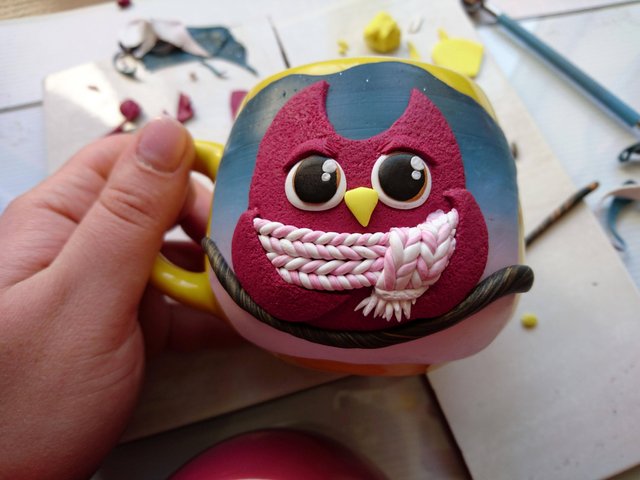
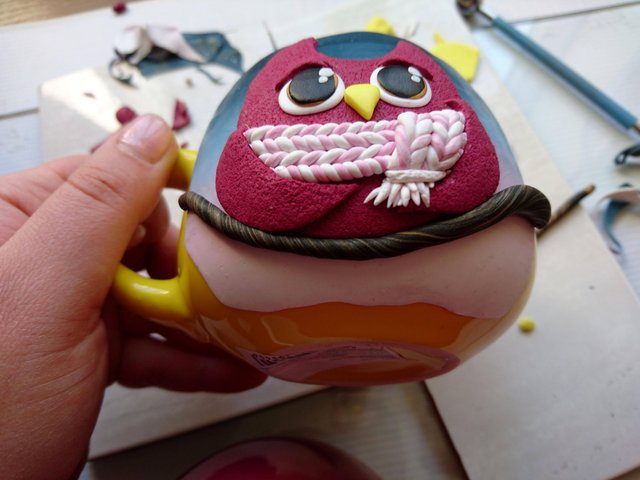
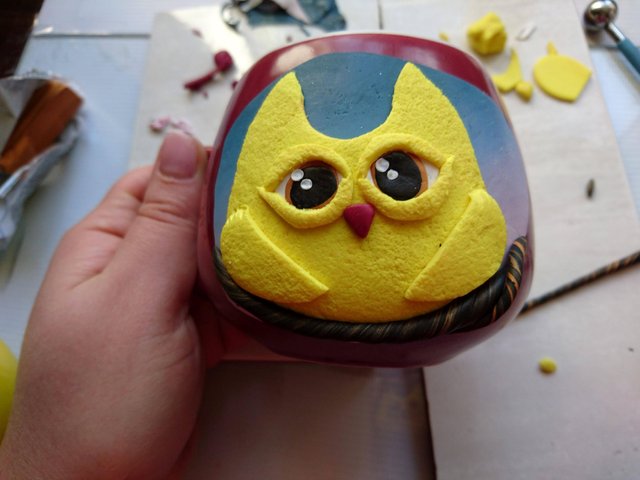
She also made a yellow owl a scarf, but decided to add a hat with a pompom. I make the texture on the pompom with a needle.
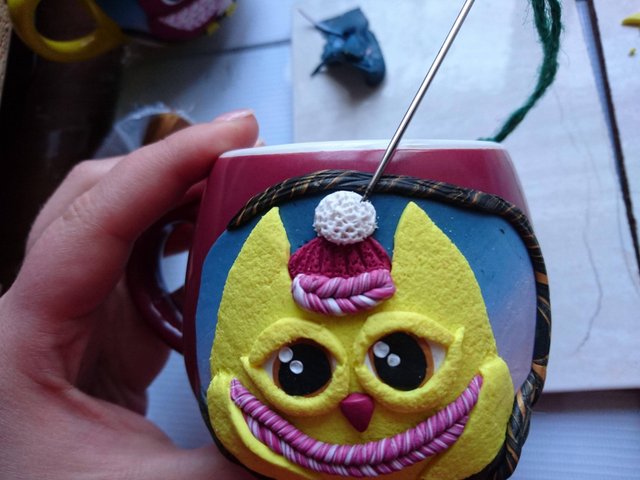
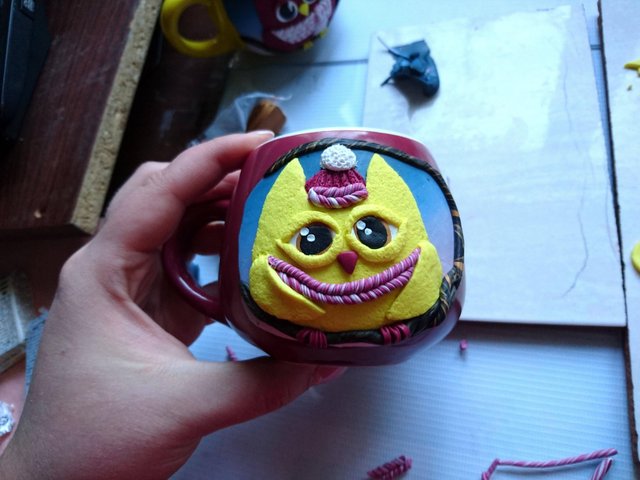
At this stage, owls are almost ready. I wanted to create the effect of the evening starry sky, so I decorated the background with iridescent rhinestones of different sizes.
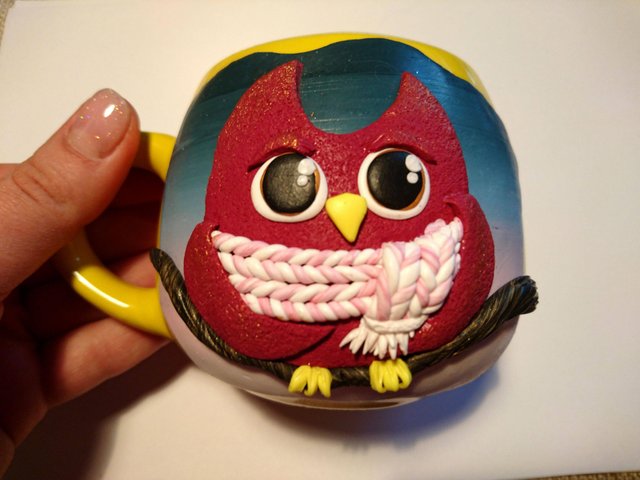
The yellow owl was tinted with brown pastel and a little gold pigment. And I added brush on the ears to both characters.
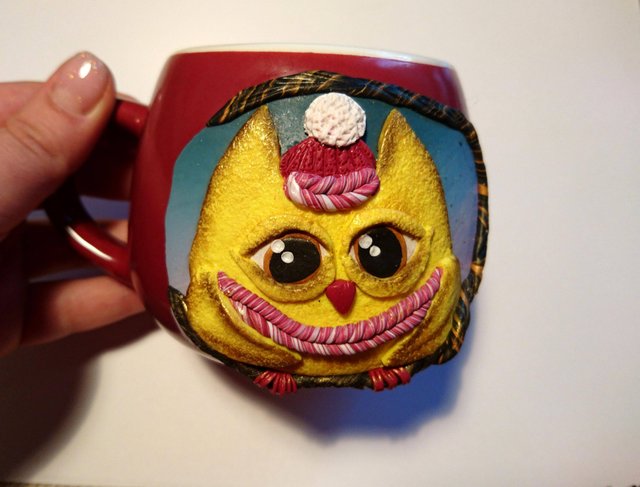
Thanks to rhinestones, the work immediately began to look brighter.
Next, bake the cups in the oven. I put the cups with the owls in the still cold oven and do not take them out until it cools down.
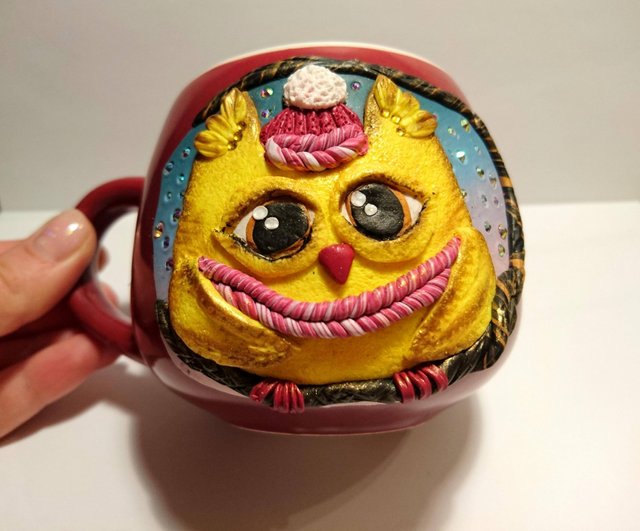
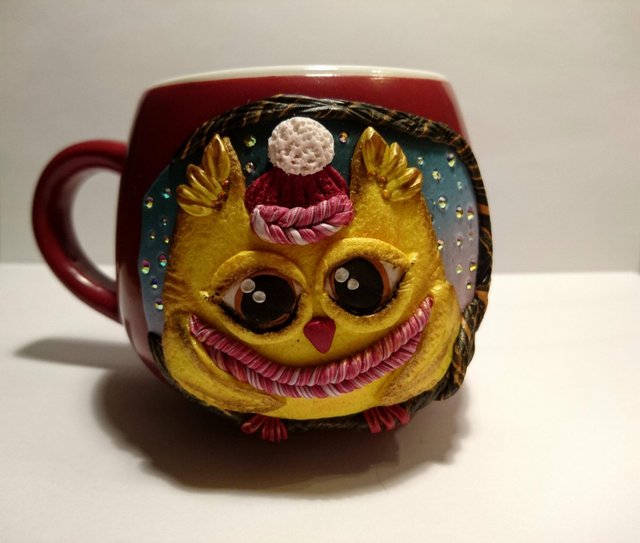
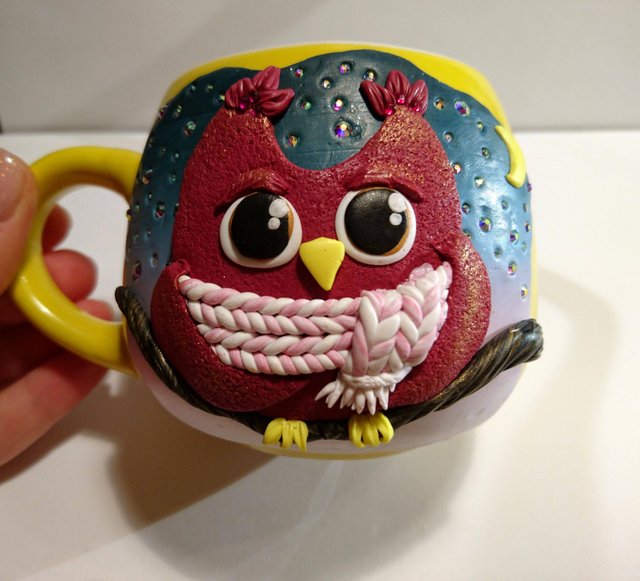
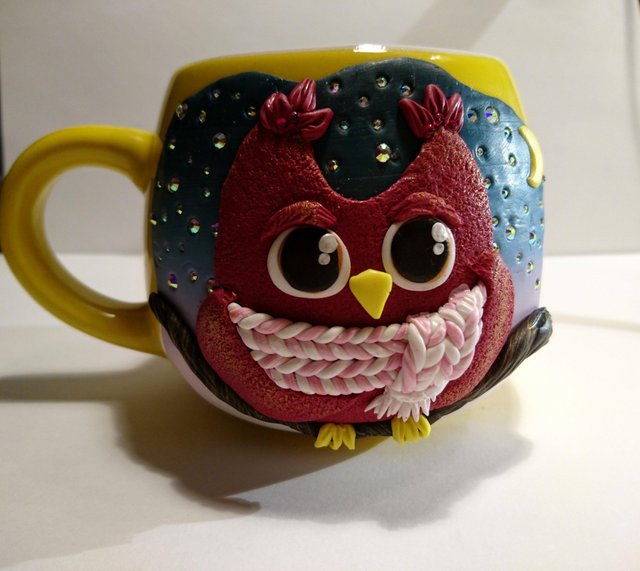
After baking, I varnish the eyes and beaks of owls in several layers, thanks to this their eyes “come to life” even more. It also covered the background with a very thin layer to make it look brighter.
Here are such wonderful cute owls I got!
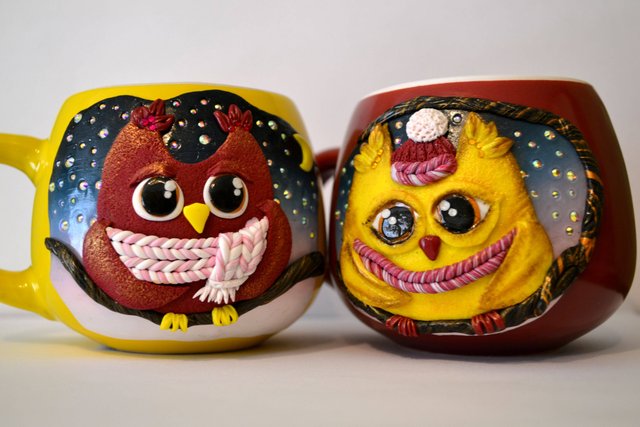
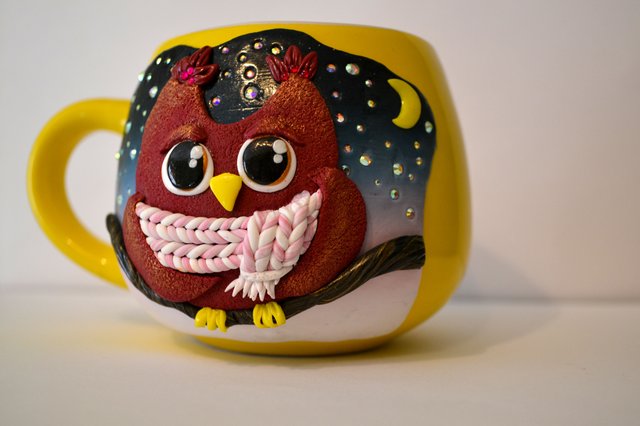
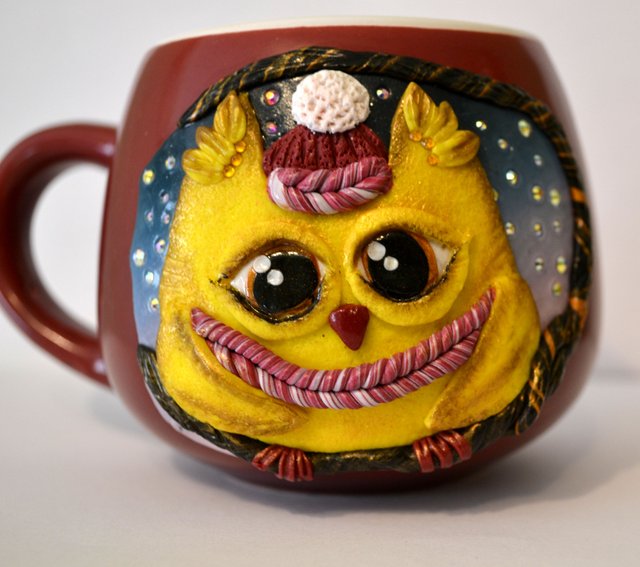
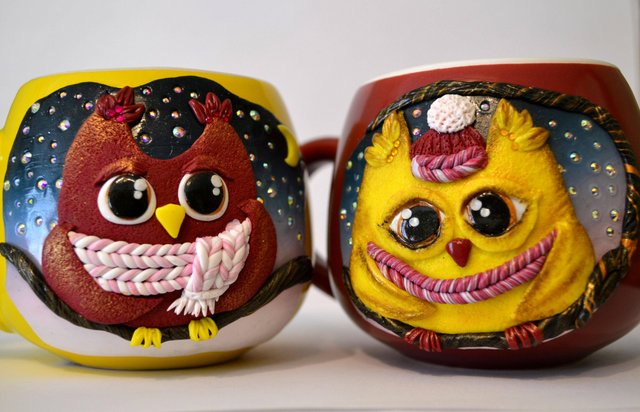
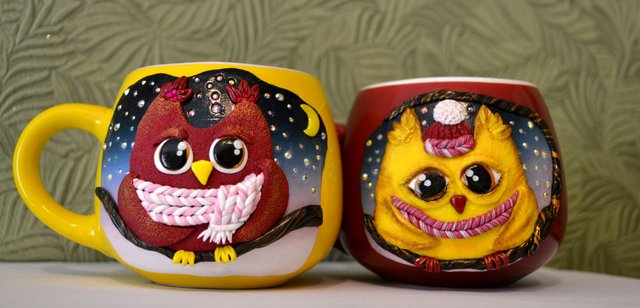
Thank you for attention! All more positive and inspiration !!!
I wish you all success and great mood !!!
#NeedleworkMonday by @crosheille
I love your owls, especially the little shawl one of them wears - that's an owl that won't get cold during winter time ;)
Fimo is great, not only for such decorating crafts. I know a tinkerer who builds small missing parts with it, like gear wheels.
I am very grateful for your wonderful review, @muscara!!! I am very pleased that you liked my winter owls.
Yes, I also know that Fimo polymer clay is a universal material for creativity and it can be used in a variety of work.
I wish you a wonderful day!