Studio Blog #2: Bass
Hey Steemit, This week we are going through how we recorded bass for our track 'This is Fine' on our forthcoming ep. This wont be as long as the previous blog because bass is a shit ton easier to record then drums, but there is still a few tricks id like to show you all to make your recording process silky smooth. Here we go...
Bass: Probably the most underrated instrument in any band situation (unless your an electronic act, then its pretty much bass reliant) for the most part. In my opinion it is one of the hardest instruments to master mentally because of the amount of restraint it takes to keep a groove and it relies heavily on 'the feel of the song' rather then 'your ability to be primus.' A good bassist adds subtle emphasis the guitars and drums. If you are a bass player, that is the best thing you can take from this blog, if you already know that...then everything else is just a bonus =)
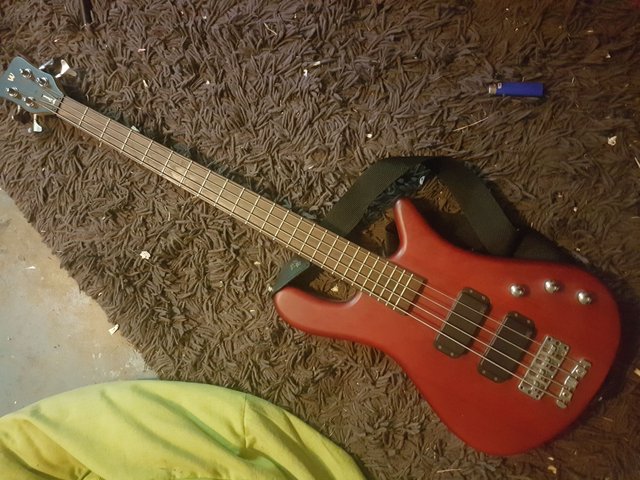
We recorded with our bass player Jordan's Live rig, Consisting of a Warwick bass and a Heartke HA3500 stack. it was quite easy to shape the tone on this amp becuse it comes with a built in 10 band eq.
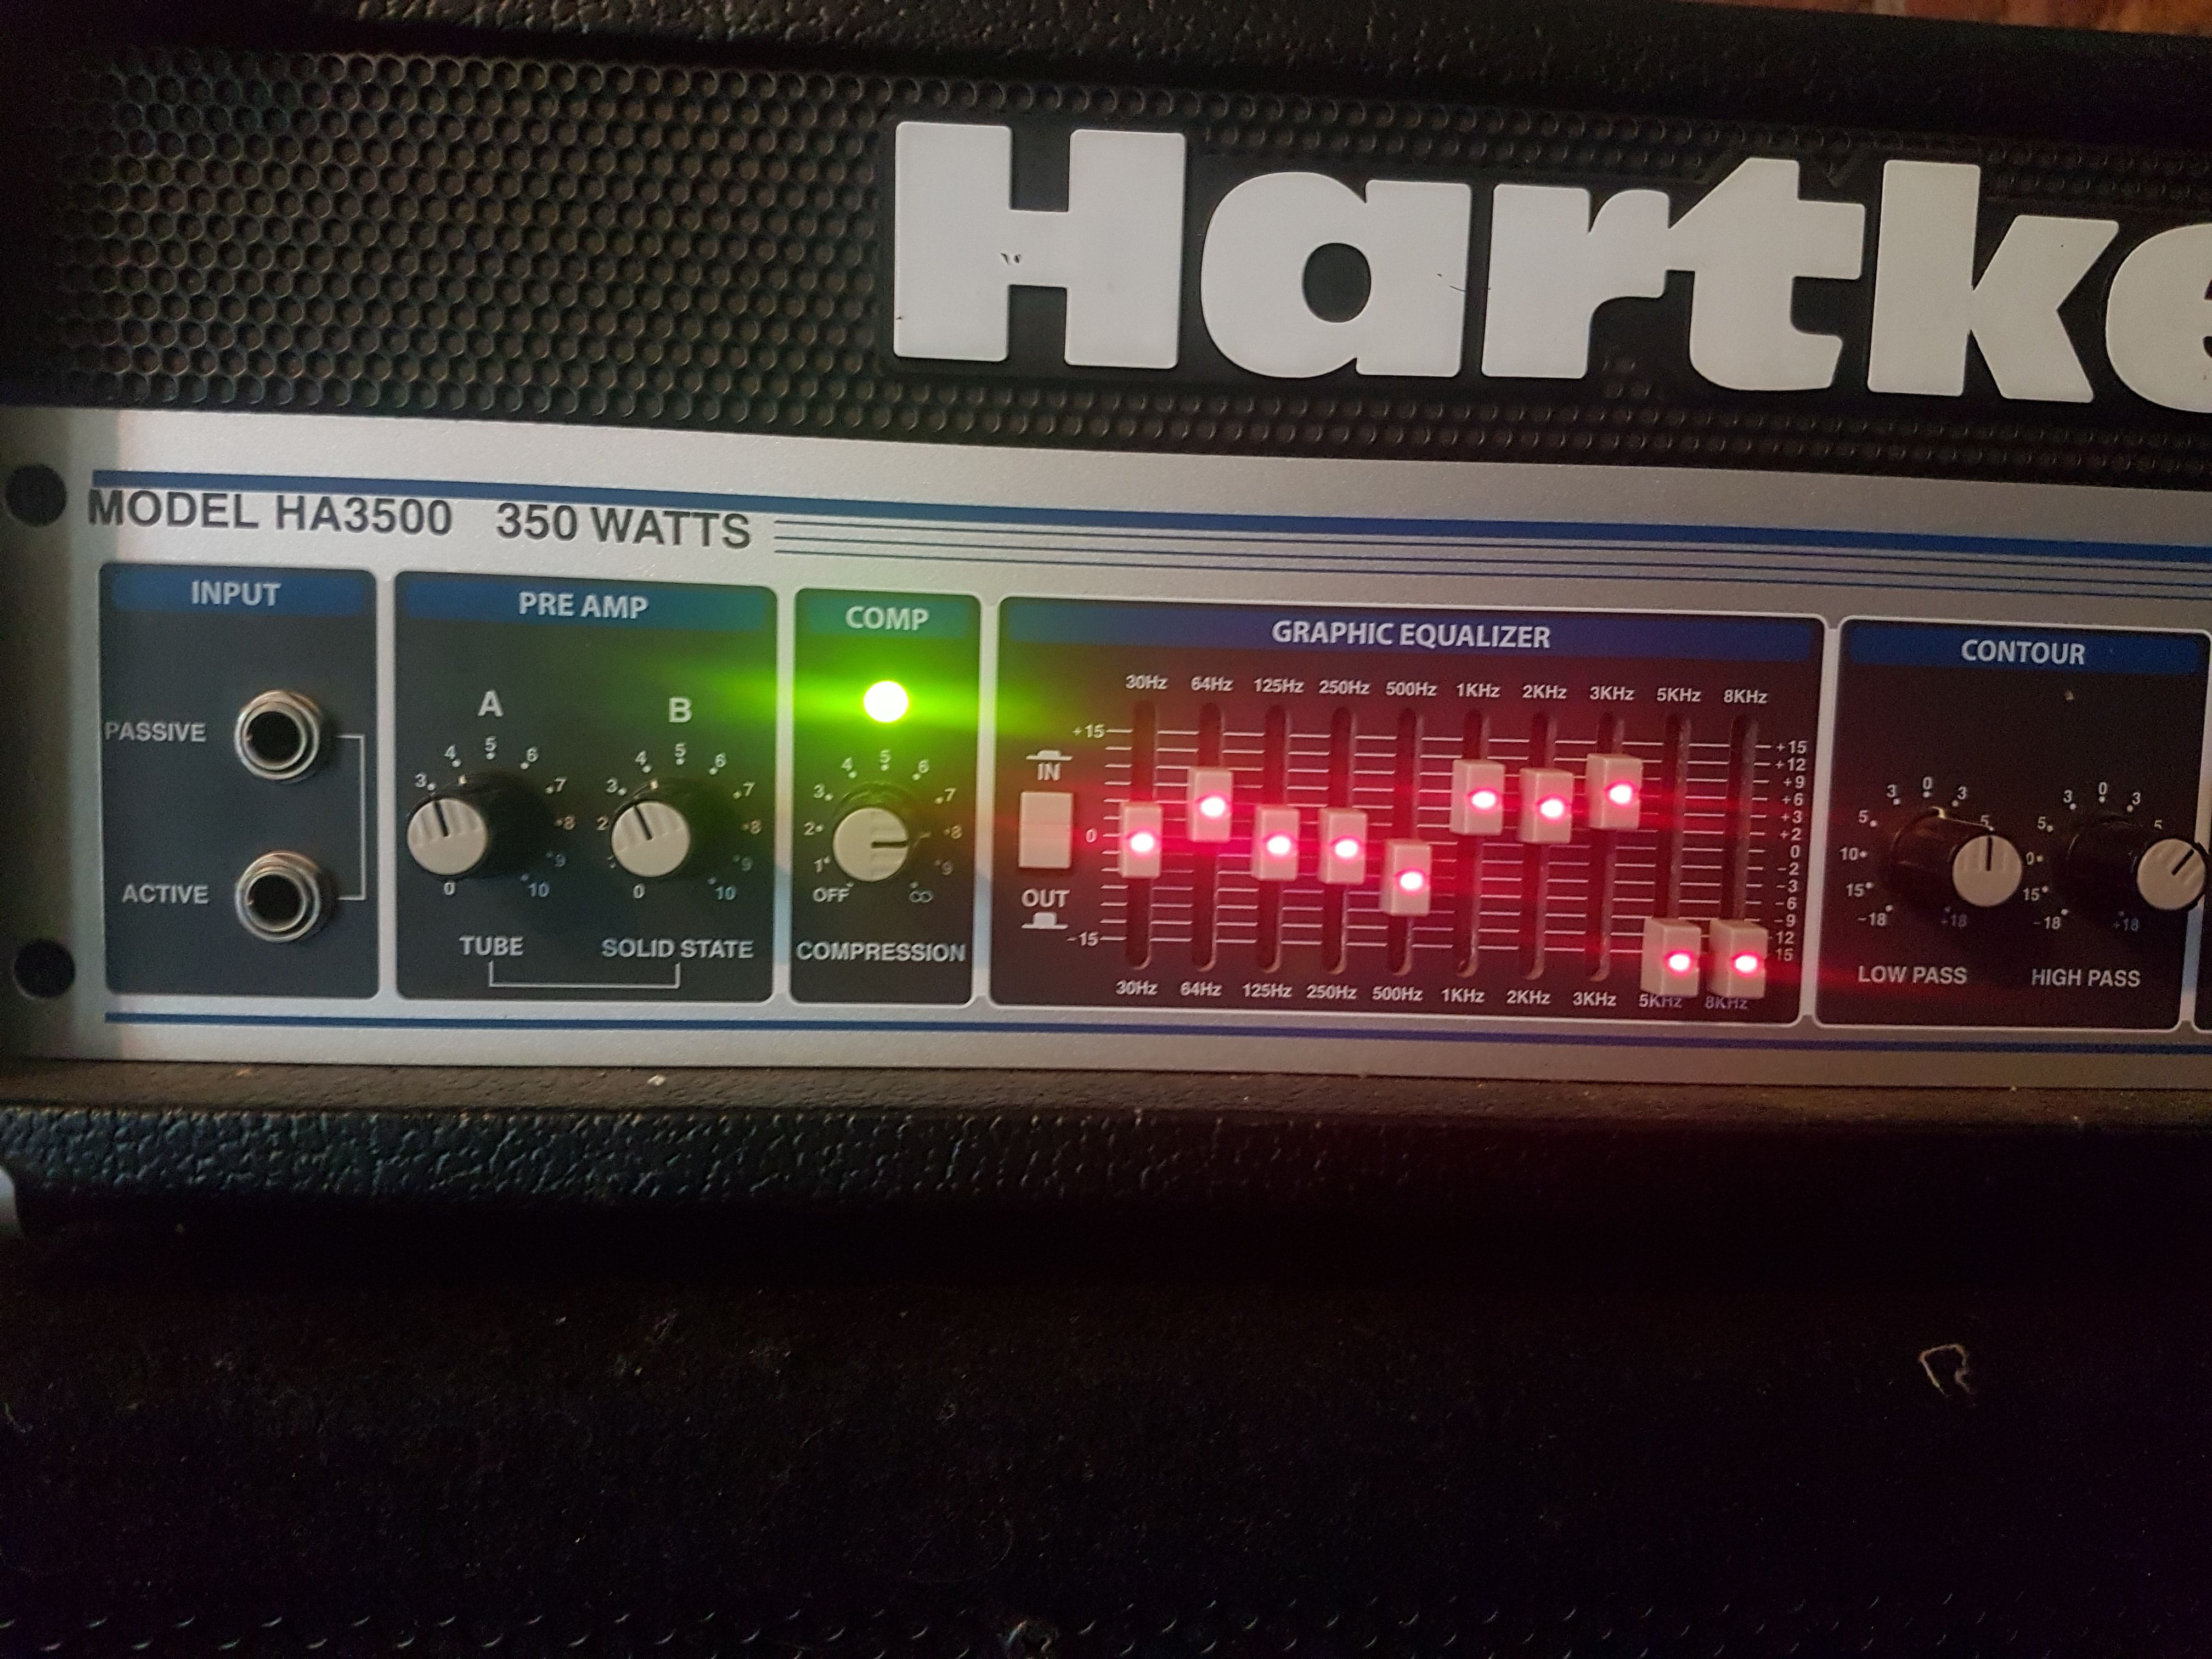
this allowed us to get a really clean sound even before it even gets to the mic. We were able to knock out a whole bunch of impediance buzz straight out the gate by dropping the 5 and 8kHz dials right down to -12dB and knock out some boxiness at around 250 - 500 Hz. this effectively cleaned up the sound a fair bit to save us time in the mixing process later on. A lot of time.
The inbuilt compressor was a great addition too. After we has set our pre eq dials, we stood back from the amp and started playing the main riff for the song and a comfortable page of velocity on the strings. once we found the sweet spot we slowly started to turn up the compressor untill we started to see a little gain reduction (the light going from green to red just slightly). This is a great tip because not a lot of people understand what compression is actually doing. whats actually happening here is when the gain reduction (red light) kicks in, any signal stronger then that is leveled out at that peak while weaker signals will be brought up. Lost? It means that if you accidentally hit a string too lightly or with too much force, the compressor will correct the signal and keep everything to a relatively similar level. This saves you having to retrack a whole bunch of parts beause of fatigue or nerves.
Most would recommend making use of the DI output on the amp as well as micing it up. I would recommend this too, but we didnt use it because not only are we lazy, but... actually i think it was just because we were lazy :/
we are using a pretty decent mic that captures a wide variety of frequency so it wasn't super important but you should just do it. it is always good to have an exact replica of your track in a true clean form. you can use it to reference or even re amp if you are so inclined. I'm not into re-amping, not against it, but not into it but that's a story for another time.
Considering we are working out of a shed on a low budget yada yada yada we used one of the mics from our drum mic set you may remember from the drum blog. the Audix D4. its first and foremost purpose is to mic low toms. so naturally, it is designed to capture a lot of frequency that sits between like 30hz and 8kHz, Exactly where we want to be for bass.
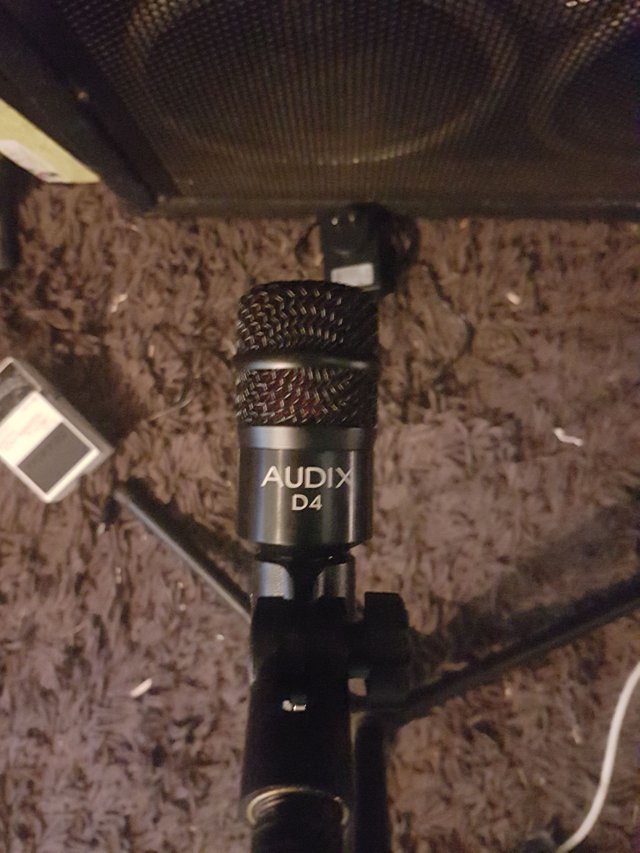
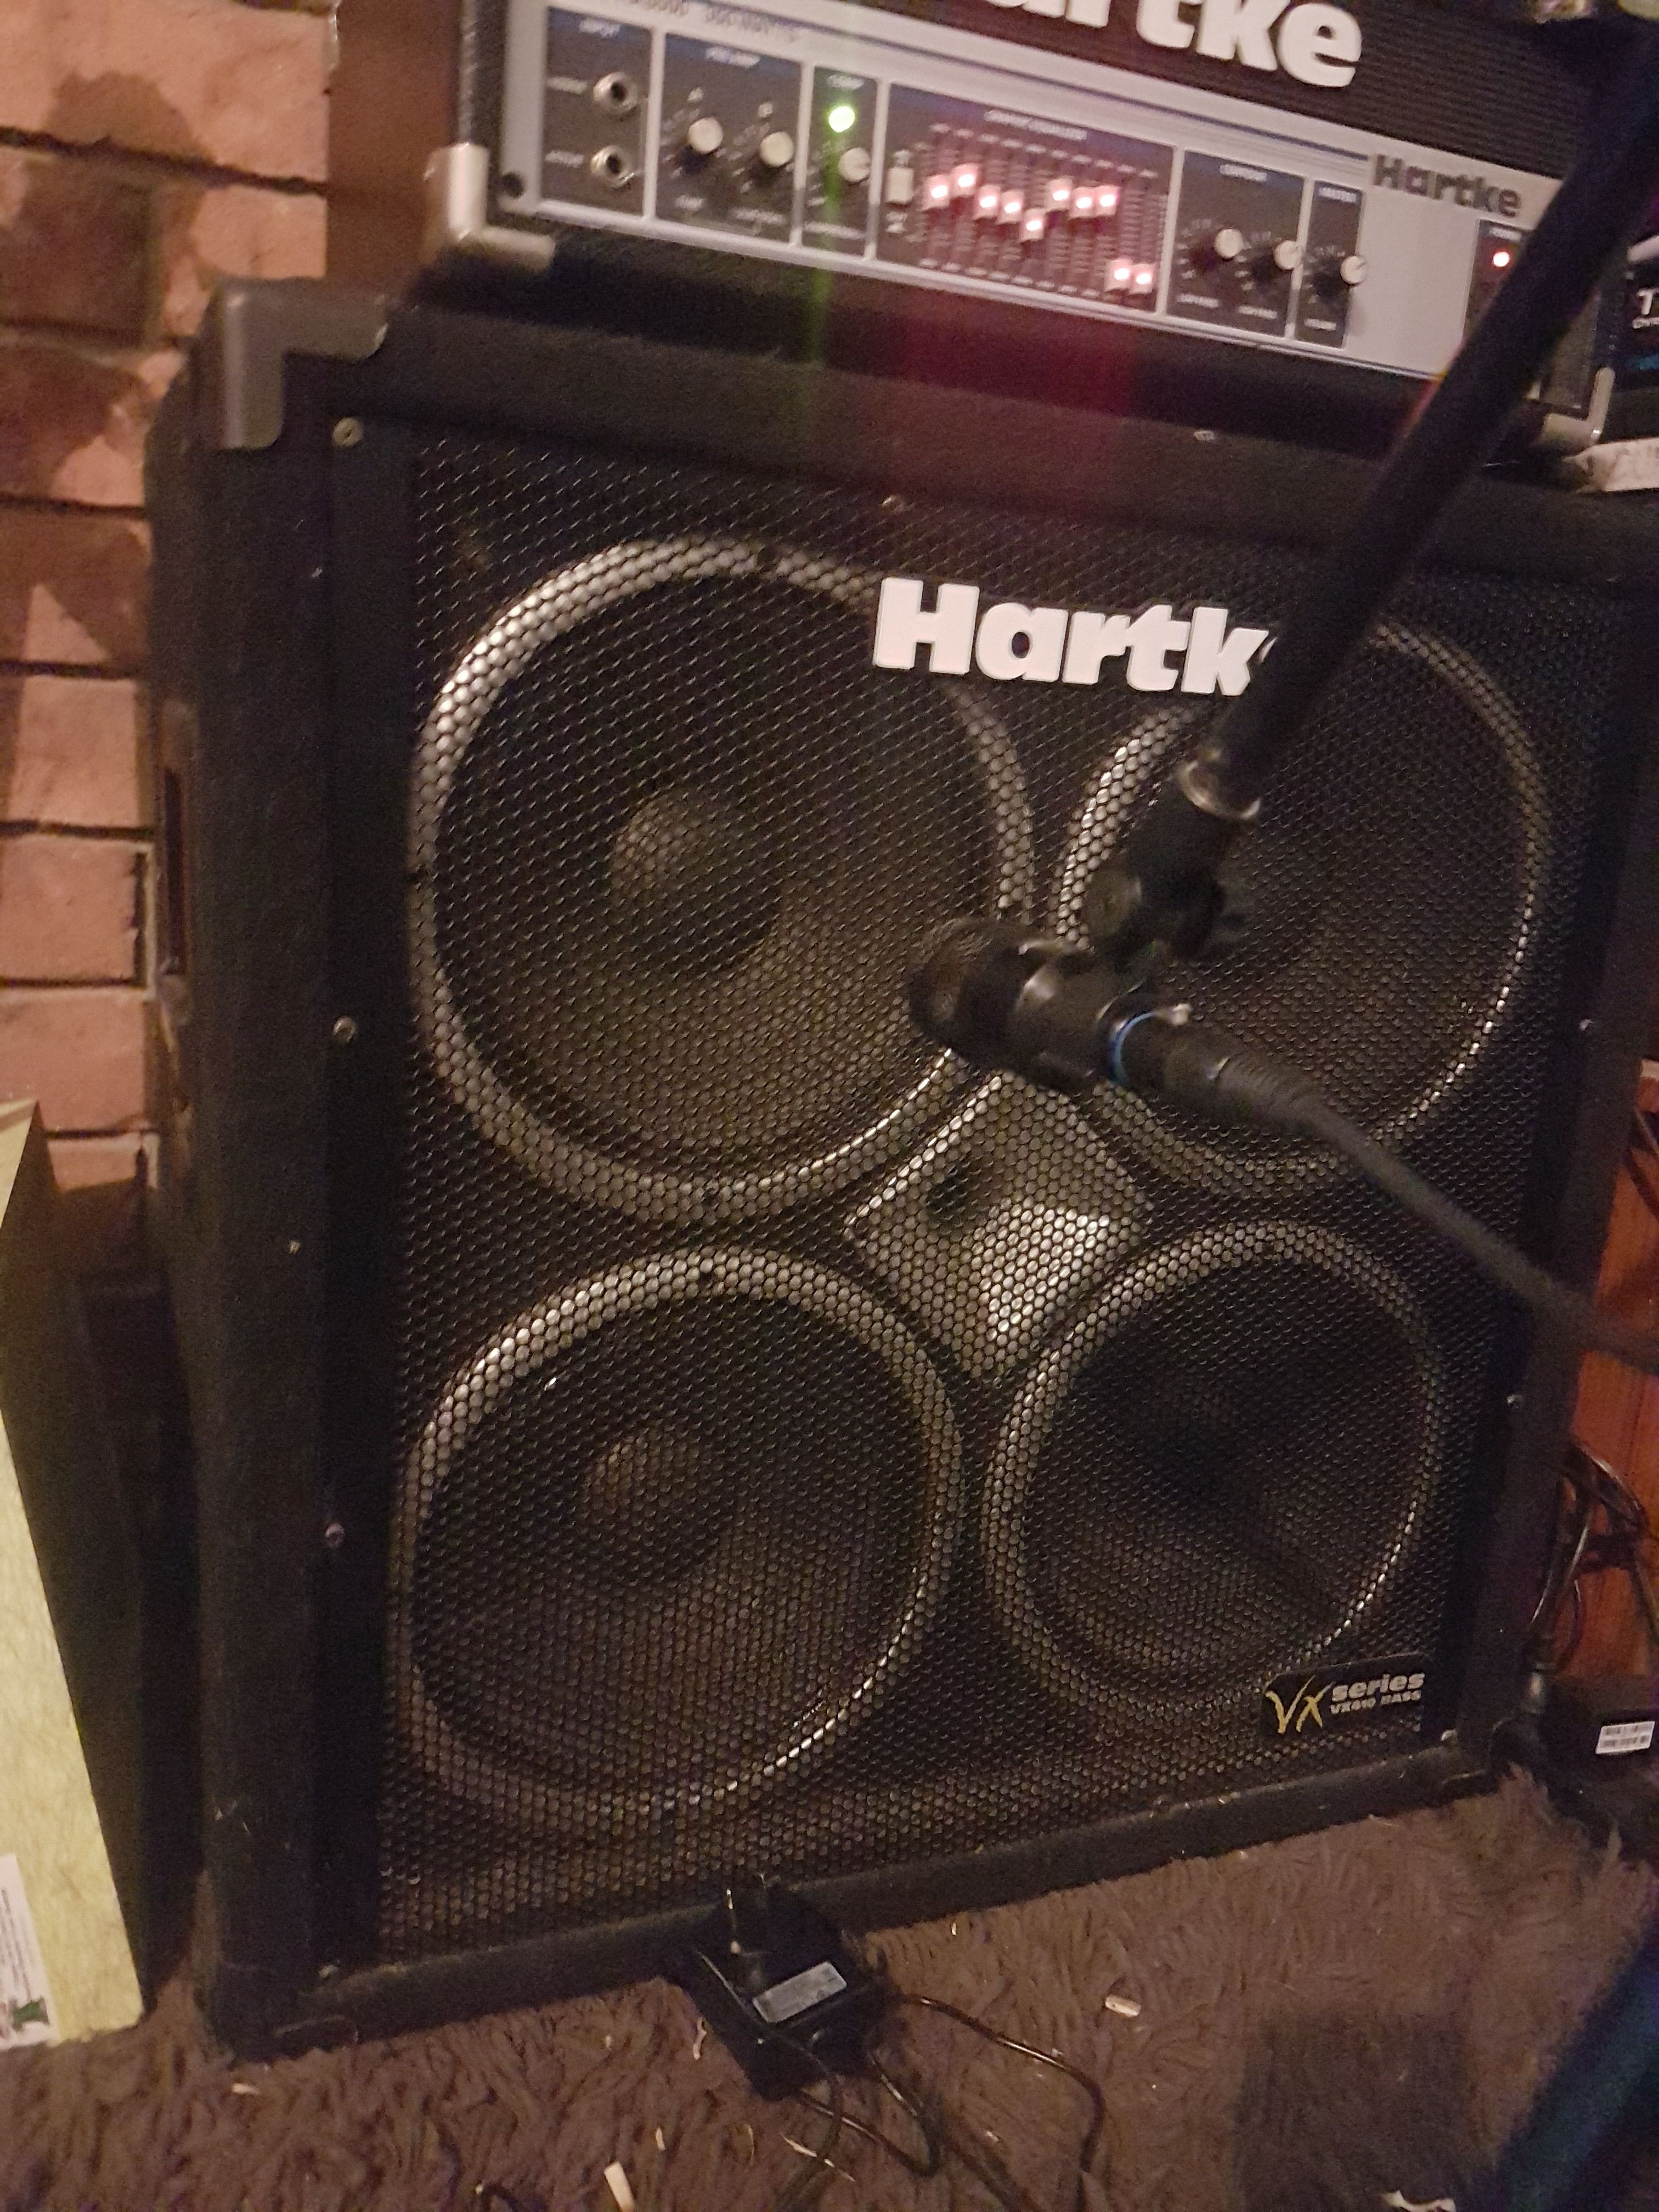
The positioning of the mic also plays a big part in the shape of your tone. In the past we have played with angling the mic to the cone of the speaker and found it effectively softens the transients in the recording...however we almost always tend to lean away from this a prefer a much punchier and direct sound. To attain that we place the mic directly in the center of the cone just under a foot away. so far this has reaped the best benefits across many different songs and has proved golden for recording guitars as well.
When recording a song, rule of thumb for us is record the drum tracks first, followed by bass. We do this because the drum section gives you a good foundation to start recording and the bass compliments that nicely for when other instruments start joining the mix. I would also recommend recording the drums to a click track. But after that use no more click track. your drum track should essentially be the click track from then on in and you will play to the drums rather then the click track giving you a much truer and tighter sound. People will argue that a drummer will not stay 100% in time with the click and playing to the drums rather then the click will give your track a much more raw live feel.
Treeborn tracking a verse.A good little something something to keep in mind is what i call your 'drum kick matrix.' (name made up, not scientifically related) this is essentially the concept of mixing your kick and bass line to sit nicely in similar areas of sound. you will find that a kick drum bass line will want to fight for the same area of frequency. Easiest way around this is to low pass the kick slightly more then the bass and high pass the bass a little more then the kick to give them an equal area next to each other to sit. There is no real right or wrong answer if you are neutralizing the mud between them, i have been told electronic artists like Skrillex actually reverse the bass and kick roles so the bass sits lower and the kick cuts through with a little less umph.
after tracking we threw a few post effects on to get a scope on what it was gonna sound like in the mix. this eneded up being compromised with countless hours of skyrim. When you get your archery to 100 the whole thing is a breeze.
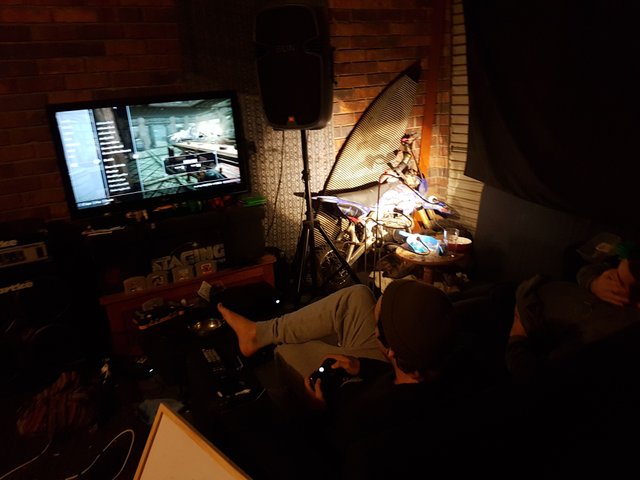
Pitcured: Jordan, Actual Bassist for The Sex Guys.

then back to it, Waves have a whole bunch of great plug ins, almost everything you will ever need. The CLA series is pretty top notch and we use it on alot of things, but especially for baselines. Many people will tell you not to use the presets in such programs because you dont know its fullest intent and what you are manipulating, but if you have a general idea on how to use the dials, it gives you a great starting point for the general direction you want to go with the sound. Remember that professional engineers built those presets with that exact plug in and used it for projects... Are you a professional engineer? Probably not, so who are you to question their skills and guidance...dick.
The last step i want to talk about is more specifically ableton, but most DAW's have some sort of transient alignment technology. Ableton's happens to be the best in my opinion. The warping function allows the DAW to identify all of the transients to the best of its ability so they can be shifted at will. This saves you sooooooooooo much time as you don't have to record takes again and again and again if you only made minor errors. we found a few spots where the bass may have lagged or beatenthe kick to the beat and just move it forward or back a tad. It does wonders for your mix...Serious wonders.
So this pretty much covers what we did with bass. Relatively quick and easy process Skyrim aside. Lastly i'm gonna throw in some helpful tips for while you on the go in the studio:
Tune, all the time, then unplug:
make sure you are tuning before takes and rechecking tuning between takes to keep everything constant. last thing you want is the track sounding flat by the end, or sharp if your intonation is fucked. Also don't have your chromo tuner in your chain when recording. it throws really little high frequency around that are not pleasant and can be avoided with a simple action of unplugging the tuner. Not all tuners will do this but pretty much anything over a year old you at least have a crack.Retake, Retake, retake...Safety takes:
Nailed it first take. Good, Do it again. This time focus on an area that you may have breezed through. Maybe do like 3 or 4 good takes and one extra for 'Safety.' Each time try and focus on a different part of the drums to interact with. Perhaps you keep your beat with the high hats, perhaps you pluck along to the bass kick. Perhaps you dampen everything will fills cut through. be creative. Subtle things that no one will hear and you will look stupid for pointing out =)Don't be afraid to downtune:
This one feels pretty straight forward. Sometimes you can just downtune your top string to reach a lower note then the guitars. You can find some really interesting support from low end for track that can bring a new level of emotion to the sound. I really like this concept. We have one song that we play in the key of C and our bass player tunes down to get the low C and the impact is FUCKING INTENSE CUNT!Good bass players understand simplicity:
There is a time and a place for kick ass fret work on bass lines, but they are scarce and the sooner your bass player learns that the better. You can argue that Flea goes all out, all day. But your not Flea, your not in the chillies and you haven't done enough practice or drugs to compare yourself at that level. So use the formula that regular musicians go with and keep it simple. will out the beat, compliment the guitars, don't be a jerk and wreck it for everyone and when your time comes for that sweet as tricky bass line, make sure you practiced it.Pick VS Fingers:
Both types of playing have different timbre, its up to you to justify why you need that sound. For me, recording should always be done with a pick. its more sharp, crisp and you can back it off with eq if you need. recording with fingers, unless you are badass as hell, usually comes out sounding muffled and lifeless. It is much harder to master a good finger sound then it is a pick. and if your new to bass, i bet you anything your finger style is wrong. So just do it with a pick.
That everything in a nutshell. If i missed anything you are interested in or you want some clarification, leave it in the comments.
Now go get you some!
Treeborn,
The Sex Guys