Motorcycle Progress
Hello.
So, I've been making progress on the ol motorbike. Here's whats up:
Fitting, bending, grinding, cutting, you get the picture. Here I'm mocking up the cross members so I know they fit right before I go get the welder all set up. I used Oxyacetylene torches to heat the metal in a table vice, and bent it with whatever I could find. piers, wrenches, whatever was around. then I cut it to size, and ground it to fit.
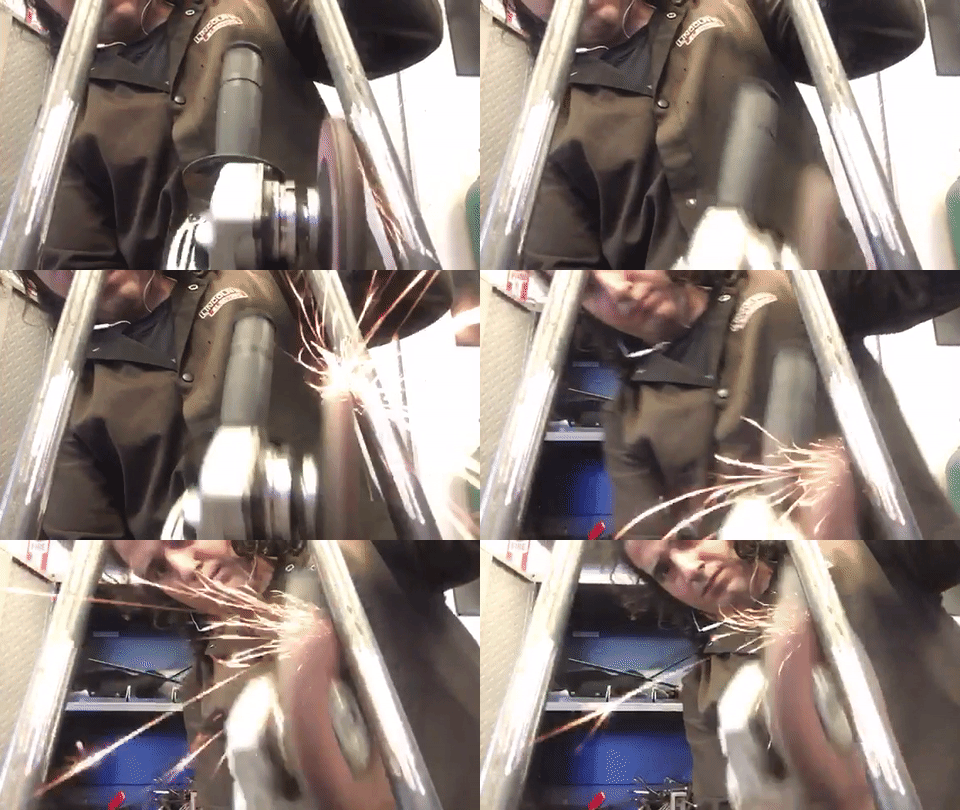
Grinding the scale off. Mill scale is a thin surface layer left on the metal from the foundry where it was rolled into form. its not good for welds, but it help prevent corrosion while your working with the metal. before painting or powder coating, all of it has to be removed. Here I'm just grinding off where I'm welding.
.gif)
Here I'm trying to intimidate the metal before working with it by giving it a pretty solid tough guy stare. Do not skip this step! don't let that "mild steel" think it can push you around. Its even got mild in its name.
.gif)
And presto! badabing badaboom! nothing to it!

On to the Headlight mount!
I used that same bar stock from the sissy bar to make the headlight mount. I had a lot of it, and got it pretty cheap.
I cut two small lengths on a horizontal band saw, and put them in the metal lathe, used a center drill and a drill bit to get a good deep hole in em.

Then I tapped the hole.
I've been trying my damndest to get make every bolt I use the same threading. I want to be able to disassemble my whole bike with like 3 tools. it makes roadside repairs easier. looking around in the dirt for a stupid socket when you're tired and hungry 10000 miles from home sucks.
I had some 3/4 inch bar left over from extending the kickstand, so I bored two holes into it on either end real deep, then tapped those holes, then bored out the threads halfway down, cut off the ends without threads, and welded the threadless part onto the end of the stuff I had previously tapped.
Maybe I should've taken more pictures.
Then I bent the hell out of it. During this whole time, I was getting annoyed, and really didn't have a plan, I was totally winging it. I had a vague Idea in my head how this whole thing would work but hadn't really thought it through. hence the lack of process pictures.
So this is what I ended up with:
IMG_0405.JPG
.gif) !
!
Those bolts on either end thread into that 3/4 bar I was talking about, and when everything is all tightened up, its pretty sturdy, and when its loose, I can tilt it up or down. Neato!
Thanks for checking it out! If you have any suggestions let me know. I'm new to all of this, and totally winging it.
Next steps: making a little aluminum foundry to sandcast parts like the footpegs, somehow making the gas tank have a quick release system, and a handle, so I can pull it off easily and carry it.
Awesome project
Good looking bike. I like the homemade nuts and bolts. Way to go!
The ride is starting to take shape!
Really good progress, and I love the gif style video clips.
I concur that you gotta stare shit down to get shit sorted!
SteemOn buddy!
Nice job, great article.
I follow u, follow me back if u want lot of fun and amazing picture every day.
That sissy bar is so sick!
what a NERRRD. Upvoted.
Great job, Sam!
Building your own motorcycle. What can be cooler than riding a bike that you built yourself? Good job man! Followed!