The Galt Mines - Building the First Node - Part 1

Over the last year and a half, I’ve been making steady progress on constructing the first Galt Mines node.
Meanwhile, my partners and I have been working to expand our project, and we now provide high-quality support to several crypto-systems.
Currently our primary focus is the Komodo Platform. We also host several other projects and are open to supporting additional ones.
This is the first of what will be a large network of such sites, acting as the distributed hosting platform for crypto-projects of many types.
Our second facility is planned for Southern Chile, located at Fort Galt near the town of Valdivia. It will perform a synergistic role, also supporting the IT needs of the village. This is a long-term project, as is the community development program.
Let’s dive into the build!

I started off by finding a good location. An ideal spot for this type of facility is a small building in a light-industrial area that is close to fiber-optic lines and power.
For us, this turned out to be a space in a former aircraft hangar.
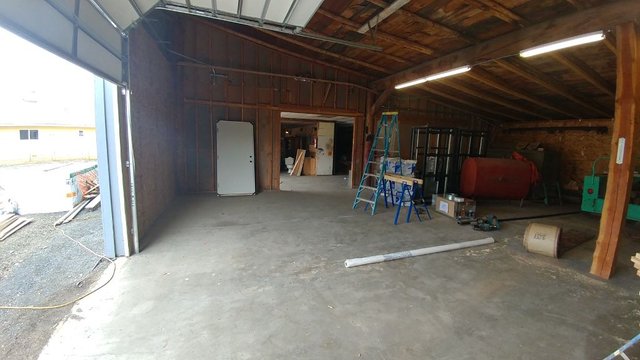
My other main business is as an owner-operator of a Wireless ISP and we had a small transmitter site here so it worked great. Synergy is a crucial part of building a stable infrastructure, and we'll see some of that later in Part 3.

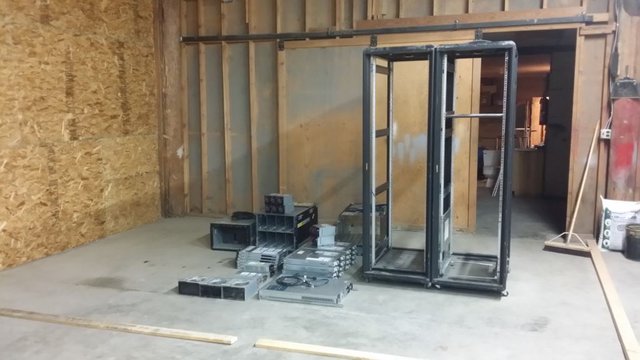
I laid out some equipment to get an idea of the space we'd need

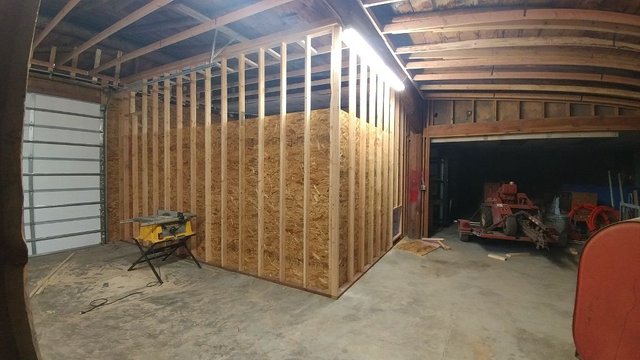
Then the framing started, along with a new exterior door.
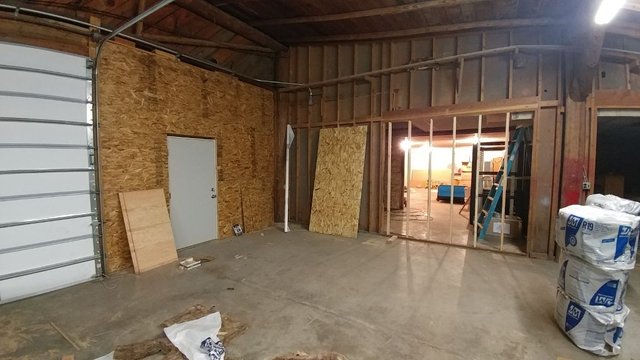

More framing. On the right side wall, you can see an opening for an air intake.

Here's a shot from inside, where you can see the insulation overhead. A stable temperature is VERY IMPORTANT. Temperature changes create humidity swings, which can generate a static electric charge on surfaces in the room. 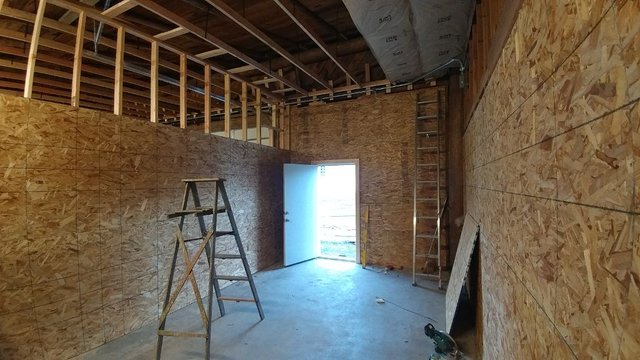

The room is all framed in! Now it's dark in there, so we need some power and lighting!
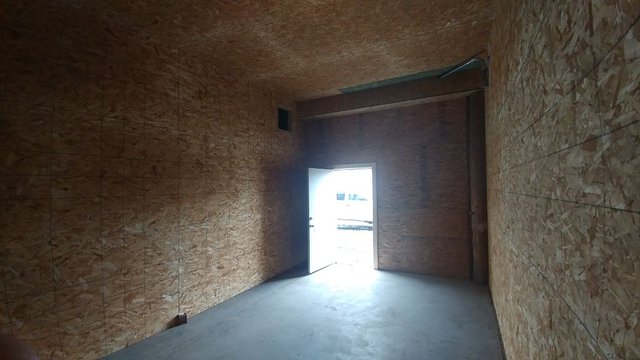

The building currently has a 200A 240VAC service, and we installed a 100A circuit into the room. Lights!
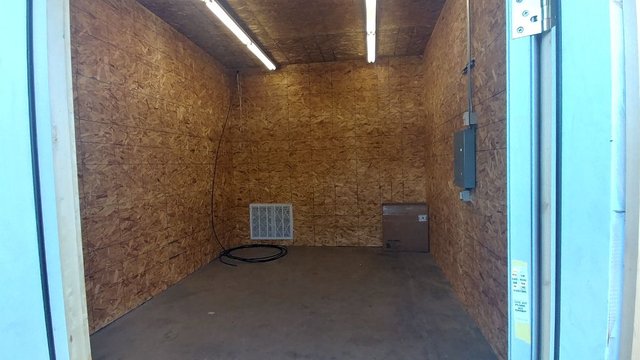
You can also see the air intake with a HEPA filter installed.

With lights in, we can start painting! Two coats of anti-mold "killz" paint, then two coats of semi-gloss to reflect light well.
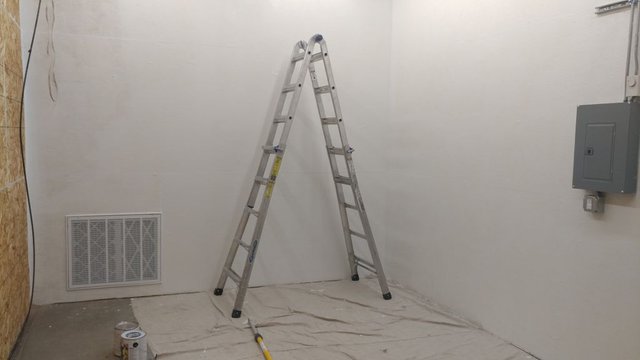

More painting....you can also see how I've caulked all the seams on the wall board to help seal the wall. Also the exhaust fan up in the corner to pull hot air from the room.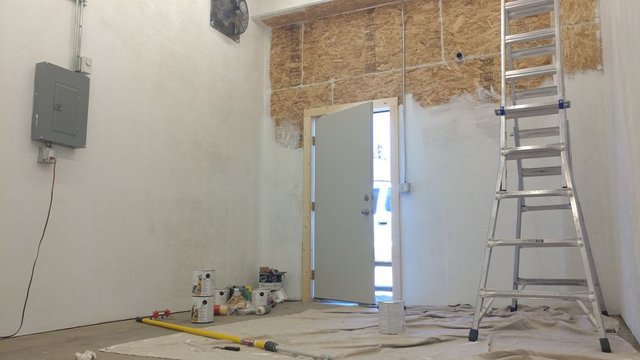

On the power circuit, we installed a TVSS (Transient Voltage Surge Suppressor) which will VERY RAPIDLY react to prevent any surges from coming in via our AC supply.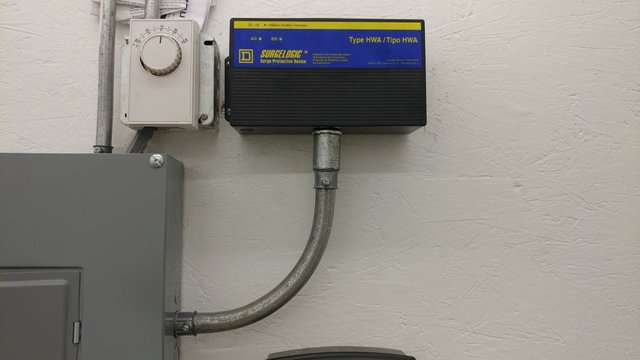 You can also see the vent fan thermostat just above the panel.

The room is all painted, so now we can begin installing the 2nd cooling system.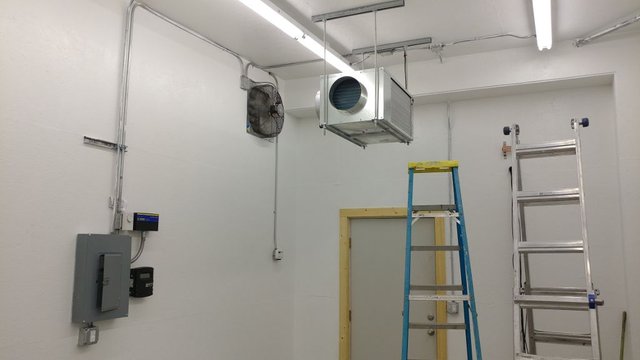 A MovinCool CM12 AC Unit!

That's enough scrolling for now, let's break it up a bit!
Click here for Part 2