The Galt Mines - Building the FIrst Node - Part 3


So we've had a good look at the room build-out.
Let's examine what's been going on outside!
As I mentioned earlier, when you have the chance for synergy by combining multiple functions into one set of infrastructure it's worth considering.
The combined efforts can gain resilience, enabling consistent performance even in low cash-flow periods.
My other main business is as an owner-operator of a Wireless ISP, and we had an old relay site here. It was one of our first sites, a 12M utility pole with a few radios on it. That was 8 years ago, and we've grown quite a bit. It's time for an upgrade!

We started off by digging a 3M by 3M by 3M hole and setting a fabricated tower support base into it.
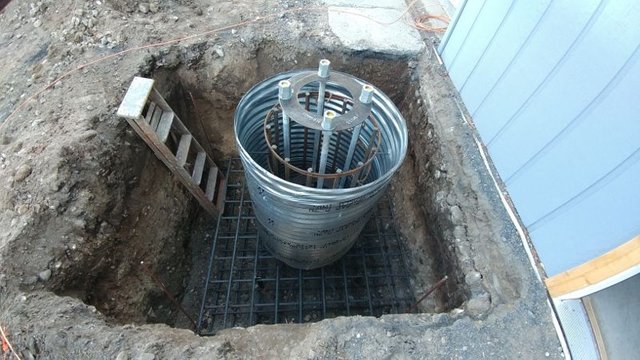
The engineered blueprints for building it were provided by our tower vendor, Valmont.

Here you can see another part of the grounding system, a small halo that encircles the tower base.
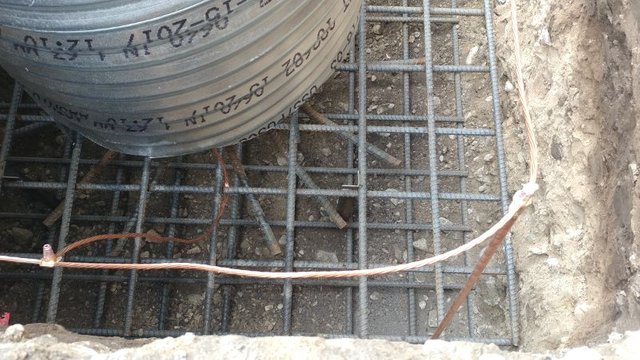
This helps suppress any EM energy pulse resulting from a lightning strike to the tower. For a look at the Cad-Welding process we use to attach rods to cable, click here.

In goes the concrete! This tower will not be tipping over.
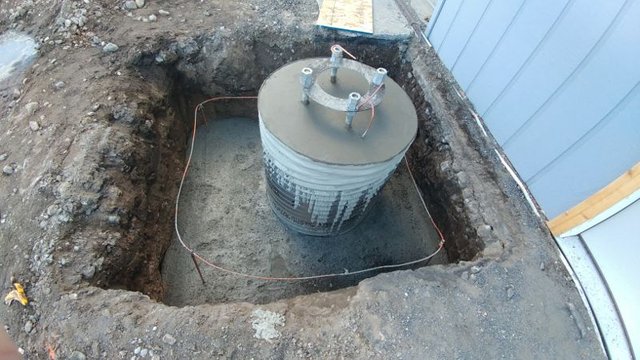
Be sure to use quality concrete, and give it plenty of time to cure.

After the concrete was ready, the dirt is replaced and the pole is set.
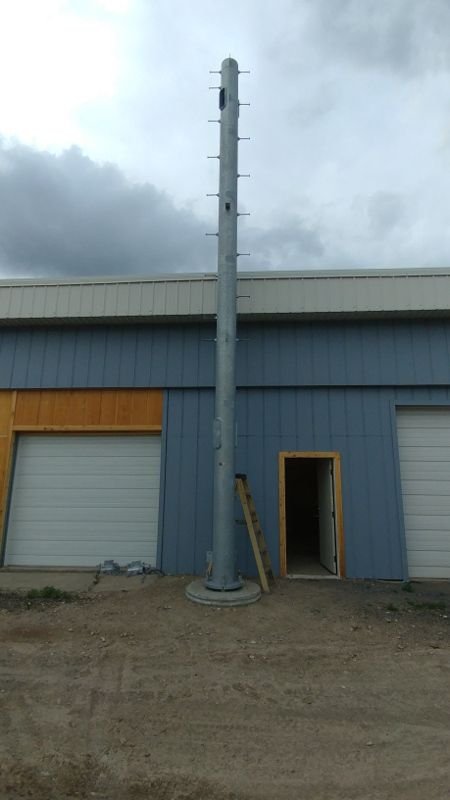
It's a 10M steel monopole from Valmont, with top and bottom cable entrances.

Now it's time to install the antenna mounting hardware.
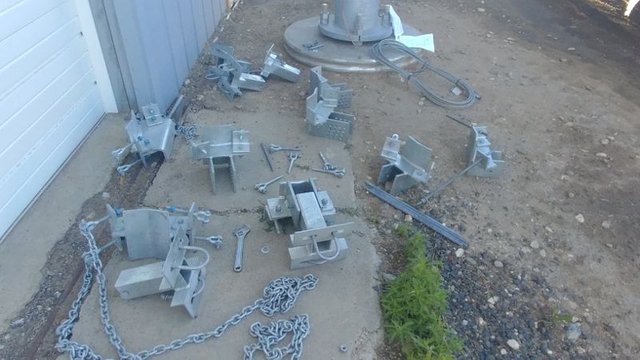
We got these from Sitepro1.com and they're worth the price. Wind forces will bend lesser mounts.

The mounting structures are beginning to take shape!
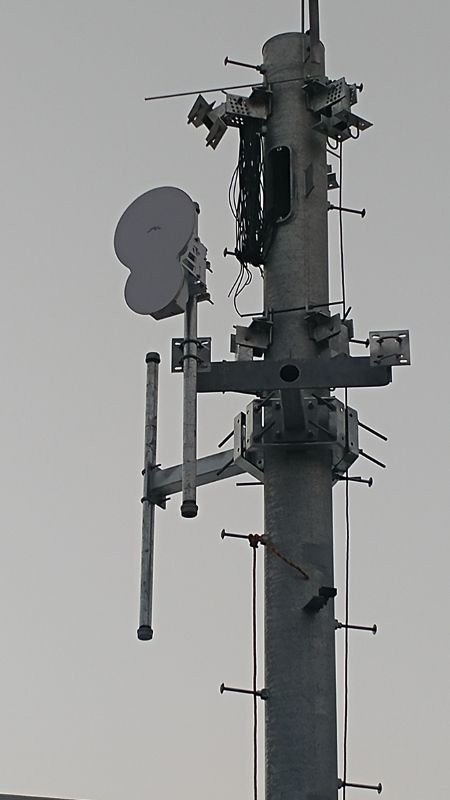
I hung an Airfiber-24 radio unit to get an idea of spacing.

I then performed some surgery on an outdoor-rated NEMA enclosure for use as a cable exit on the top tower port.
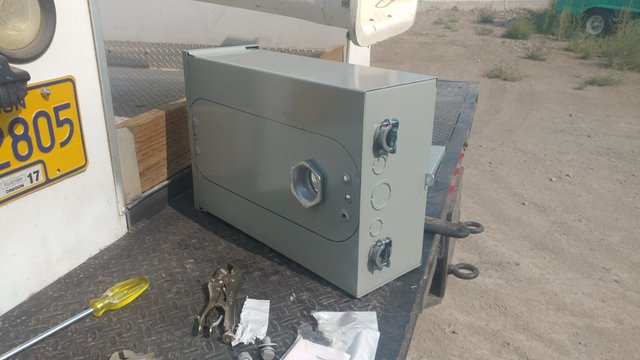
You want rounded edges to avoid sharp metal cutting your cables.

Here's the box installed, with cables routed through the back and out the bottom.
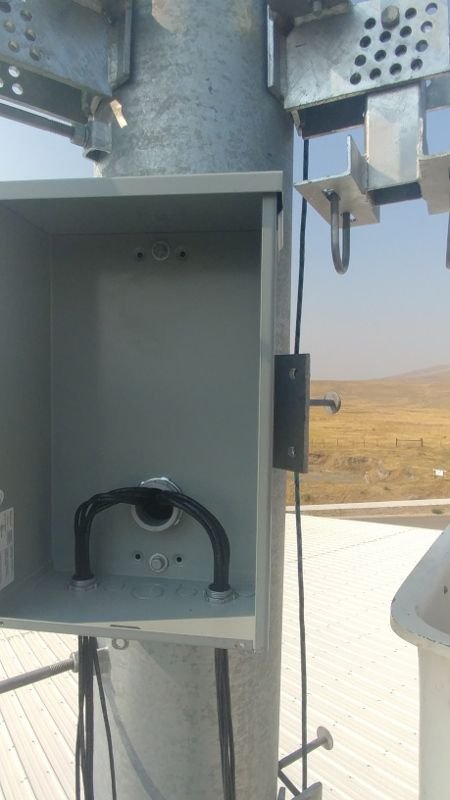

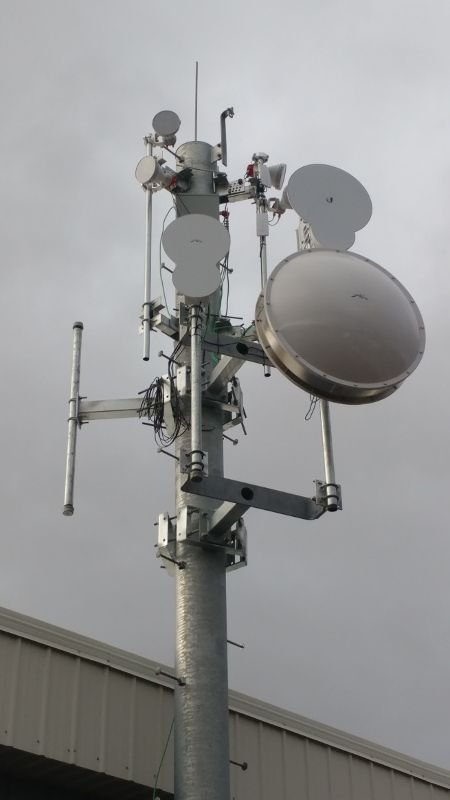
Here's a shot with a few more radio units installed. An Airfiber-24HD unit, a 3-foot antenna with AF-5XHD radio, and several RF-Elements 30-degree horn antennas.
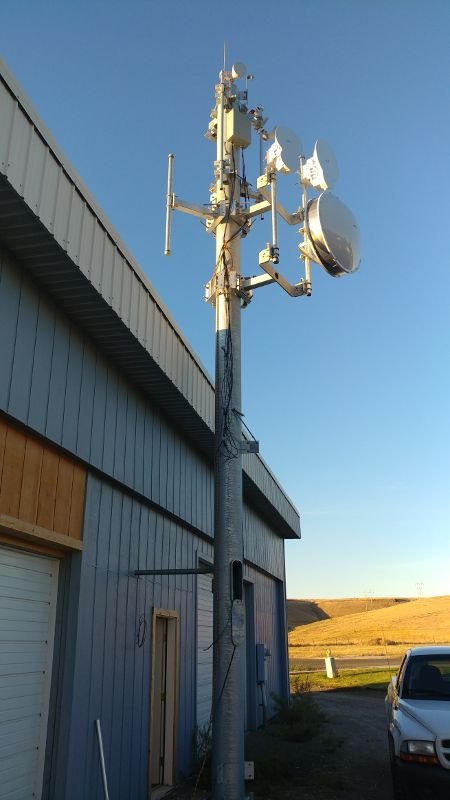
I had to add a 2nd H-support to securely hold the weight of the 3-foot dish.

Here's a closer look at the top support structures.

And here's a final shot for Part 3, work beginning on the trench for our 2nd fiber.
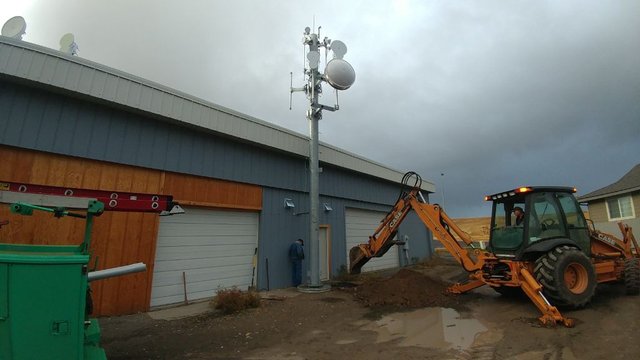
At the same time, we had trenches dug for our grounding laterals.
The next segment might be a while, as I'm waiting for more room hardware to arrive. But this site's up, it's functional and loaded with bandwidth!

Click here for Part 4 (at some point)
Congratulations @thegaltmines! You received a personal award!
You can view your badges on your Steem Board and compare to others on the Steem Ranking
Vote for @Steemitboard as a witness to get one more award and increased upvotes!