A Step Into the Ether pt.2: Evolution of Mining Rig Design (Airflow)
A Step into the Ether, Pt. 2
By starshipcapn
Welcome to part two of my series, we’ll be looking at the first evolution of my mining rig designs. My addiction to mining-rig-building was escalating quickly. This evolution was based on the necessity for airflow, while the evolution coming in part 3 was designed to scale up operations while simultaneously cutting costs.
About two weeks after I had started mining, California’s Spring weather intensified, revealing some of the weaknesses of my first mining rig’s design. While the cube that I had built, proved to be a safe and stable place to house my mining rig, I realized that it was lacking in efficiency, and left graphics cards in the corners running hotter than their counterparts.
I began to brainstorm secure ways to mount my GPUs, that would allow for more airflow, without compromising the frame’s structural integrity. Relying solely on aluminum angle left me hard- pressed to find a solution. I adopted the use of aluminum square tube. While it was more difficult to cut through (still using an angle grinder), it proved to be sturdier, and produced more consistent results.
Note: Aluminum angle was still used for the shelves' surfaces, but not for the majority of the frame. Also, electrical tape can keep you from cutting you hands on sharp aluminum corners.
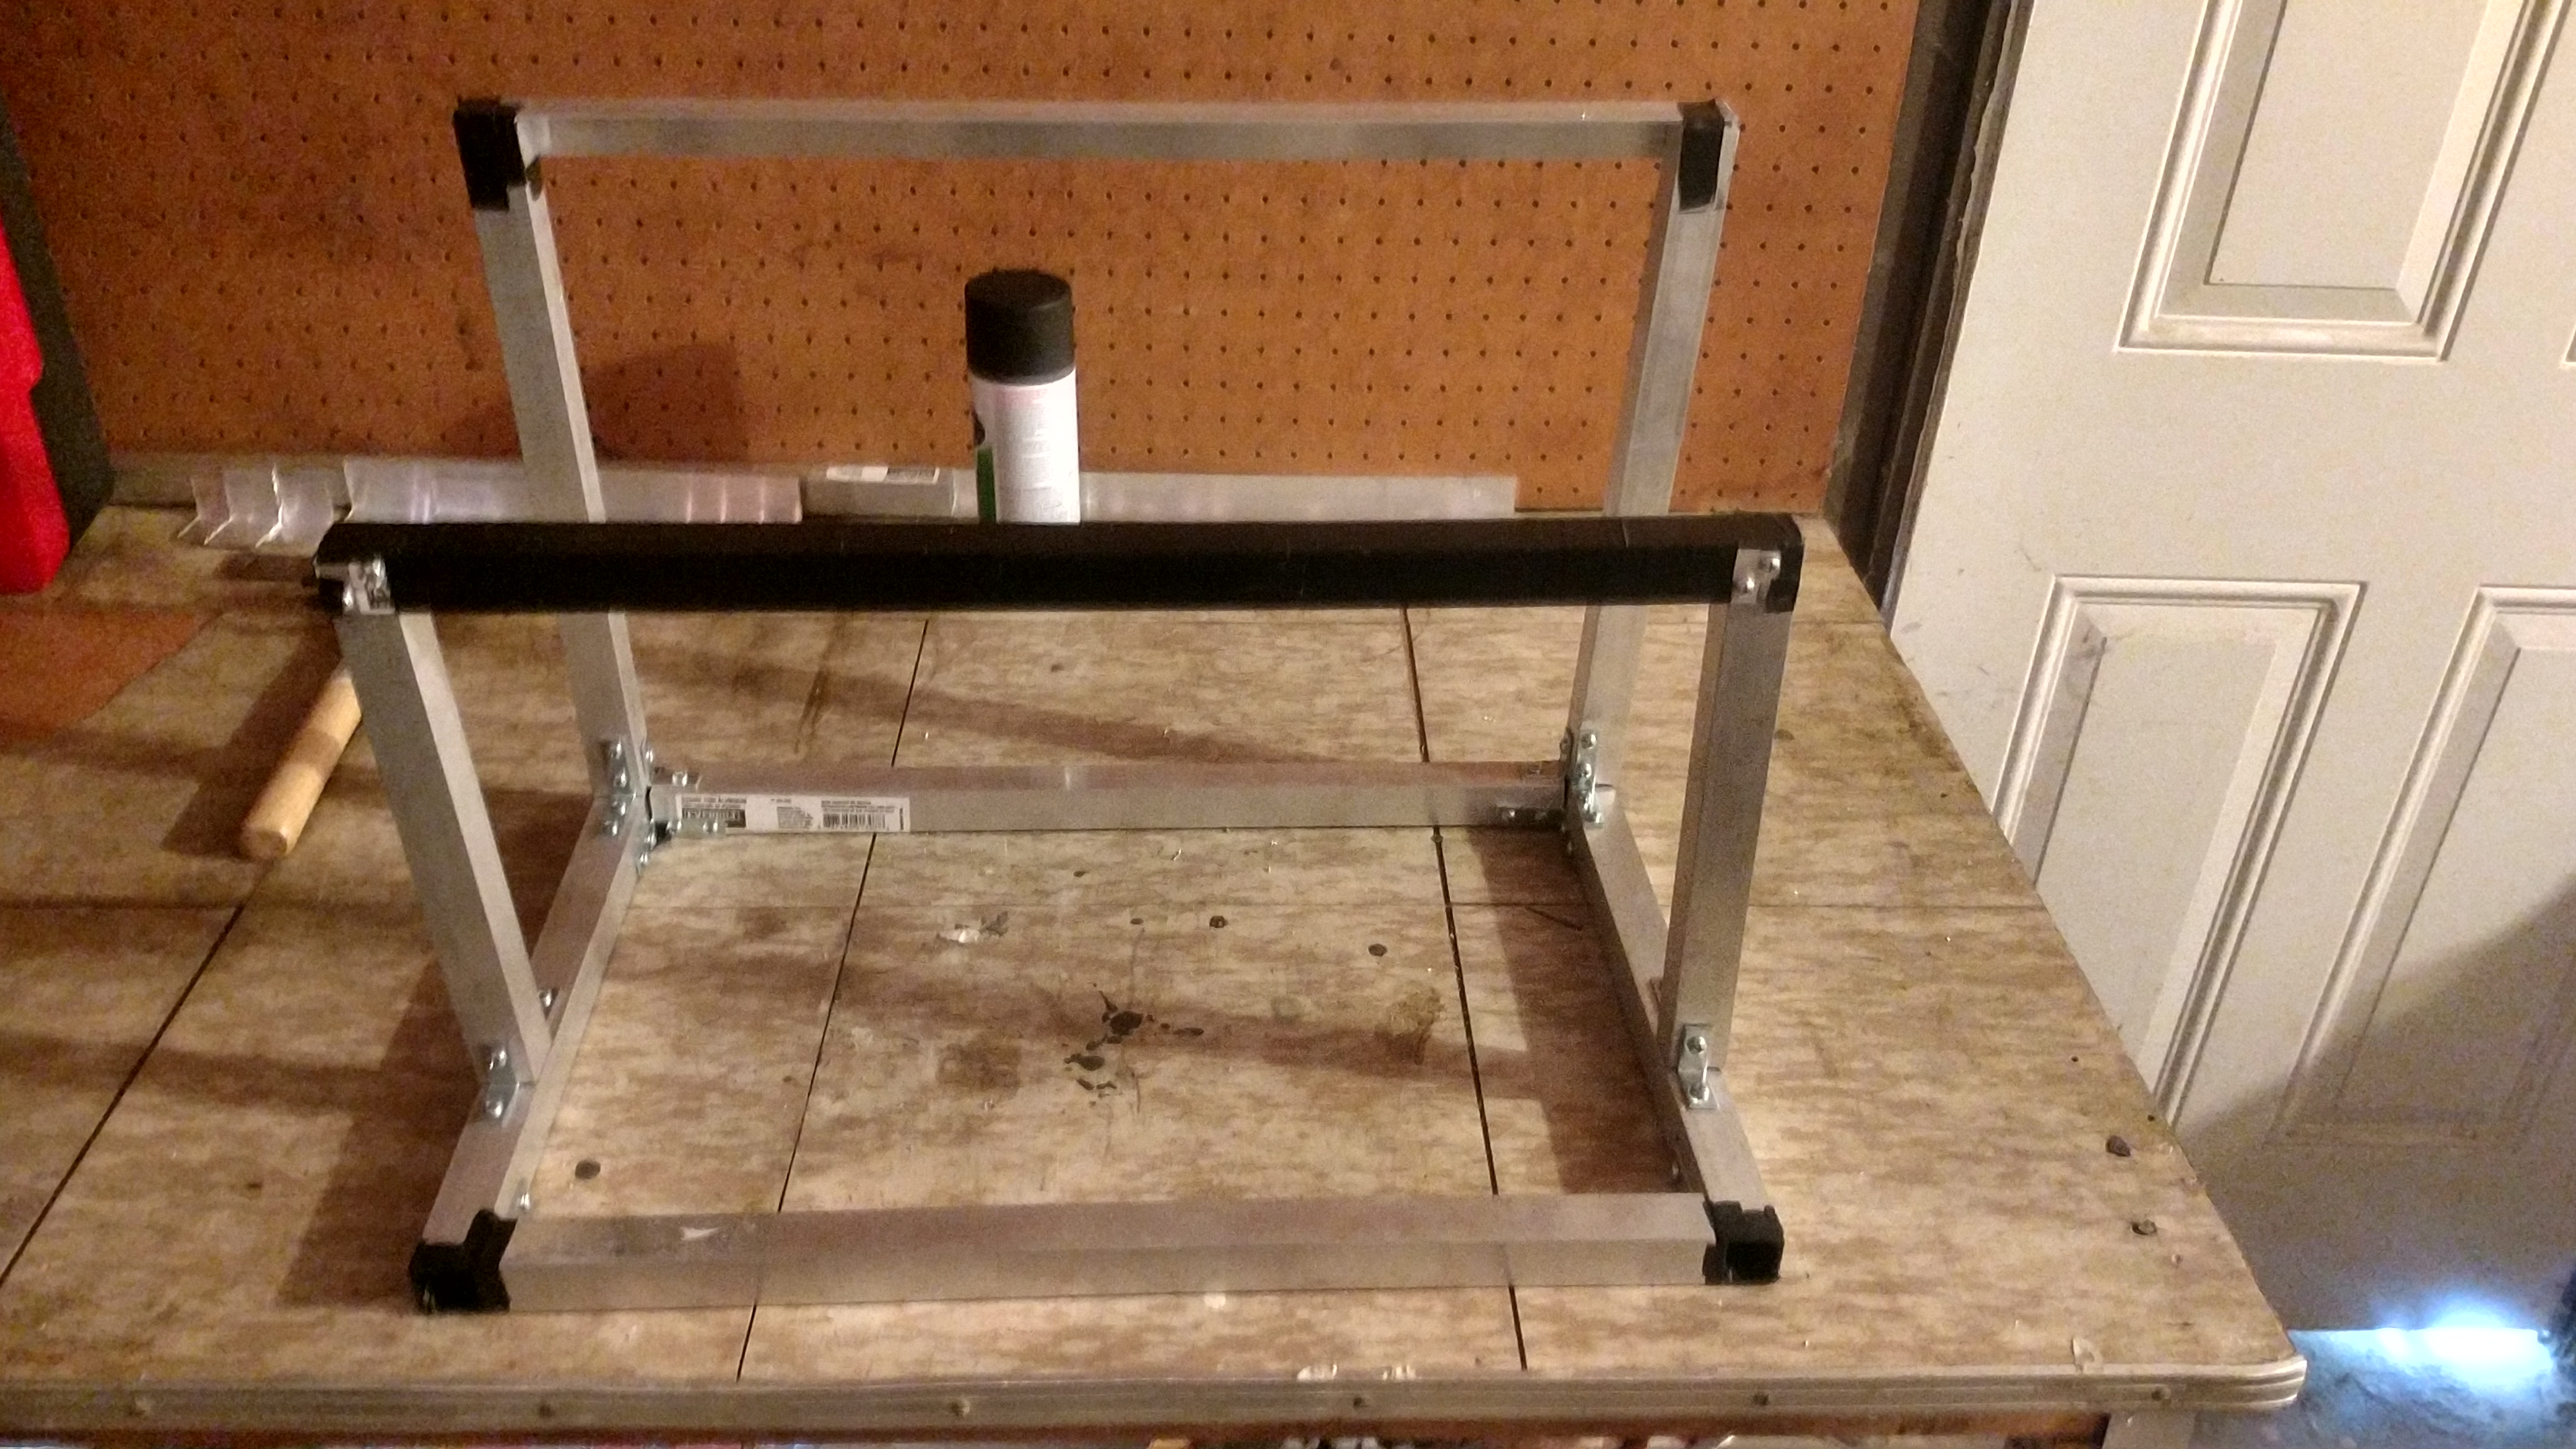
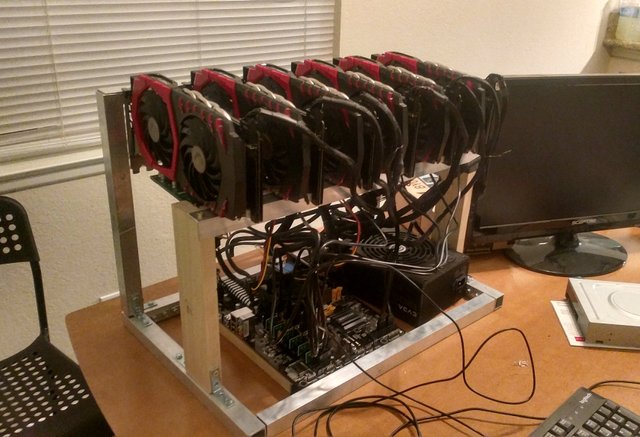
The design of the new frame, took the most crucial components of the first frame (two, sturdy “shelves” for the graphics cards), and built them on a simple and compact base. While the base of this frame proved to be effective, and much better for efficient airflow/cooling capacity, this initial design provided a less-secure resting place for the motherboard. I would recommend that no one secure their motherboard this way, as it could induce flexing, and other damage to your motherboard.
(If you look closely, you can see that the strips of hardwood are housed inside the frame of the rig. This is functional, but not built-to-last, or ideal. Sorry, I don't have better reference pics for the problem I'm describing, but I would just use my second design iteration as a model.)
%20.jpg)
.jpg)
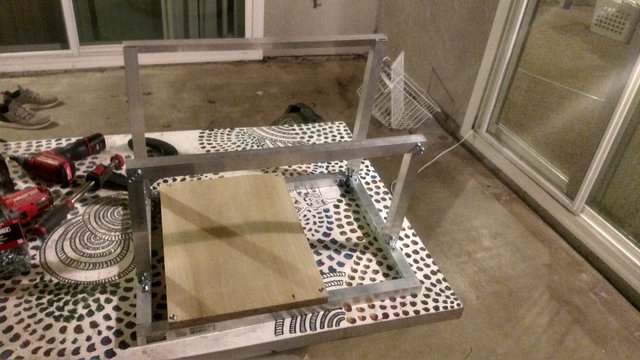
What I recommend instead of suspending your hardwood strips, is to use one, solid motherboard-sized piece for a tray and fix it into place on top of the aluminum square tube. However, I will note that it has been over eight months, and the motherboard still functions 100% in my case.
.jpg)
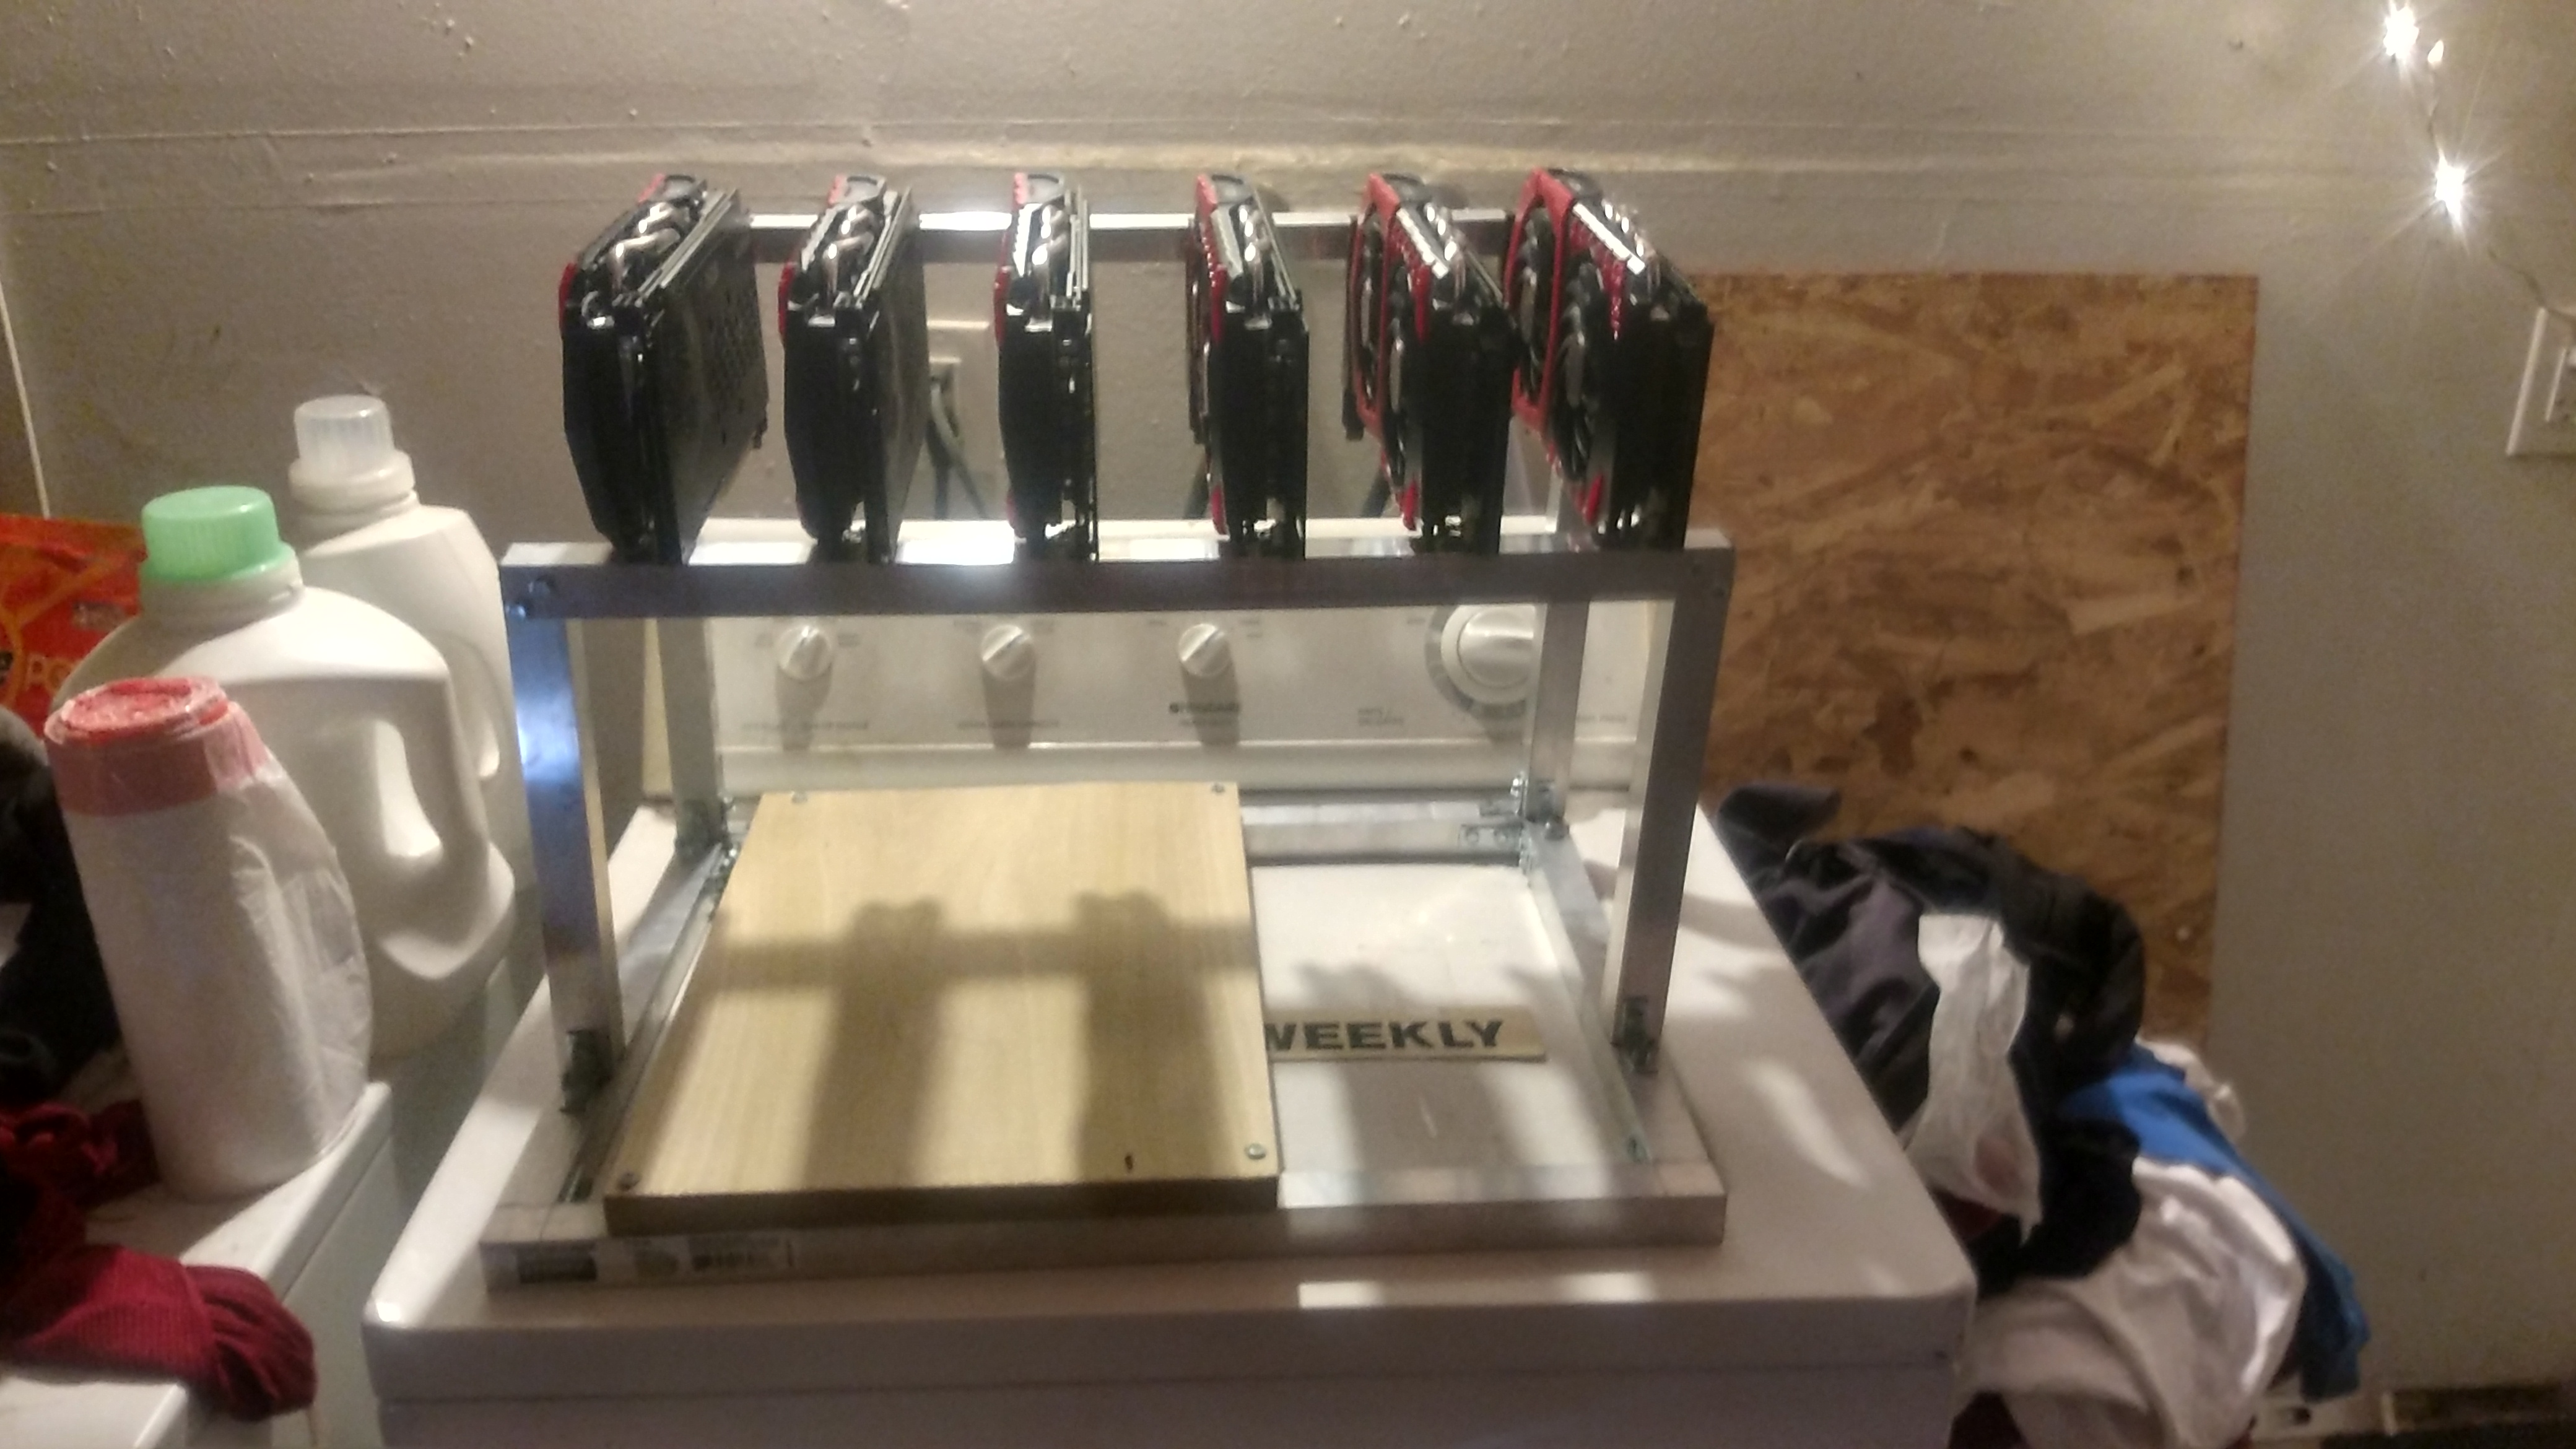
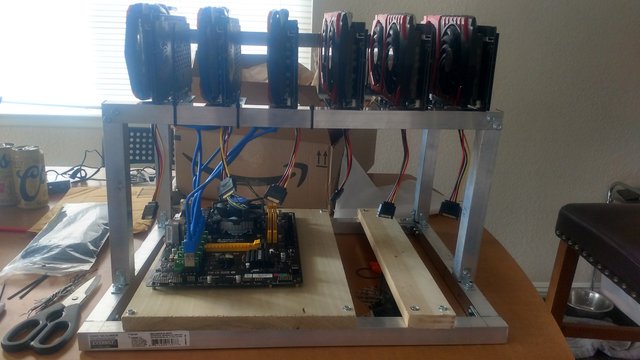
^^ This rig design, is actually one I built for a friend, and he was able to benefit from my own mistakes, I would suggest you do the same.
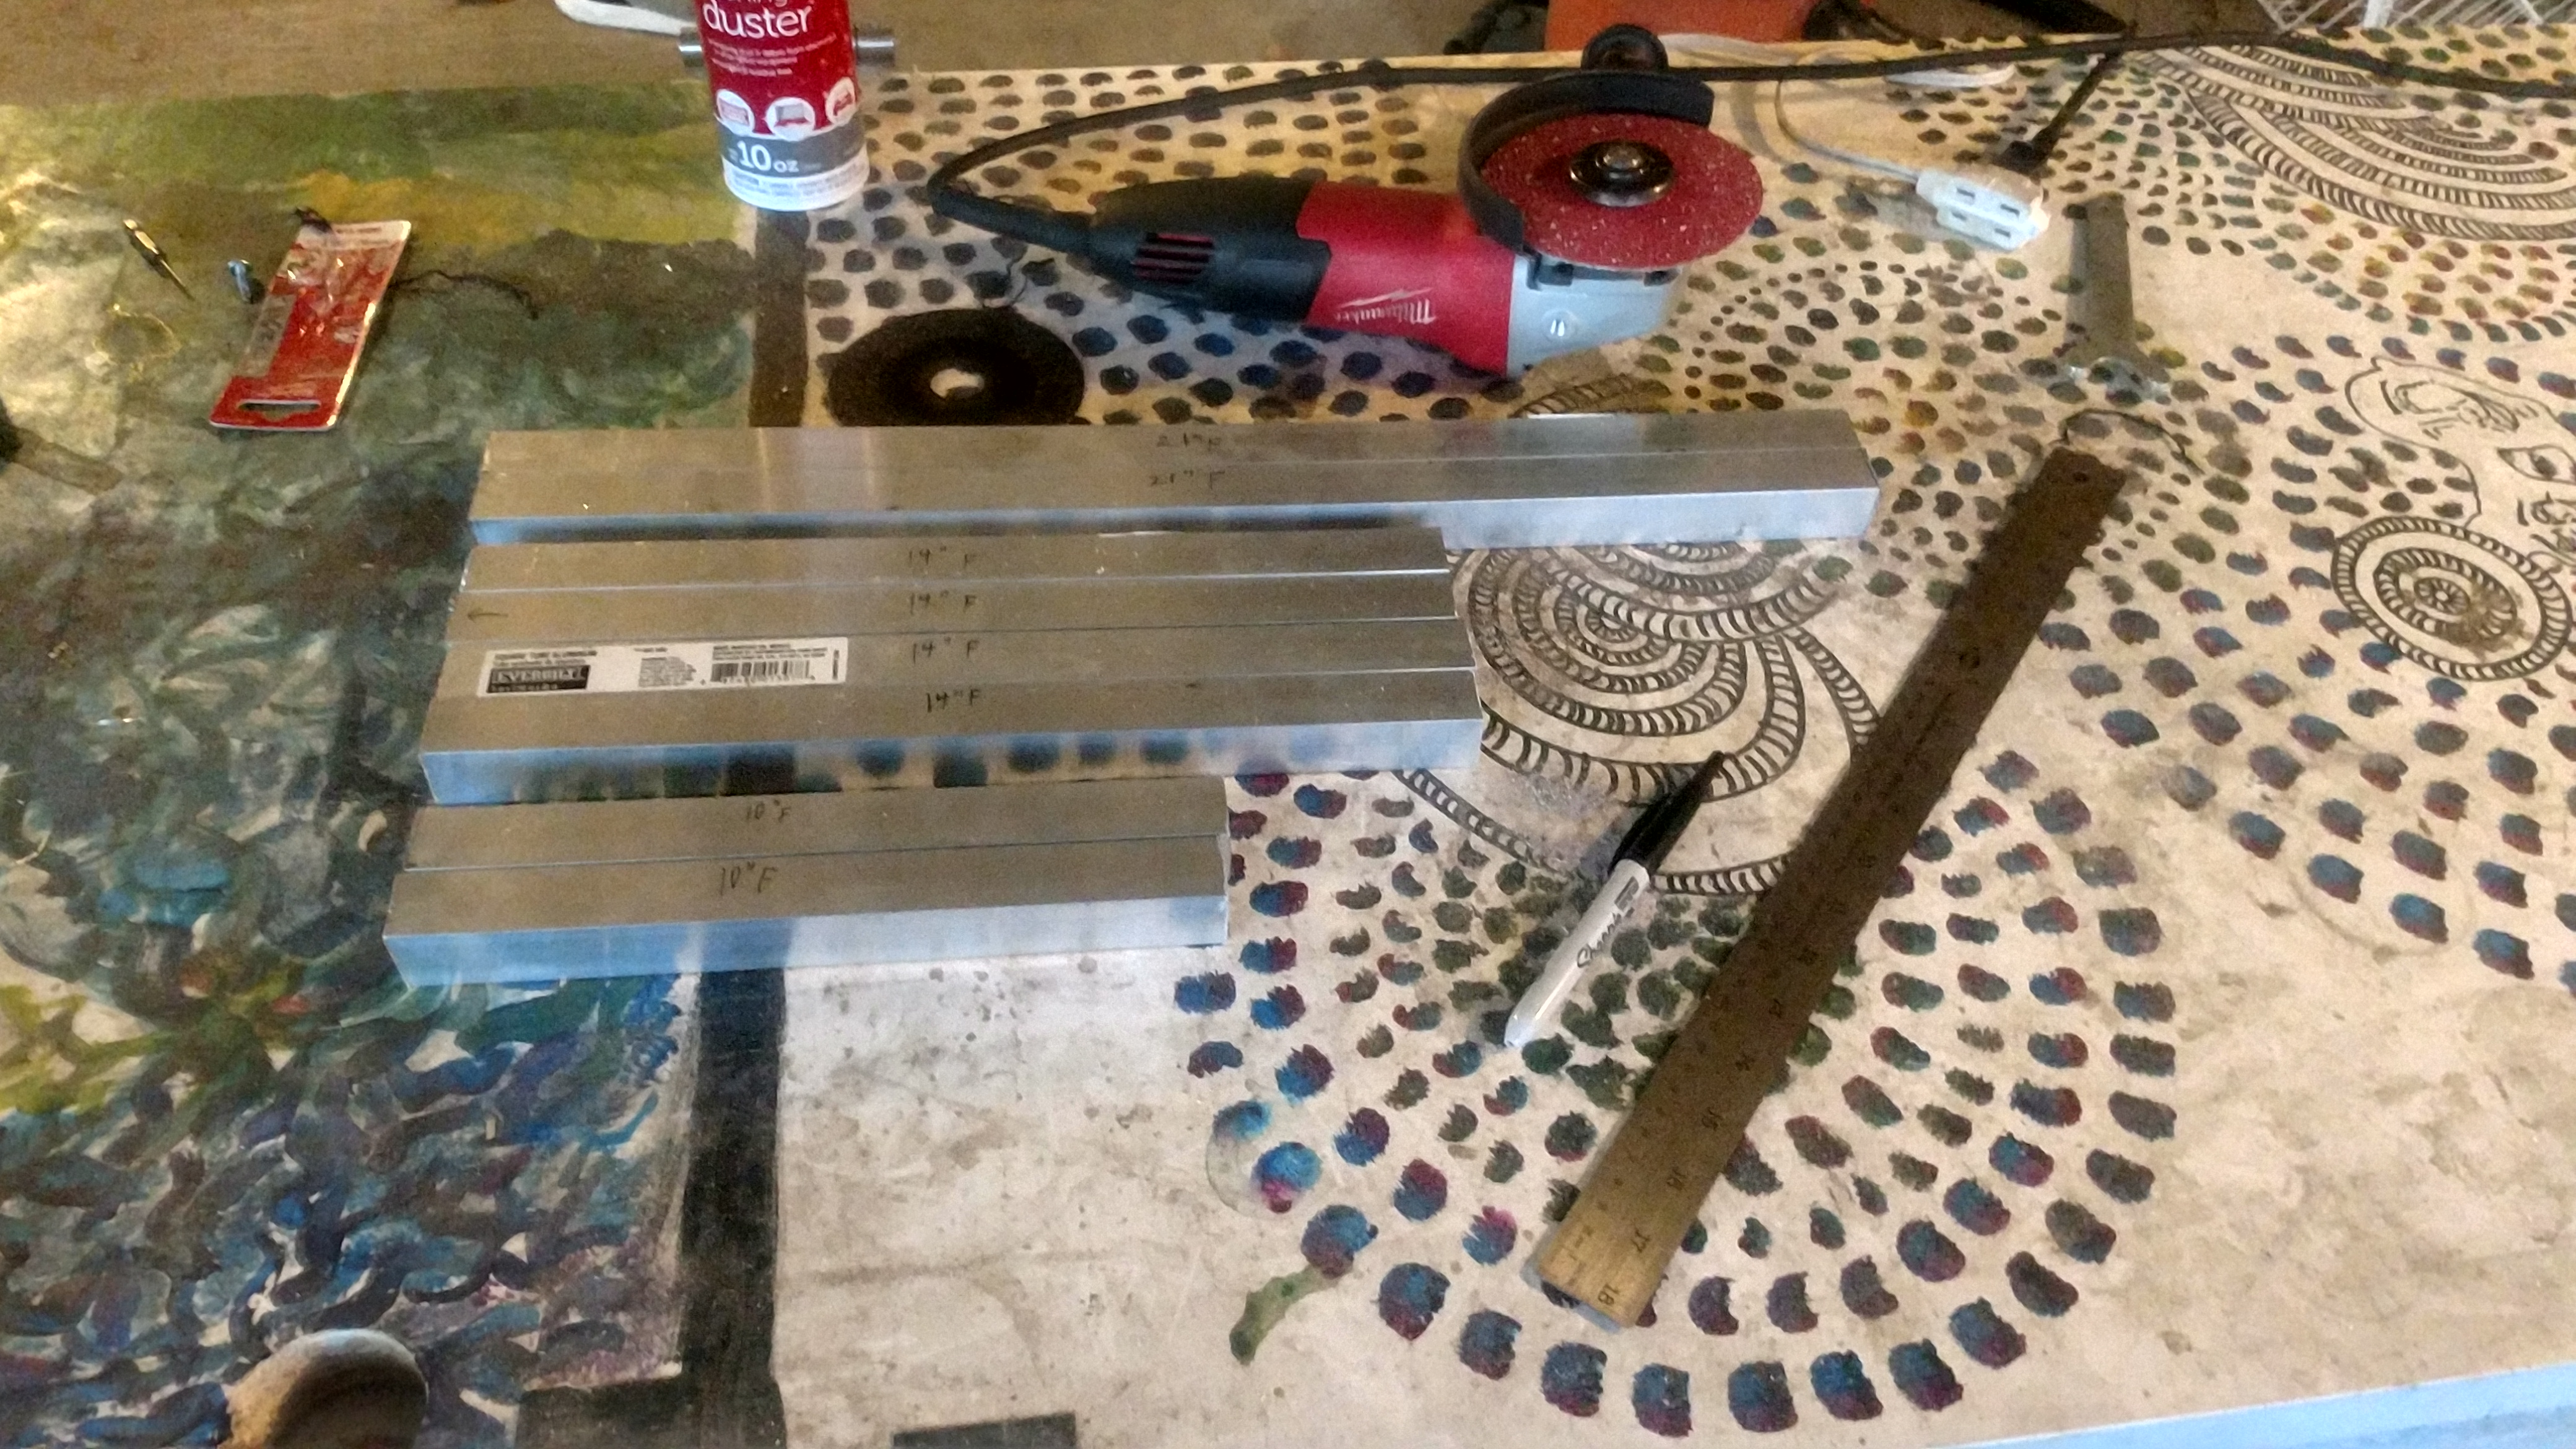
(Measure twice, cut once)
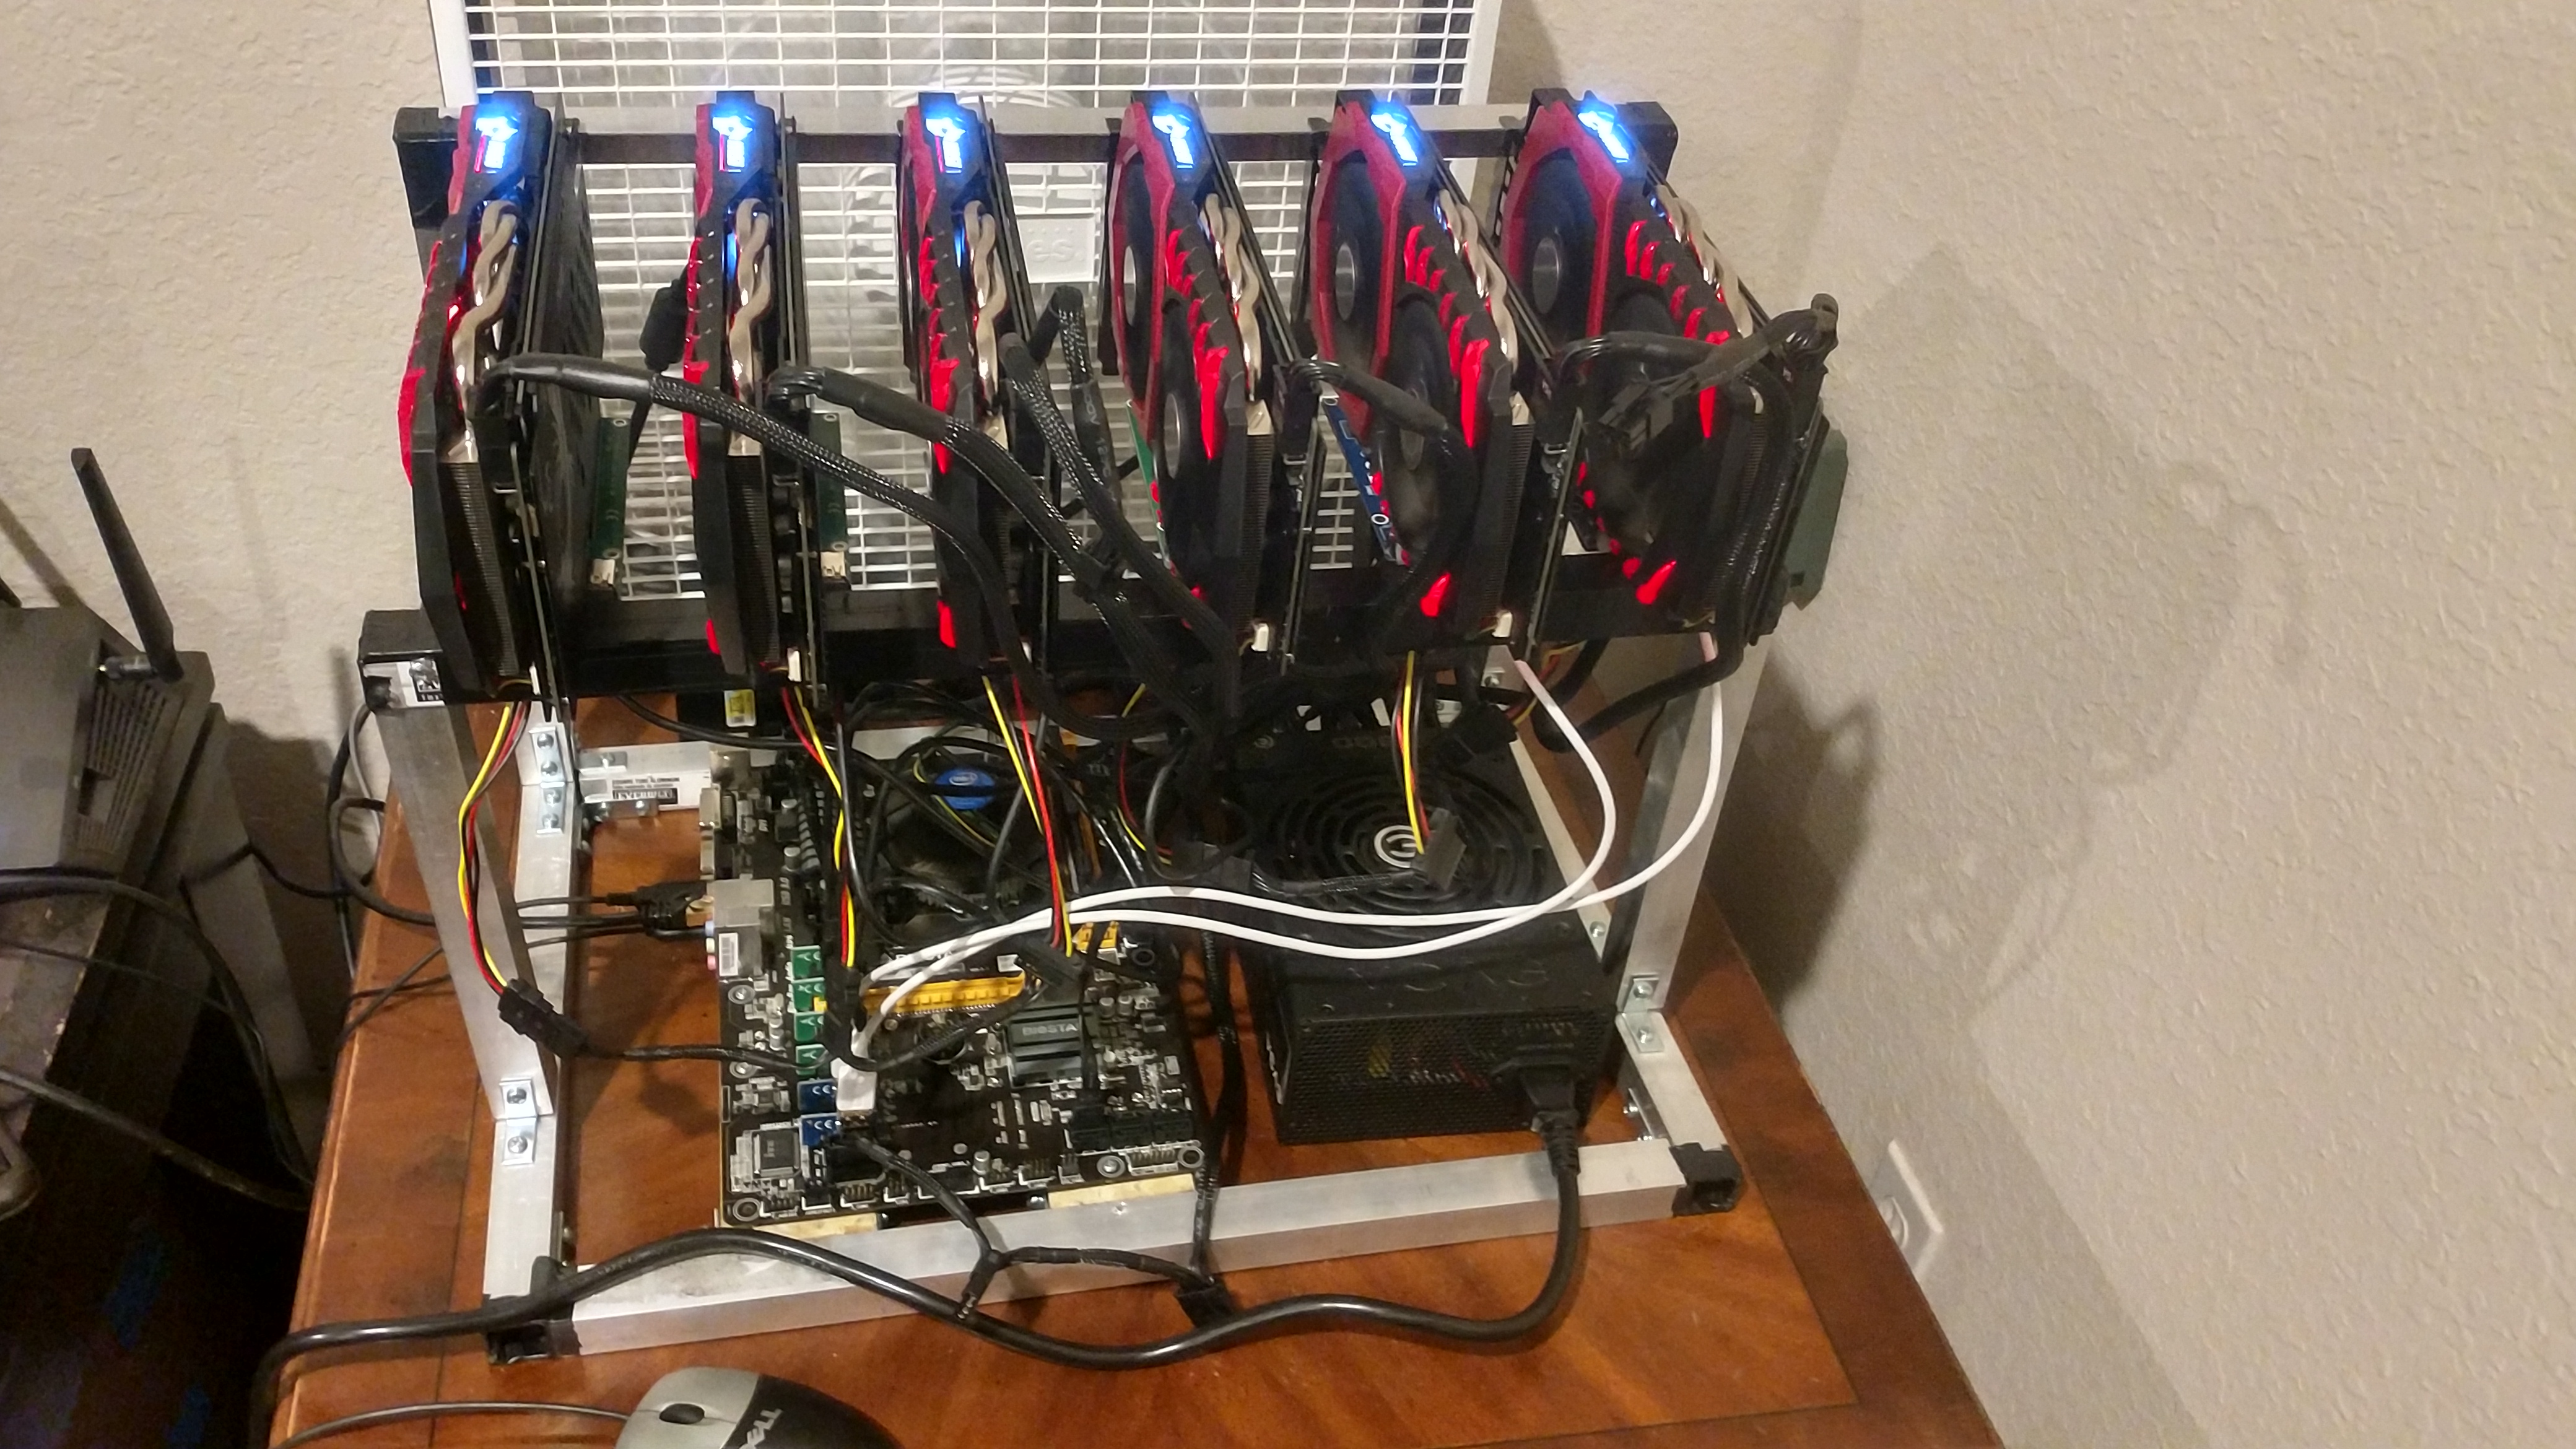
The reason that this frame proved to be better for airflow (and thus, cooling capacity), is that it did not have the full enclosure that the cube provided. Aluminum angle construction, and its shape, inherently created spaces where air could be trapped. On the other hand, the aluminum square tube offered a more compact package, without compromising structural integrity. This allowed my frame to remain much more open, which resulted in each graphics card receiving more than enough airflow after dropping a box fan behind the rig.
While this construction method proved to be effective, and made my mining rigs relatively portable, the cost of each frame proved to be resource and labor intensive. I found that I was spending around $60-65 on the materials for each frame. While this was acceptable for the time being, dreams of scaling up my mining operation had already been hatched, and I was looking for ways to cut costs wherever I could find them.
Delving into the depths of the r/EtherMining page for some time, I encountered someone who had used an innovative design to build their mining rigs, and it was much lower-cost than $60-65 per rig. Someone had taken a wire-frame storage rack, and used it to hang their GPUs at the ideal height (using zip ties), placing the motherboard and power supply on the shelves directly below.
P.S. If you would like some data on the measurements that I used to construct this frame, just ask and I'll do my best to find them. Although these measurements will need to be adjusted based on the physical dimensions of your GPUs, they will give a basic idea of how much space will be taken up.
(Keep an eye out for the next part of the series, where we start scaling up and cutting more costs.)
Your Post Has Been Featured on @Resteemable!
Feature any Steemit post using resteemit.com!
How It Works:
1. Take Any Steemit URL
2. Erase
https://3. Type
reGet Featured Instantly – Featured Posts are voted every 2.4hrs
Join the Curation Team Here