USB WiFi Dongle with a Raspberry Pi Zero W
Background:
I have a desktop PC sitting around that has no wireless card and I wanted to buy a WiFi dongle for it, but I kept running into incompatible chipsets because I run Linux primarily on it. Now, I know that there are quite a few compatible adapters out there but there's no guarantee that they will stay that way; for instance, I bought one that used rtl8812au which used to be compatible with most Linux distros but after a kernel update it broke the driver and I spent more than two days trying to make it work in my free time and I eventually just returned it.
So, I had an idea to take the Raspberry Pi Zero W and use its wireless chip because I know that it will be compatible until and unless the Raspberry Pi Foundation goes defunct and it will still work with Windows and Mac too. Besides, this is WAY more fun for me. With a little research I was able to make it happen fairly easily and I thought others may want to know how they could do it too. So, here it is. I hope you enjoy it! I've never made a tutorial before...
Prerequisites for the dongle:
• Raspberry Pi Zero W
• Minimum 4GB micro SD card (I used a 16GB) formatted with a fresh install of Raspbian Jesse (lite or full is fine, I used the full because it was easiest) which can be found here or here for lite.
• Micro USB cable
• Case for the Pi (optional)
• SD card adapter or reader for micro SD
Process:
Format your micro SD with your favorite program, such as Win32 Disk Imager, Rufus, the dd command, or whatever, if you're having trouble there is a good little write-up on it here for Linux. Before you eject you will need to make some changes to the /boot/ partition, which is the only visible one on a Windows system. If you happen to be using Windows, download Notepad++ first. Open up the config.txt file (with Notepad++ if you're doing this on Windows) and go to the bottom of the file and add dtoverlay=dwc2 as the last line. While you're here, if you want to be crazy (and who doesn't want to get a little crazy) you can overclock as well. if you were to do that, the bottom of your file should look something like this:
force_turbo=1
arm_freq=1094
gpu_freq=500
core_freq=500
sdram_freq=500
sdram_schmoo=0x02000020
over_voltage=7
sdram_over_voltage=2
dtoverlay=dwc2
If you care, force_turbo=1 will void your warranty on your device as well as over_voltage=7 but you don't have to use those settings or any overclocking if you don't want to; like I said, it's for if you want to get crazy with it. Save and exit config.txt, add a blank text file called "ssh" (no file extension, none, do NOT make it .txt)and make a text document called "wpa_supplicant.conf" that you will input your network details into, like so:
network={
ssid="put the name of your network here"
psk="put your password here"
key_mgmt=WPA-PSK
}
Now, we want to open up the file named "cmdline.txt" and add "modules-load=dwc2,g_ether" after the term "rootwait" which will be at the end of the first line. It should end up looking like this:
dwc_otg.lpm_enable=0 console=serial0,115200 console=tty1 root=PARTUUID=be2ec02b-02 rootfstype=ext4 elevator=deadline fsck.repair=yes rootwait modules-load=dwc2,g_ether
Now go ahead and plug in your micro USB cable to the data port on the Pi (the one on the left), and into a USB port on your computer. Wait a few minutes for the first boot to complete, have a cup of coffee, smoke a cigarette, pet your cat, just give it a solid two and a half minutes to ensure it has done all that it needs to do before you go further. Now that it has had a chance to boot up properly, login with ssh (or PuTTY on Windows) at [email protected]. Now you should run:
sudo raspi-config
Setup your locale, WiFi country, keyboard, etc., and set it to boot to CLI and not auto-login. Change your password and your host name (just so that you don't have to keep typing "raspberrypi" again and again). Reboot and login using the new server name and password you just created. Run:
sudo apt update && sudo apt upgrade -y && sudo apt install -y dnsmasq
then:
sudo nano /etc/network/interfaces
go to the bottom and add:
allow-hotplug usb0
iface usb0 inet static
address 192.168.2.1
netmask 255.255.255.0
network 192.168.2.0
broadcast 192.168.2.255
Save and exit. Before you edit your dnsmasq.conf file you should make a copy of the original:
sudo mv /etc/dnsmasq.conf /etc/dnsmasq.conf.orig
Then edit with:
sudo nano /etc/dnsmasq.conf
Paste the following into the file:
interface=usb0 # Use interface usb0
listen-address=192.168.2.1 # listen on
# Bind to the interface to make sure we aren't sending things
# elsewhere bind-interfaces
server=8.8.8.8 # Forward DNS requests to Google DNS
domain-needed # Don't forward short names
# Never forward addresses in the non-routed address spaces.
bogus-priv
# Assign IP addresses between 192.168.2.2 and 192.168.2.100 with a
# 12 hour lease time
dhcp-range=192.168.2.2,192.168.2.100,12h
Setup packet forwarding on /etc/sysctl.conf with:
sudo nano /etc/sysctl.conf
Remove the # before the line that reads, "net.ipv4.ip_forward=1" Configure a NAT for usb0 and wlan0 with the following commands:
sudo iptables -t nat -A POSTROUTING -o wlan0 -j MASQUERADE
sudo iptables -A FORWARD -i wlan0 -o usb0 -m state --state RELATED,ESTABLISHED -j ACCEPT
sudo iptables -A FORWARD -i usb0 -o wlan0 -j ACCEPT
To make this permanent we need to save this and edit our /etc/rc.local file, which you can do with the following commands:
sudo sh -c "iptables-save > /etc/iptables.ipv4.nat"
sudo nano /etc/rc.local
Scroll to the bottom and just above exit 0, place the following line:
iptables-restore < /etc/iptables.ipv4.nat
Now all you need to do is reboot the Pi and reboot your computer the device is plugged into. The Pi0W now acts as a USB Ethernet device but will connect to your home WiFi. The reason that I used the full desktop version is that if I wanted to move it to a laptop or another computer elsewhere, I can run the vncserver :1 command and change the access point more easily and quickly than having to ssh into it and change it manually or remove the card and make a new wpa_supplicant.conf file. I hope you all enjoy and that it was relatively easy to follow my little write-up here. Feel free to leave questions or comments and I will try to get back to you as soon as I can.
( )
)
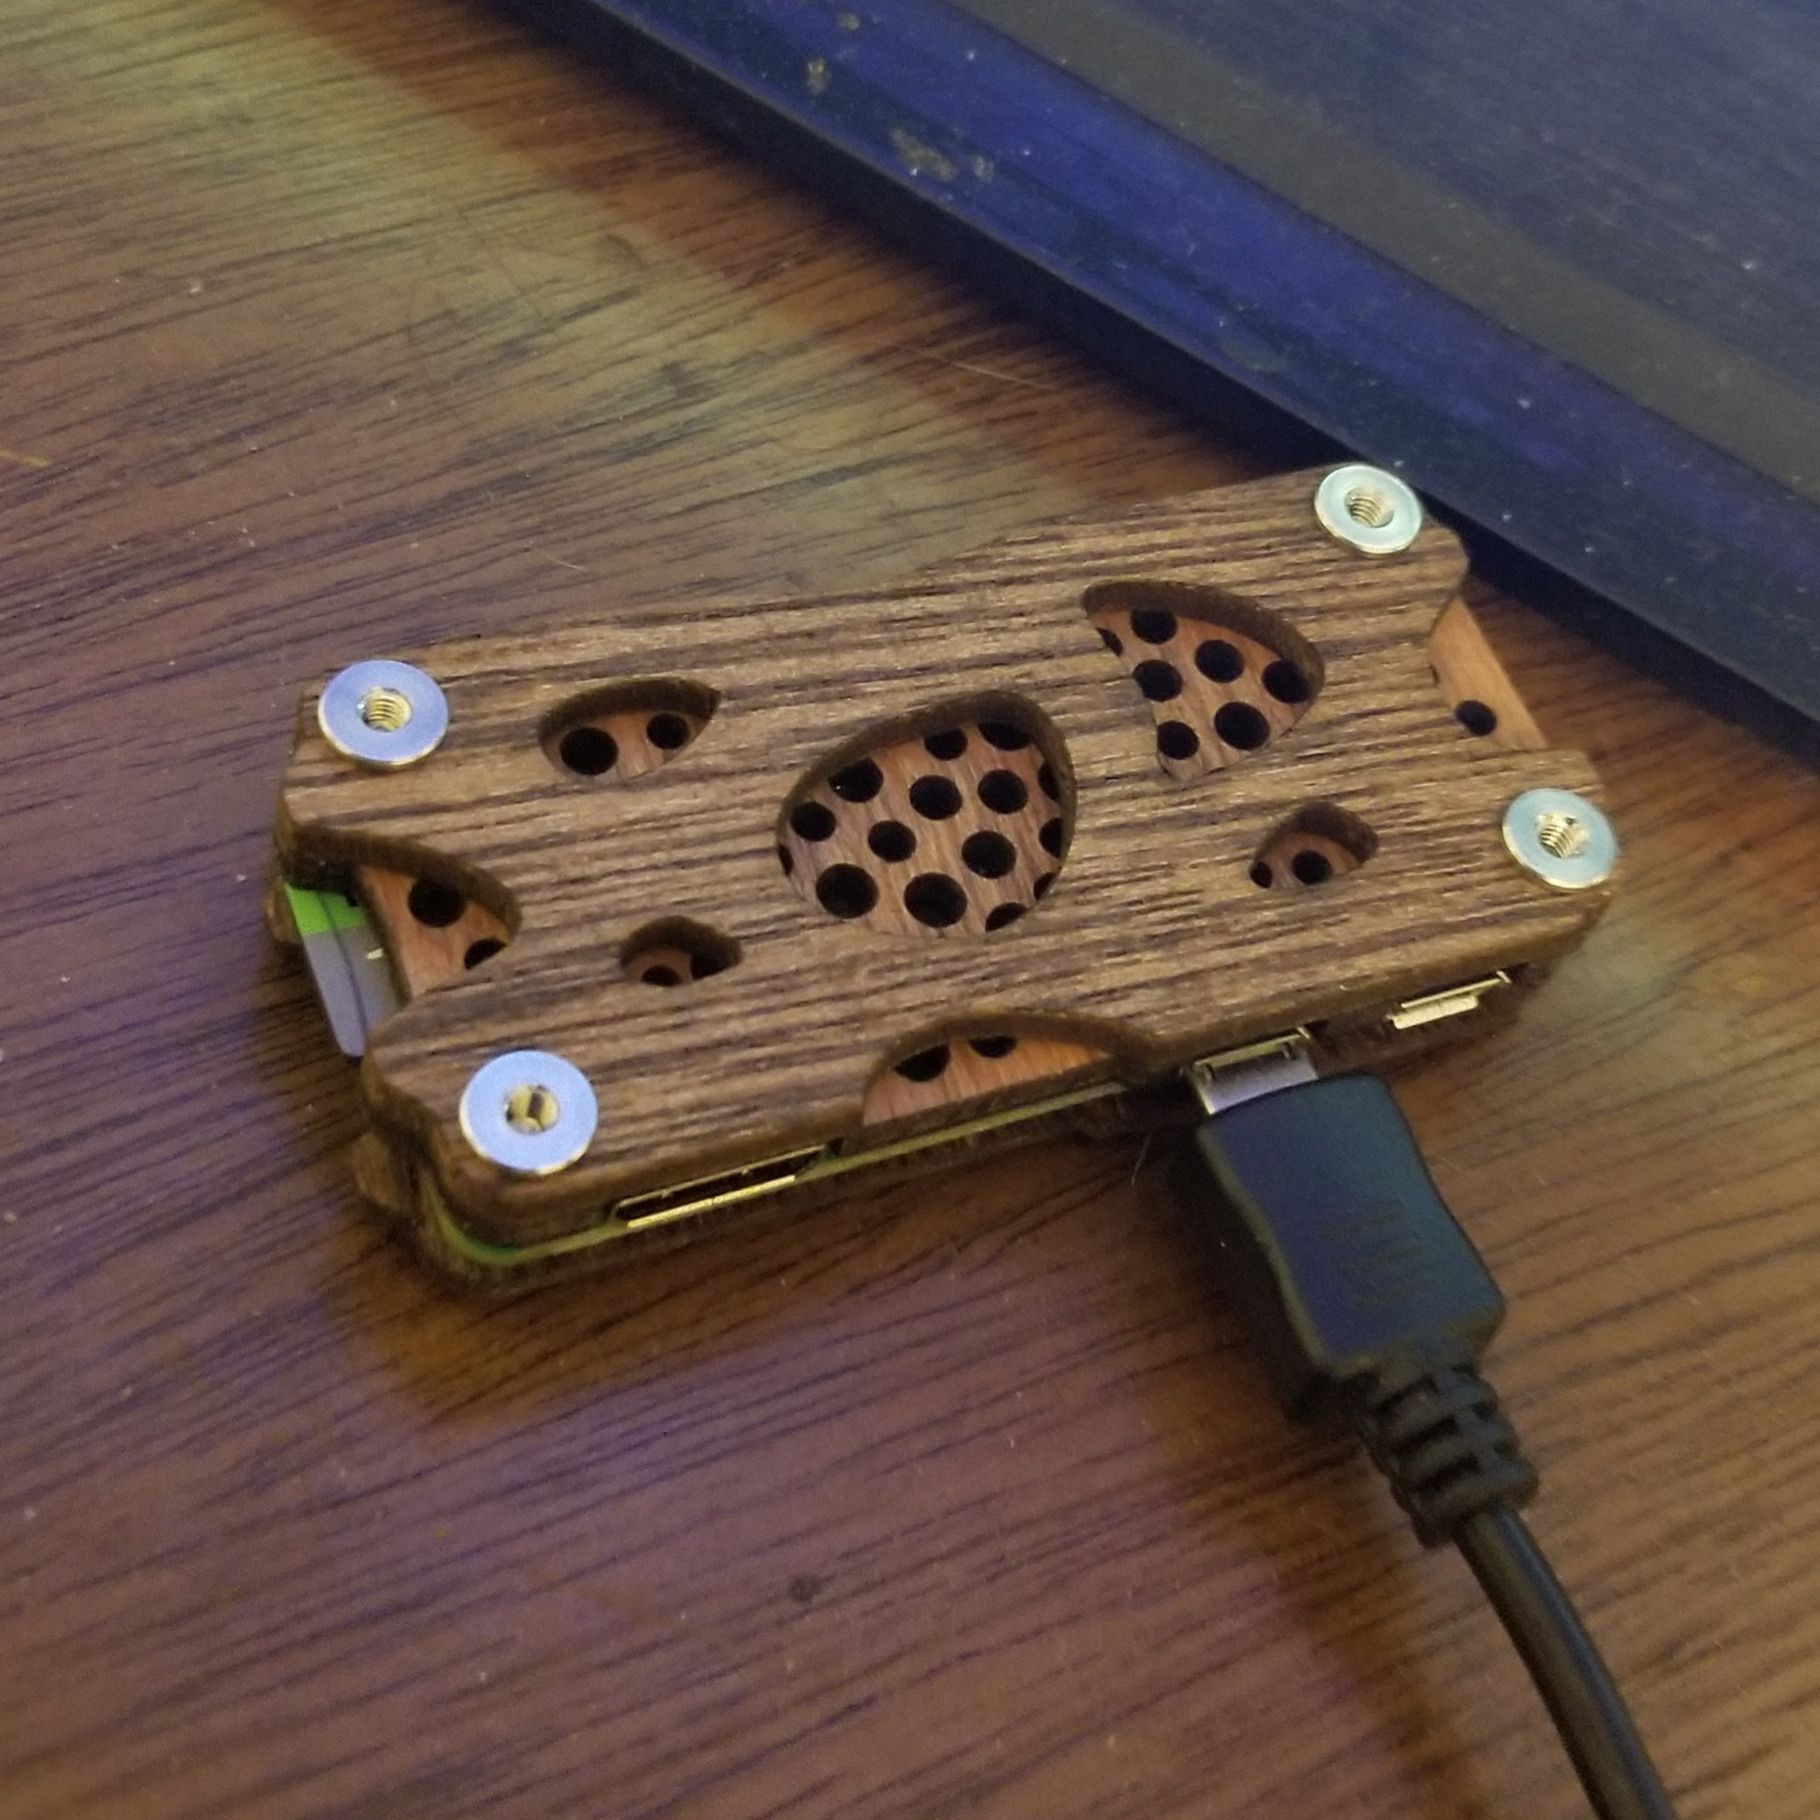
Here's mine, working like a charm.
nice idea to use the pi zero for it! Nominated your turorial for a curation by @steemmakers.
Congratulations! This post has been upvoted by SteemMakers. We are a community based project that aims to support makers and DIYers on the blockchain in every way possible. Find out more about us on our website: www.steemmakers.com.
If you like our work, please consider upvoting this comment to support the growth of our community. Thank you.
Nice writeup, I should be able to use parts of that with a standard RPi to just connect over USD ethernet.
Thank you! It should work with a standard RPi.
Congratulations @jairamy! You have completed some achievement on Steemit and have been rewarded with new badge(s) :
Click on any badge to view your own Board of Honor on SteemitBoard.
To support your work, I also upvoted your post!
For more information about SteemitBoard, click here
If you no longer want to receive notifications, reply to this comment with the word
STOPI had issues with Windows compatibility so I made another to address that.
https://steemit.com/linux/@jairamy/getting-your-pi-zero-w-wifi-dongle-to-work-with-windows
I hope you all enjoy the little guy!