Finally getting to install my switch points!
I've been looking at the void where old shelving was for months now. Originally these openings were doors that the workers left in so they could walk from one end of the terrace to the other without going outside. They were then single red brick blocked up and the result was shelving built into the wall. A nice feature but one that allows sounds to easily travel between the houses. As we are installing a kitchen in what was 2 bedrooms and our neighbours still have their bedrooms in the same location I figured I had better do something to cut down the noise pollution from our new kitchen.
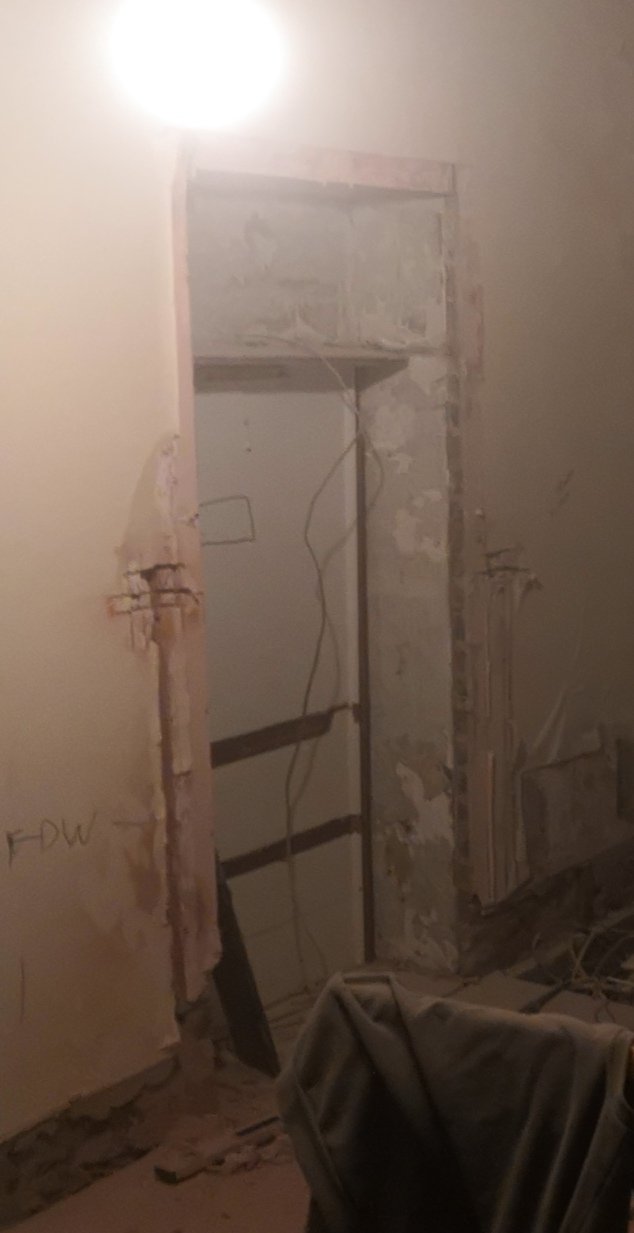
This was what was left after removing the shelving.
So there was no way I could leave this without doing something about it. I decided that I would install all of my safety switches here. Anywhere that you have an appliance or hidden socket you must, by law have an isolation switch. These must be easily accessible, which is a very good thing.
Our ovens are a reasonably light load and only require 6 squared cable, our hob on the other hand is a monster and required a 10 squared cable. That's a pretty chunky cable as the hob can draw up to 4kw at max power! I wanted the switch area to be neat and tidy but I have to install 5 switches! 4 are a single box size and the hob is, as you can guess, a monster switch too. This is a double box on its own.
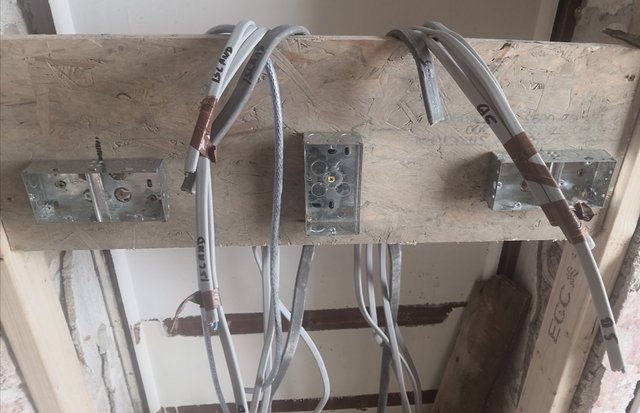
Making every measurement as precise as possible.
First up I built the frame for the boxes to fix to. Then I measured equal distance between the new socket boxes outside of shot. I then installed the double box for the hob, then measured 15 cm out from this which gave me the new center of the twin boxes ( these are 2 single boxes fixed together to keep em neat) now everything is in line and perfectly spaced so it will look as well as possible when we there to the kitchen fitting and tiles. I then drilled the frame to keep the cables as neat and easy to work with as possible.
After that it was time to insulate the void. As I say, my neighbours bedroom is behind the wall I used 3 layers of insulation to kill as much noise as possible.
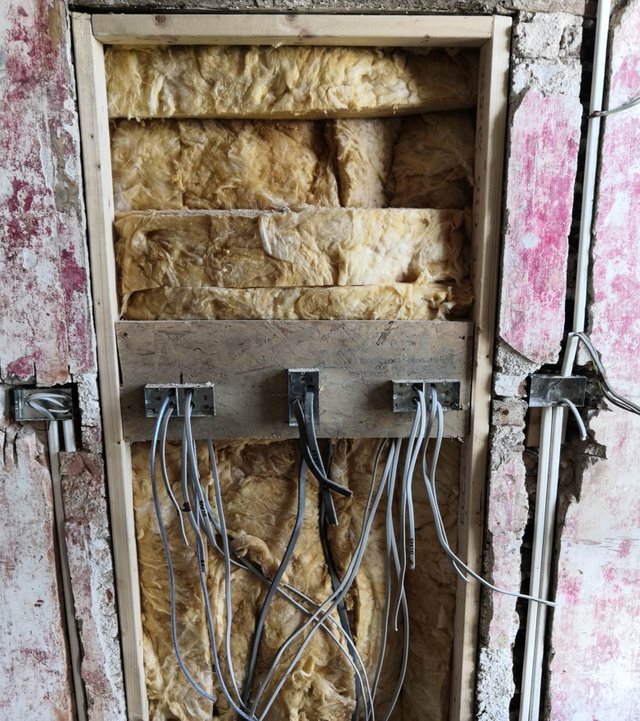
looking nice and tidy, even though it will never be seen again.
Next up was to prep the plasterboard. I decided that as the kitchen is a wet area I should use the moisture resistant board. It is also a thicker board too so should help with the sound insulation. I took my measurements, twice, then it was out with the multi tool again.
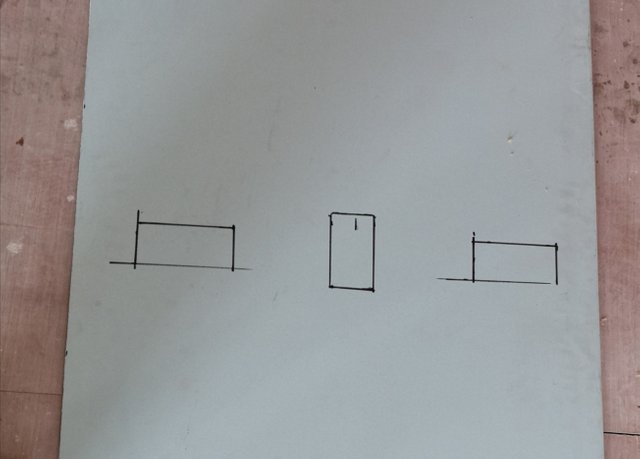
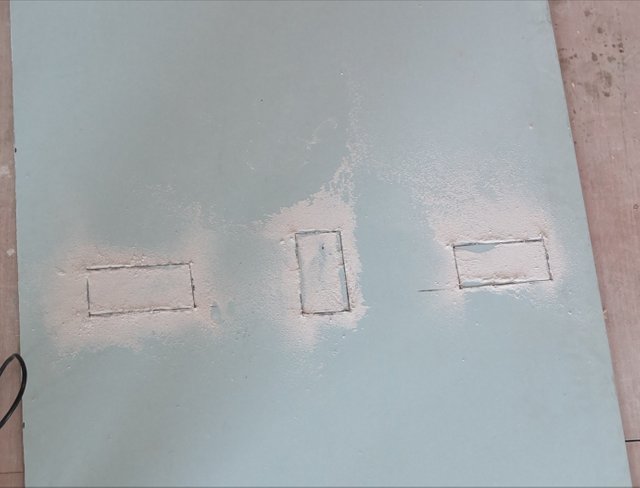
Man, this thing is so useful! I cut the board to size then cut out the box openings and did a dry fit. Sooooooo close, but I still had a little adjustment to make before it was fitting like a glove.
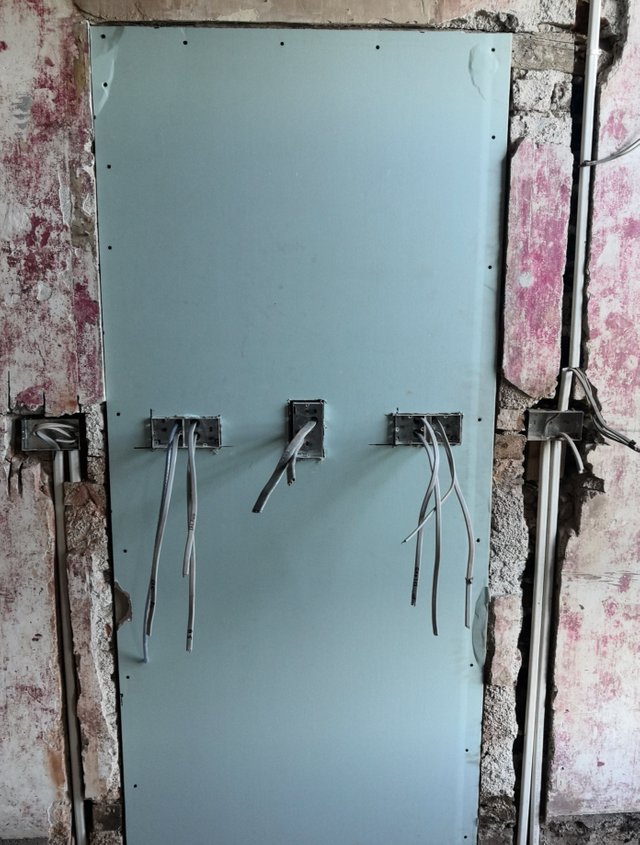
You can see that monster 10 Square cable in the middle.
I am really happy with what we have done over the weekend and it is great to see the house moving forward. After the house work we went to an art exhibition and went for a walk too where we stumbled across an amazing abandoned house!
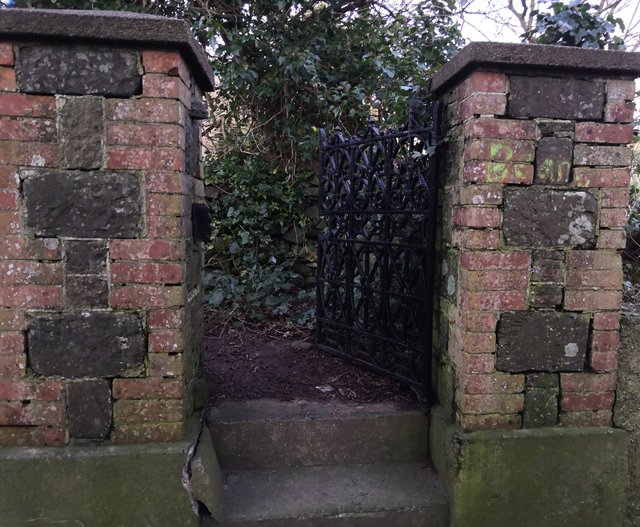
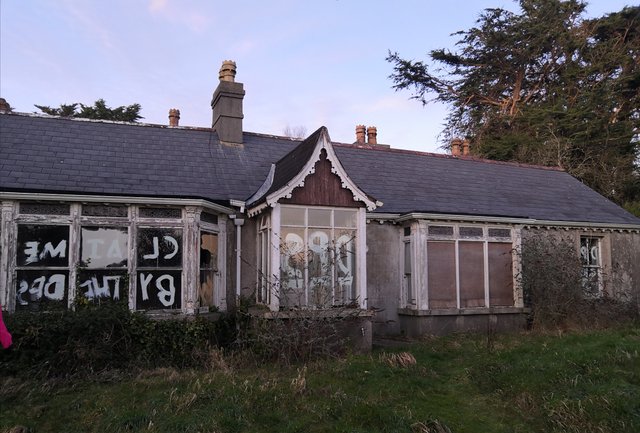
What a shame to see such a beautiful place in this state. It would need some tlc but it could be an amazing place to live.
So that's all folks, more to come as wemove forward with the house so stay tuned.
It's great to have the skills to do so much yourself. I've renovated a few places over the years and there's nothing as frustrating as having wonderful ideas and having to wait for someone else to tell you....well that really isn't possible dear.
I have had my fair share of that too. I'd love to be able to just call someone in and leave em to it but renovation of an 1850's property on a budget doesn't lend itself to that idea too well.
Hope all. Is going well for you D.