Making it toasty.

With me being sick in the last few weeks we have fallen behind on our schedule to get the kitchen installed. We are probably about a month behind now. So today we said we had better get some work done. The old floor boards in the small room which is now part of the big family room were not worth saving. They were water and woodworm damaged so we had no choice but to take them up and put down new ply. This left us with a problem though as the original boards were thicker. The joists in the small room were also set lower than the joints in the big room. But we need a level floor so we can put down our new shiny herringbone floor.
We had to raise up the height of the joists with 5mm ply, for the first joist this only needed 1, the second and third needed 10mm and the final needed 15mm. We only had 4 sheets of 5mm so we decided rather than go and buy an extra load of sheets of ply we would cut the joist width strips from the bigger 5mm boards. 1.5 boards then gave us enough strips to raise up the floor to the correct height.

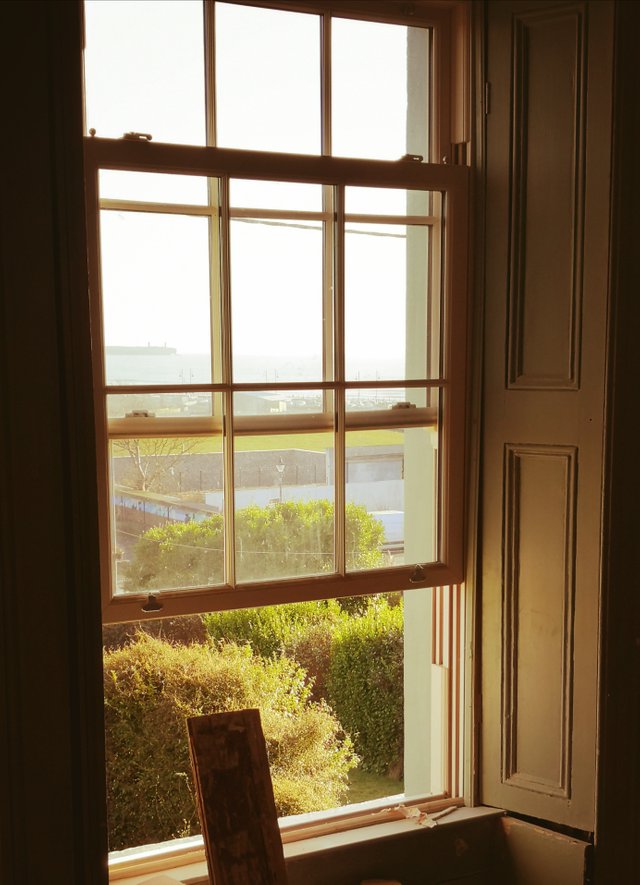
There is that view again, it makes it all worth while. This is the view from where the cooker will be going, imaging cooking a meal for the family and looking at the sea! This is a dream come through for me.
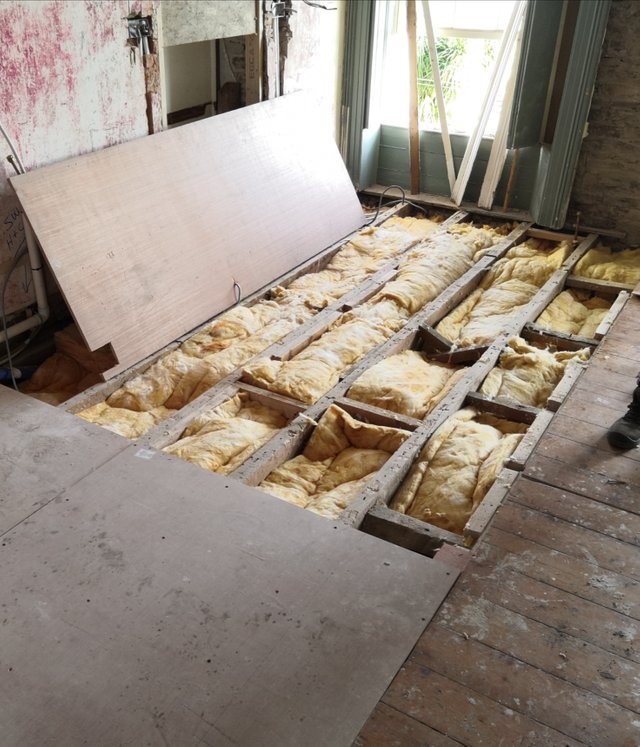
But that wasn't enough, we wanted to also acoustic insulate the rooms under the kitchen / family room. We have been using an 85% recycled glass roll and have found it to be very effective at the job so we used the same again. We added double layers under the areas where the dishwasher was too as the last thing you want to hear when you're trying to chill out is the churning and gurgling of the dishwasher! Plus our master bedroom is under the new family room.
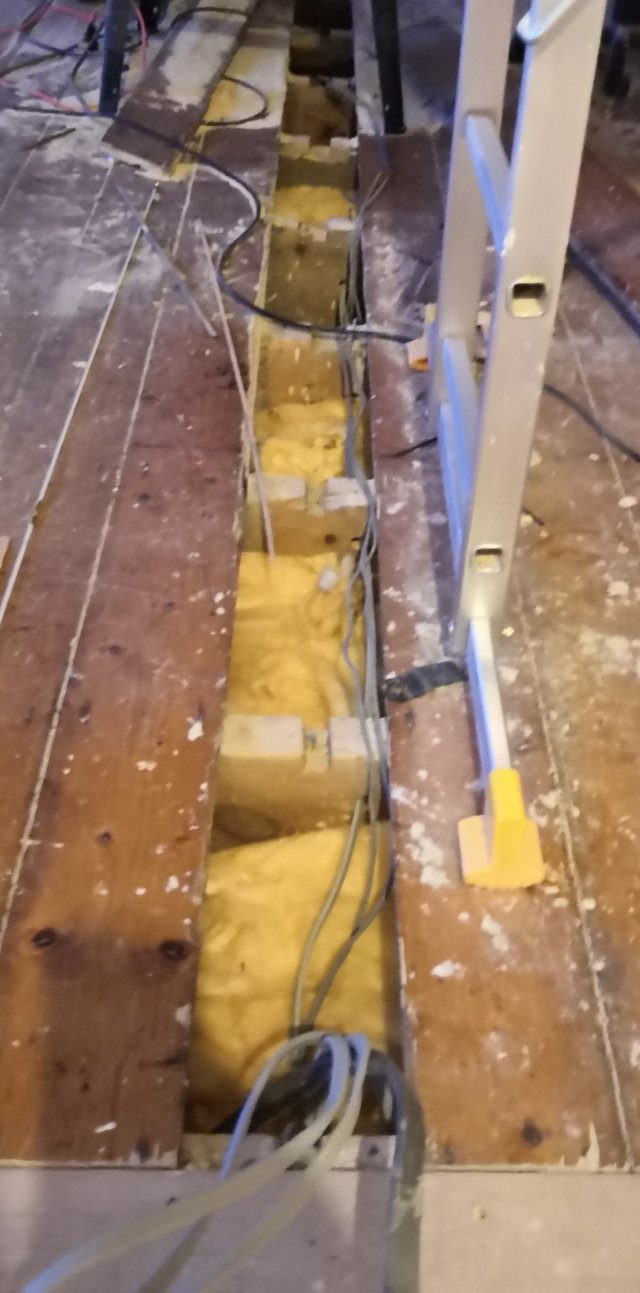
Because of the length of the joists the builders back in 1850 used diagonal braces (which are now being recognised as a superior brace to straight) at different points along their span. This is great for stability but not so great for pulling insulation in an easy way. Next best thing to do was to lift some of the original boards where the braces are and feed the insulation to either side of the brace. Hey it's the best we can do while maintaining as much of the original fabric of the building as we can. This does mean however that we have to cut the tongue out of 2 boards for every one we have to lift. Out comes the multi tool, this is possibly one of the best tools I have purchased for the renovation. We'll, that and the table saw! Man I would be lost without them.

Not too shabby!
We then set about getting as much of the insulation in as possible. We have just over half of the 40 sq meter room done. We might have enough insulation left to finish it off. I am hoping so but i suspect we will need 1 more roll of the acoustic insulation and then we'll be free of the itch causing wonder roll.
I am going to try and keep you updated on the house renovation as we progress and tomorrow I hope to get some slabbing done, that's plasterboard or drywall depending on your location. So who knows I may just have more updates in the coming days!
Stay tuned.
Get out and use your witness votes folks, they need your support