Making a Gnome - 30 December 2024

The two arms side by side don't look very neat.
I was very interested to read @danmaruschak’s post yesterday. Apart from the personal family angle I liked the crocheted character. I’d been working on a red knitted gnome and wondered how our two characters compared in size - without the hat mine is about 7 cm or 2.5 inches.
I’ve recently become aware of a craft knitting book on Amazon with instructions for making 4 gnomes and would really like to own it. The book is around £12 at the moment or 72 Steem. I cannot justify the expense but will probably get it because each pattern on Ravelry is about £5 or 30 Steem so the book sort of pays for itself (or that’s my logic anyway).
I am very curious to find out how the gnomes are made and how the hats are made a bit crooked. Before Christmas I couldn’t wait any longer and decided to just give it a go. I’m sure that when I own the book I’ll be able to fill in all the blanks I’ve got.
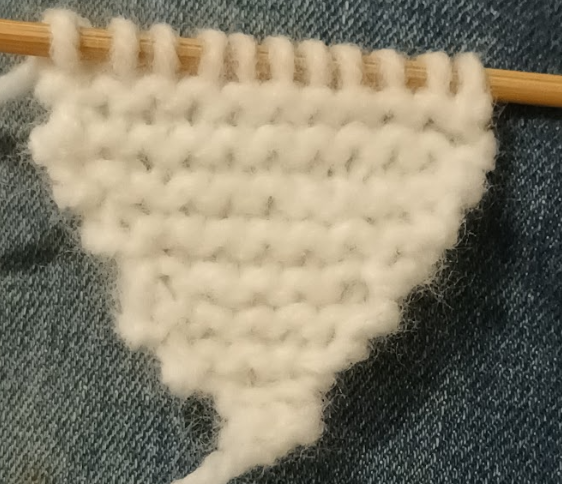
In my version I used DK yarn and 3.25mm knitting needles because I wanted the knitted fabric to be dense. I didn’t have a proper plan I just knew I had to make an upside down triangle and stop at some point depending on the size I wanted.
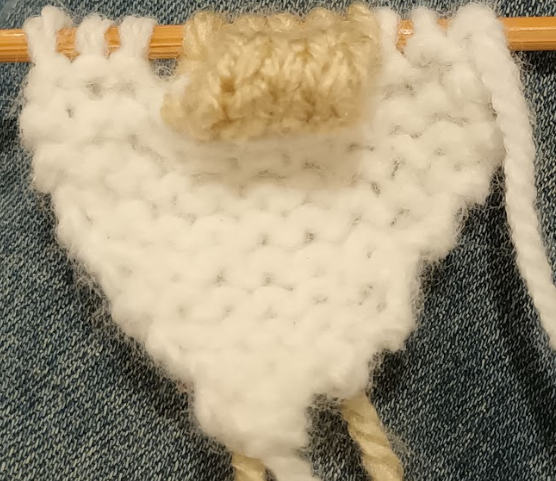
Then I looked at ways of making a nose that didn't need much sewing.

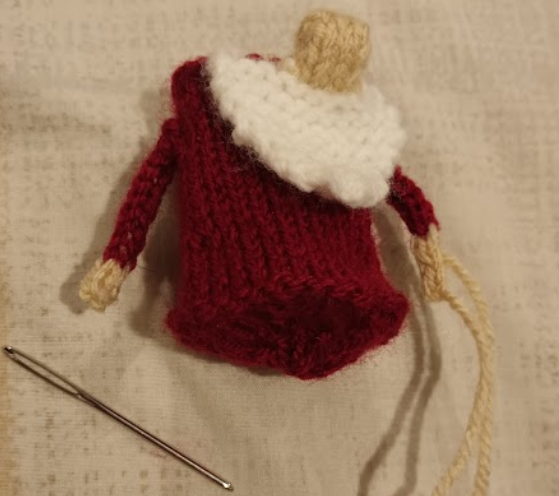
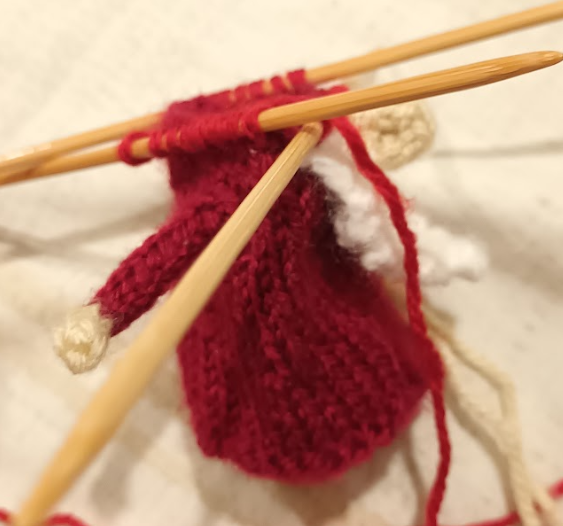
When I had the beard and the nose together I started thinking how to add the body. I will not go into the details of my decisions on number of stitches and so on but it was very hard to mentally work out what I was doing - still, ‘if I can make socks I can make anything’ is my motto. This is a temporary gnome until I can get the real book.
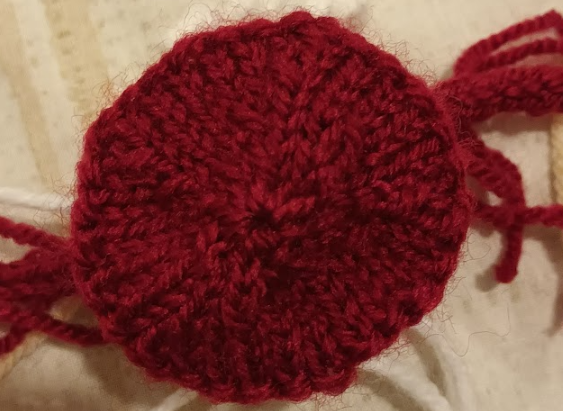
I finished the body trying to give it a round base. This was very hard as I basically didn’t know what I was doing, but I got a result which is workable.
I left the craft needle for scale.
The photo above shows you the nose, beard and arms and body with the base included. I left the ends hanging from the left arm for a reason that you’ll find out soon.
The next step I needed to complete was the hat. As I’m keen on watching You Tube tutorials I found a lot of support for this project. When I came to pick up stitches for the hat there are at least three videos I could watch. Below I’ll show you one but I learnt from all three :
If you’ve read this far, you’ll immediately see the funny part. For me making the hat is the final part, but in the video the process is begun with the hat. What I learnt from the video was picking up the stitches on the edge. That’s exactly how I did the beginning of the hat brim :
I’ll come back to show you the finished object tomorrow.
Thank you for reading !
Upvoted! Thank you for supporting witness @jswit.