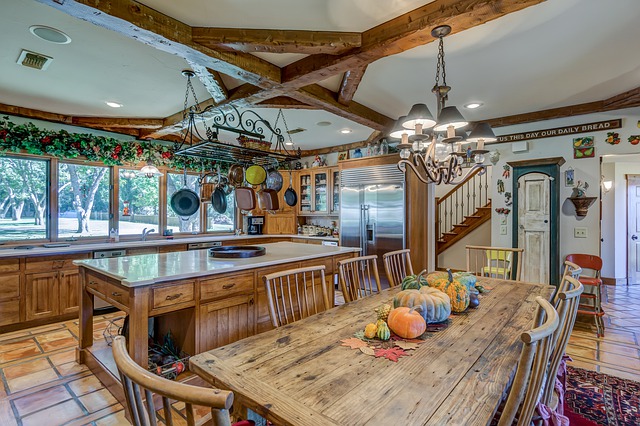
Decorating the kitchen
This is about decorating, safety and achieving a high finish to a kitchen. It explains how to paint and make good. It also covers wall and floor tiling, putting in the units and finishes off with some tips.
I am a master decorator and carpenter and have been in the construction industry for over four decades. I am semi retired now and only take on work as a project manager making sure that others do things properly.
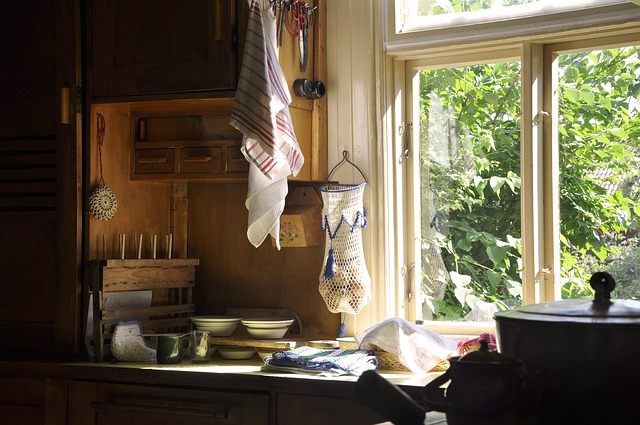
The kitchen is one of the most used spaces in the home and over time the walls and ceiling will become dirty with the greases and steams of cooking. Also the spills from liquids and food build up and can look unsightly. This happens slowly and unless cleaned every day may go unnoticed until one day you find the kitchen desperately needs decorating.
First thing is to clear everything out of the kitchen to store it all in boxes until it goes back again, now would be a good time to de-clutter, to throw away anything that has gone past its sell-by date.
Once the kitchen is clear of everything that can be moved out of the way then it is time to remove the old tiles around the worktop.
Most of the work in the kitchen can be done by the homeowner but there are some safety issues such as gas and electric.
Before removing tiles that have electric sockets turn off the electric, then loosen the two screws that hold the socket tight to the wall and pull the socket away from the tiles so that they can be chiselled off.
If you are lucky the tiles will come away easily to leave a clean flat wall ready for re-tiling. If the tiles are well stuck onto the wall then a heavy hammer and chisel will have to be used. If you find the plaster comes away with the tiles then the wall will need to be re-plastered flat and left to dry before putting the new tiles on. If the wall just needs patching then ordinary filler can be used.
Once all the tiles have been removed and the walls are good to re-tile then visually inspect the sockets to see they are intact and if so then screw them up tight for now. If any have been broken then they need to be replaced before turning the electric back on, or made safe for working around.
It may be best to let an electrician do this if you are not confident in doing it yourself.
If you are going to replace the units, work tops and sink then the new units should be assembled and ready to put in before you remove the old ones to cut down on the time the kitchen will be out of use and if that is the case then the old units can be removed.
The water will need to be turned off first and if using gas then that too will have to be turned off; again, let a professional do this if you don’t know how to.
Once the old units are all gone then the walls and ceiling can be washed; sugar soap is best for this.
Do a really good job of cleaning all the old grease and dirt from the walls and ceiling because paint will not adhere to grease.
After the walls and ceiling have been cleaned well then it is time to fill any gaps, cracks and holes. After the filler is dry it can be sanded flat. Do a good job of this because anything that has not been sanded properly will stand out after painting.
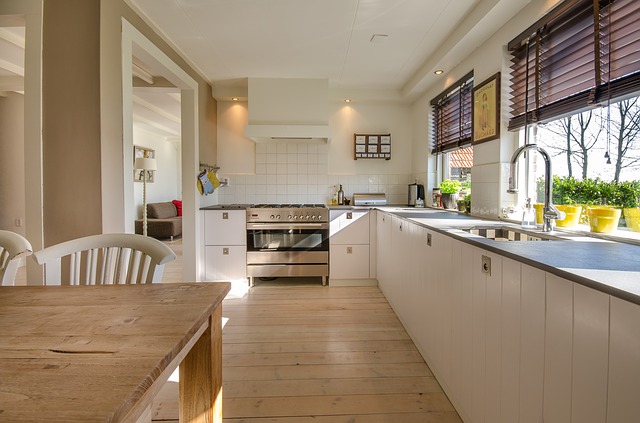
Most kitchens have floor tiles to make it easy for cleaning, so if you are going to replace them then now is a good time to do that. Make sure that the floor is level and flat with no bits of old tile or cement left protruding.
A good tip here is to clean up as you go or you may find yourself falling over things.
So, the units are out, the tiles are off, and the walls and ceiling have been cleaned and filled and are now ready for painting.
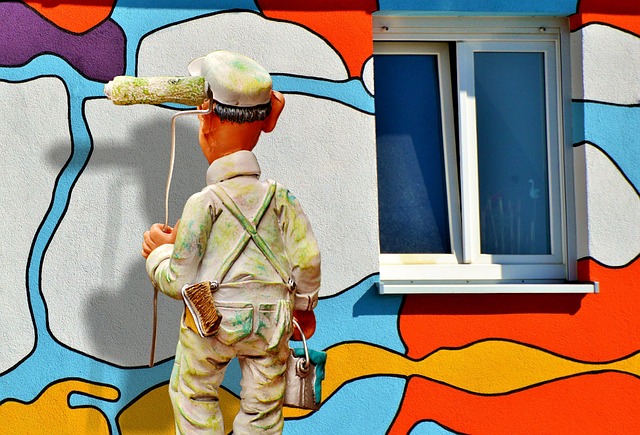
Paint the ceiling first in the colour of your choice with a good quality washable emulsion. Ceilings are usually done in white because white helps to make it brighter in the kitchen by reflecting the light.
Use vinyl paint or one that is washable, any other kind of paint will absorb greases and dirt too much and won’t be able to be washed and cleaned. Two coats are usually enough to cover.
Next, put two coats of washable emulsion on the walls. If you are not happy with any blemishes that show through then these can be fixed when the paint has dried.
Use a roller with a long handle and a tray to hold the paint as this is the easiest method of painting walls and ceilings.
Roll the walls, starting from one corner and work your way around the kitchen until it has all been done then cut in around the edges.
When rolling the paint on, gently roll back over what has just been done to remove any lines in the paint, this will make it all even and at the end of the job there won’t be any patches showing through.
If two coats are not enough then put a third one on to cover.
It is better to spend a bit of extra time and effort at this stage than trying to make good after the units are in.
When all the painting has been done and it looks as good as you can get it then it is time to tile the floor.
The floor needs to be of cement or concrete for the tiles to stick down and stay down. The floor also has to be flat and as level as possible. A self levelling compound can be used to level up any unevenness.
If you feel confident then there is no reason not to do it yourself, if not, then call in a professional.
Use a string line to mark your centre line straight with the walls then put the tile paste a square meter at a time on the floor and bed your tiles onto it; comb the paste first so that the tiles will bed-in to the paste. Don’t worry about the edges until after all the whole tiles have been laid.
Clean any excess paste off before it dries.
When the whole tiles have dried enough to walk on then the edges can be done. Leave overnight to dry then grout the gaps.
Once the floor has been finished then the units can be put in and levelled for the worktops to sit on. You will need a jig saw to cut out the hole for the sink and a drill with a sharp bit to make any holes in the units and walls.
If you haven’t put in a kitchen before it may be best to let a professional do it because it is a skilled job and there are a lot of things that can go wrong, but if you have the tools and take your time then it is possible to do it and make a good job of it.

The plumbing can be left to a plumber.
All gas fitting must be done by a qualified gas contractor and has to be tested with a certificate before use, unless no changes have been made. It is recommended that you use a qualified electrician for the electrics.
After the units are in and fixed, the sink is working with hot and cold water, the washing machine and dishwasher are back in place and working then there is only one thing left to do and that is the tiling over the worktops. This can be done by a confident and competent handyman but care must be taken with the electric sockets. It is best if they are taken off until the tiling is finished making sure the electric is turned off or made safe.
All in all a competent handyman can do most of the work of decorating in the kitchen but the gas and electric must be left to a professional.
Keep things clean as you go. Cover up everything you don’t want paint to fall onto.
Finish each stage first as well as can be done.
Wipe up any messes as they occur.
If you make sure each step of the re-furbishing is done diligently then the end result should be a clean, new and good looking kitchen to be proud of.
Finally, brushes and rollers can be washed with warm soapy water.
Images from Pixabay
Resteemed your article. This article was resteemed because you are part of the New Steemians project. You can learn more about it here: https://steemit.com/introduceyourself/@gaman/new-steemians-project-launch