How to make the two types of network cables? 💻
Hello steemians! We will have art next time. Since I am a teacher in Computer Hardware Servicing, I want to share with you one of the lessons that keeps my students really busy these recent days.
Let me tell you first the meaning of network. It is two or more computers connected together to share and exchange files or resources. To connect the computers together, network devices are used like switches, hub and etc. But to connect these devices with the computer, we need network cables.
As a CHS student, one must know how to make the two types of ethernet or network cable.
The first type is crossover. Crossover network cables are used for connecting same devices e.g. computer to computer while straight through network cables are used for connecting different devices like computer to routers or ethernet switches.
These ethernet cables are available in the market but it will be wiser to make your own because of these reasons:
first, you can decide whatever the length of your cable,
secondly, you'll spend lesser money since ready to use cables are quite expensive and
lastly, you'll have personal achievement as a computer person because you are able to make your own.
Now here is how to make these cables.
These are the materials and tools you need to make them.
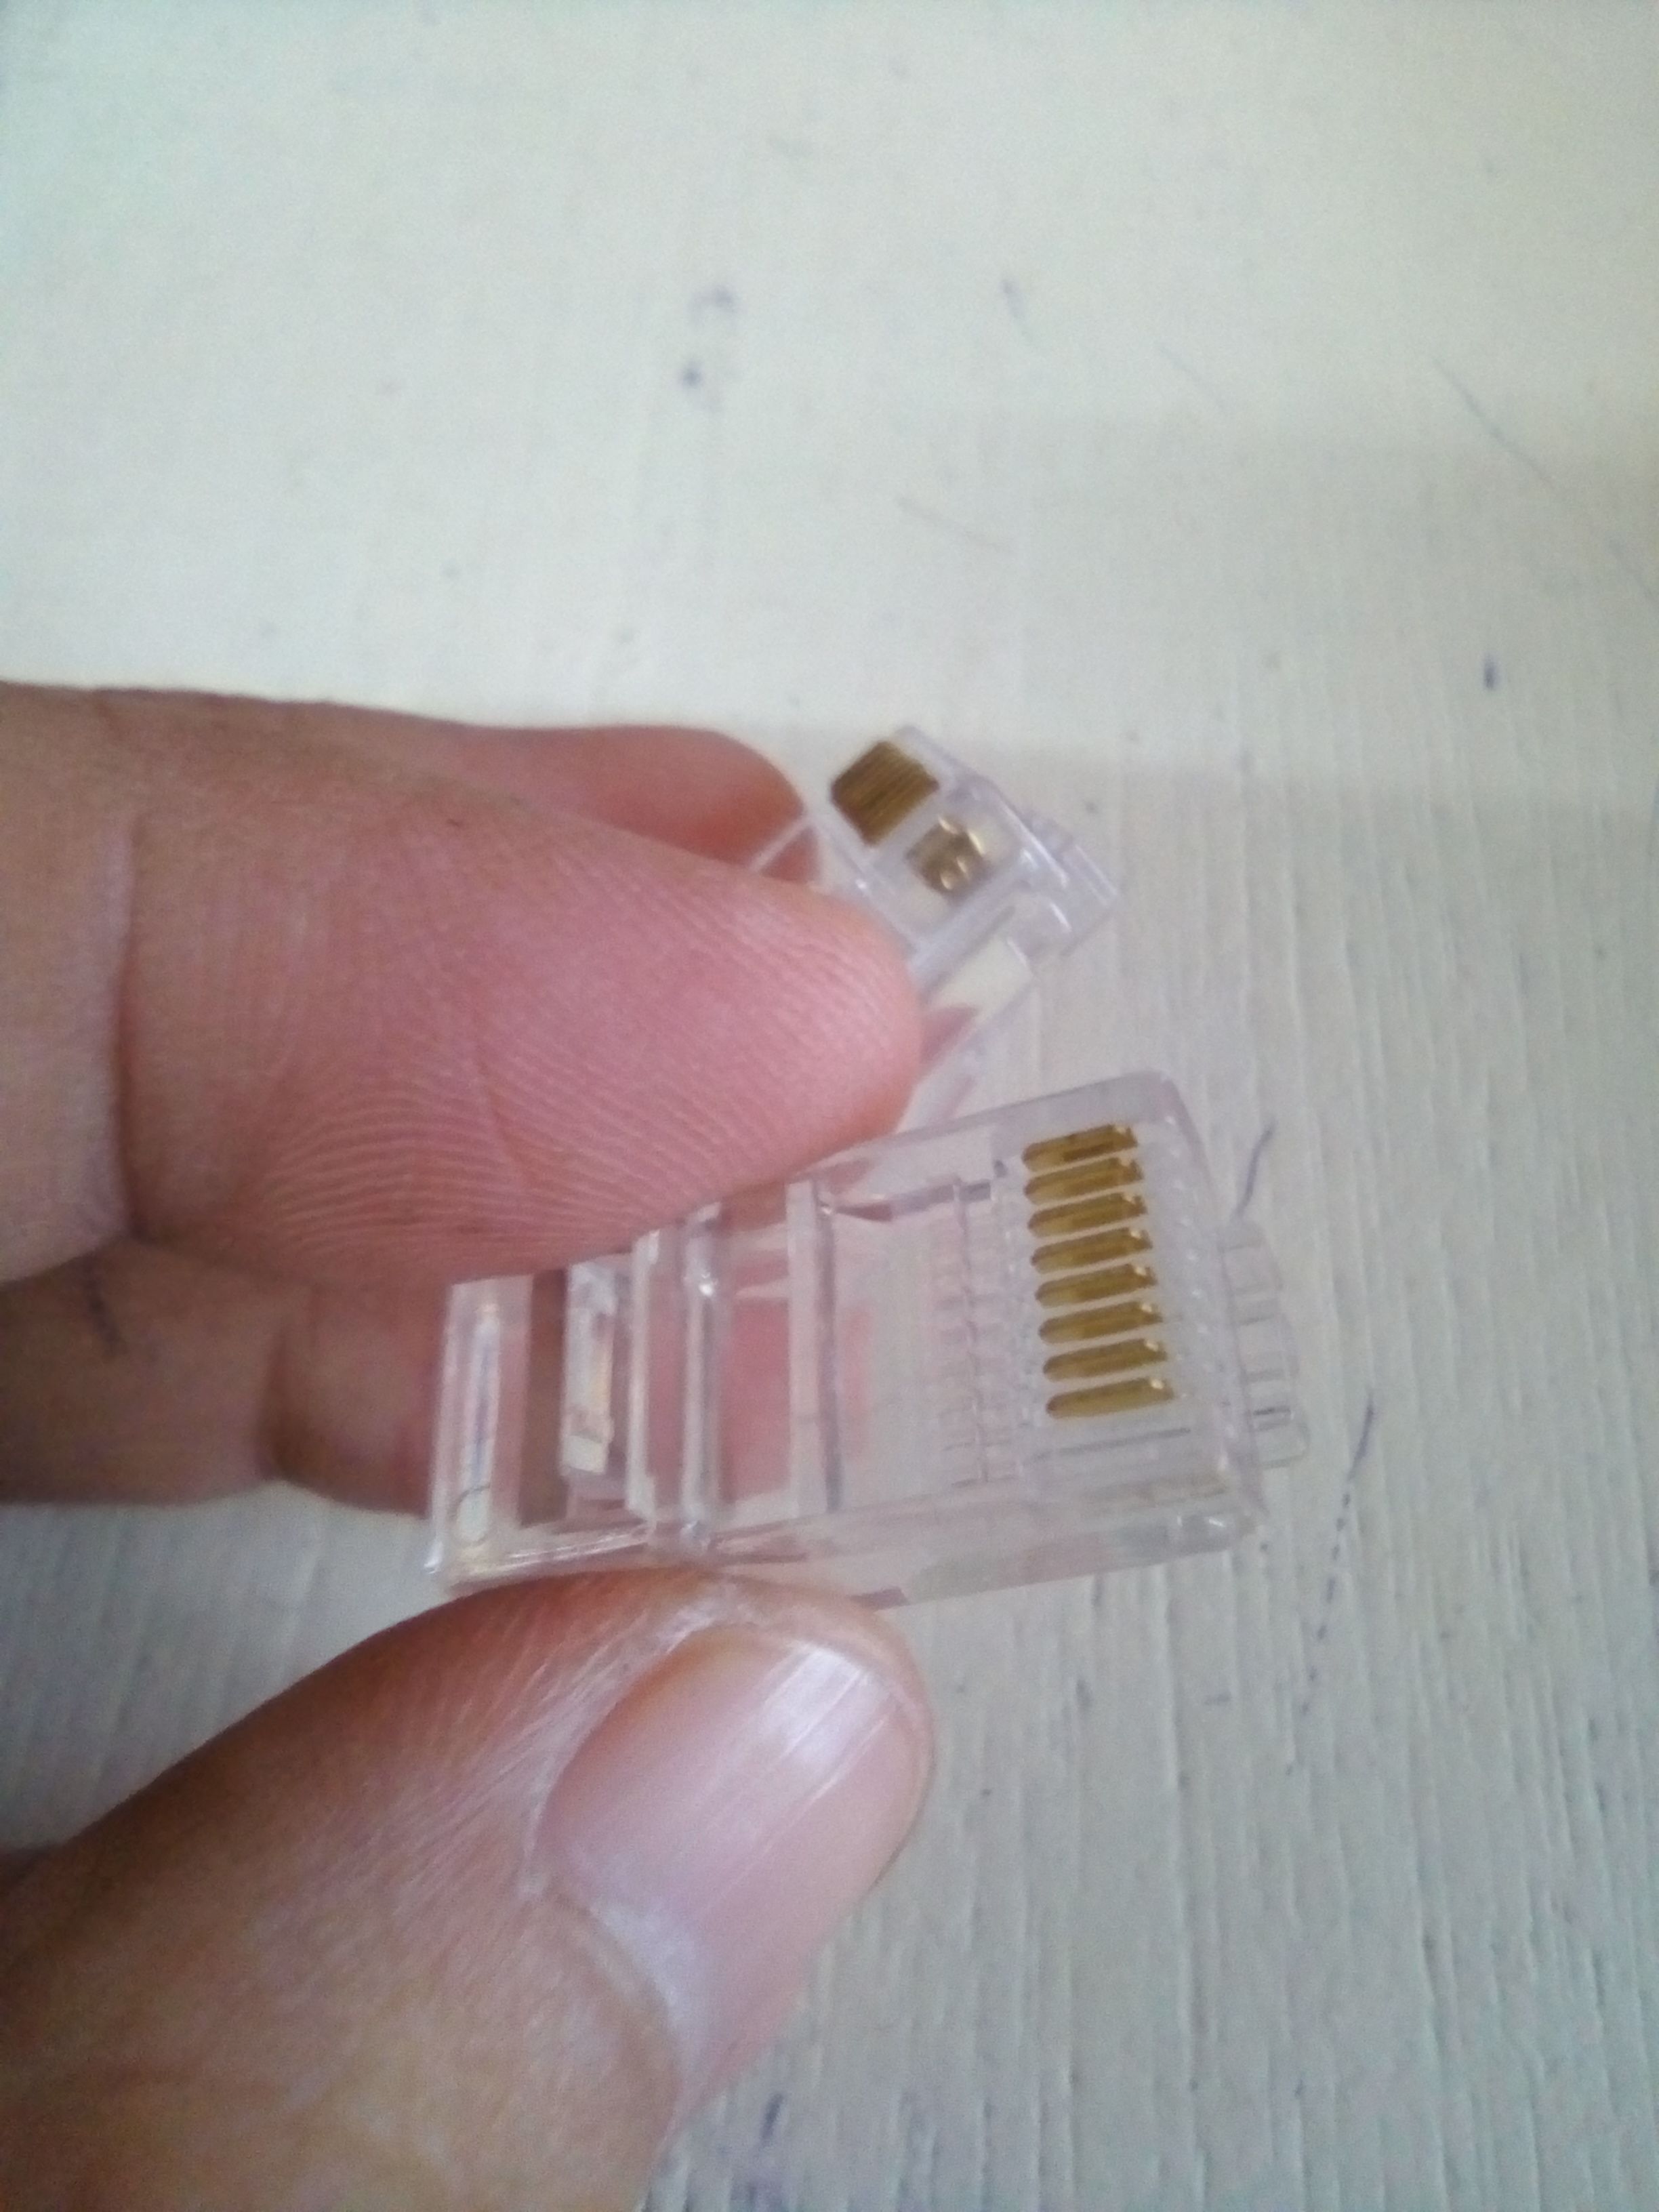
- RJ 45
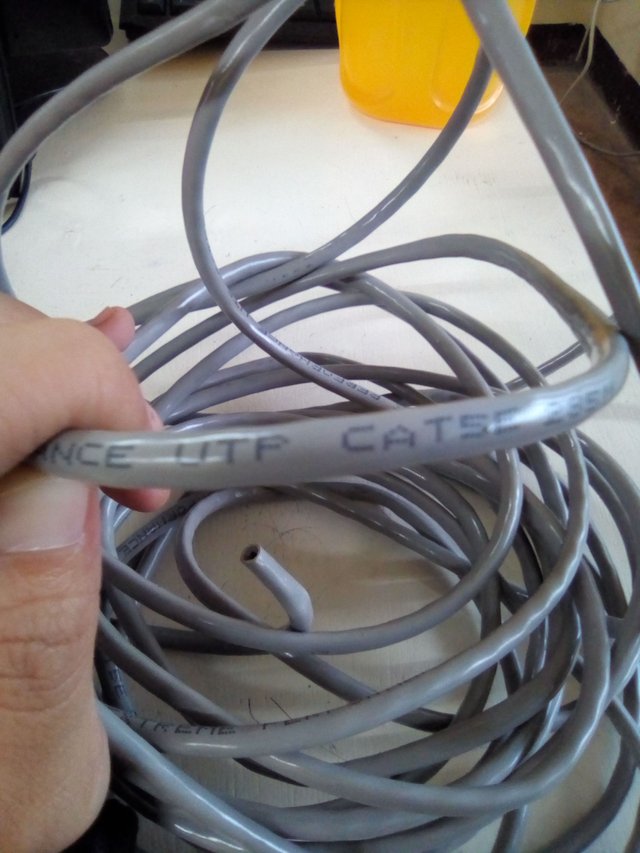
- UTP cable (Cat 5 or 5e or 6)
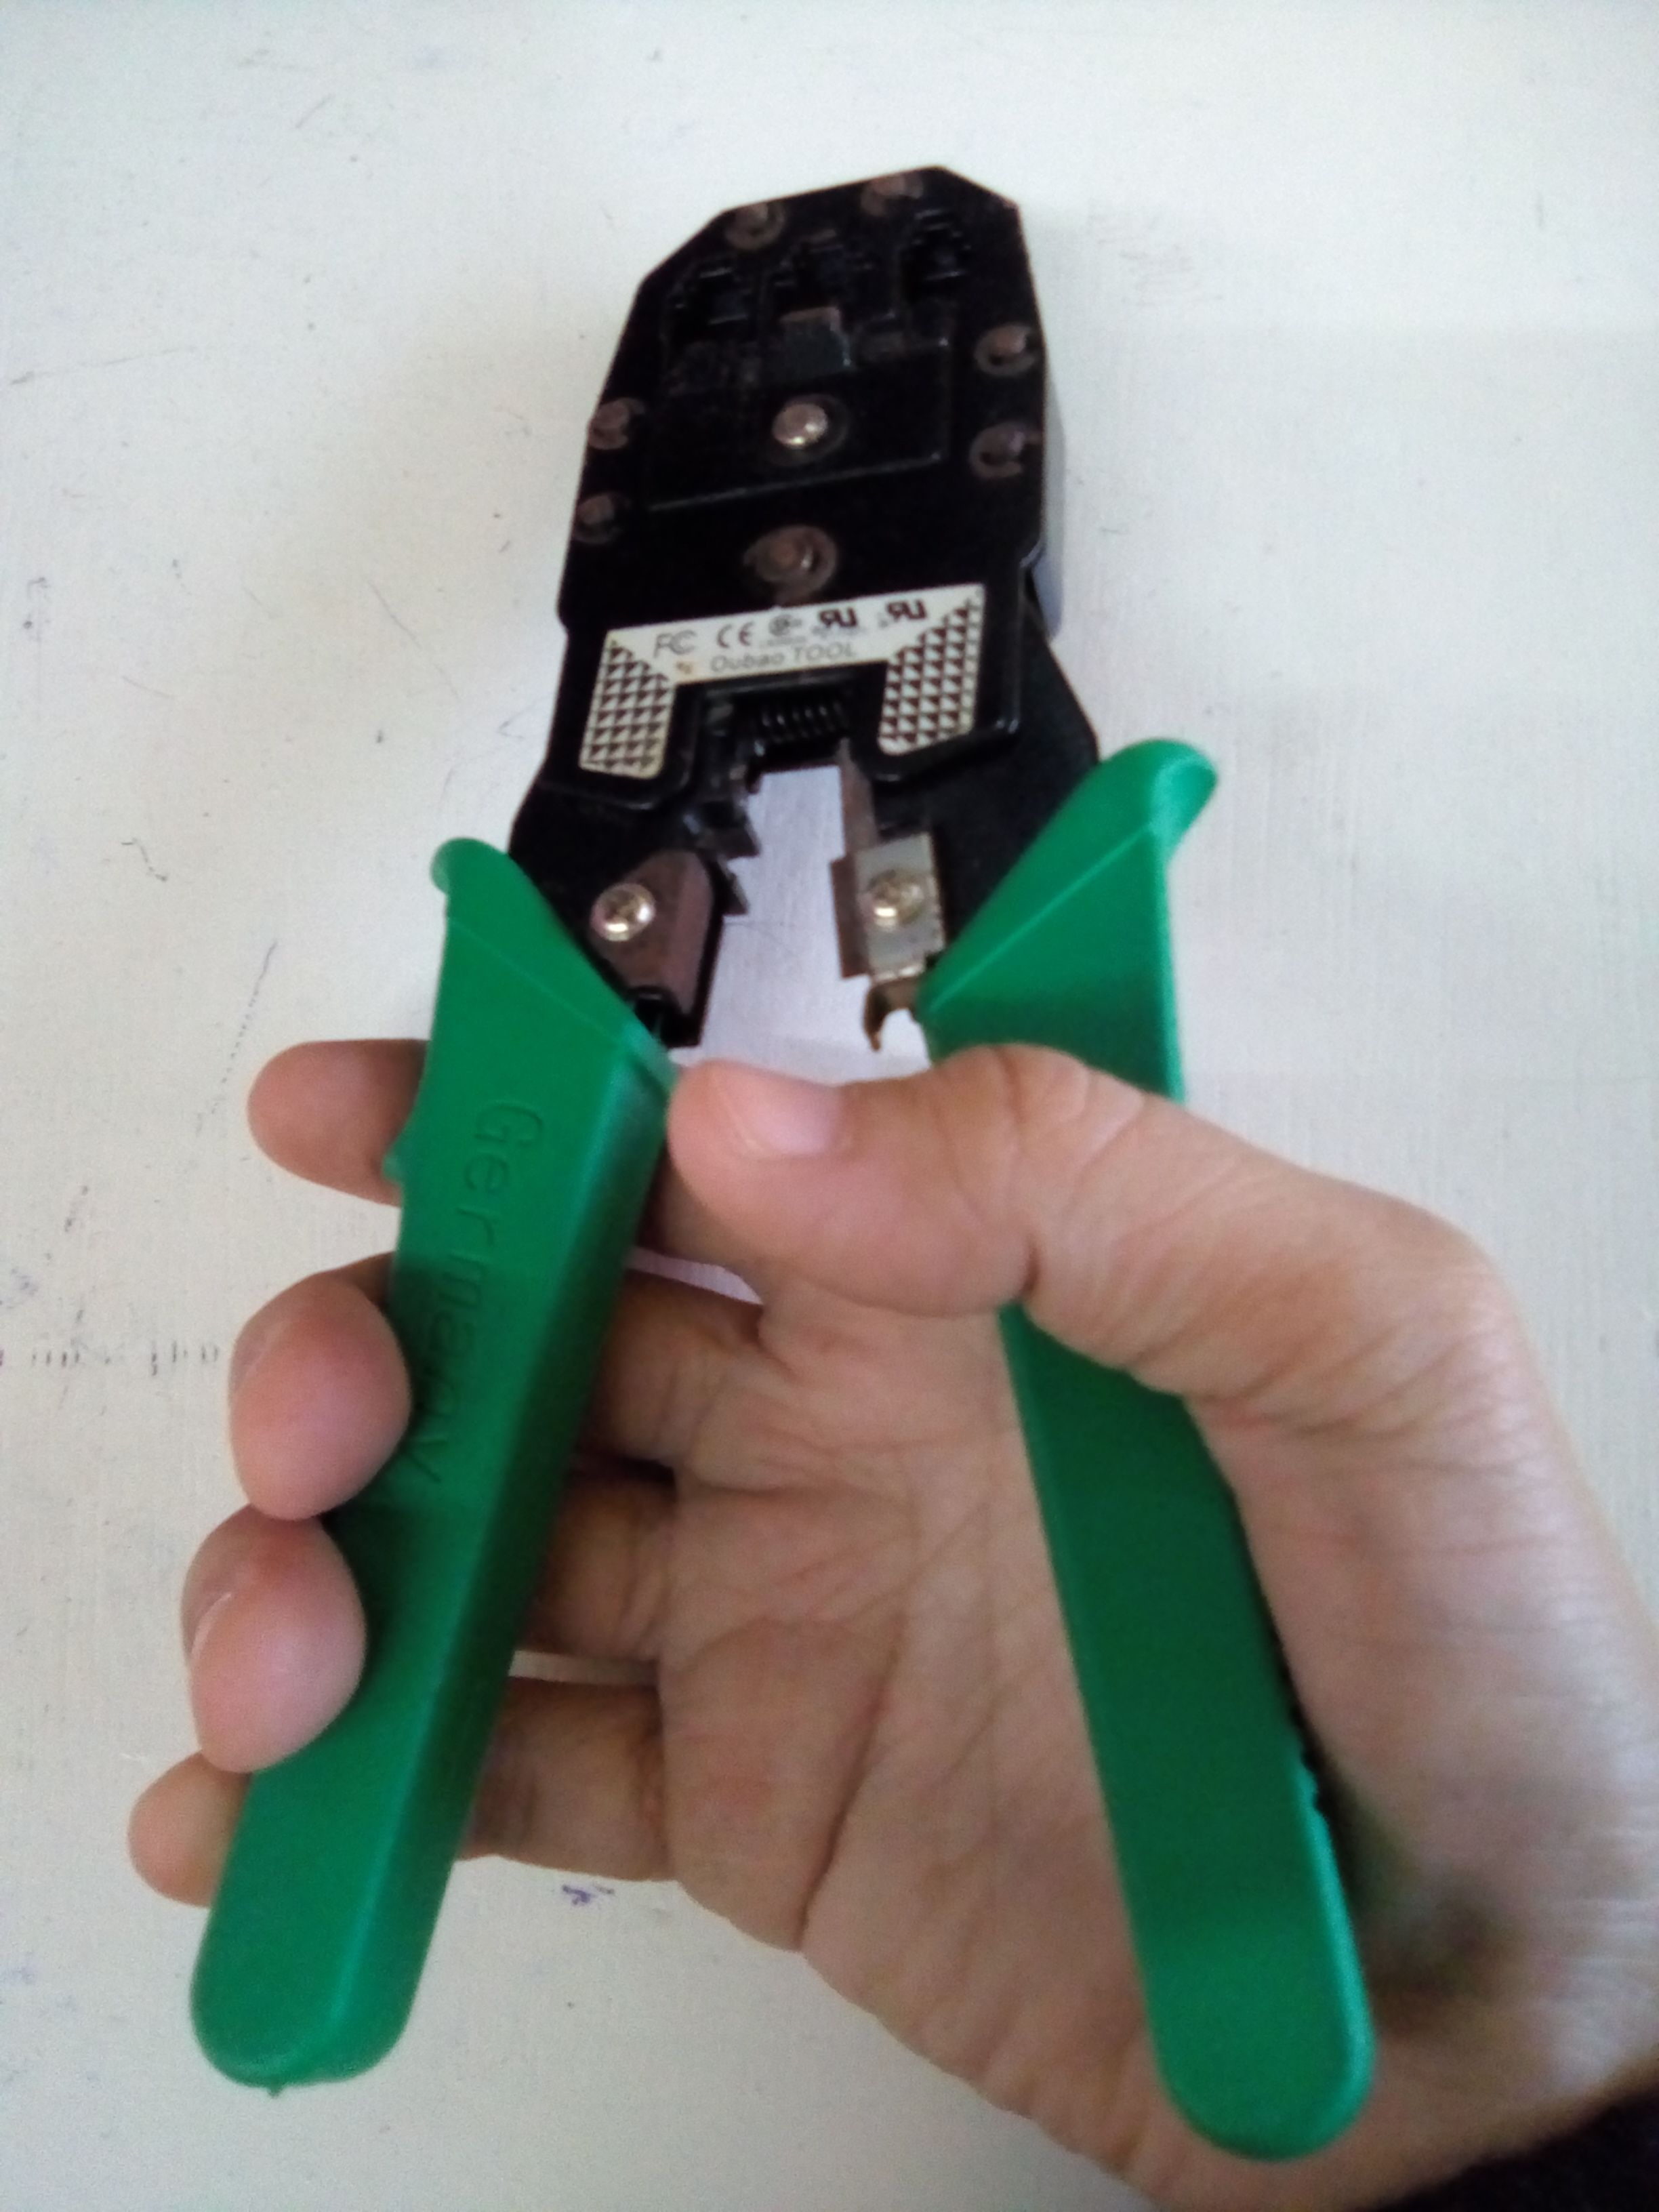
- Crimping tool
- A pair of scissors (optional)
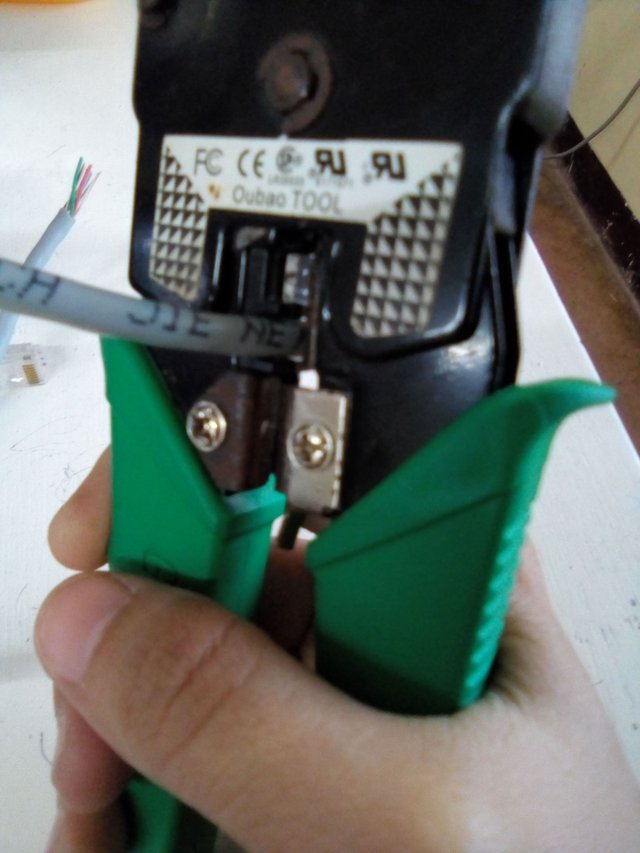
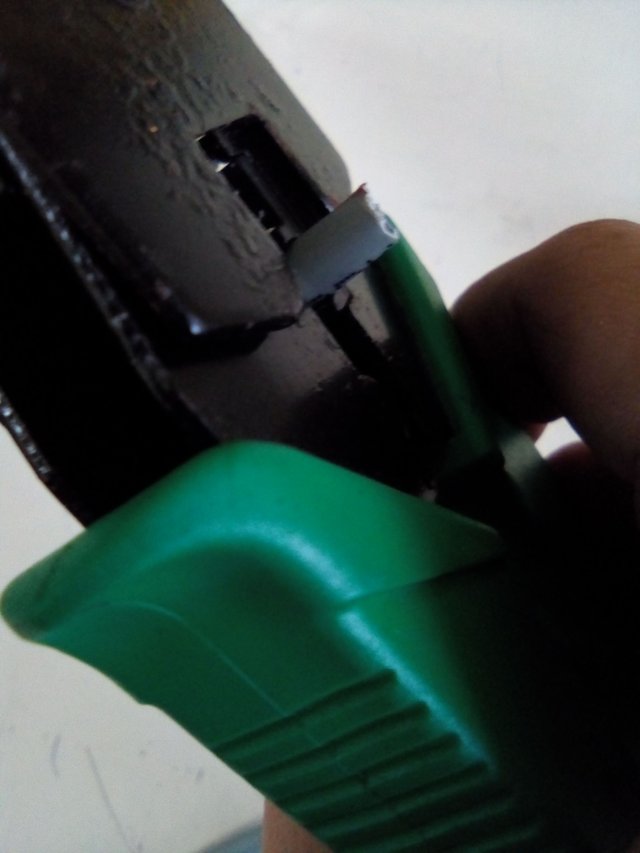
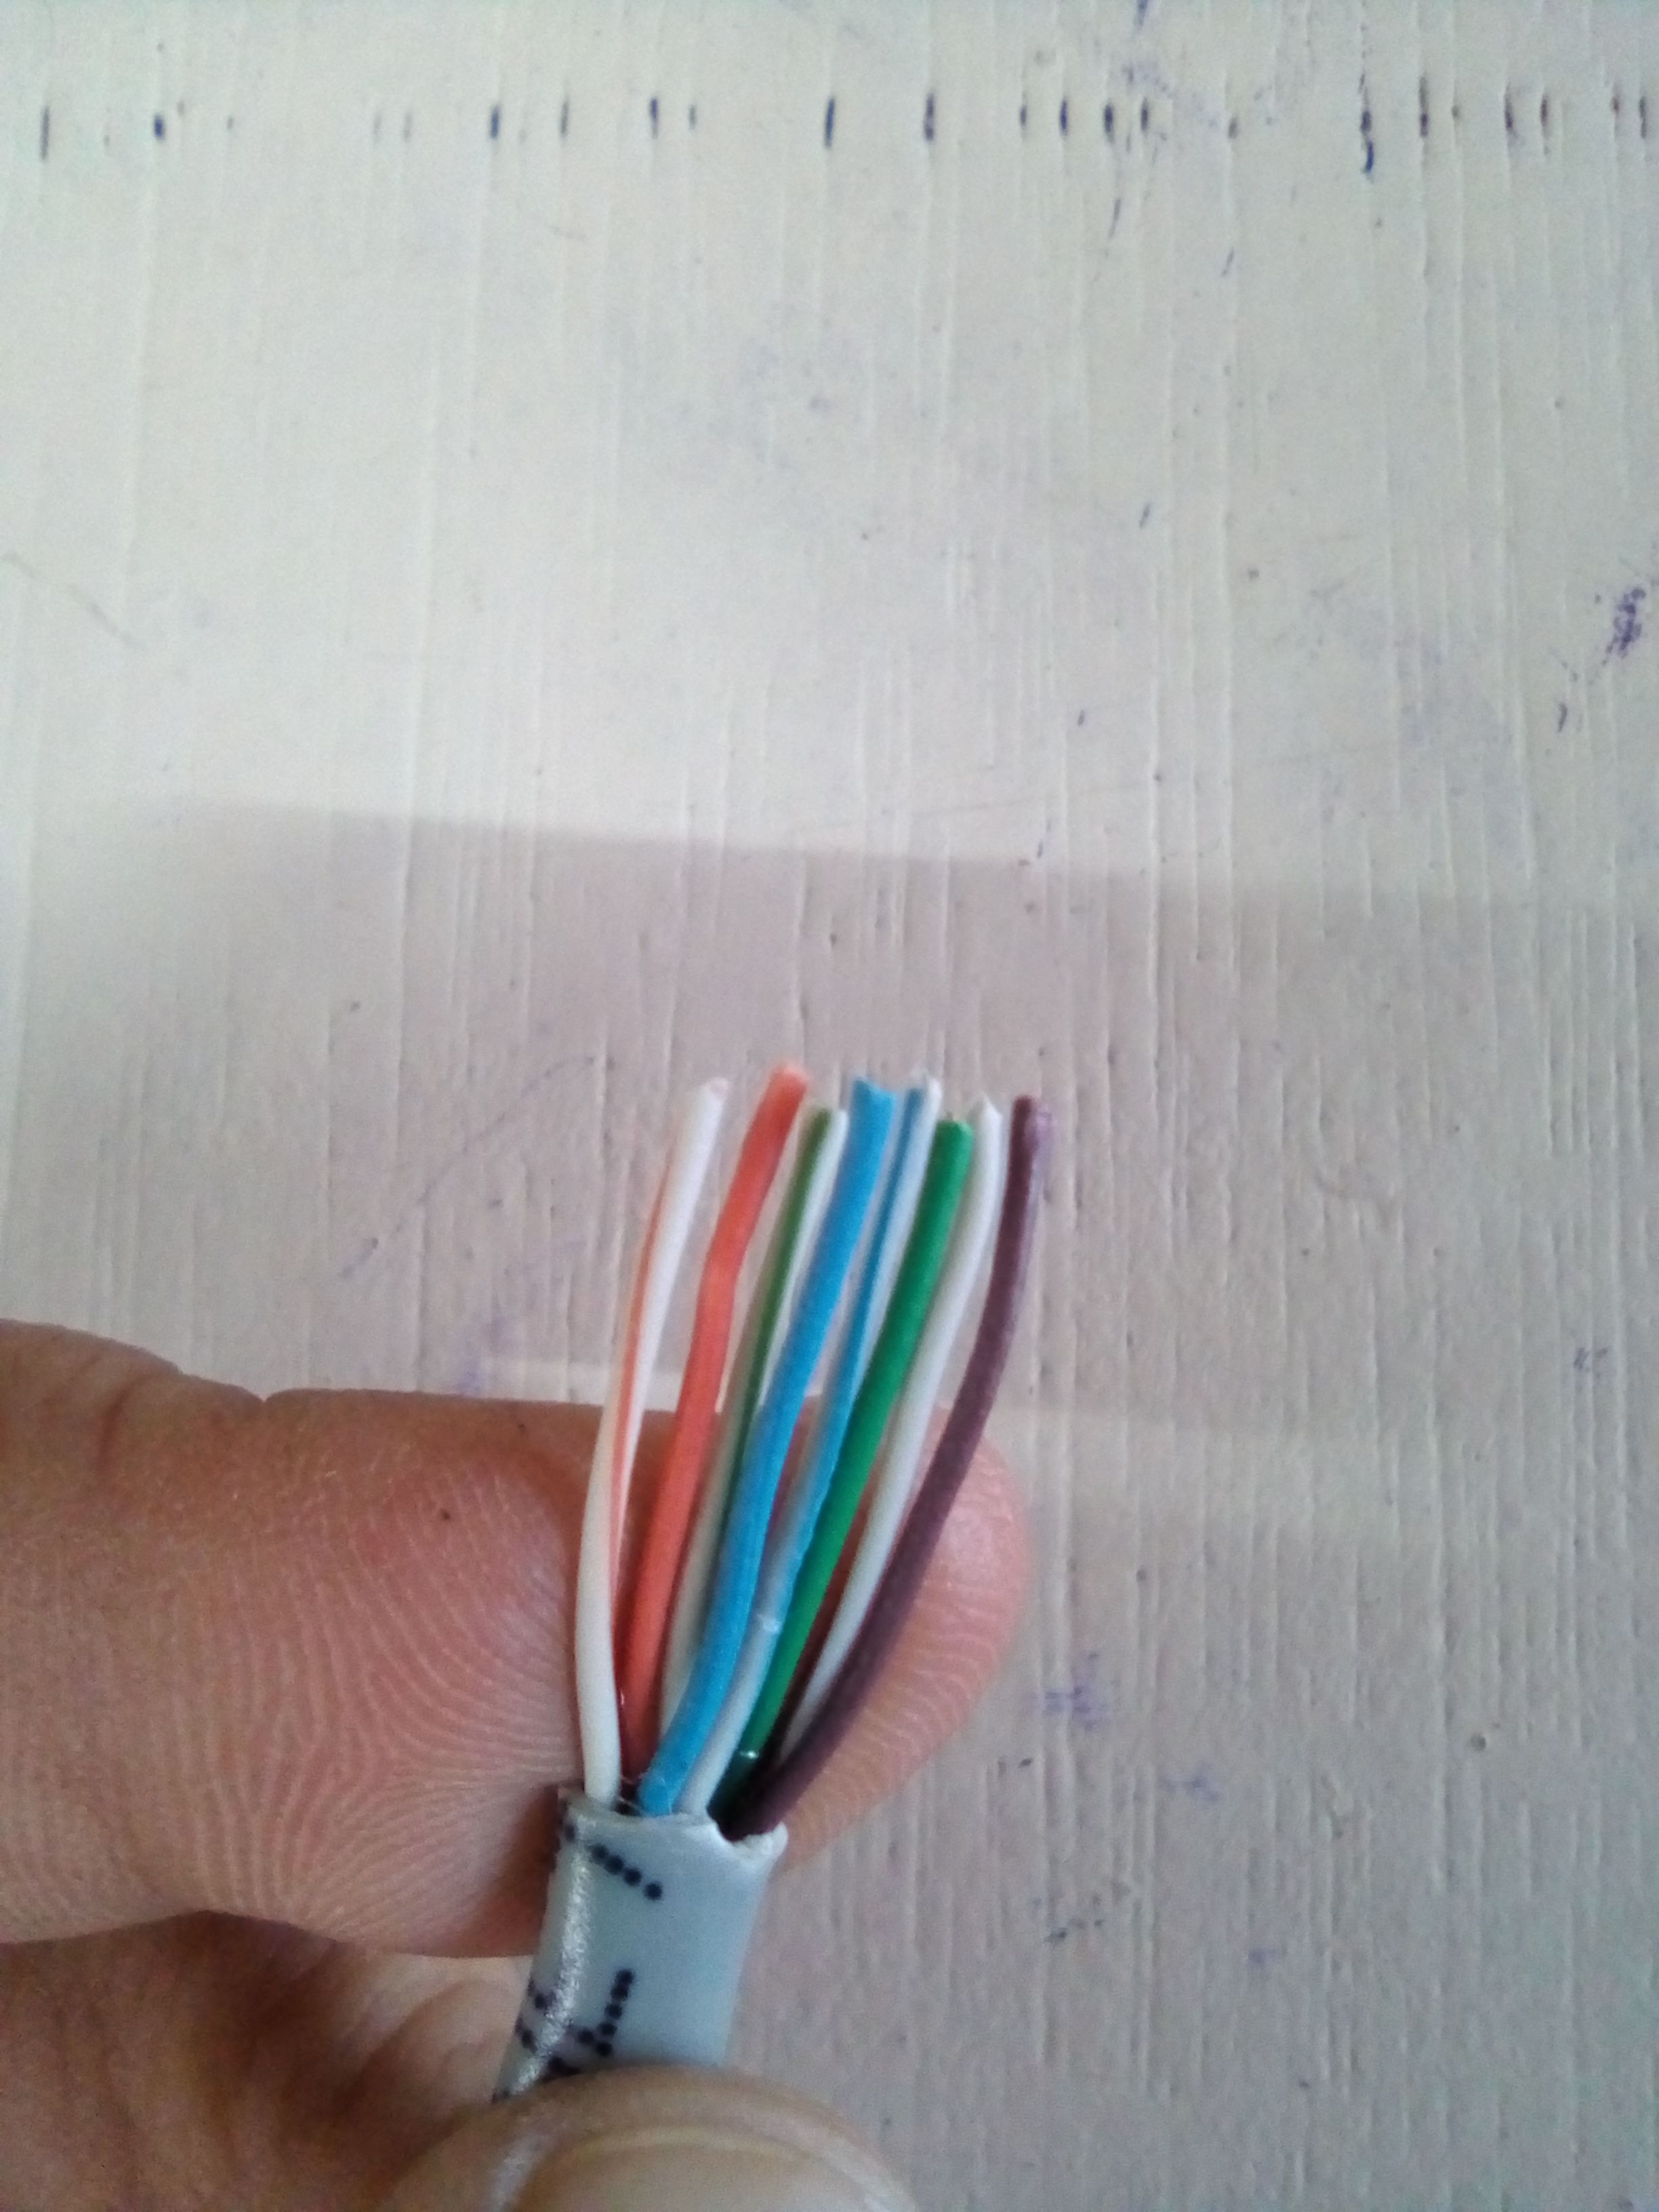
Step 1: Gather tools and materials first. Using the crimping tool or wire stripper, peel the UTP plastic sheath about 1 inch.
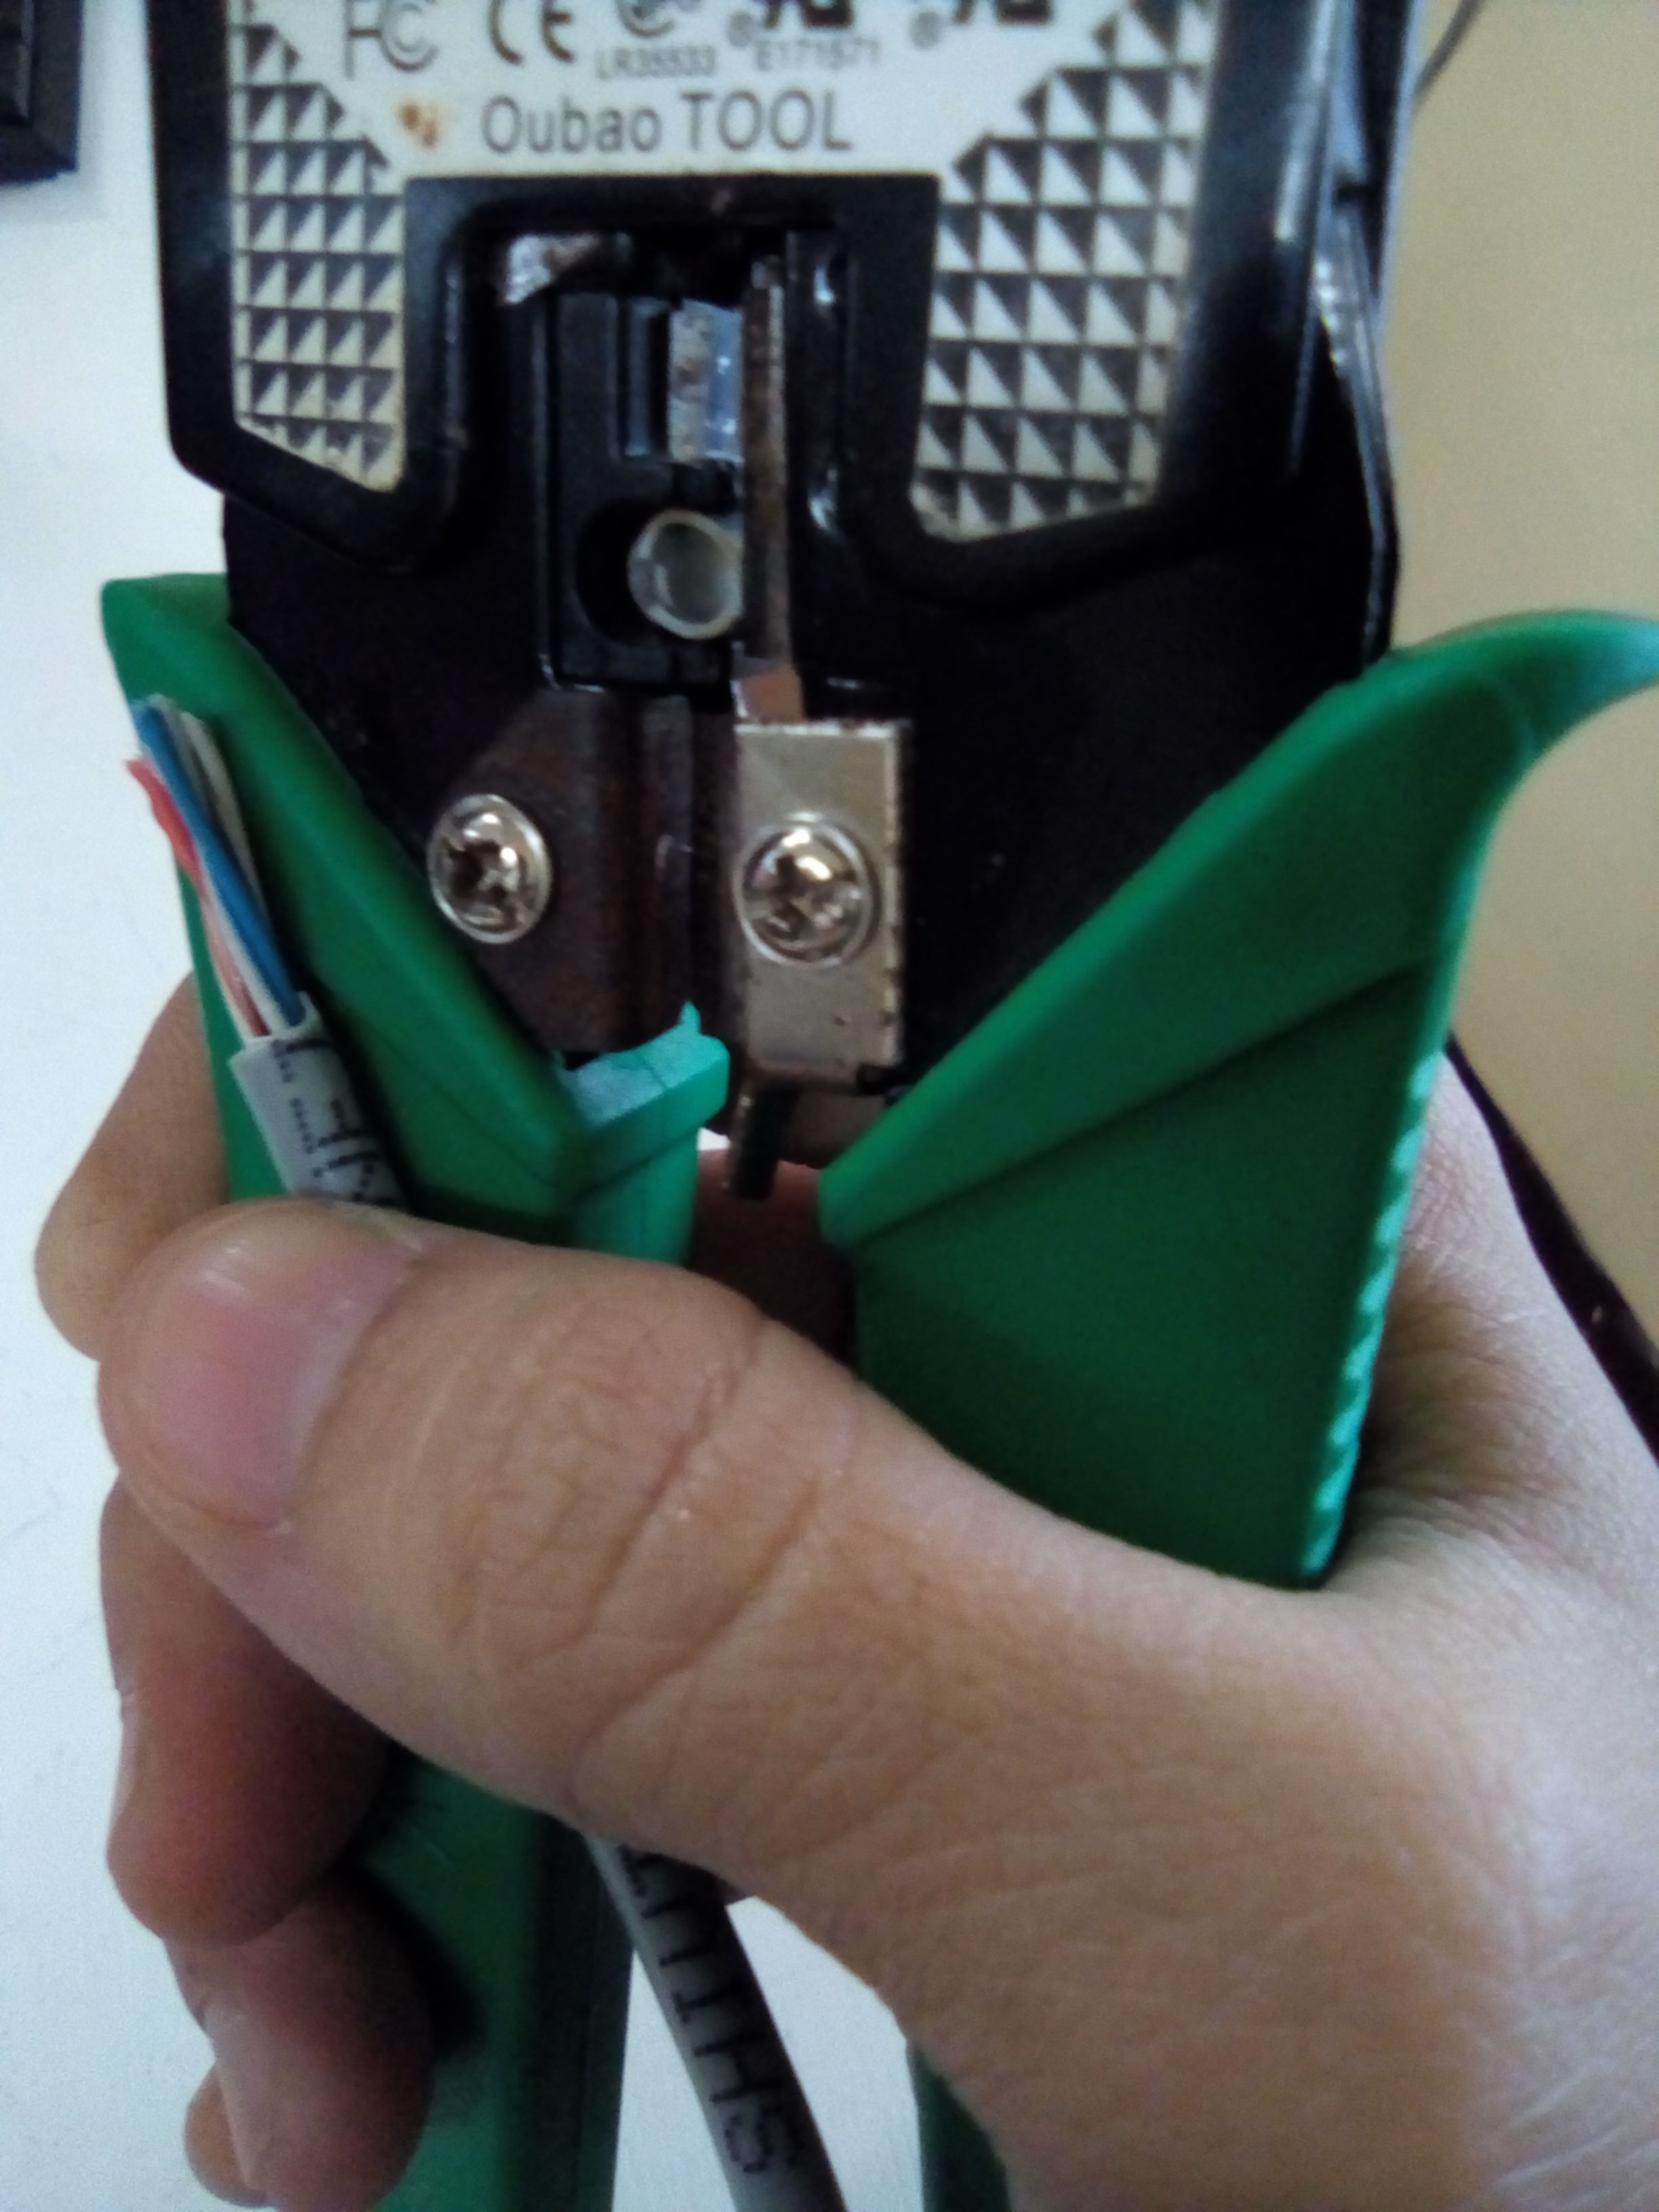
Get to know the colors of the wire inside the the UTP. There are 8 wires with different colors
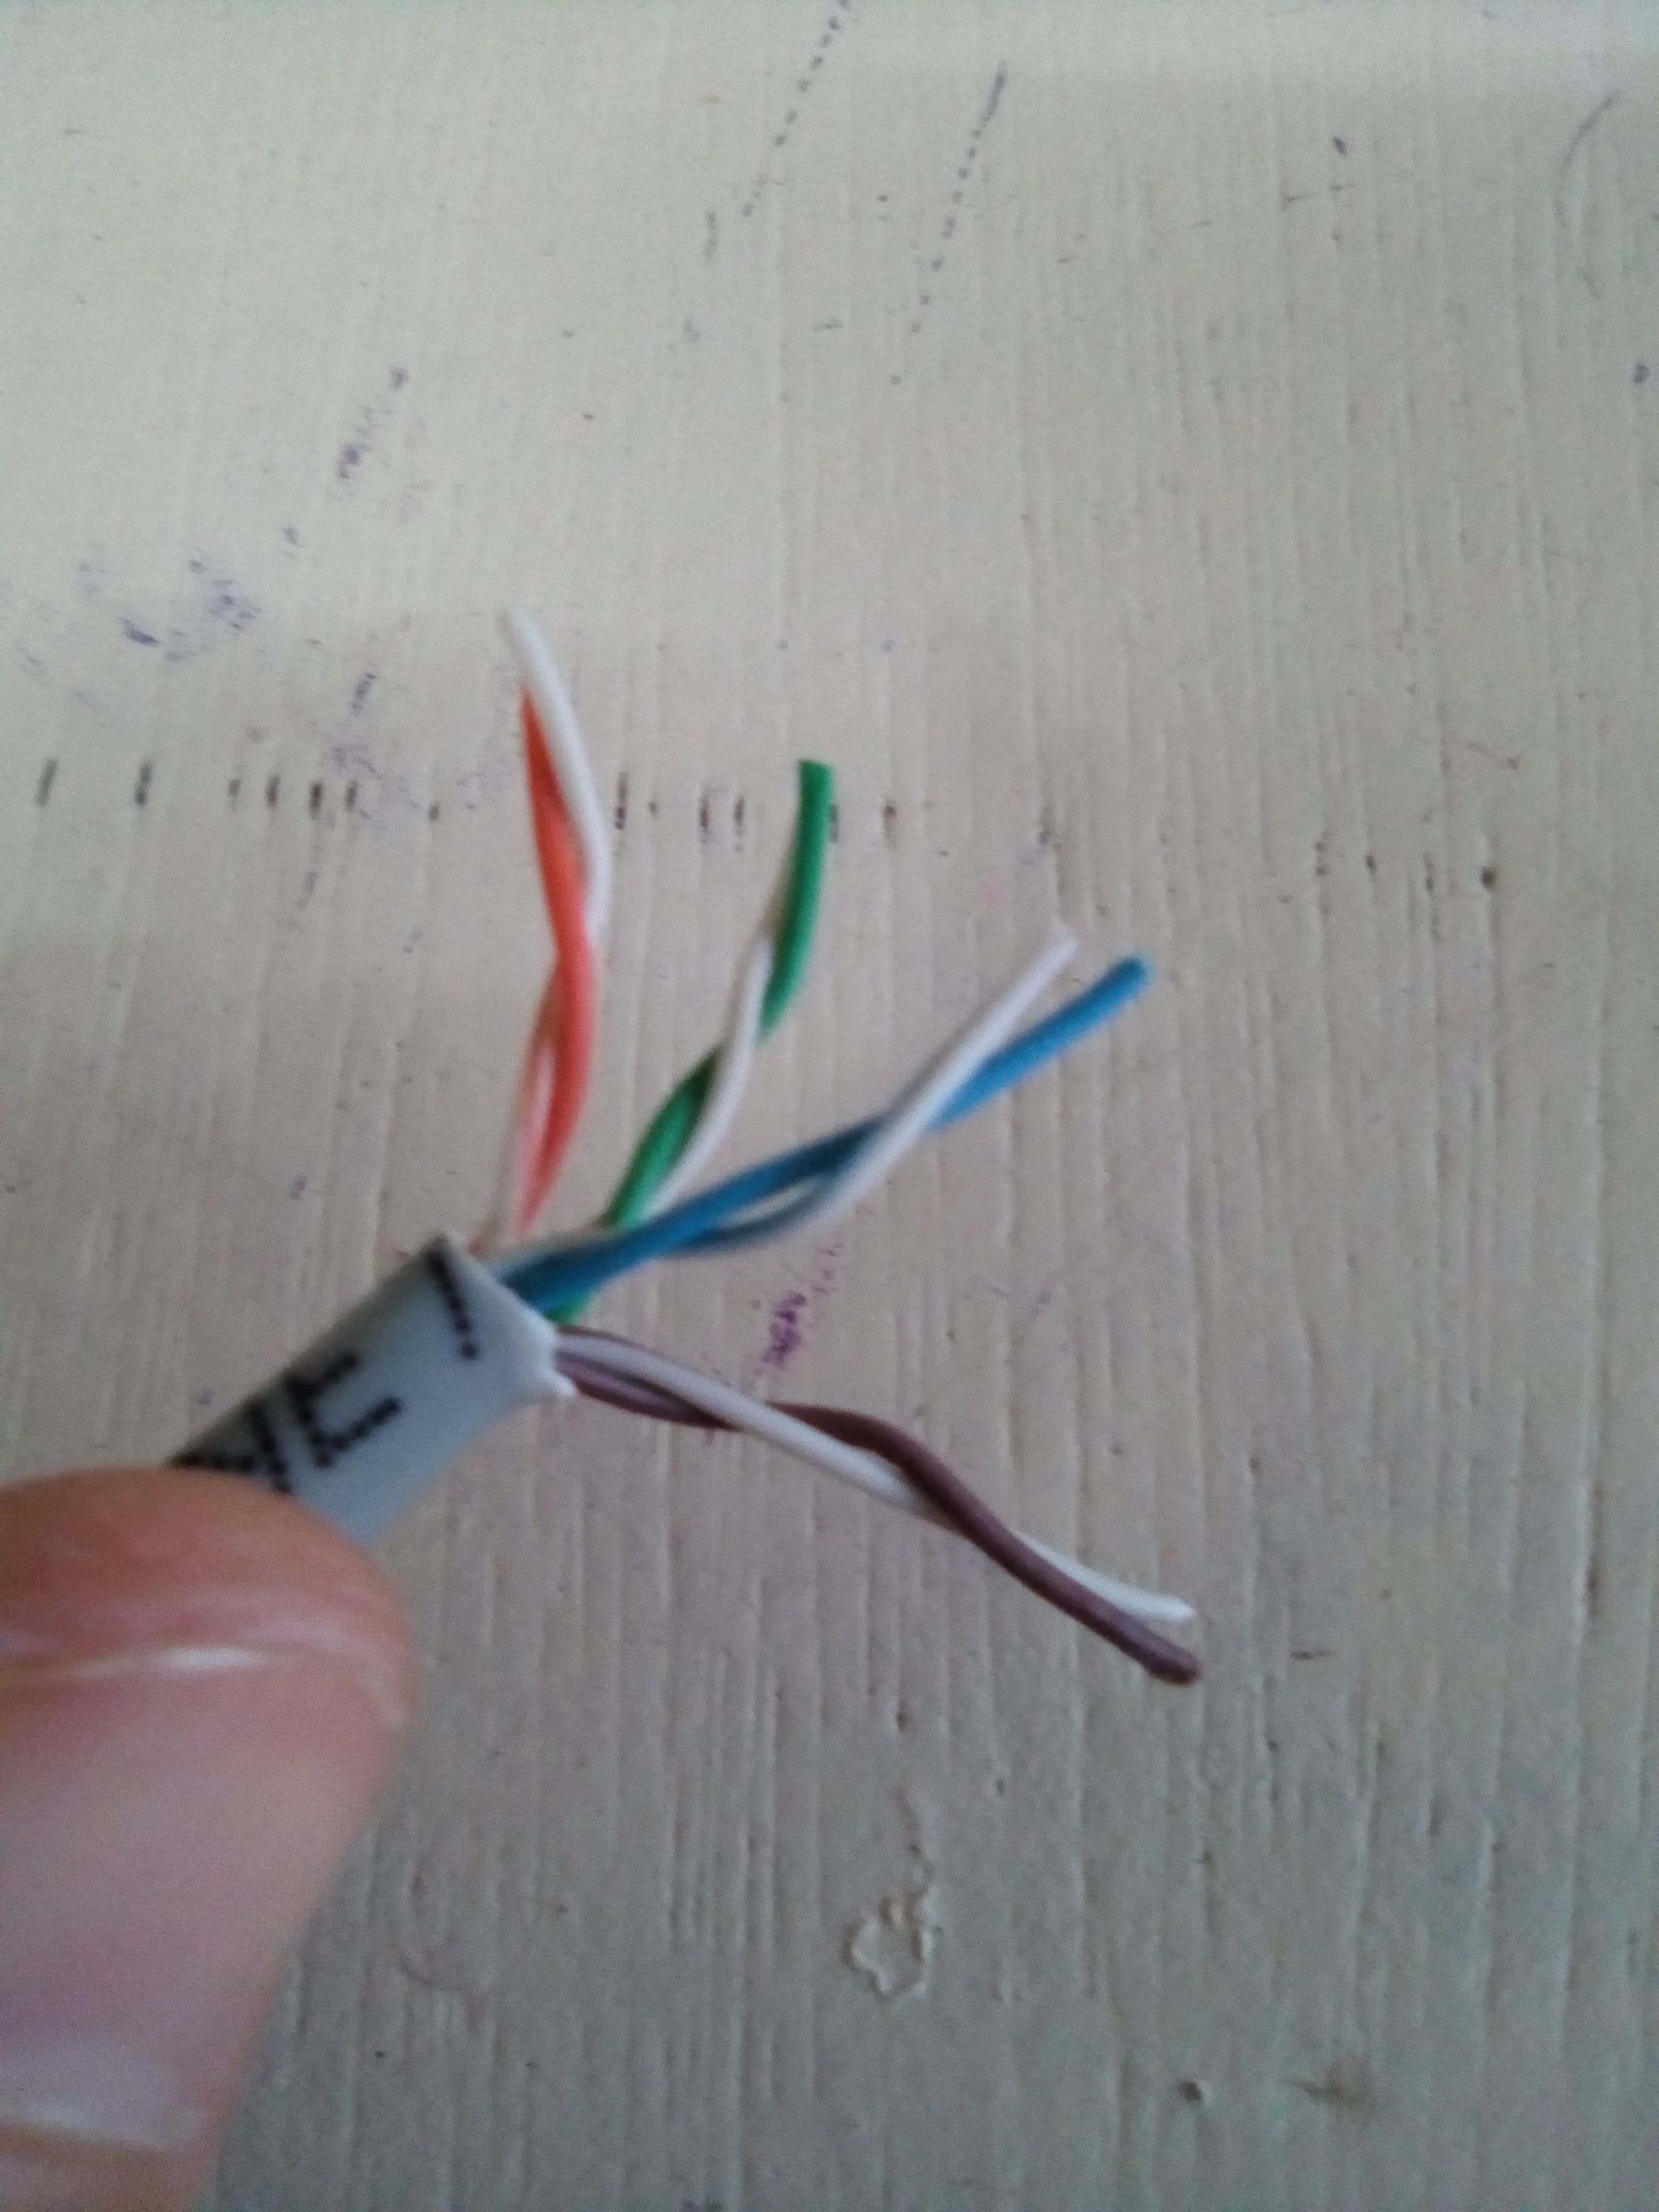
Step 2:These wires are in twisted pairs so we have to unwind them. After unwinding the wires, we are ready to arrange the colors.
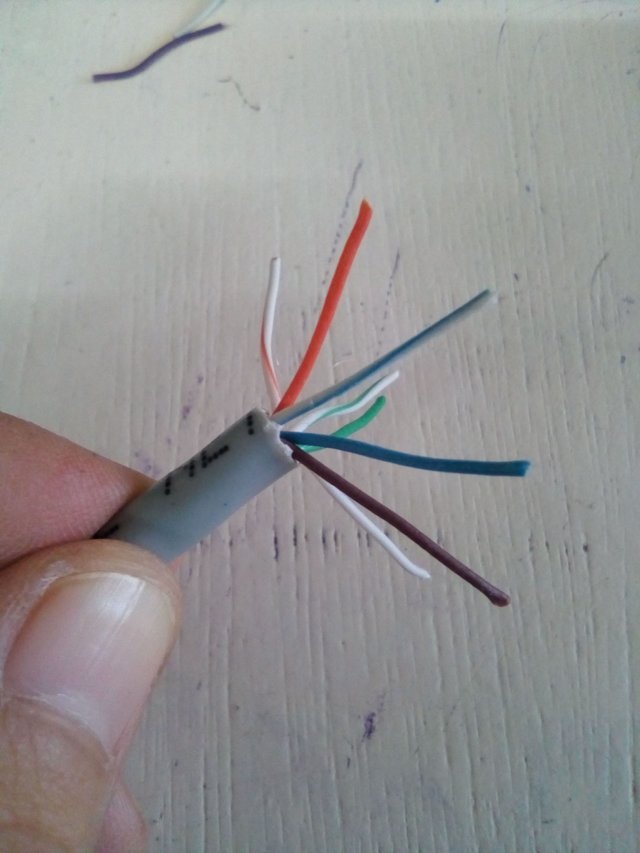
From the left (striped orange, orange, striped green, blue, striped blue, green, striped brown, brown)
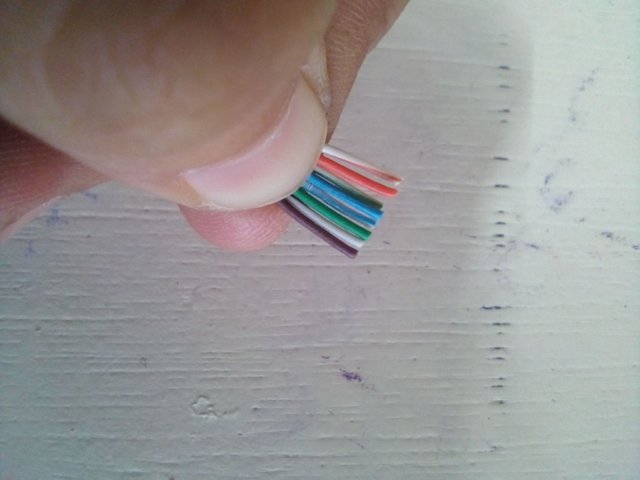
Step 3: As you were arranging, pinch the wires. Then cut them straight.
Step 4: Now we are ready to put the cut wires to the RJ 45. Make sure they are still in proper arrangement of colors. RJ 45 should be at the conductors side while inserting the wires.
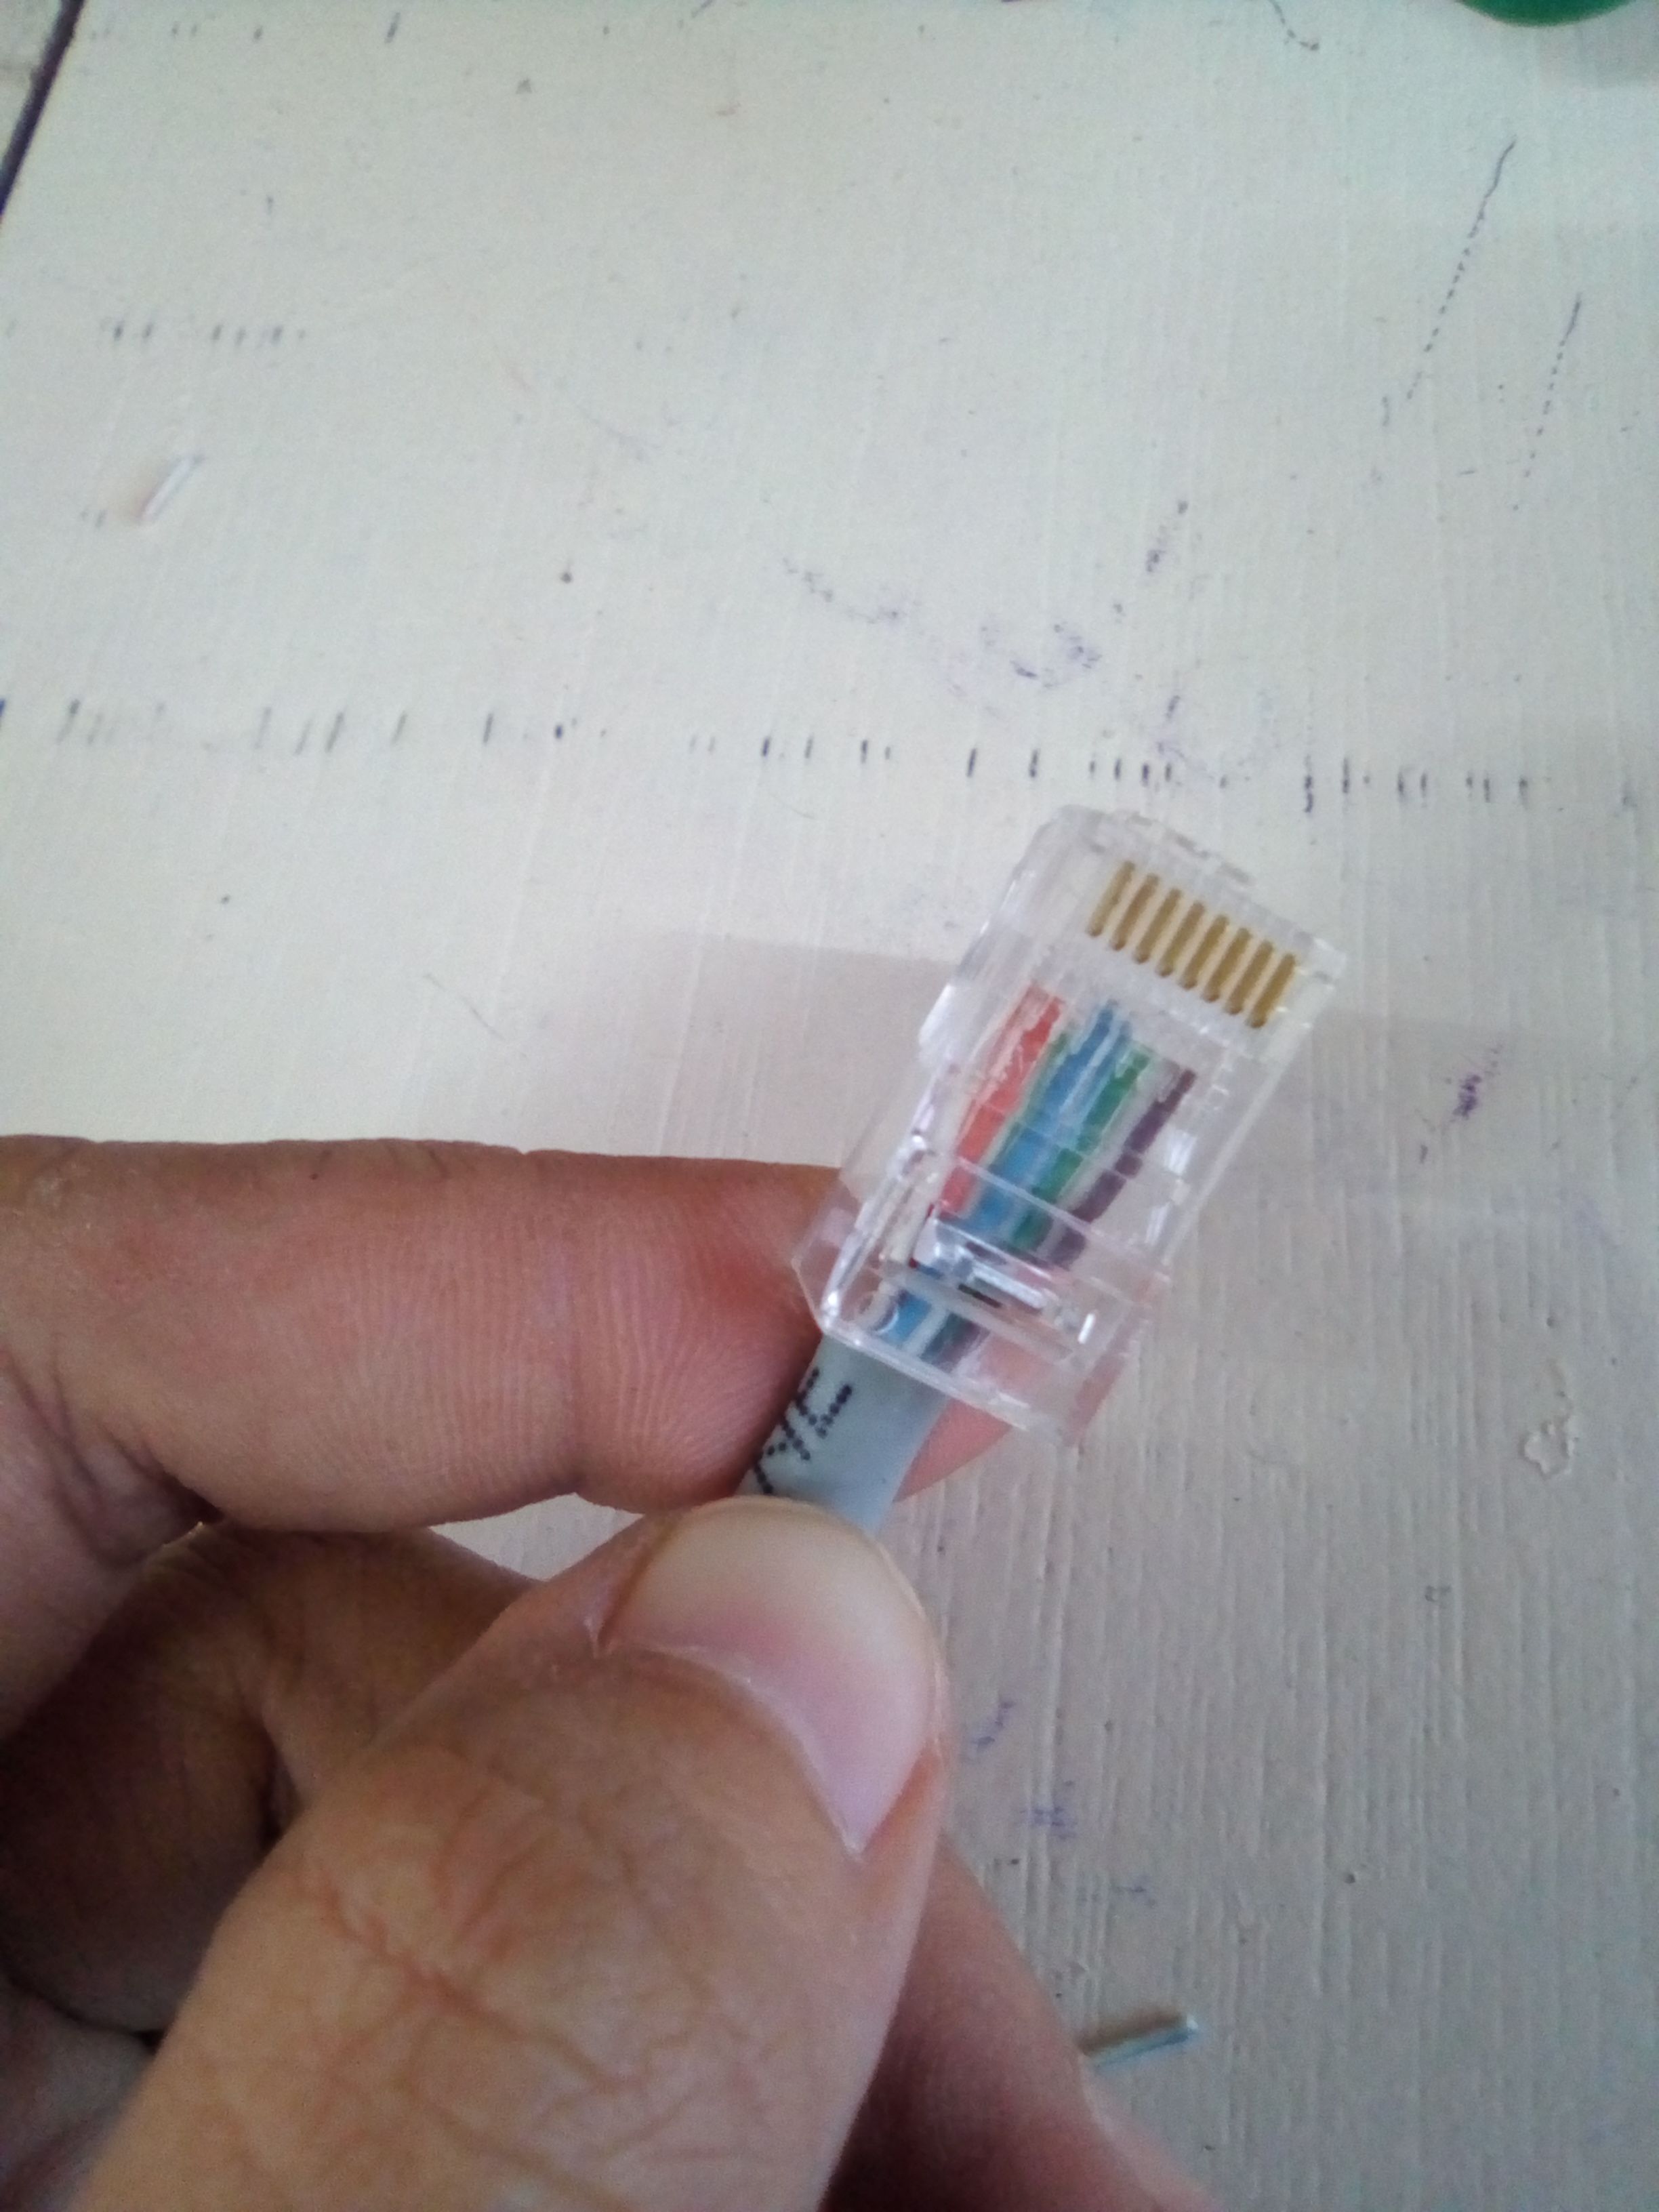
Make sure the wires were pushed towards the end part of the RJ 45.
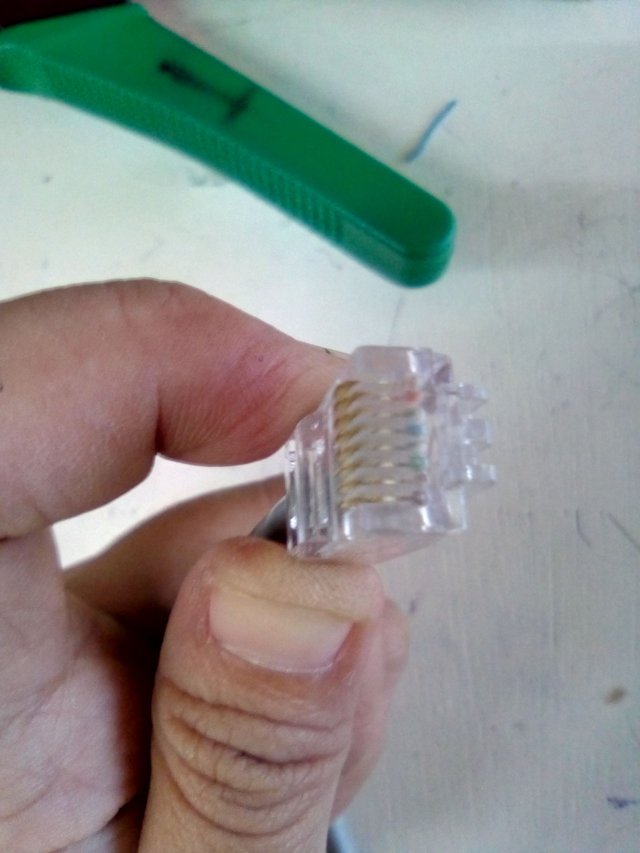
Step 5: Then it's time to crimp! Insert the RJ 45 to the whole of the crimping tool. Once it is inserted, crimp the RJ 45 it with all your might. 🤠
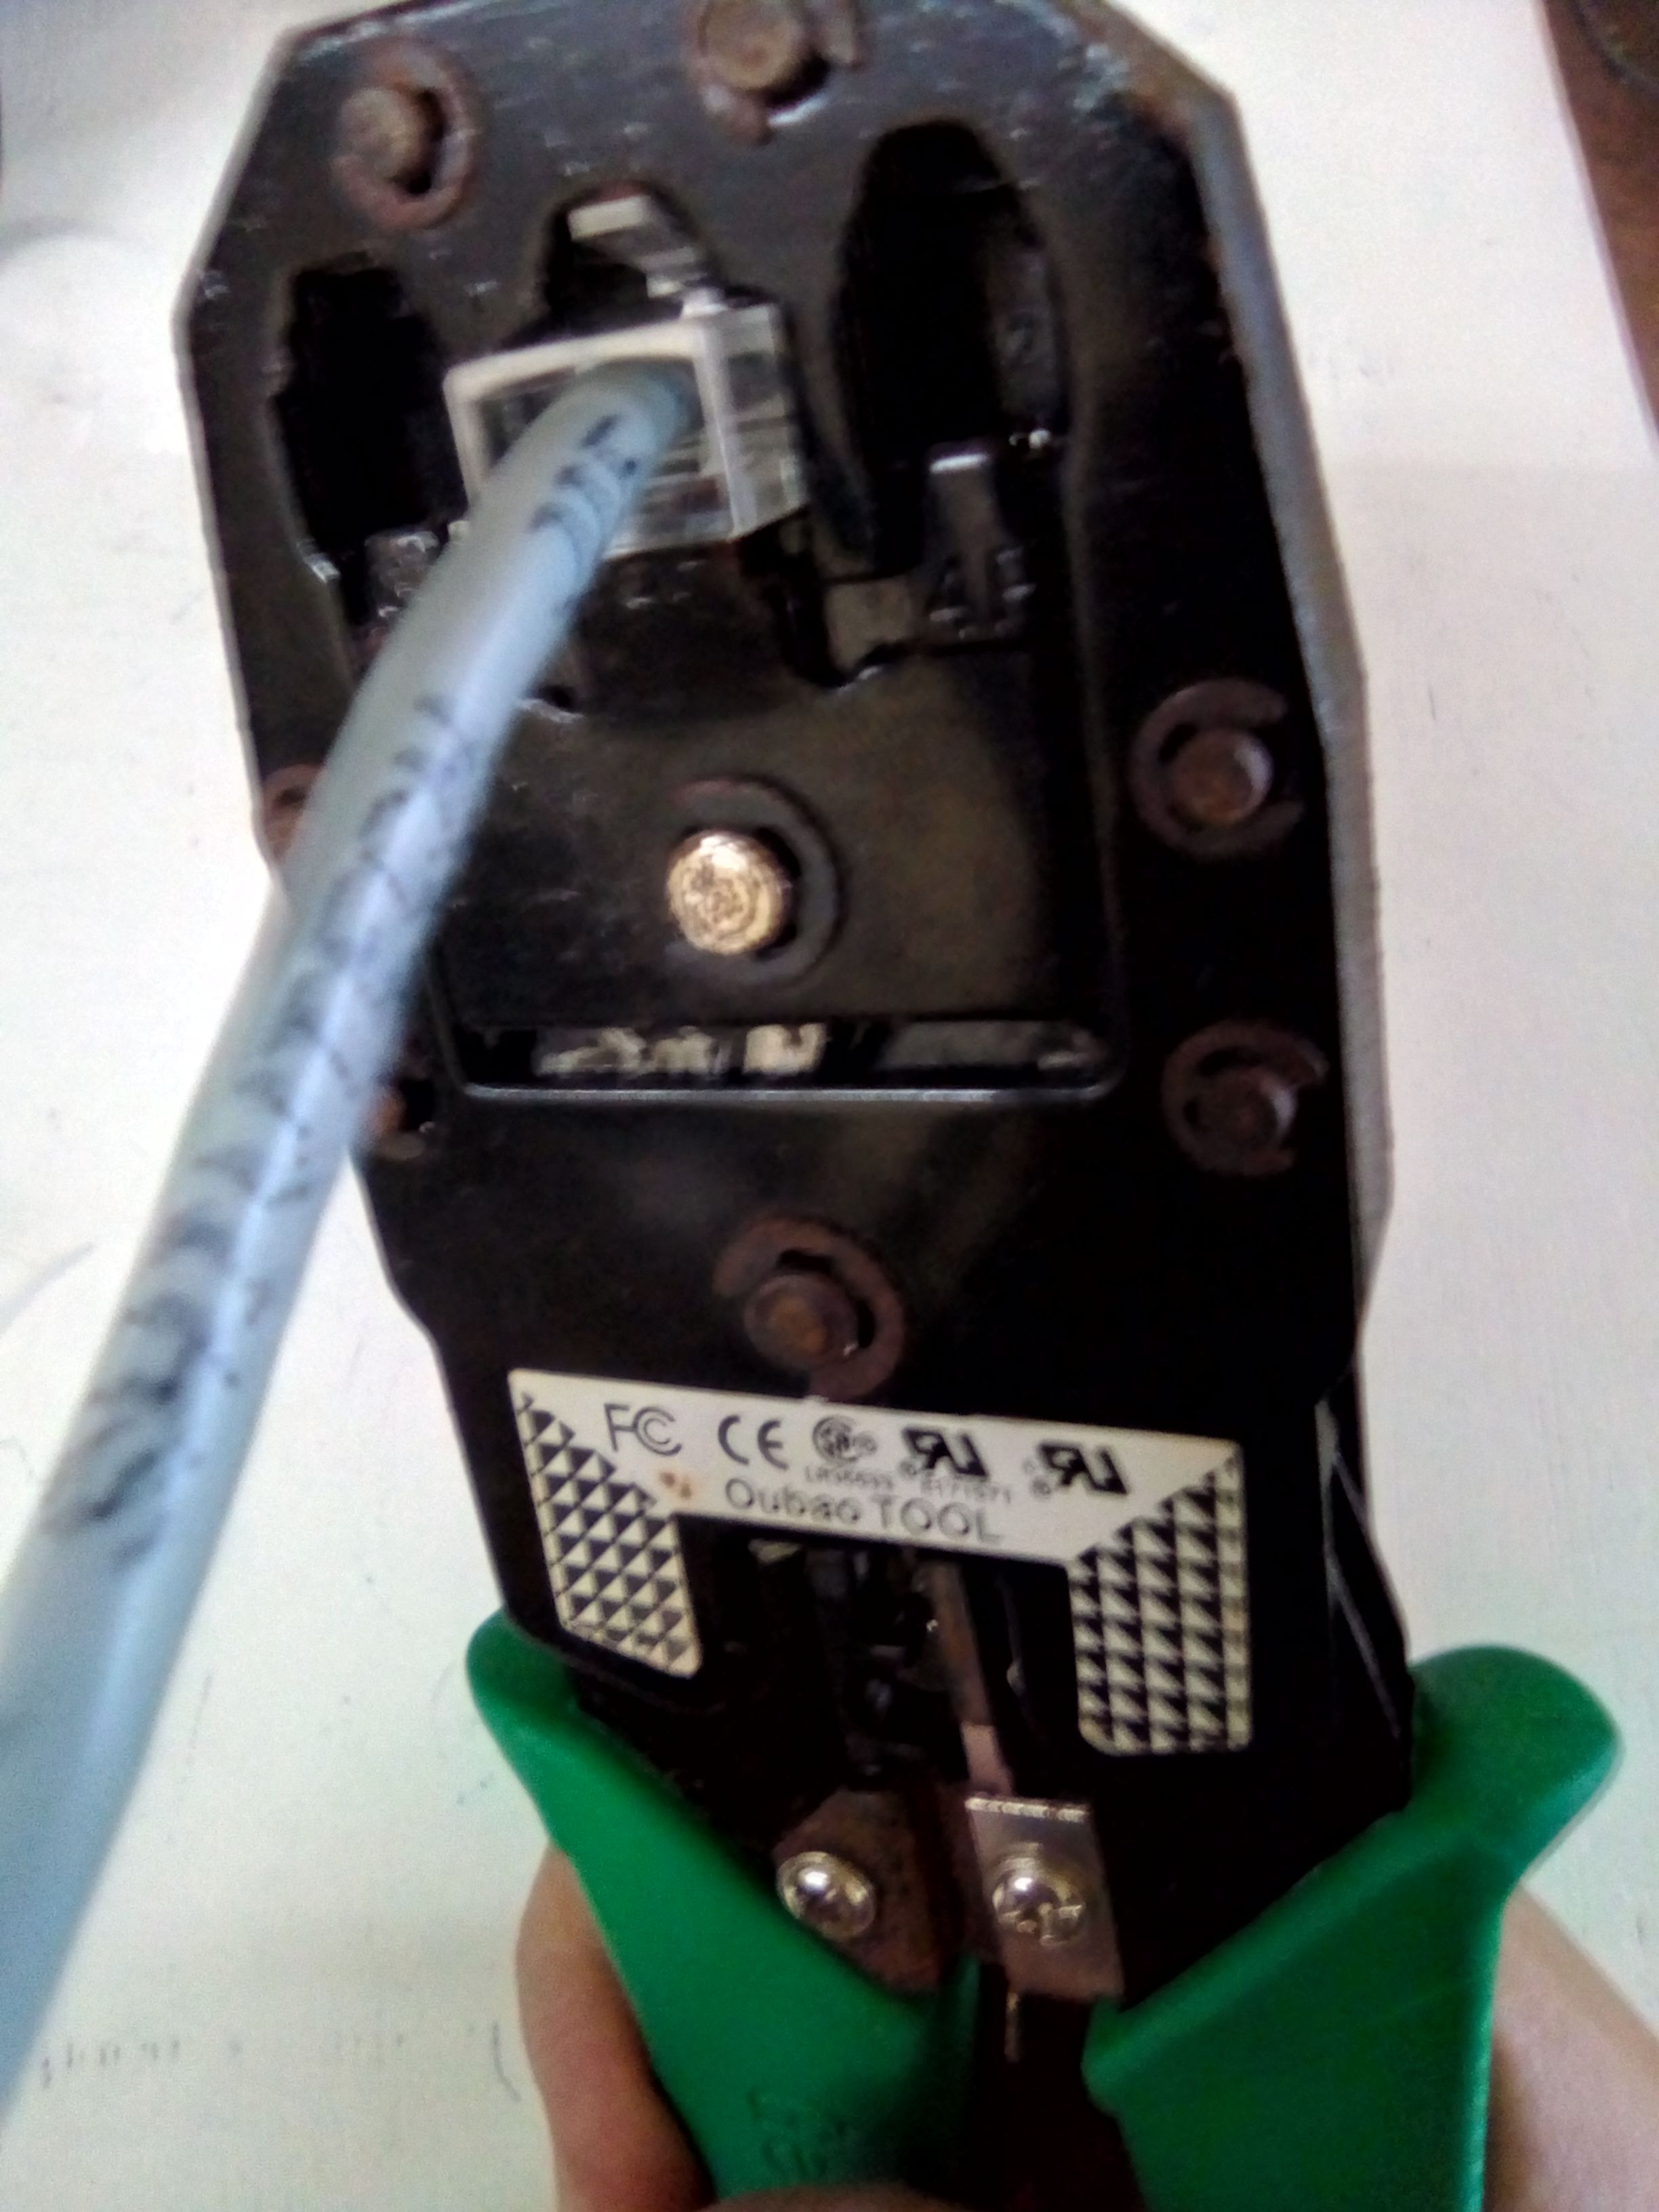
Step 6: Once you're done crimping, do the other end of the cable by following the same procedure. When you're done with both ends, you have now a straight-through network cable. But wait, you have to check how well is your personalized cable with the use of LAN tester or cable tester.

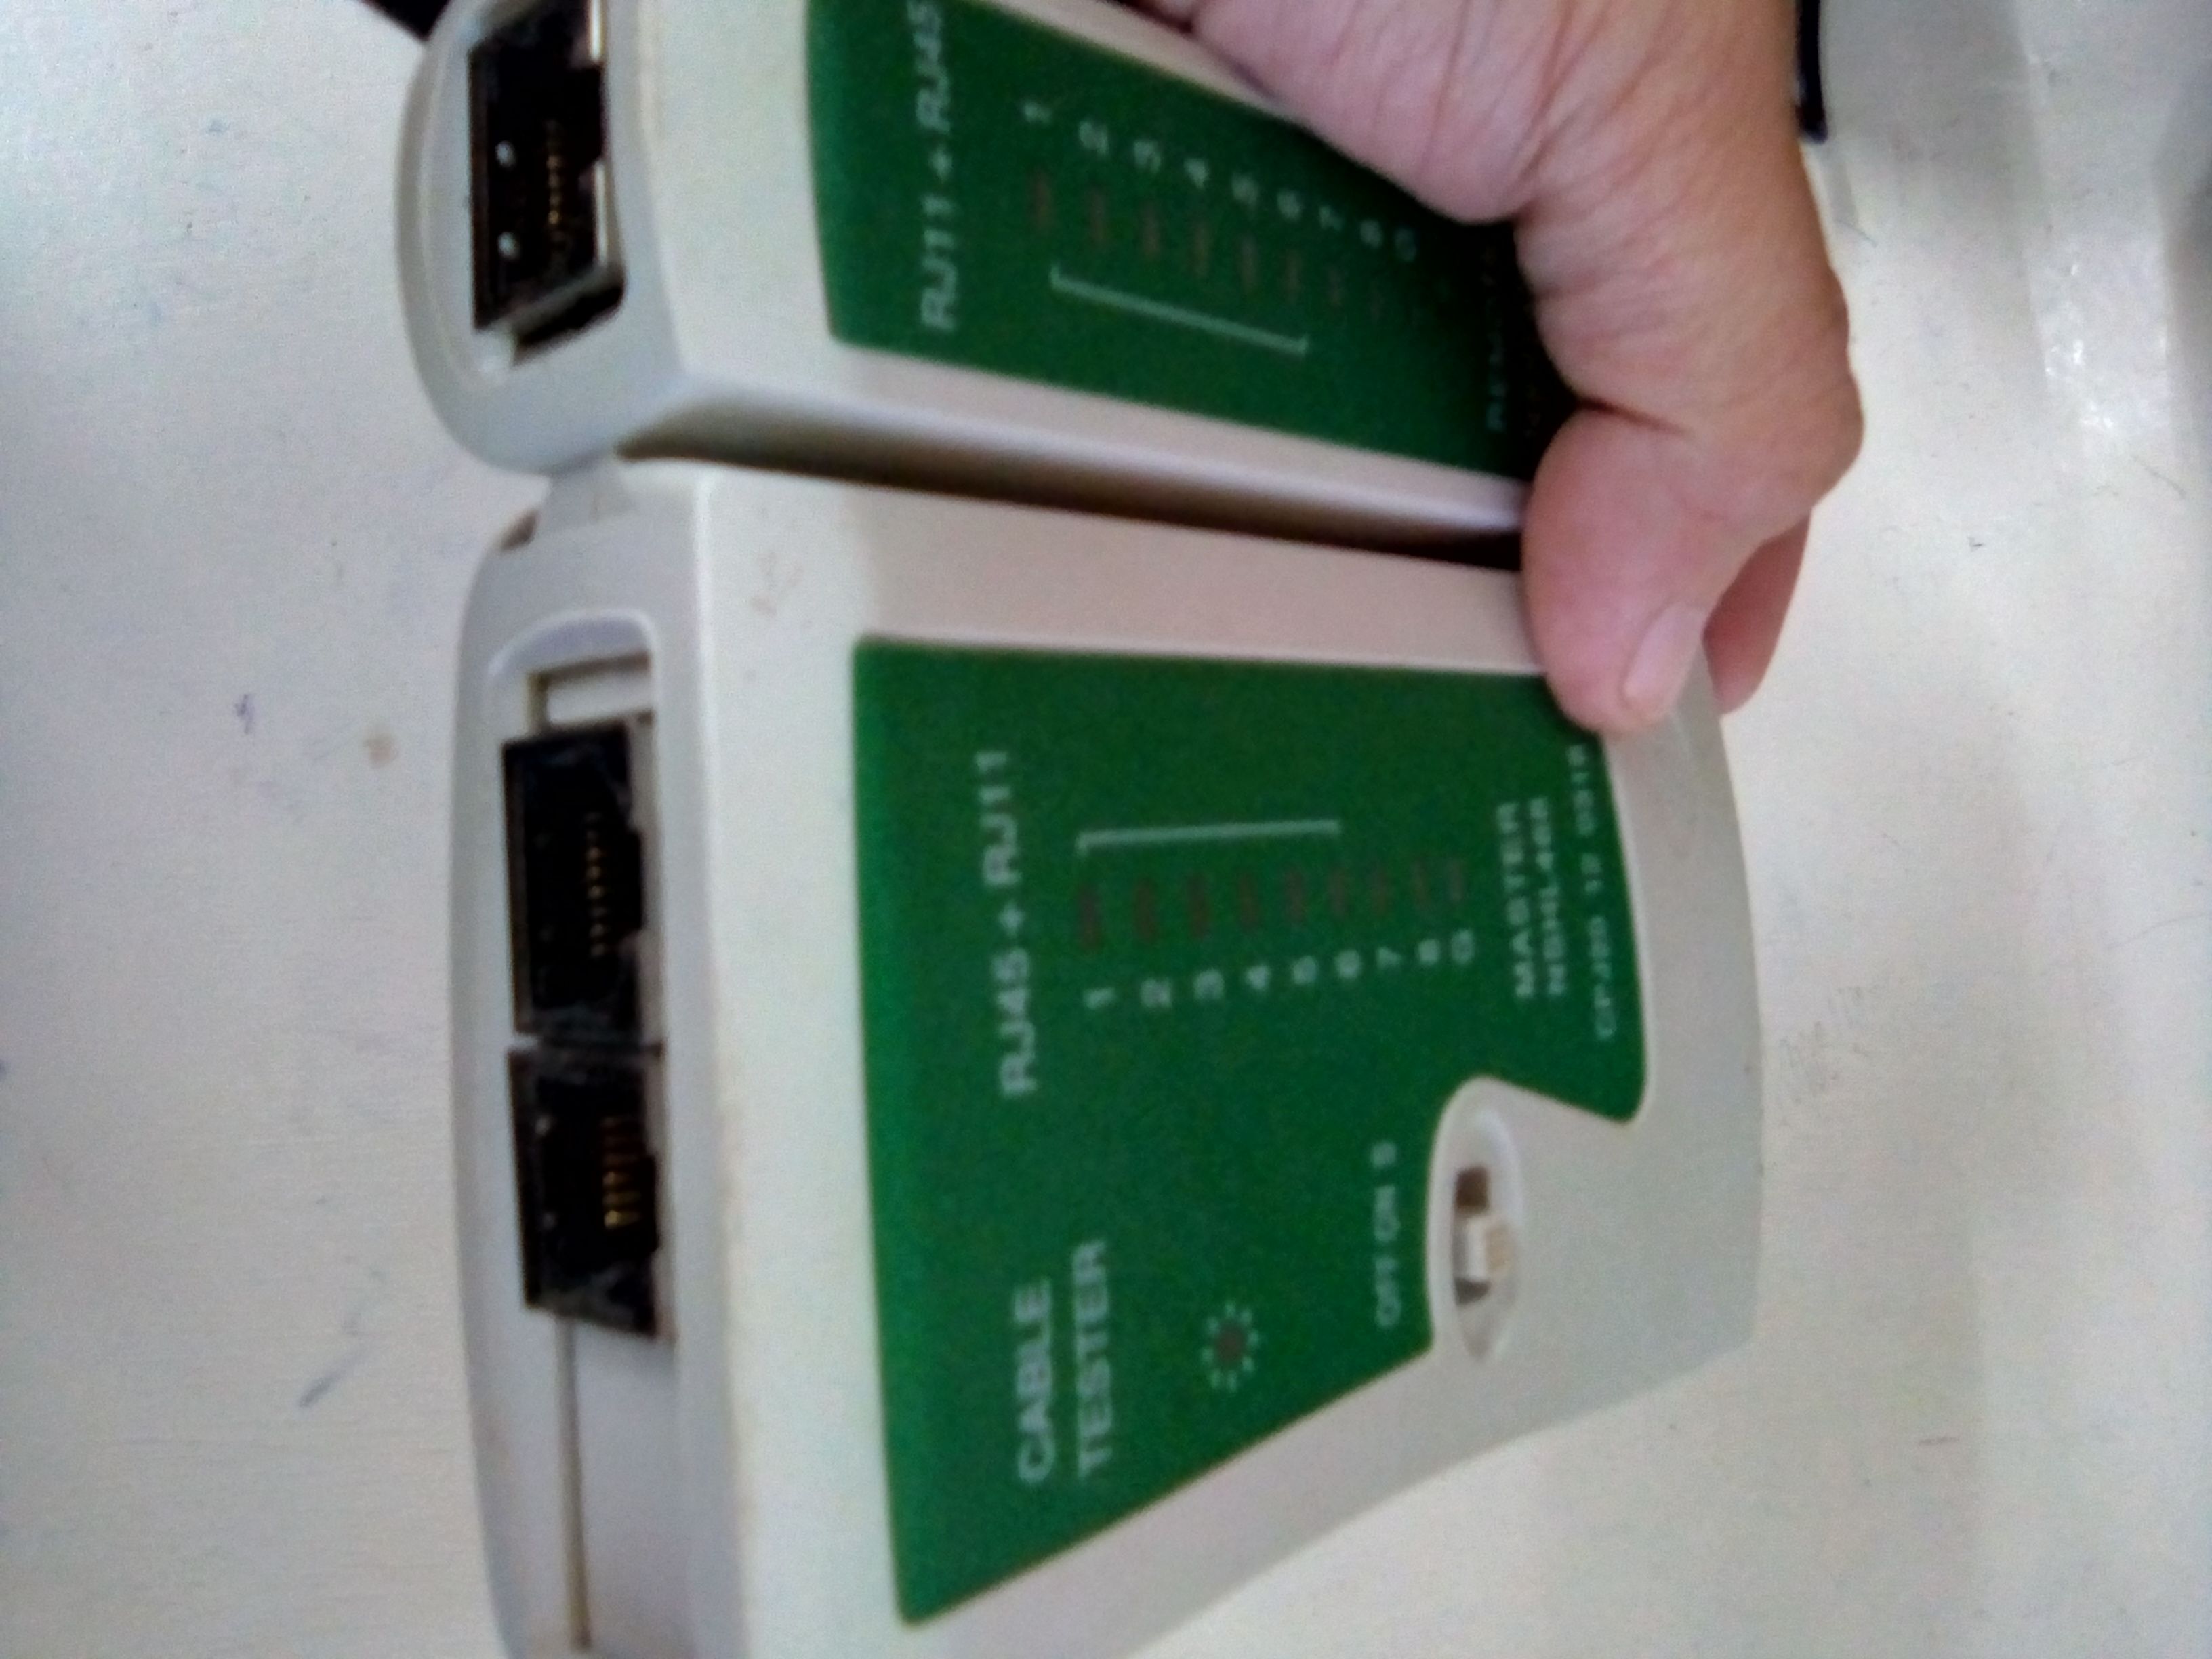
The cable tester has 2 sides with 8 numbers with lights. To check the functionality of cables, for straight-through cable, the eight numbers with light represent your wire, all numbers should light starting from 1 to 8. If you have crossover cable, one side of the cable tester will light accordingly from 1 to 8 but for the other side lights should follow this pattern, 3-6-1-4-5-2-7-8.
So how would make the crossover cable? Other end of the cable will follow the same procedure of straight through cable but other end will follow different arrangment of th 8 wires. The colors should be (from the left) striped green, green, striped orange, blue, striped blue, orange, striped brown, brown.
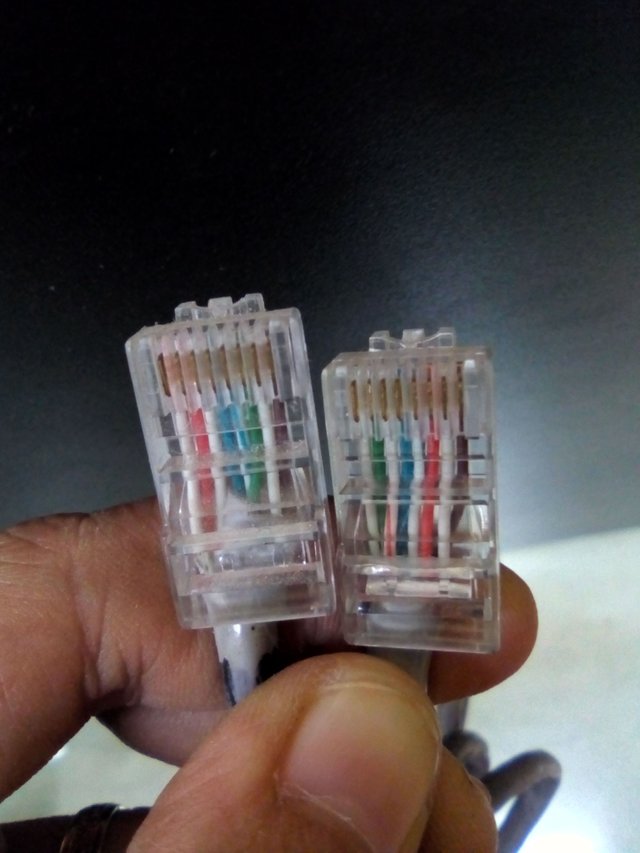 CROSSOVER CABLE
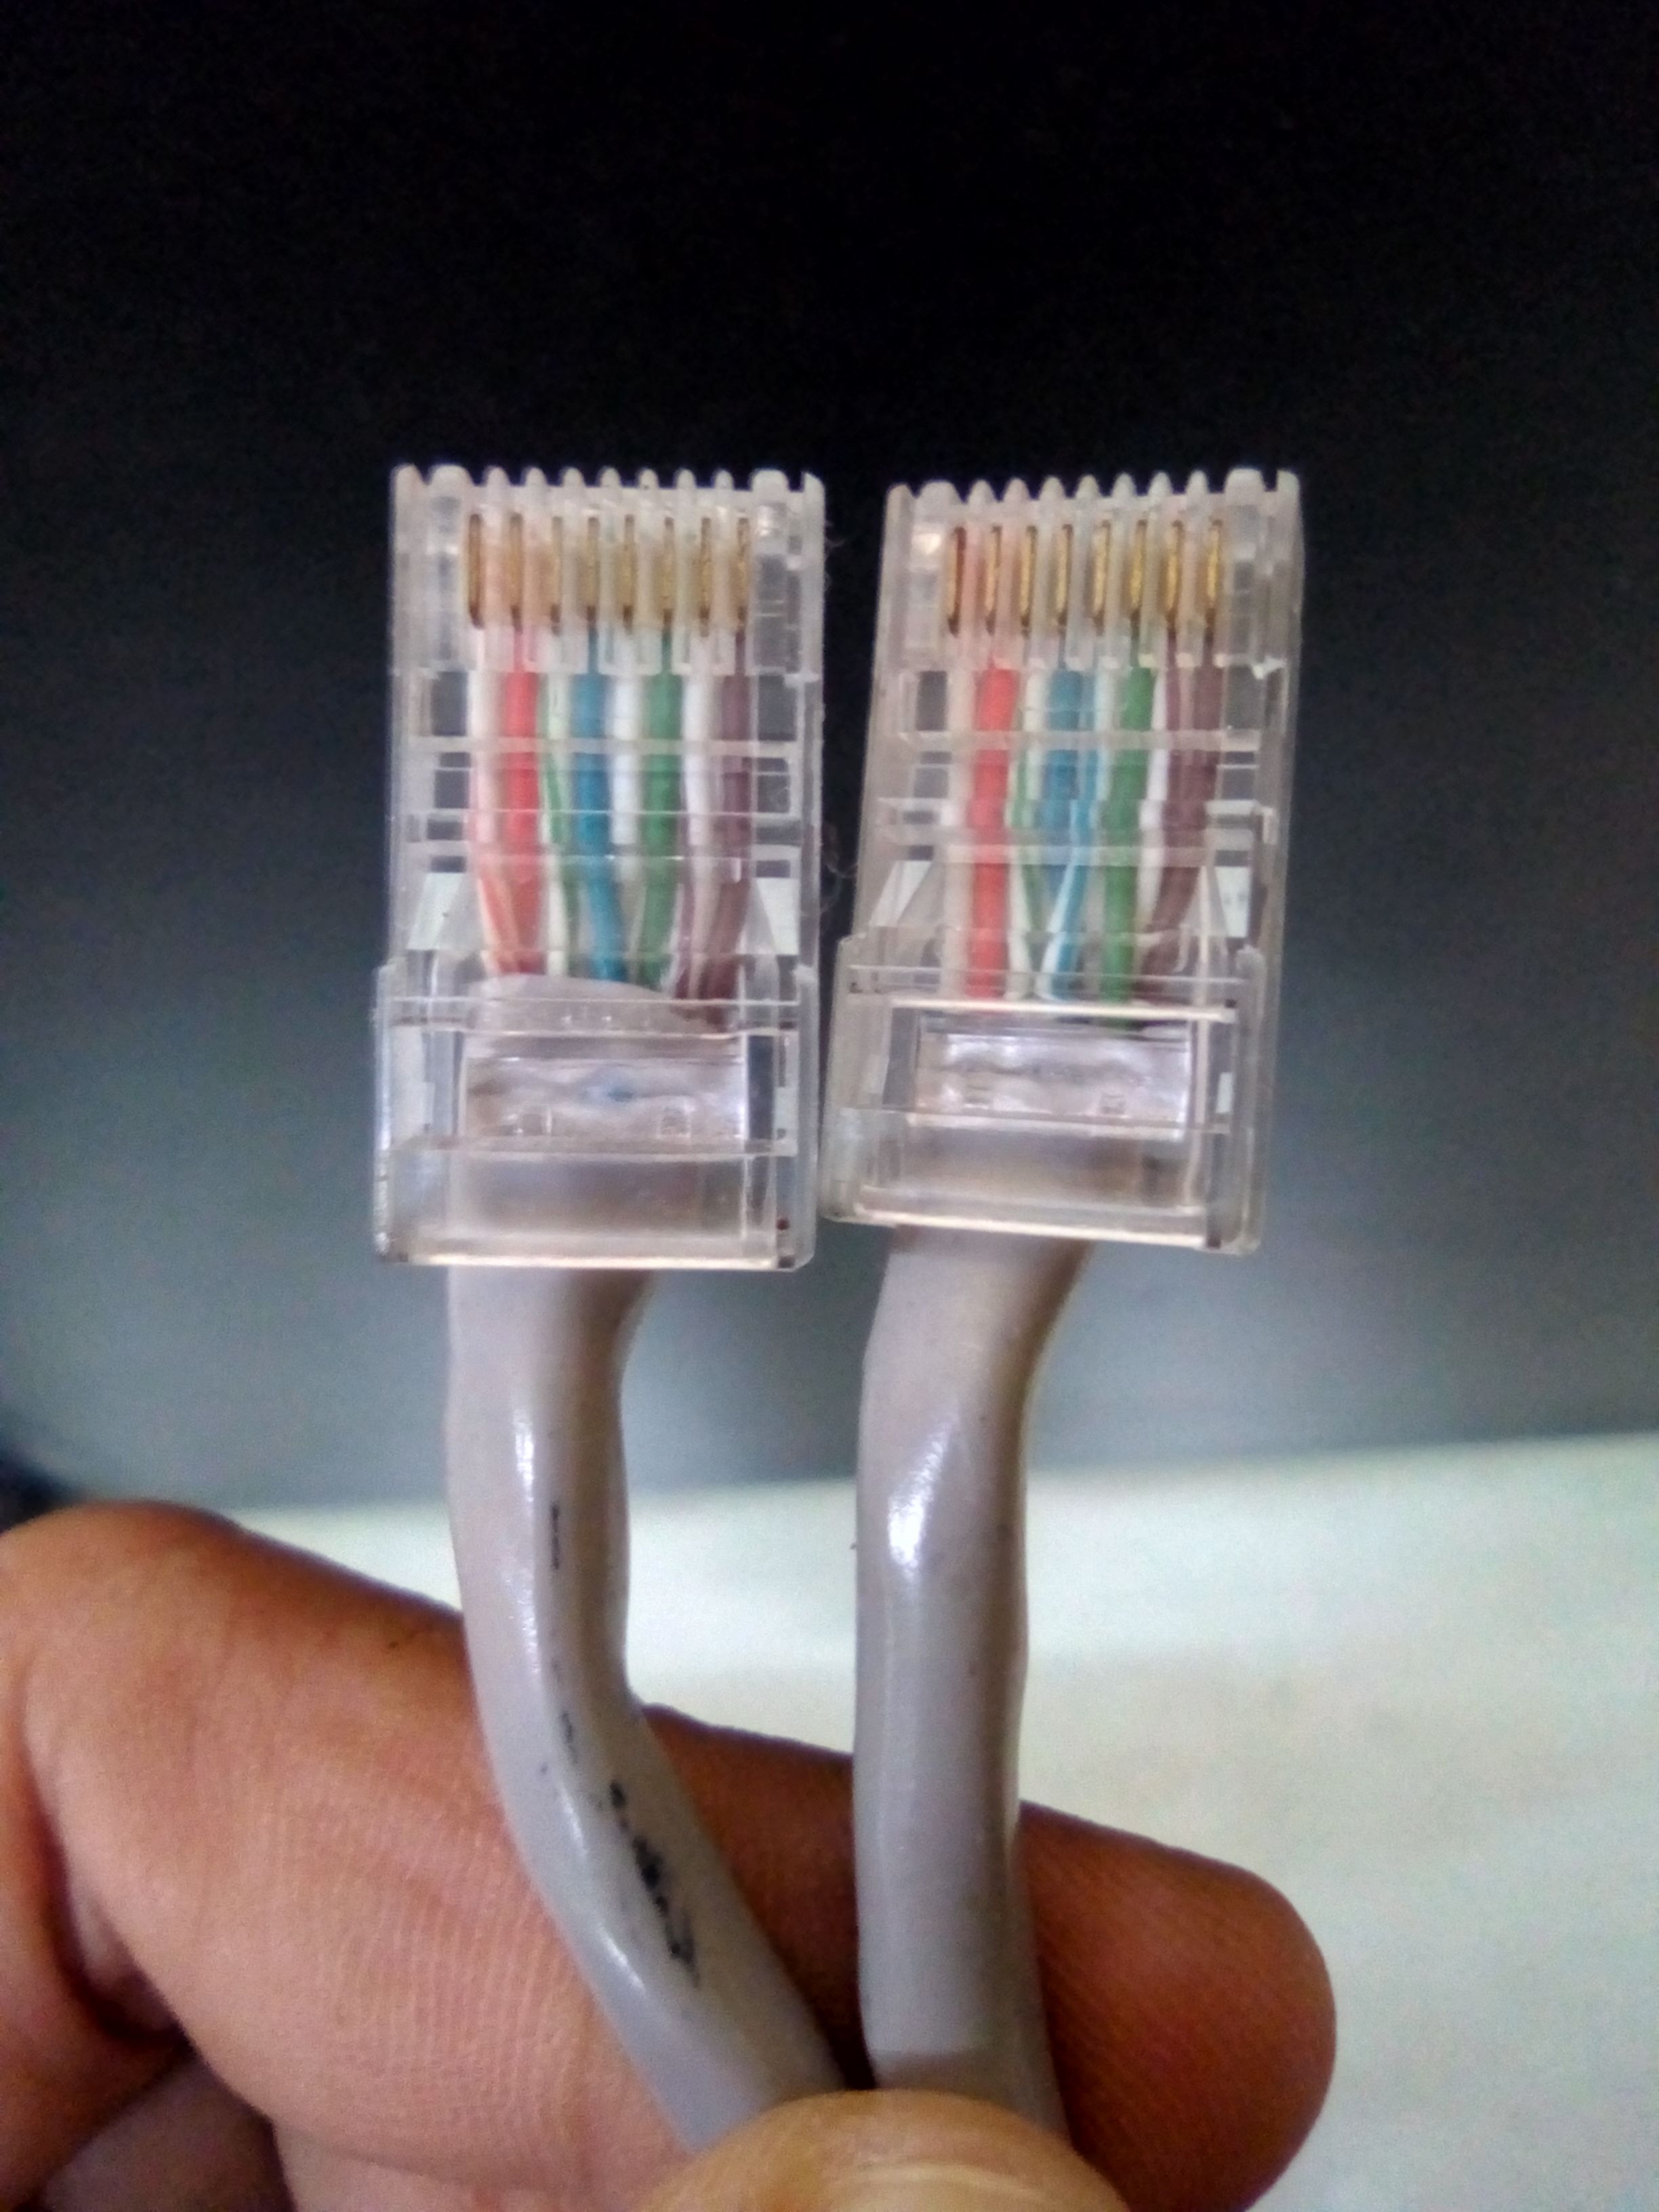 STRAIGHT-THROUGH CABLE
Notice that crossover cable has two different ends. Actually, you can also make straight through cable by following the striped green pattern, as long as both ends will follow the same arrangment of colors.
Now if your cables were done, you're now ready to set up your computers into network.

Guess I have to excuse myself then I have a lot of cables to check... 😥😥😥
Thank you steemians for dropping by. I hope you learn from my way of presenting on how to make the two types of network cables.
That's all!
@theodora87 here 😃