Seeing how to make cobek natural stone of Mount Merapi
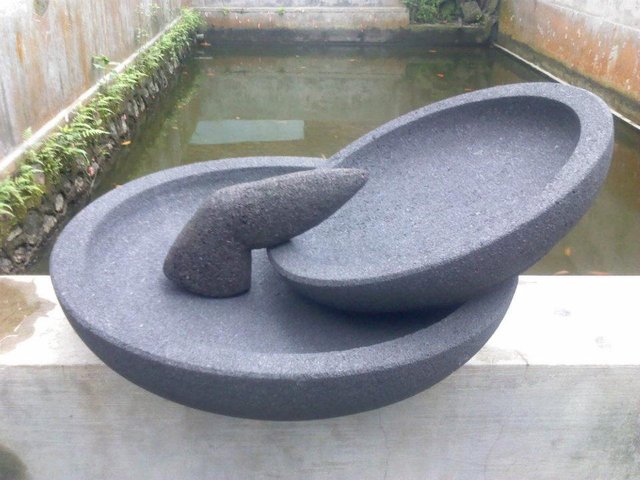 Hay steemian friend wherever you are, good night to all of you my best friend, and this time I @Sabatini back in post steemit, and this time I will tell you about my experience while on vacation to Central Java precisely in the hamlet Sewan area famous for its tourism is Mount Merapi.
Here are so many new things that I found starting from the natural beauty that plastered on the mountain land and one more thing that I see is how the lives of people around this area of Mount Merapi.
Apparently residents here most of the income from making cobek, do you know what it is cobek? For more details let's discuss about what it's a cobek.
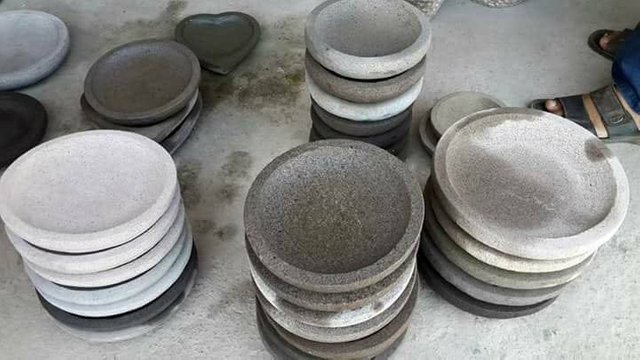
Historically, the process of making natural stone from Batu Andesit Merapi Mountain located in Sewan Village experienced some changes related to technological developments and knowledge of the stone craftsmen themselves.
Cobek is usually round and then there is a basin like a plate as a base and place spices mashed with ulekan or munthu, formed indirectly from large rocks then directly Cobek, there are several stages that must be passed. I will divide it into 2 ways: Pure Traditional Ways (Old Way) and Modern Ways (new way).
Making Cobek Natural Stone The Traditional Way
In the year before the 1990s, the entire process of making Cobek / Cowet from the Natural Stone of Mount Merapi was done only by using simple chisels. The whole process of making Cobek is done only with manpower, in this case the hand power with the ham.
Cut and Cut: The Raw Material of Andesite Stone / Natural Stone Merapi is first split into sizes sufficient for a certain cobek size. Usually the size of the height of about 10 -15 centimeters medium size follows from the raw stone itself. Standardnya every big stone made the size between 20-30 centimeters, because most are in demand this size. If the division is not very good, and still leaves the stone in a form that is not flat, usually the stone dicuplik (pake wrought iron with small and long ends) first so that the stone has a pretty "shape".
It is measured, and measured: Using a tatah (iron in which the broad end is flat), one face of the stone is roughly crushed so that one face (area) is quite flat. Usually this is also still dibantuk with cuplik, so the rearing easier. Once deemed flat enough, the stones are measured and braided with the term (make a circle) with a certain size, and then formed into a round using a tatah. And of course round of this stone is still rough.
Making of the Cobek Basin: The flat part (area) smoothed the edges back with a tatah (smoother than before), then with the run, made inner circle, then the inside of which is nothing more than a circle is shaped to create a kind of hollow. After the process of the basin is formed, then smoothed with tatah. Well, the shape Cobek already plasticity, but the outside has not been formed
Exterior finishing: Since the inner part is already formed and has been smoothed with a trim, the remaining is the outer part which is still rough, the same as the inside, the outer part is smoothed and then smoothed with a tatah until the actual cobek is formed.
Usually the cow / cowet is done by manual and purely traditional, it is still needed rubbed with rubbing stone so that the results of the inlay is more smooth. Often also the form there are no legs because manually and traditionally make the legs will be longer and more difficult process.
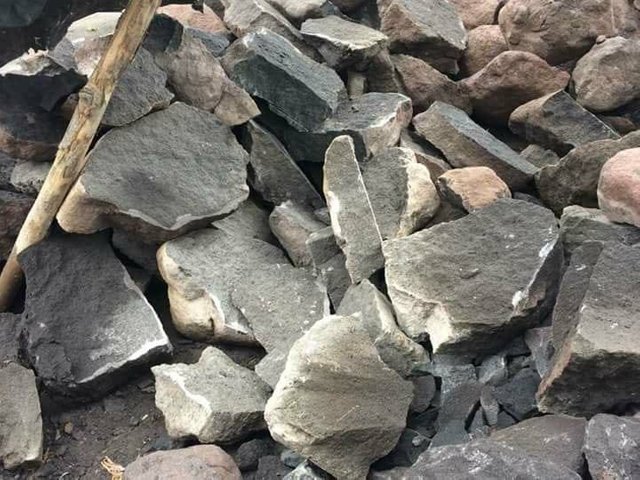
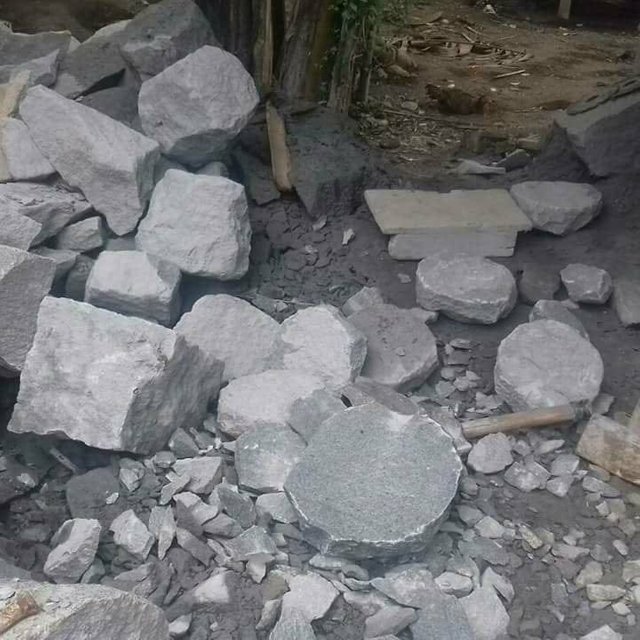
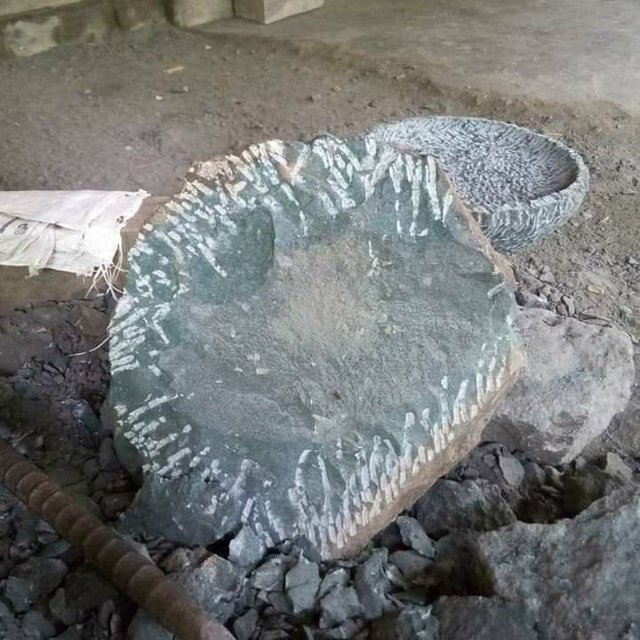
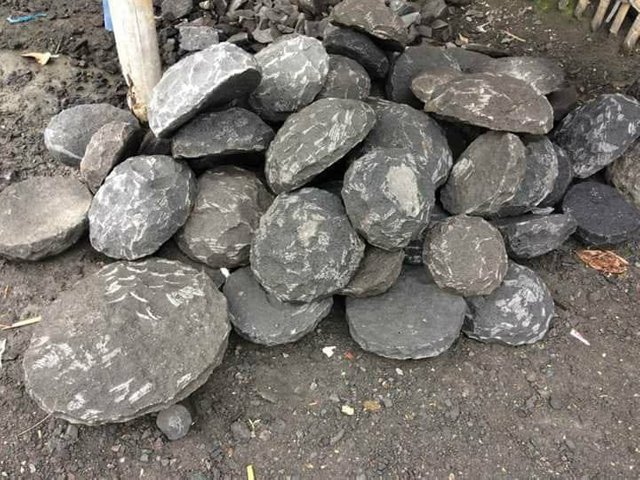
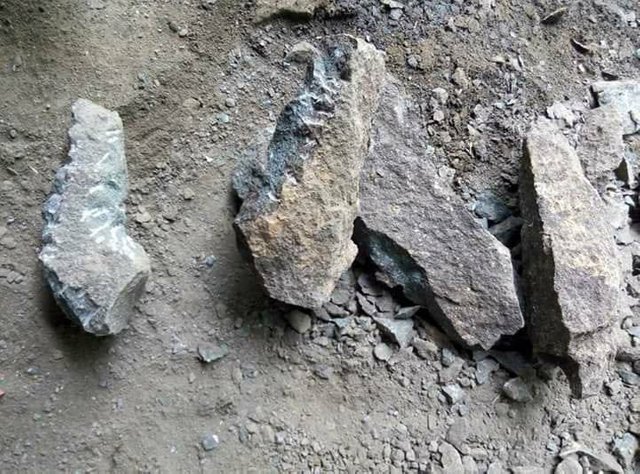
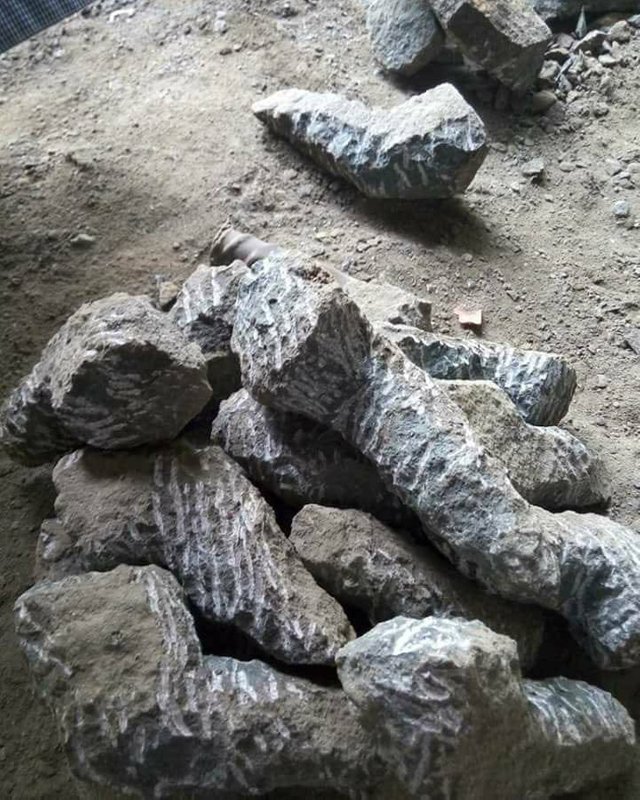
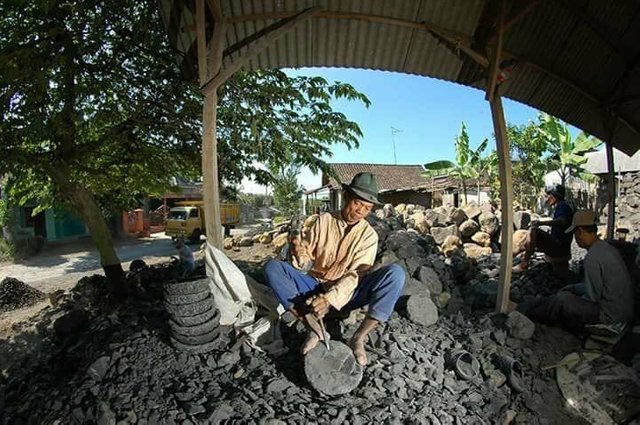
Well, like that is the process of making cobek in the traditional way, now we will discuss to the second way that is making premises modern way (new way)
The process of making Cobek Natural Stone Merapi Part Two (Modernization)
Continue writing from the first part of the process of making a natural stone cobek (stone temple) from Mount Merapi that discusses how to make a cobek with the traditional process, this time I will discuss briefly about how the process of making cobek in Sewan, Sedayu, Muntilan which now mostly done .
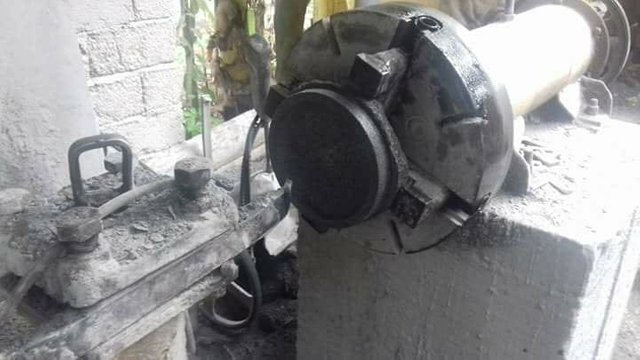
Making a cobek that has left the traditional way with just a tile and cuplik, and already using a fairly modern process that is with a stone lathes.
Stages in the process of making Cobek stone with modern machines sebernarnya almost the same as the traditional way, it's just because it involves the lathe, it takes a certain treatment before the cobek can be installed in the lathe, as well as after treatment of the lathe.
Stage 1: Preparing the Natural Stone
At this stage, natural stone or often also called the temple stone from Mount Merapi divided by certain sizes according to the desired cobek size both height and diameter. Of course, this split stone must have a size that is a few millimeters longer than the expected result.
Because the principle of cleavage is straight and long, at this stage the stone is usually shaped toward the boxes. Especially the shape of the box (cube surface) on one side.
Stage 2: Natural Stone Measured and shaped roughly
At this stage natural stone with a certain size of a box-shaped dicuplik and dikatah to obtain a circle on one of its surface. Why does it take a long time? Why is a circle? That's because in general Cobek has a circular shape, and the lathe can only form a circular shape. Once the stitching is complete at this stage, the shape of the cobek has begun to appear, albeit only a rough stone chunk with rough footage all over its surface.
For the shape and size of the cobek other than in the form of a circle, such as oval shape or waru leaf shape (love / love), rectangular shape, triangular shape, or other shape, required different stages with this stage. Usually everything is done manually with a flatter cutter (bowl) because the stone lathe can not make these forms of cobek.
Stage 3 (Main): Cobek Stone Lumbling
This third stage is the main stage of making natural stone cobek. At this stage the stone will be placed in the lathe. Before entering the lathe, the cobek-shaped stone is first searched for the midpoint on both sides and then duplicated to obtain a small coat in the middle. Coakan or Small Hole is where the clamps are placed from the lathe.
Once clipped on the lathe, and the engine is turned on, all that needs to be done is to turn this rough cobek on the outside where it will form a cobek as well as the inner side in the form of coakan placed the kitchen spices. If the ordered cobek is a natural outdoors ornament, then just tear the outside only a small part that follow dibubut, the rest will be left roughly let the outside roughly and only at the bottom which dibubut for cradle.
For commonly sold cobits, the exterior can be formed in two types: Legs and legs. If legged after dibubut with a curved circle, then at the bottom left a little for the foot holder. If you do not want any legs, then this section is removed.
For the place of seasoning, the depth of the coakan to place the seasoning usually adjusts to the size of the stone itself. Usually no more than 2-5 centimeters depth (depending on size and order). Due to the depth that is not so deep, usually the user cobek named this type of cobek called COBEK DATAR.
At this lathe stage, because the lathe needs a handle, the result of this cobek turning at both ends of the sides still has some sort of waste that needs further processing.
Stage 4 (End): Finishing
Cobek result of lathing on both sides of which the rest of the lathe still need to be "thrown away". Well to remove from the results of this bubutan, tatah, cuplik, and cutter plays an important role. With the tip of the tip both inside and outside the discarded, then crushed roughly with a cuplik and then refined again by using a flatter cutter. In the final process / finishing this, cobek already shows the final form.
After being removed and mashed both sides, all it takes is to wash the cobek with clean water. Dirt and dust from the bubbles need to be removed. It takes a brush or brush to keep the dust and dirt still missing. After that Cobek ready to be marketed.


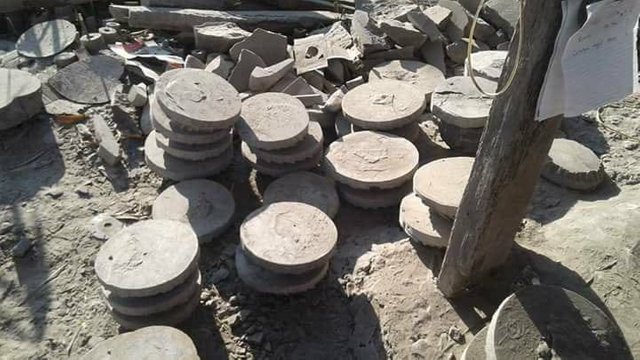
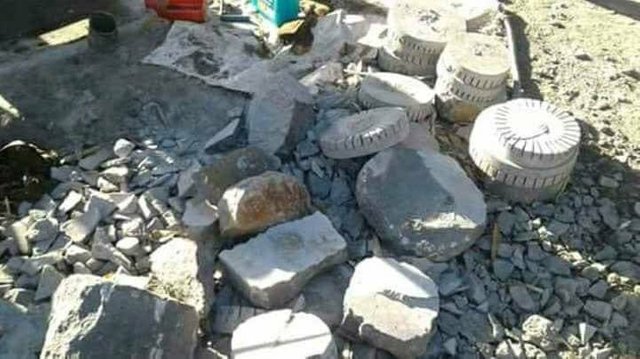
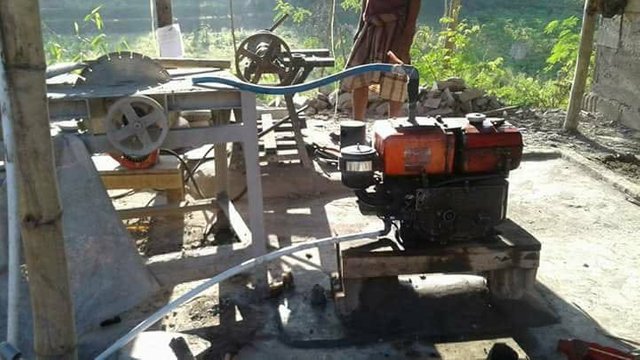
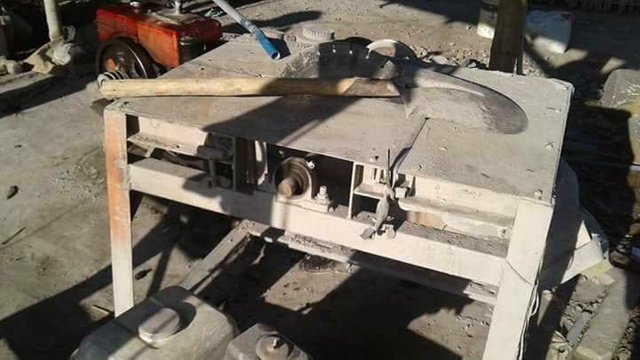
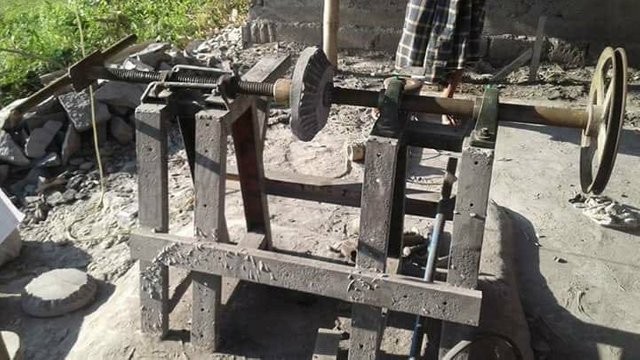
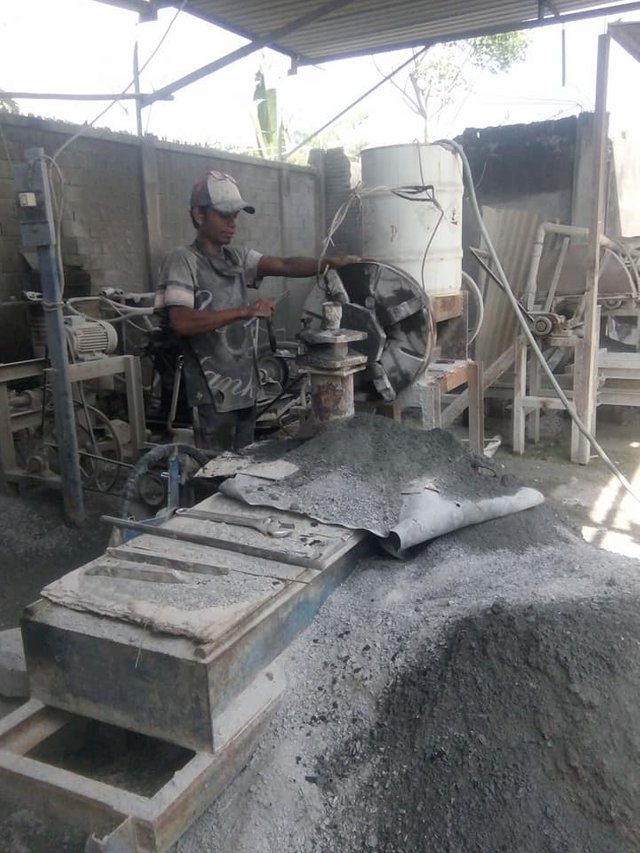
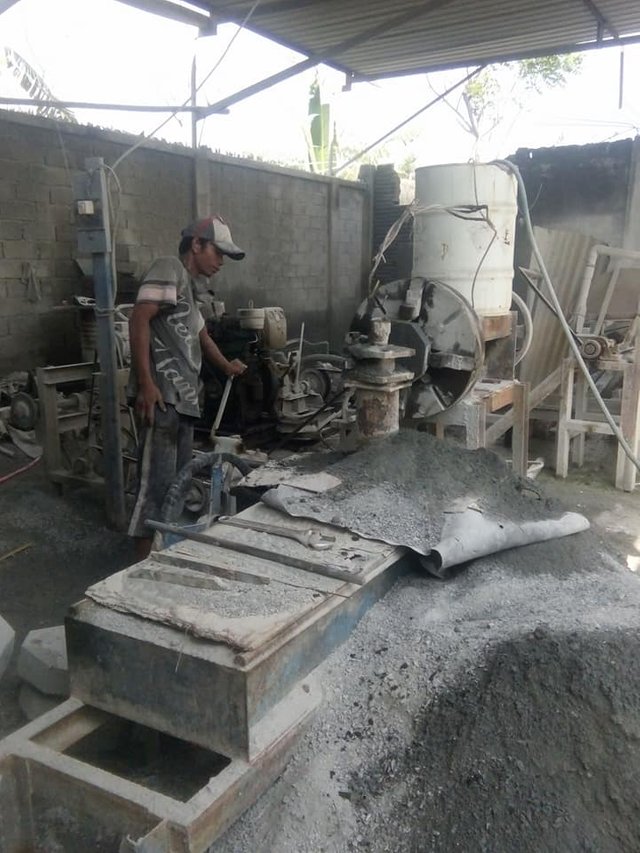
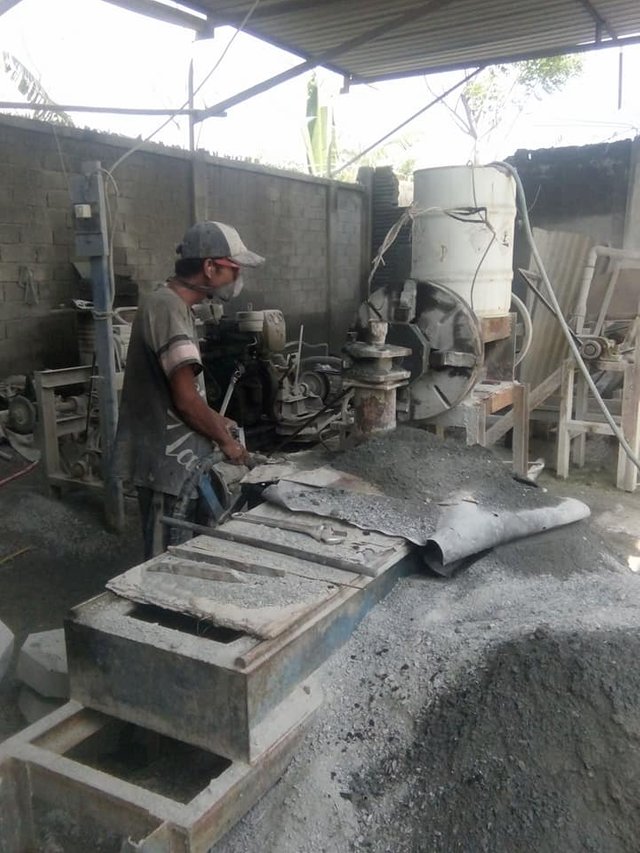
Actually quite complicated for making this cobek, but the citizens here never questioned it because it has dropped down their eyed search here as a cobek stone craftsmen. I spent a long time in this area of Mount Merapi to see the process of making this stone cobek and the results that I can be very useful for all.
Because of the uniqueness of the making process is what makes me very eager to share this article I am to post in this steemit.
For those of you who want to see first hand the process of making this cobek, you can visit this place which is in Central Java precisely in hamlet of Sewan Gunung Merapi.
Hope you guys like and accept my post, greetings separated from me @Sabatini, good night and thank you.
This is a really interesting post. You obviously spend a considerable amount of time with these people to learn the different processes. Thanks for sharing.
yes bro, hopefully this article can be useful for all, thanks for your response
Congratulations @sabatini, this post is the second most rewarded post (based on pending payouts) in the last 12 hours written by a User account holder (accounts that hold between 0.1 and 1.0 Mega Vests). The total number of posts by User account holders during this period was 2620 and the total pending payments to posts in this category was $3328.56. To see the full list of highest paid posts across all accounts categories, click here.
If you do not wish to receive these messages in future, please reply stop to this comment.
essential review
yes friend, important for shared knowledge
very interesting....
thank you for liking my article this