Attic Remodel Progress and DIY Shiplap
Surprise! We have found ourselves in the middle of a good old-fashioned Indian summer. After a couple of weeks of snow and cold weather, warmer temperatures have settled in for a bit. Our snow has all melted away, except for a few patches desperately clinging to the shade of our old barn.
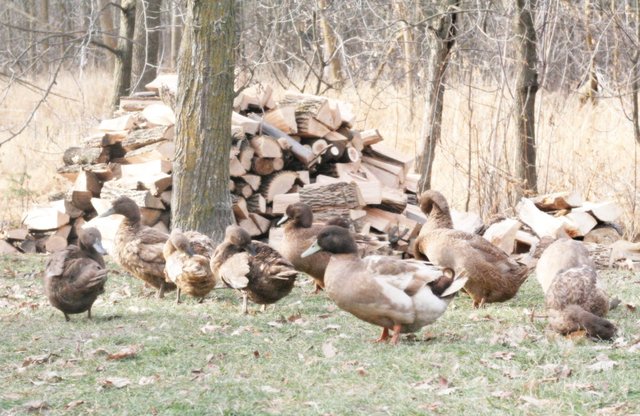
One couldn't ask for a better time to cut firewood! Cool, but not too cold. No snow or foliage to get in the way. But, most importantly, no mosquitoes!
If you have been following us for any length of time, you are probably well aware that, as part of our whole house remodel on our homestead, we have been converting our unusable attic into a proper living space.
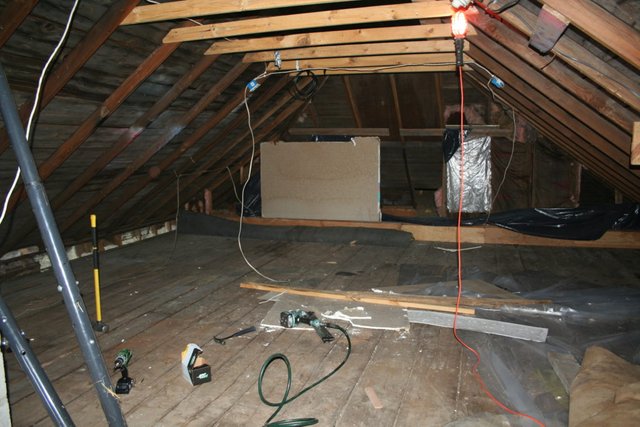
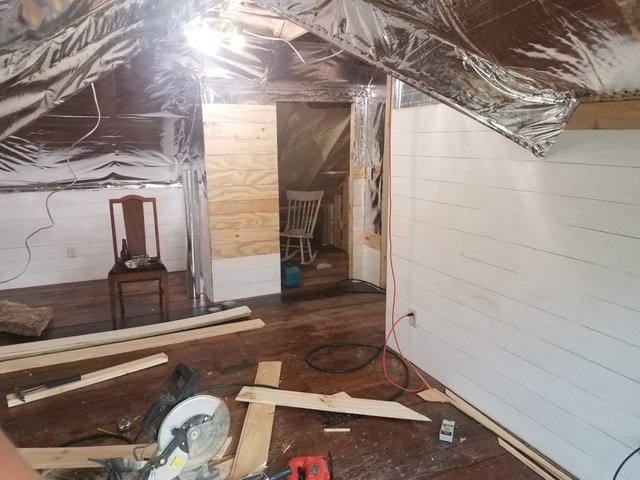
About four months ago, it looked like this:
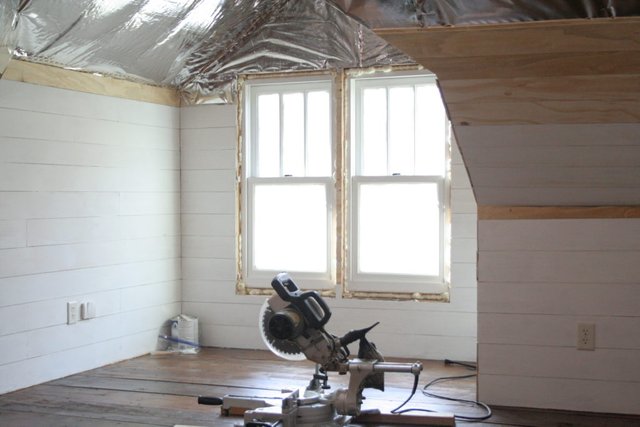
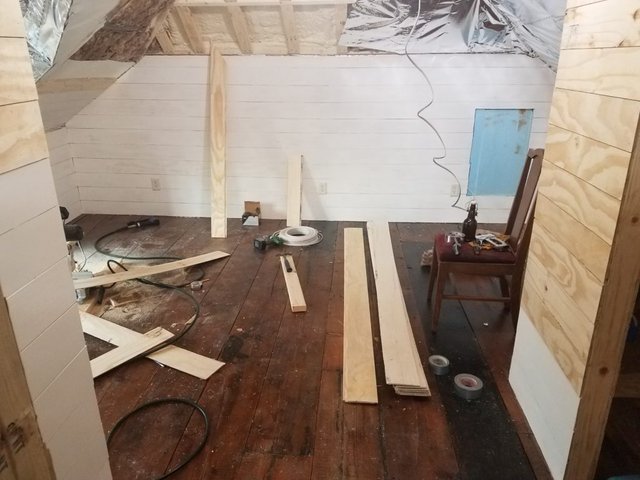
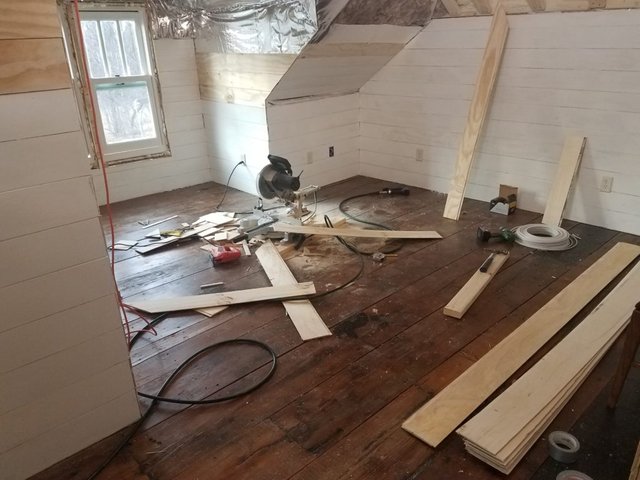
After reinforcing the roof, installing a new subfloor, refinishing the floor, insulating, and adding dormers, it now looks like this (sorry for the bad picture, sometimes the phone camera is just so convenient!!):
Our goal is to complete this bedroom for two of our boys before Christmas.
I have put my new router table and old table saw to good use converting $18 USD sheets of BCX plywood into shiplap. Each sheet of plywood equates to 64 linear feet of 6" shiplap. That comes in at around $0.31 USD per linear foot. When shopping around, I found shiplap available for $0.62 USD per linear foot. DIY lends to some big savings here! So, as the project progresses, I expect to save upwards of $500-600 alone in shiplap. That savings easily pays for the $160 USD router table I needed to purchase to get this project done.
As a bonus, I get a new tool out of the deal that I will use to fabricate our new kitchen cabinets next summer!
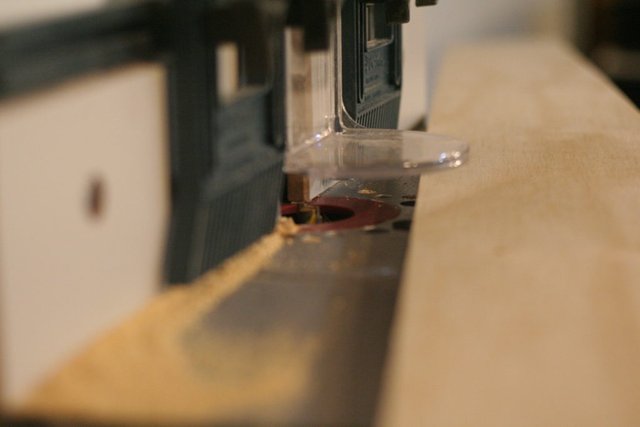
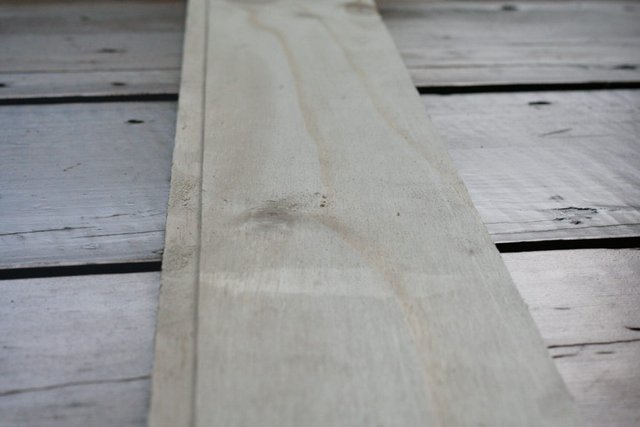
After cutting the plywood into strips (8 strips per 4'x8' sheet of plywood), I run them through the router to create the groove on each side of the board for overlap.
To ensure even spacing during installation, I used a set of popsicle sticks. I'm feeling @canadianrenegade 's pain as I cut for each angle as he did on his tiny house build!
Since we installed a metal roof on our house, spray foamed the interior, and desire to have an extremely energy efficient home, we also opted to install fiberglass insulation in addition to the sprayfoam. We followed up with, to all those who have visited our homestead, our infamous foil barrier. These simple additions should make the house much more comfortable year round and should also dampen the roof noise during a thunderstorm.
About halfway through producing the board for this bedroom, my 14 year old shop vacuum that I had attached to the router table decided to give up the ghost :( Literal clouds of smoke billowed out of the vacuum!
Tack another $100 for a new shop vacuum and $50 for a dust cyclone and I still come out ahead! Hopefully, the dust cyclone will improve the life of this next vacuum!
Until next time, greetings from our humble little homestead!
-Jeremy
Blog: http://mnhomesteader.com/blog/
Facebook: https://www.facebook.com/mnhomesteader

Congratulations! This post has been upvoted by SteemMakers. We are a community based project that aims to support makers on the blockchain in every way possible. Find out more about us on our website: www.steemmakers.com
If you like our work, please consider upvoting this comment to support the growth of our community. Thank you.
Love the wide flooring! I bet they are excited. And if you don't finish by Christmas don't forget there are 12 days of Christmas ;-)
Thank you! Due to advice from my mother, we saved the wide flooring and refinished it! I guess some times, mom is right :P
Don't give me more excuses than I will already come up with! :D
Looks great man! Love me a good DIY post. :)
Thank you!
Wood love to see the finished project. That is a huge attic. @mnhomesteader.
When we moved our family of 6 in this house, we had about 83 sq meters of living space. That was a long winter. The attic gives us about another 32 sq meters! We'll welcome every bit of space we can gain! :D
Wow, what a transformation...it looks like it will be an amazing room when you get done. I like how you are cutting the plywood, subjected to memory for future use here :)
Thank you! We are excited for the kids to get moved in once it is wrapped up!
Looking great! Thanks for keeping us updated on the attic!
Thank you!!
You won't believe it, but it can be surprisingly simple to start overgrowing a house not only when your children reach their teenage years, but also when a new member comes into your home. When situations like this arise, most of us consider moving to another home that can accommodate our daily needs. Therefore, I advise you Loft conversion London who helped my brother and he liked the end result very much.