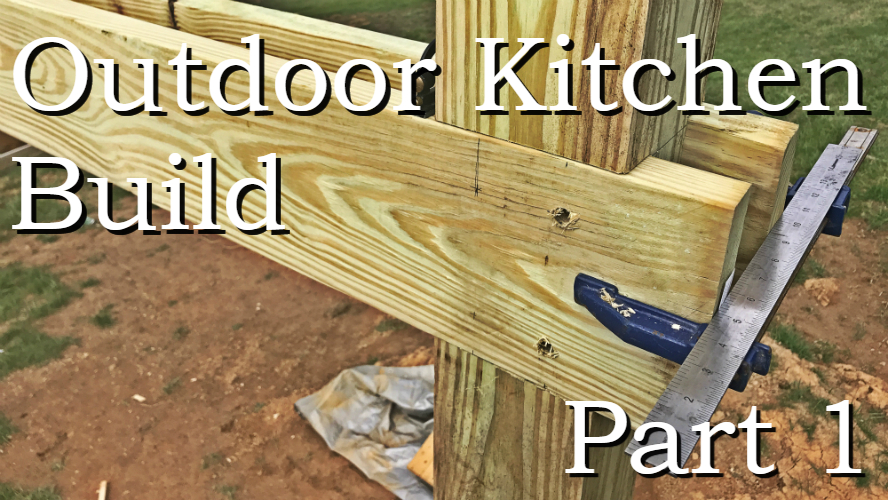
Outdoor Kitchen Build - Part 1 - Budget, Design, & Construction Video 🎥

Welcome to another one of our build series! This one is on our Outdoor Kitchen Build, we hope you enjoy it!
💰 Budget 💰
There's always a budget, right? Of course! For this project, we were working with a very specific budget in mind... our tax refund check which was right at $900 (your welcome, US Govt, for the interest free loan from us for the year). 😒 We wanted to put our tax return toward a tangible project or item so that we could look back later and see where our money went!

Money Savings!
I found that purchasing materials from specialty stores actually saved money! For example, lumber from a lumber store, hardware from a "bolts and nuts" store, and roofing from a roofing manufacturer were all MUCH cheaper than from a store like Lowe's or Home Depot! The greatest savings was with the hardware--60% cheaper!
Being an avid DIYer, I sat down to calculate costs and came up with a design that was within budget, but looked good too!

📐 Design 📐
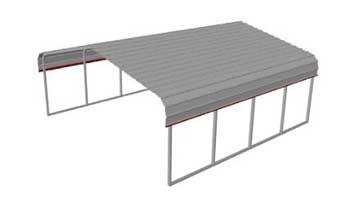
I've always liked timber framed structures. The large posts and beams, and relatively simple joinery just make for a pleasing look. When it came time to design the Outdoor Kitchen, I looked around online to get some inspiration, then dove into Google Sketchup to work out the details. A few days later, and I had this:
Constructed of 6x6 posts, 2x8 beams & rafters, and 2x6 purlins, with minimal joinery and held together with 1/2" bolts. The footprint is right at 12 feet wide and 18 feet long, with a roof coverage of approximately 15 feet wide and 21 feet long.

🚧 Construction 🚧
We started with driving stakes into the ground and running line to get a square footprint and guide to dig our post holes. I used our auger and dug the footer holes 30" deep. We put in the 6x6x12 posts, concrete, added a few brace boards to keep them straight, and let them sit overnight. The next day we measured the height for our first cross beam, notched the 6x6 posts and bolted them together with four 1/2" x 7" galvanized hex bolts, washers, and lock nuts. We used four bolts per joint for maximum strength.


Hey @greenacrehome! Your post and project reminds me of something very similar I helped some friends build a few months ago. Also an outdoor kitchen, also timber frame structure, and also a budget of about a grand.
I posted about it in my blog, but now I feel like recycling it for steemit.
https://elhungaro2016.wordpress.com/2017/01/04/chinampa-construction-workshop/
Cool, I'll check it out!
Great post! Don't have time to watch the video today. Can't believe you saved 60% off of hardware. By chance did you check online stores?
Cheers!
No worries, the video is me digging holes and putting posts in the holes. LOL I looked at a few online, but when shipping was factored in, it became as expensive as the big box retail stores. Thanks
Thanks for this post. I always like watching construction projects like this. Encourages me to get out there and get started on some long-awaited projects hit.
Glad to hear it's interesting and inspiring! These kinds of things also get me going. :) Thanks @pennsif
Living the dream! Great job guys!
Don't wait. Do it now, right? It's a quality project. Keep it up.
Thank you!
Did you say yet what the floor is going to be?
Not yet. ;)
hearing you talk fast sounded like a chip munk on speed :D now to watch part two I seen you followed me so I've returned the favor thanks for that :)