Water, water. An update
As I mentioned in my previous post, I am installing a pond to help redirect the rainwater that floods about 1/3 of my land into one location and then out to the drainage ditch in front of the property. Today I want to share the making of my first bio-filter, something I knew nothing about prior to last month, but after many youtube videos, I felt confident to try one of my own.
Dislaimer This is not a tutorial, if you want to try this yourself, I suggest researching on the internet and watching how-to videos. The point of my post is to show how ridiculously simple this is; if I can do it, you can too.

Being the frugal person I am, I tried to re-use and re-purpose things I had on hand, like netting from my sewing basket, 5-gallon all-purpose bucket with two lids, a small ceramic saucer, the pump and pre-filter I bought last month for this pond and another set I found in the garage that forgot I had. (A few years ago I bought that set and a wading pool for my geese. I love my geese, but they are dirty birds and I found the only way to keep their pool clean was to empty and refill it every couple of days so the pump ended up stored in the garage.)
I did have to buy some items: blue and white filter media, bio balls, sponges, hose and hose clamps.
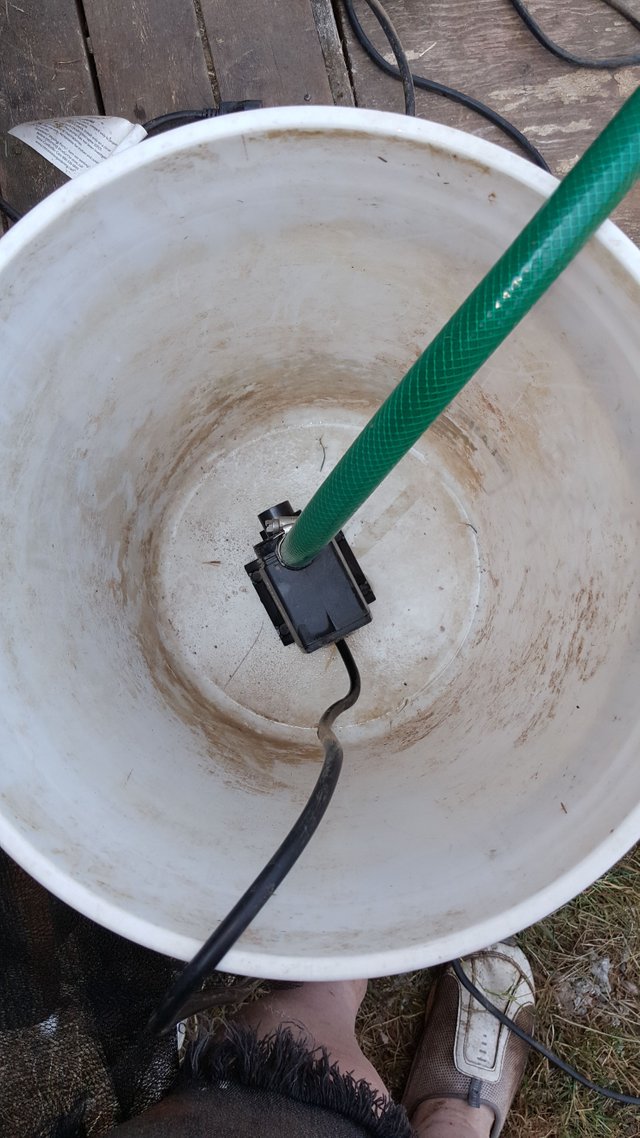
First I placed the pump with attached outlet hose into the bottom of the bucket and put five bags of bio balls around it. I left the balls in the bags so they would be easier to position and later to remove for cleaning. There is a small gap at the top, this is to ensure the pump inlet is not blocked.
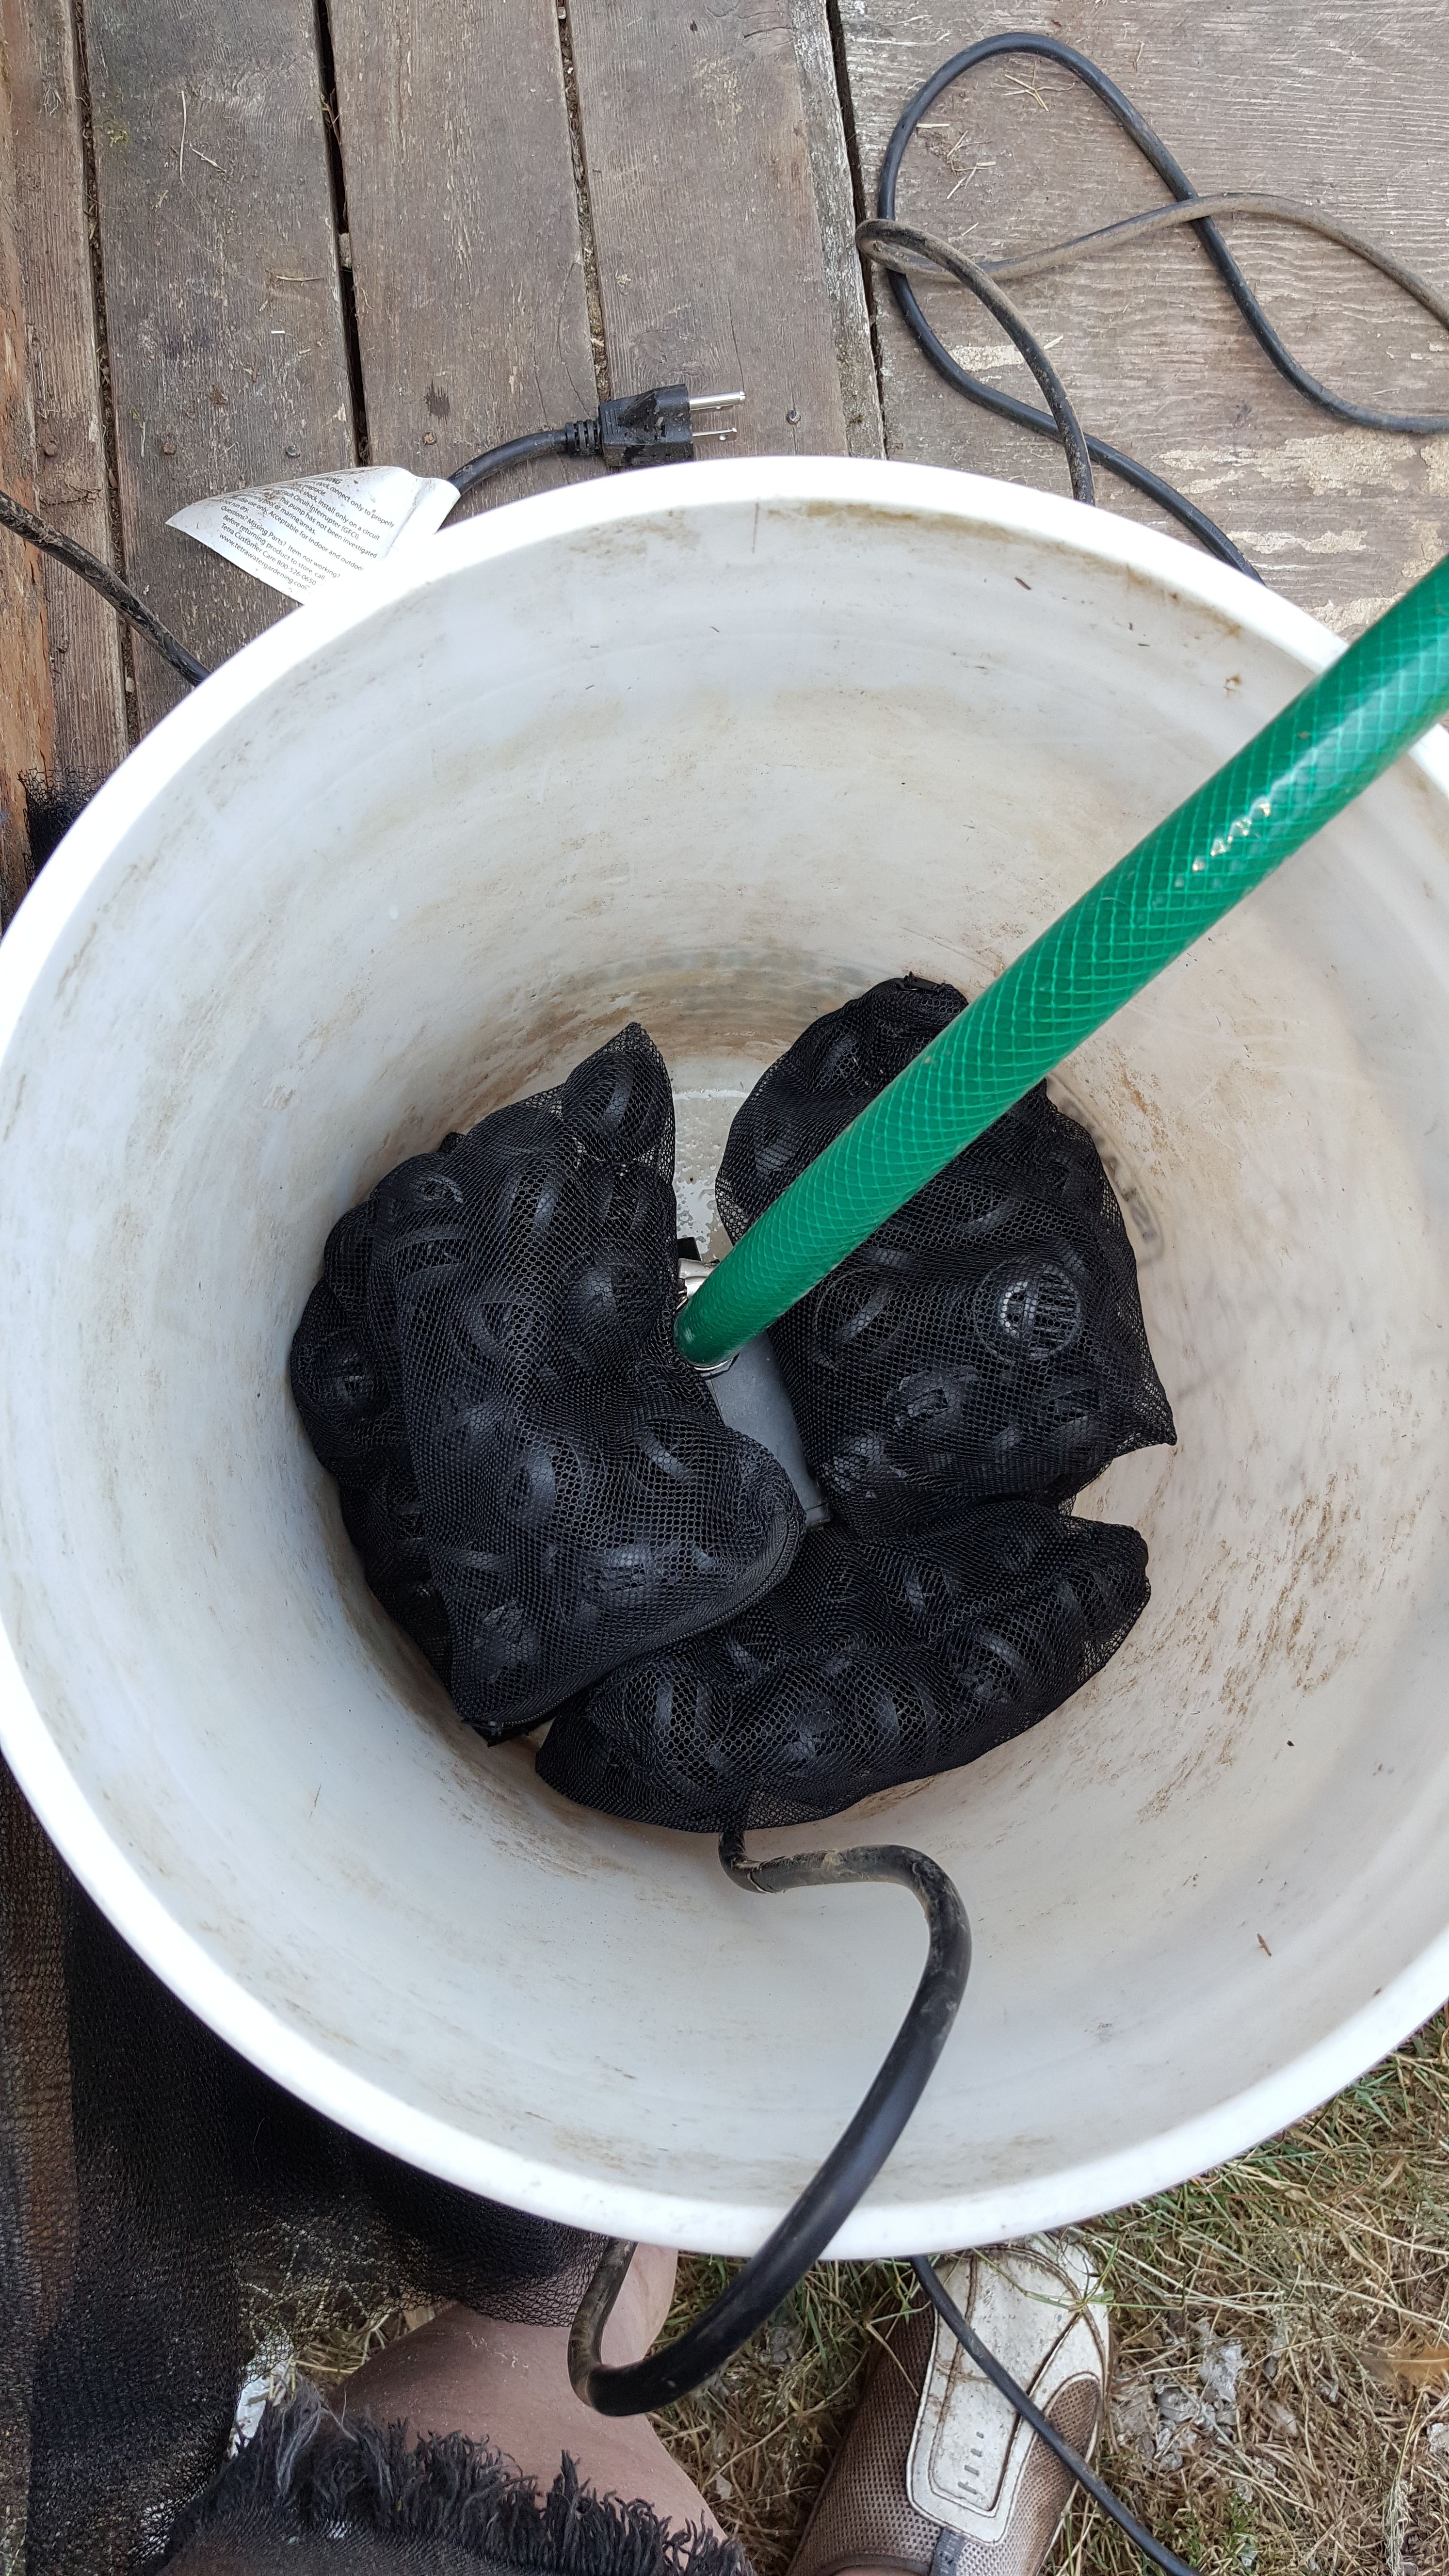
Next I cut the center and trimmed the edges of one of the lids. Cutting a small chunk out of the ring allowed me to size the ring to fit inside the bucket about half way down.
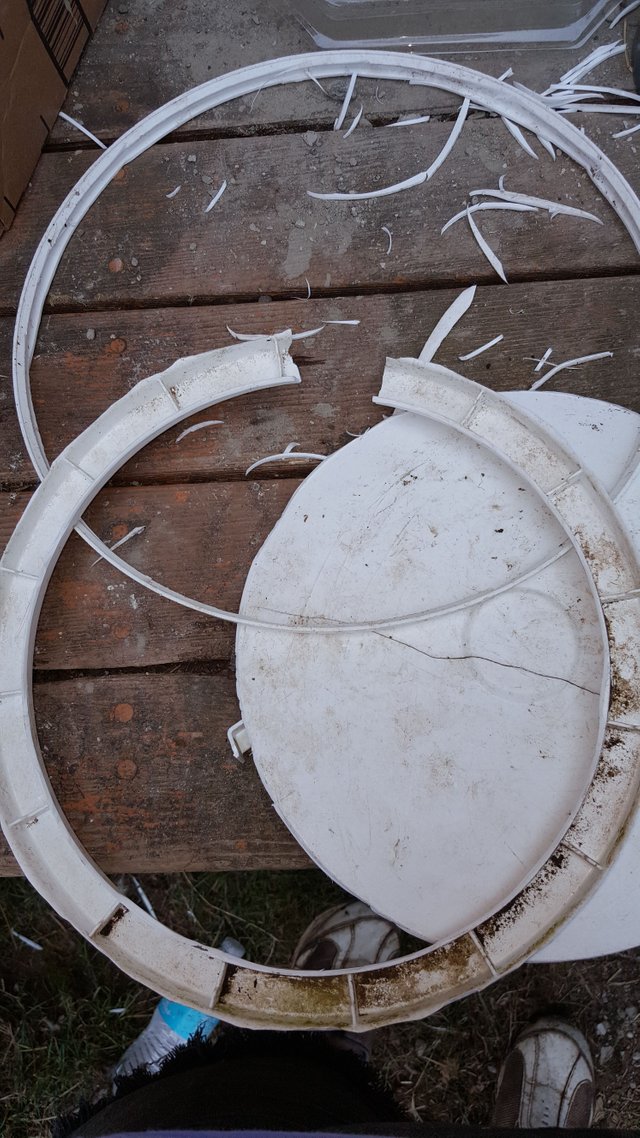
Before installing the ring, I place a doubled layer of netting over the top of the bucket, then used the ring to anchor it half way down. An “X” cut in the middle of both layers of netting allowed the outlet hose to be fed through.
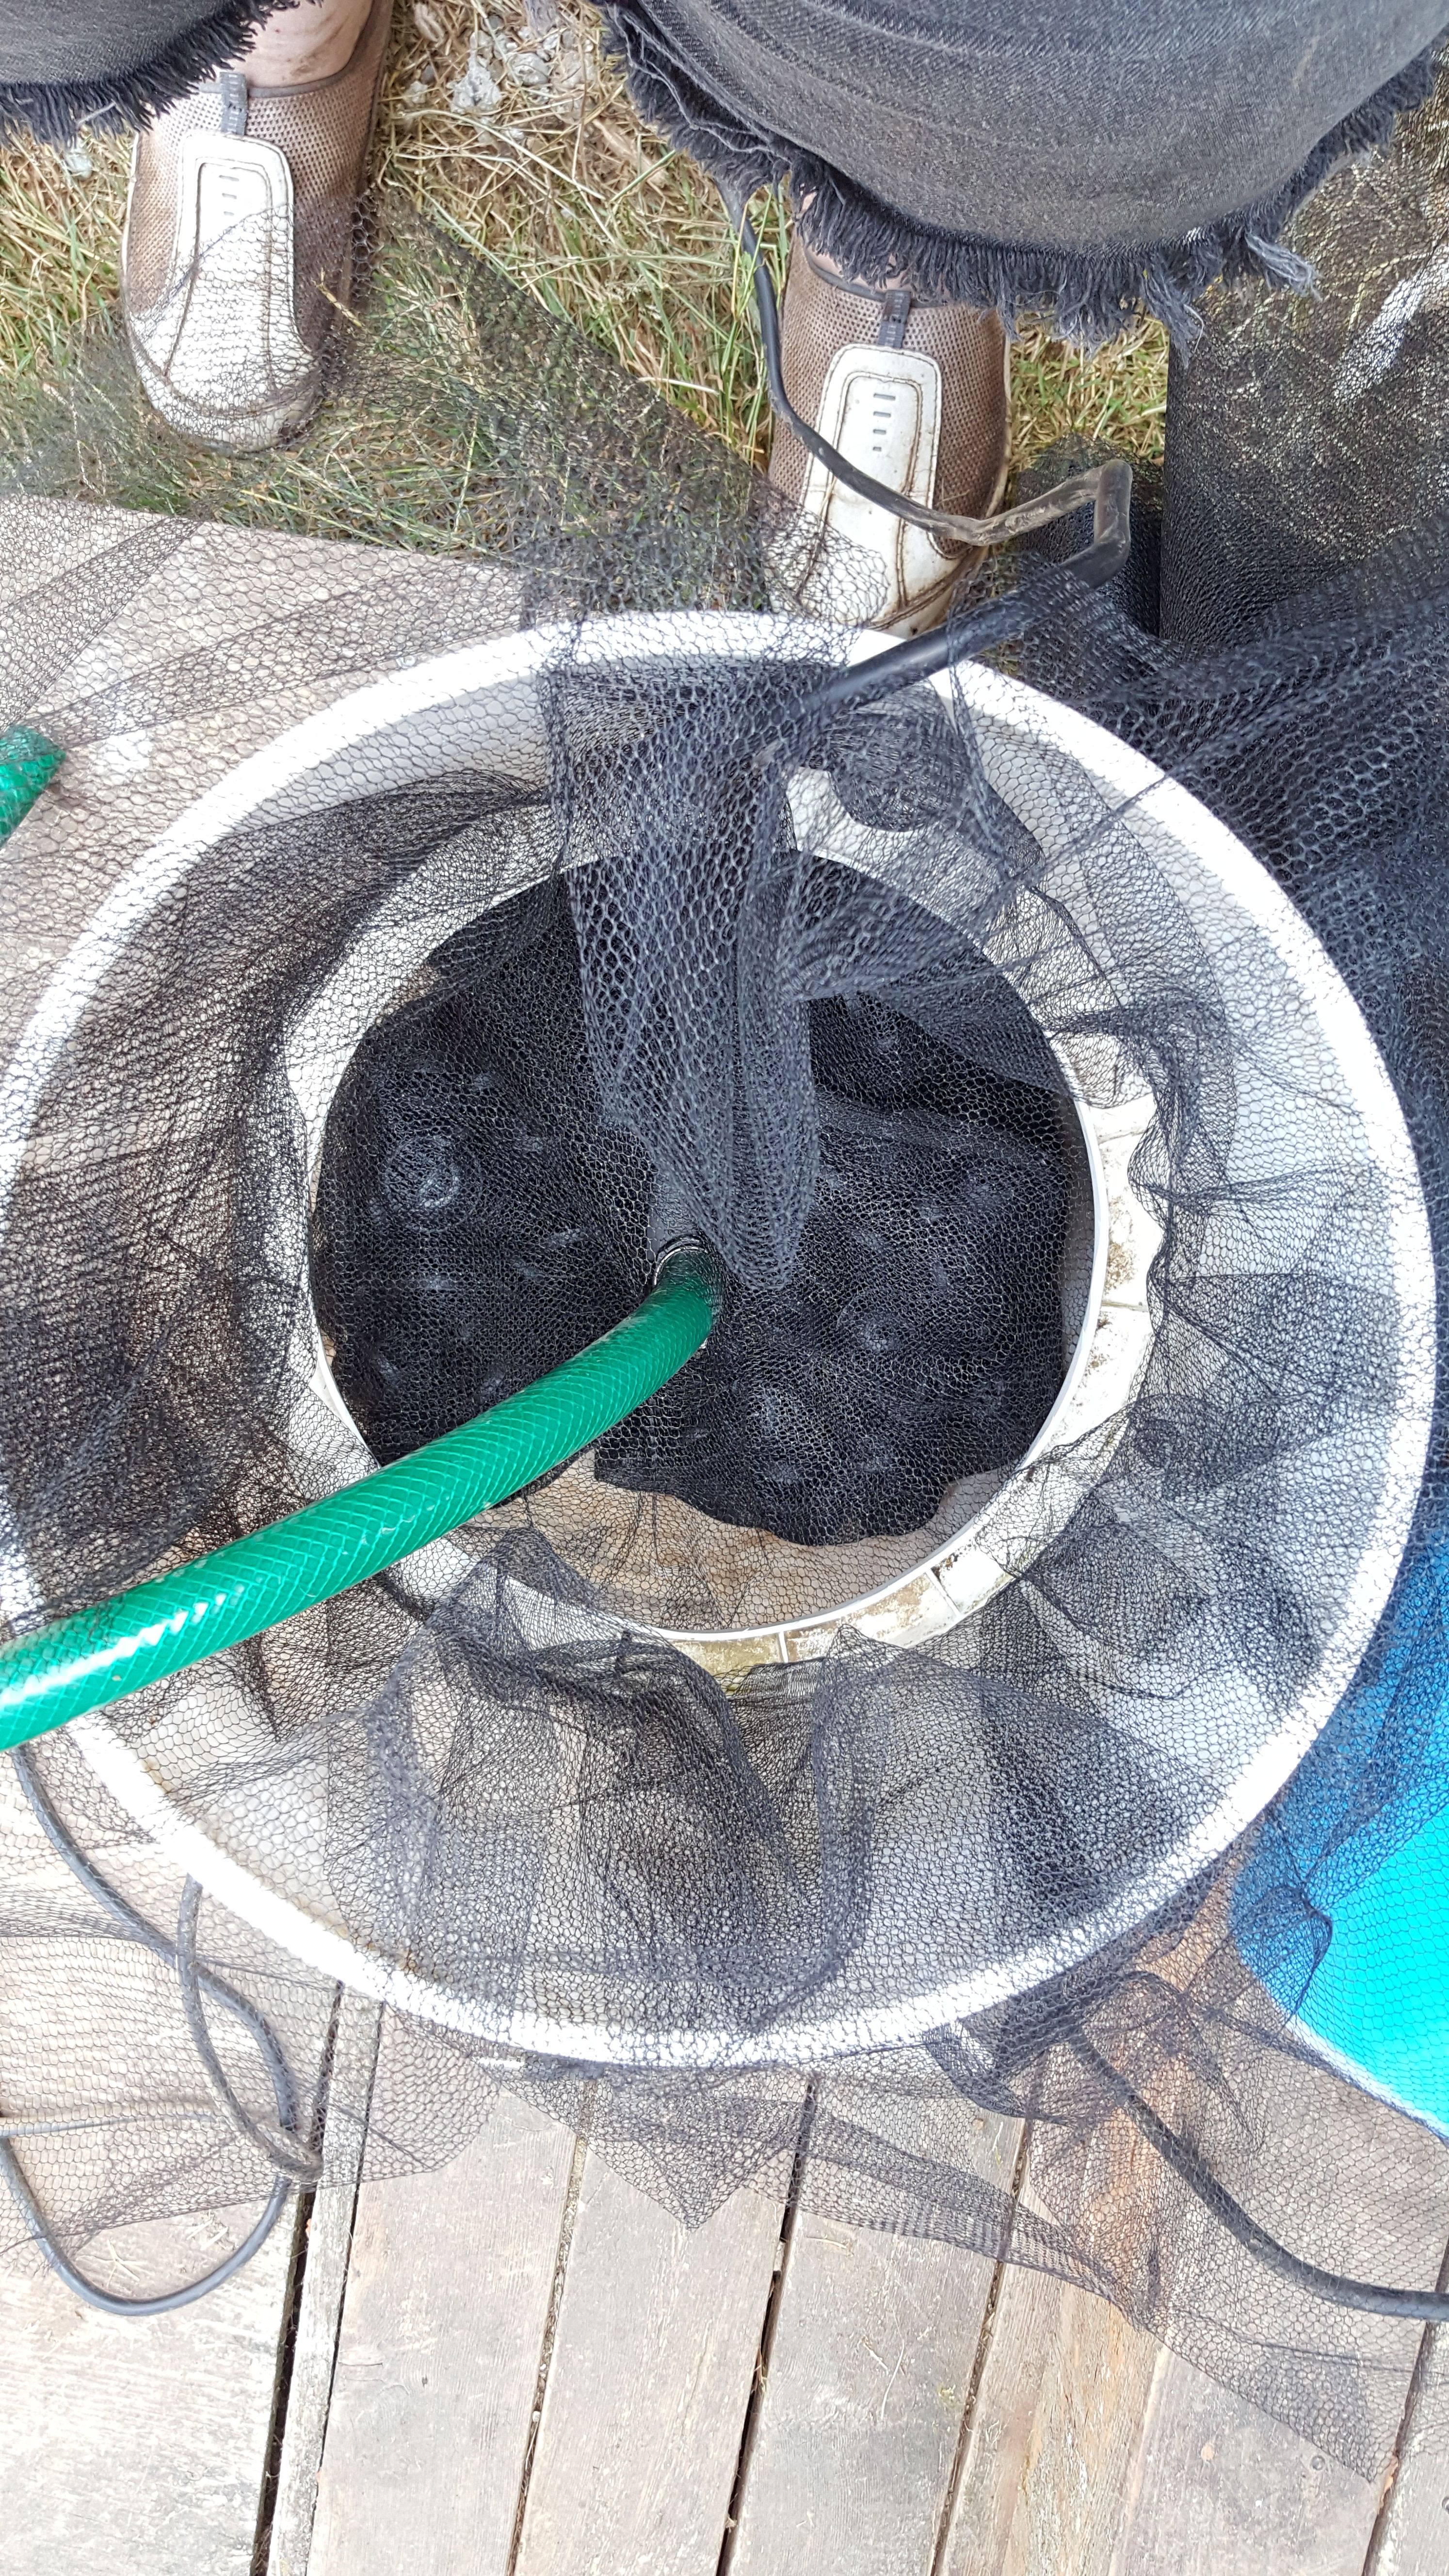
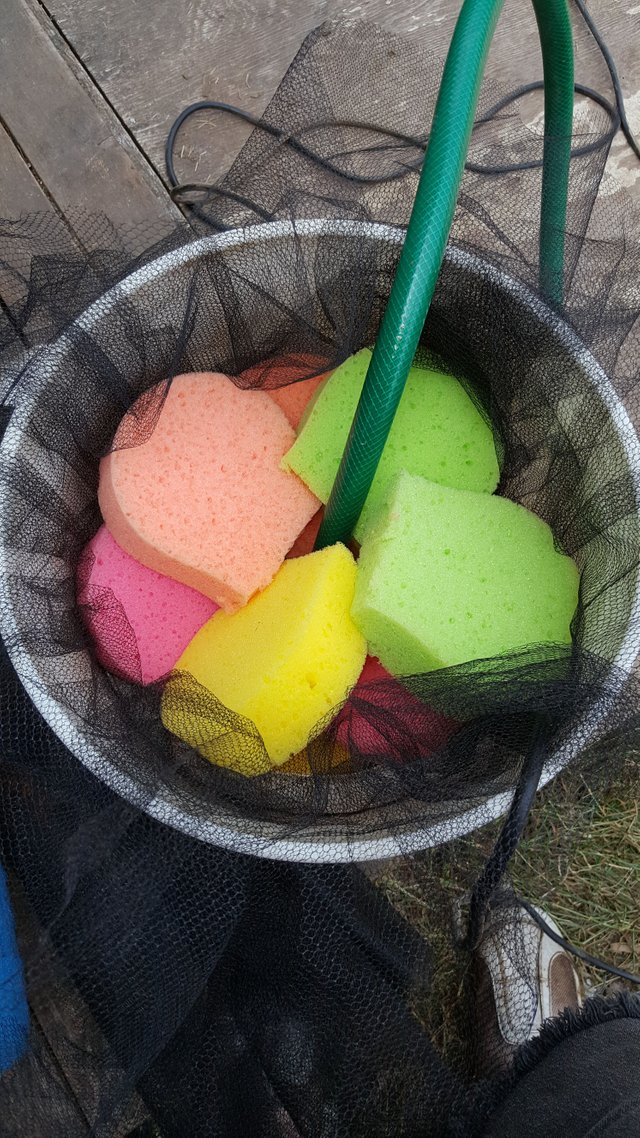
On top of the netting I added sponges and the filter media, again cutting an “X” to draw the hose through. A small notch in the top rim of the bucket was made for the power cord, then edges of the netting were gathered and folded on top of the media. At this point I filled the bucket half full of clean water and allowed it to sit for an hour so all the media was able to absorb the water.
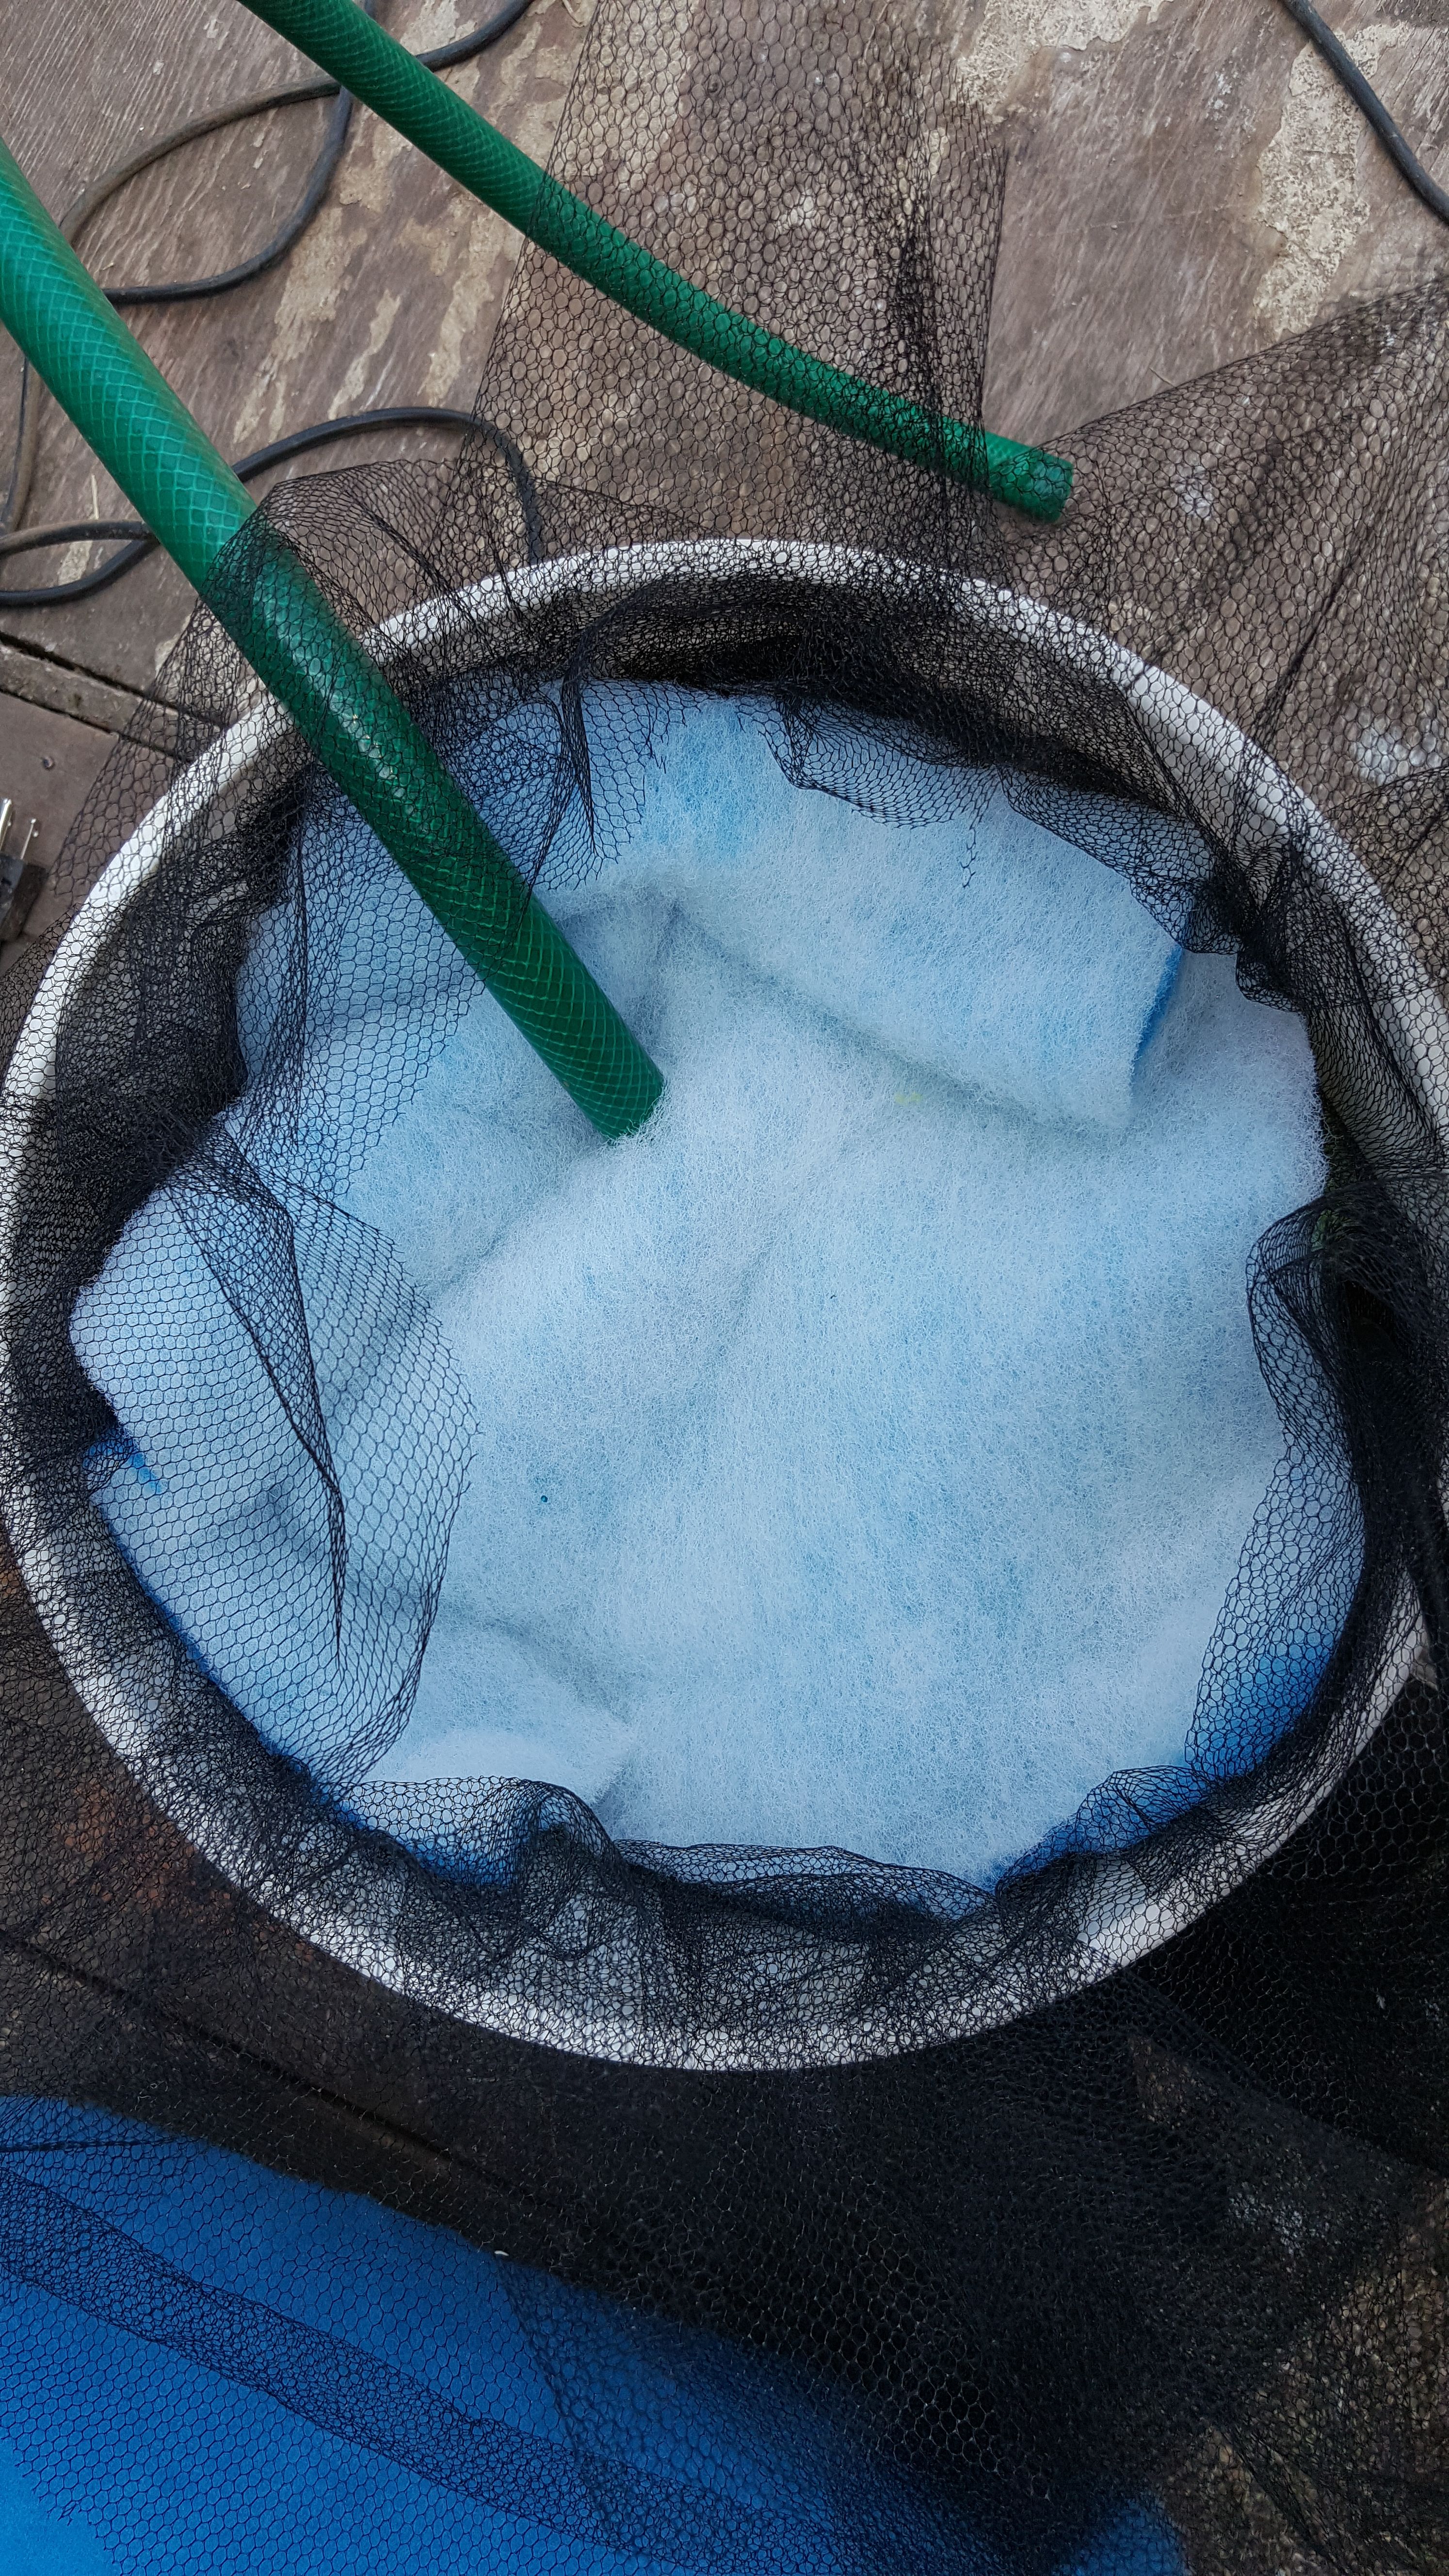
I placed the ceramic saucer on top of the media filter, positioned so the water from the intake hose would hit it and spread out over more of the media.
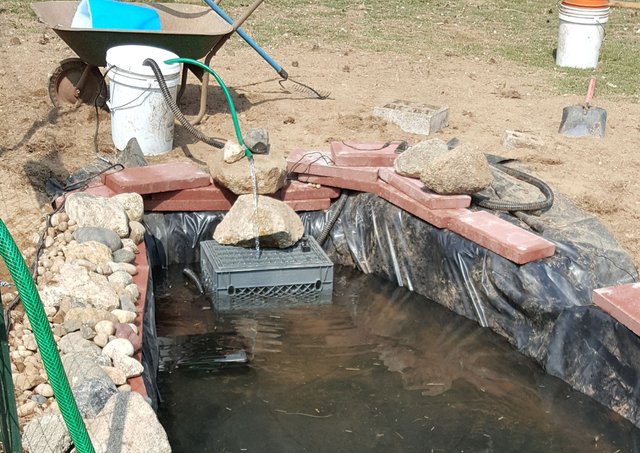
Finally, I cut two “Xs” in the lid, fed the intake and outflow hoses through it and affixed the lid to the bucket. The intake hose is attached to a second pump/prefilter which sits in the pond. My biggest concern at this point was regulating the water flow so that the filter did not run dry and ruin the pump inside, or that the intake would exceed the outflow and cause the filter to overflow and eventually drain the pond.
It’s not pretty but after 24 hours it seems to be working fine. Eventually I will bury the filter about ⅞ of the way up the bucket and use rocks and plants to hide the top and hoses. But for now, as a prototype, I am very happy with the results.
August 13, 2017
Congratulations @ketflan! You have completed some achievement on Steemit and have been rewarded with new badge(s) :
Click on any badge to view your own Board of Honor on SteemitBoard.
For more information about SteemitBoard, click here
If you no longer want to receive notifications, reply to this comment with the word
STOPThank you