How I made this nosemask (prevention is better than cure)
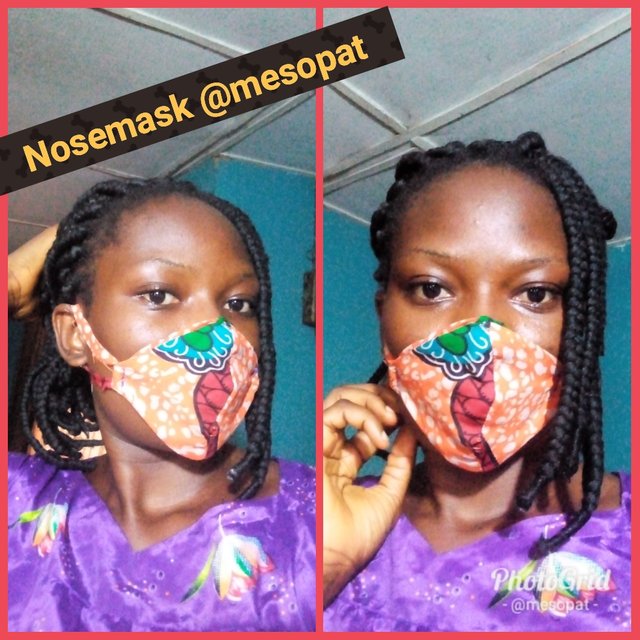
Hello fam...hope we are doing well??.
As we all know about covid and it's effect on people. So always remember to use your nosemask because prevention is better than cure.
Below are steps on how I made my nose mask. Hope this helps someone.
Step 1
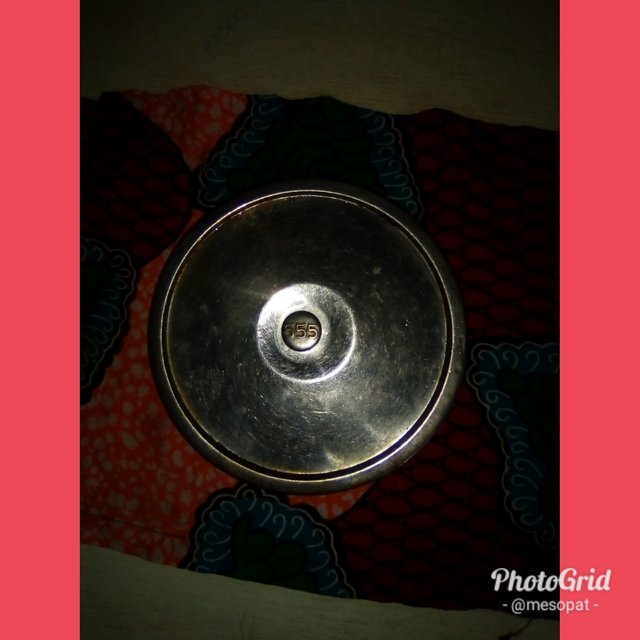
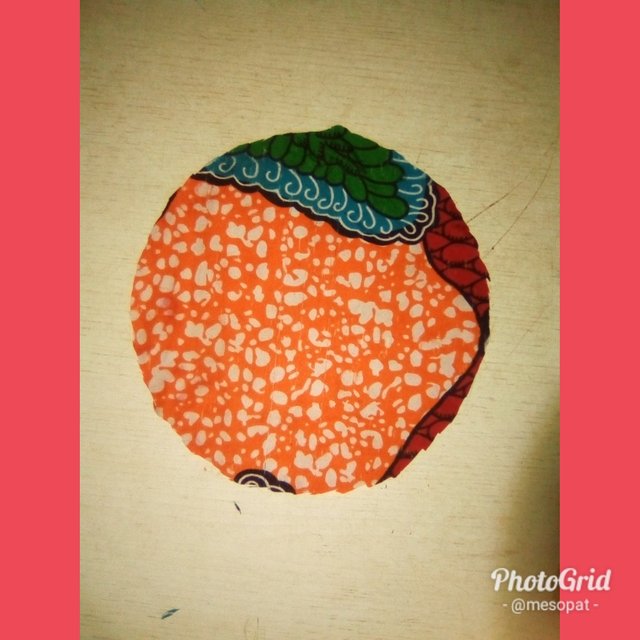
Place a round object on your fabric, trace the shape and cut out. Here I made use of a pot cover😀.
Step 2
Fold the fabric into two as shown.
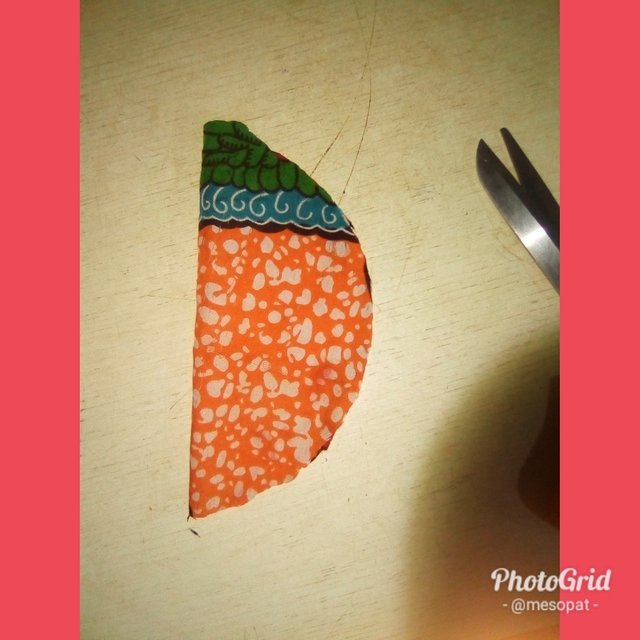
Step 3
Fold again until you achieve this cone shape.
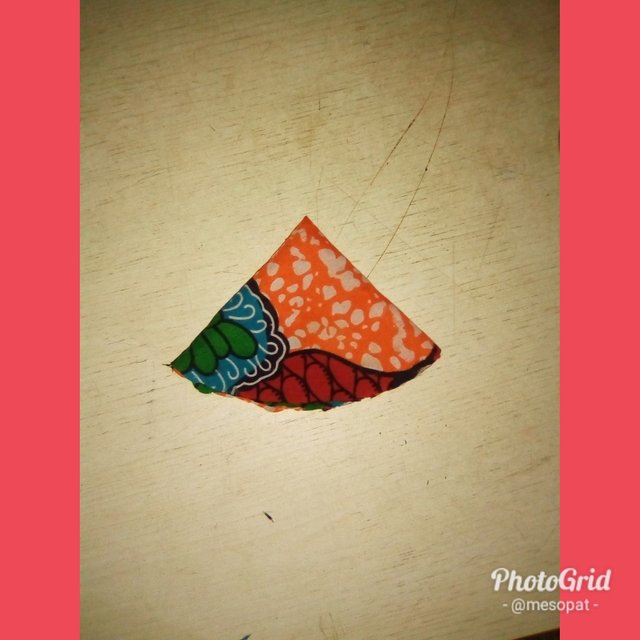
Step 4
You will see that some ends are closed on both sides of the cone shapes.
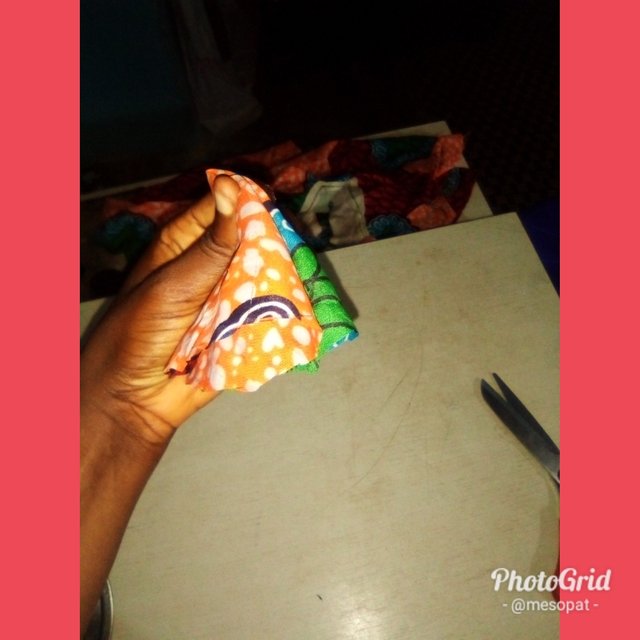
Cut open the close ends on both sides of the cone shape.
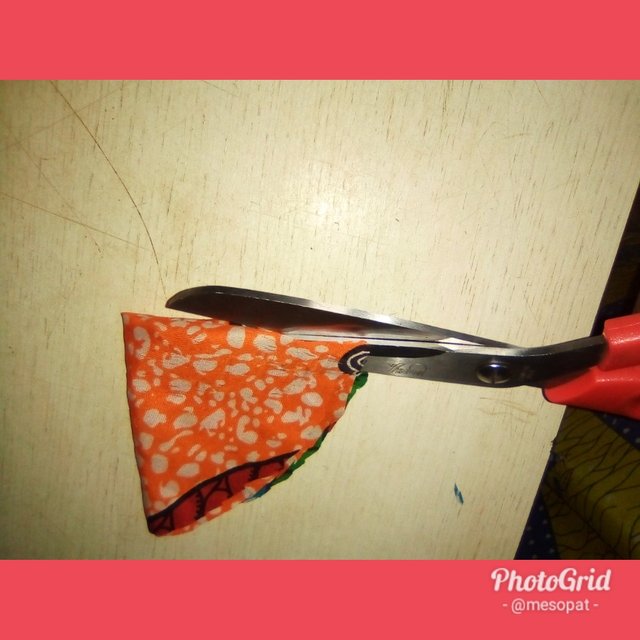
•You will get four pieces of a cone shaped fabric.
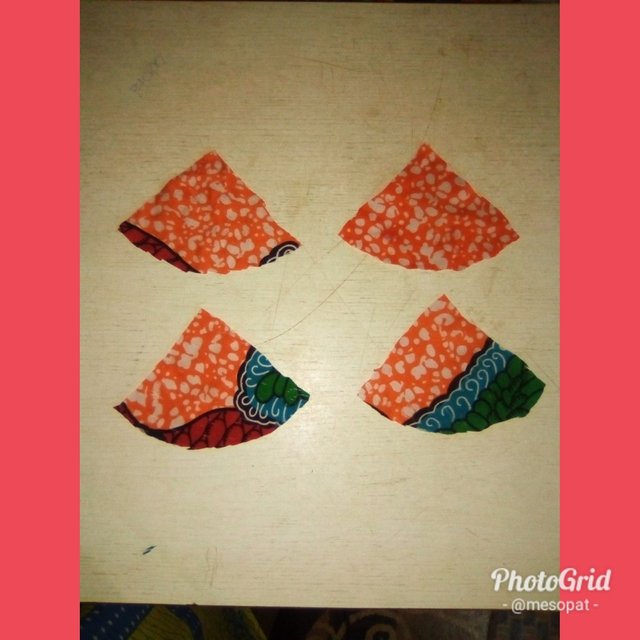
Step 5
Place one piece of the fabric on eachother, giving you two sets of fabric.
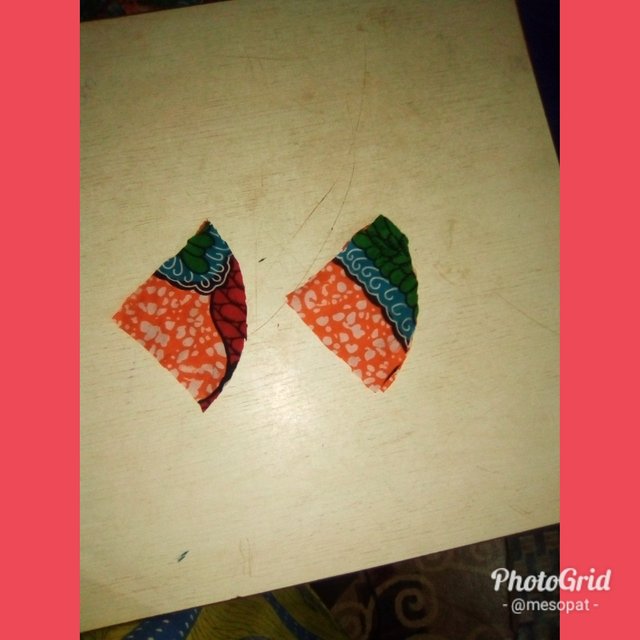
Step 6
Sew from one end to the other to join both pieces of fabric together
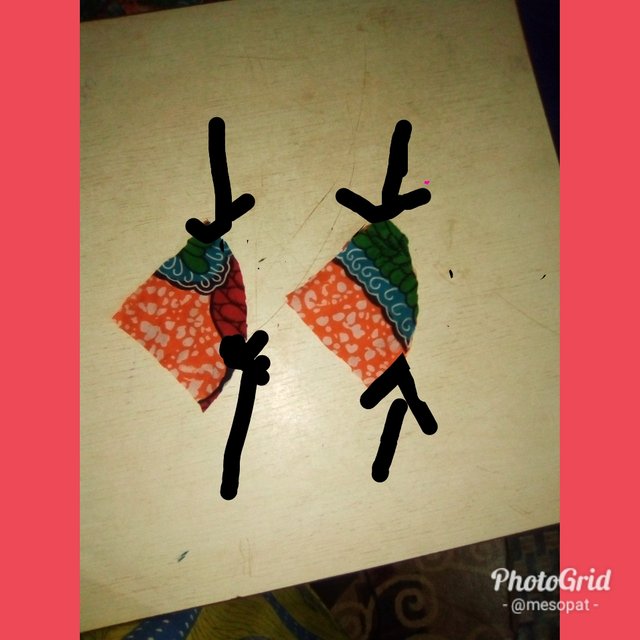
•This should be the outcome after sewing.
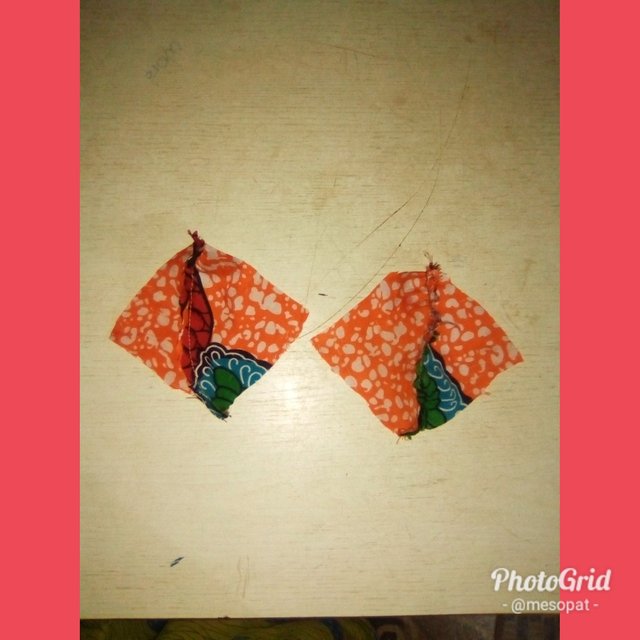
Step 7
Place both set of fabric on each other with the fashion side of the fabric inside.
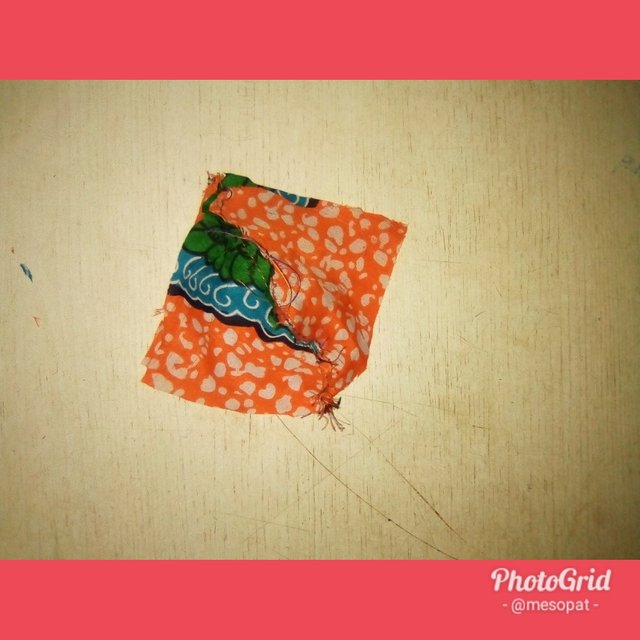
Step 8
Sew all through the fabric but leaving about 1inch which will be used for turning the fabric inside out.
Step 9
After sewing turn the fabric inside out using the open end and then have it sewn.
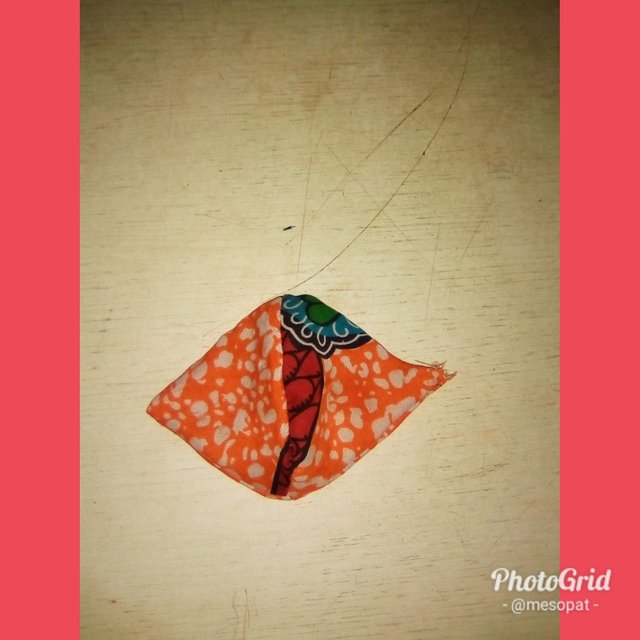
Step 10
Fold the edges of your fabric and sew.
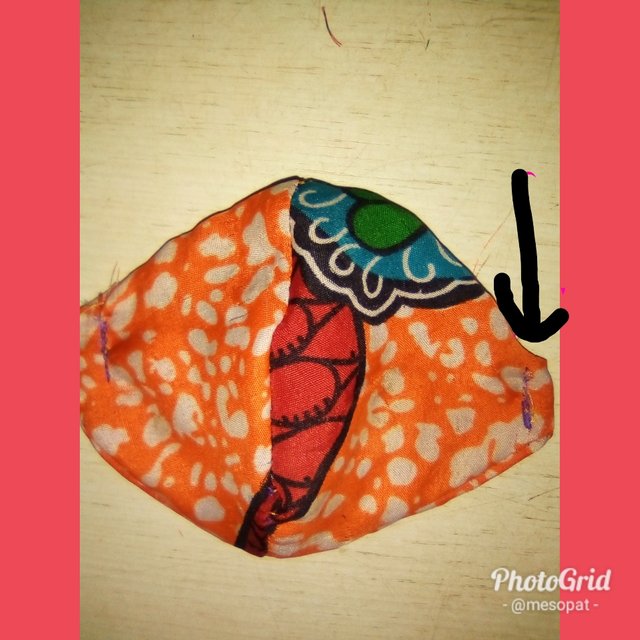
Step 11
Cut your elastic or pieces ( here I made use of pieces) and place in the folded end of your fabric as shown.
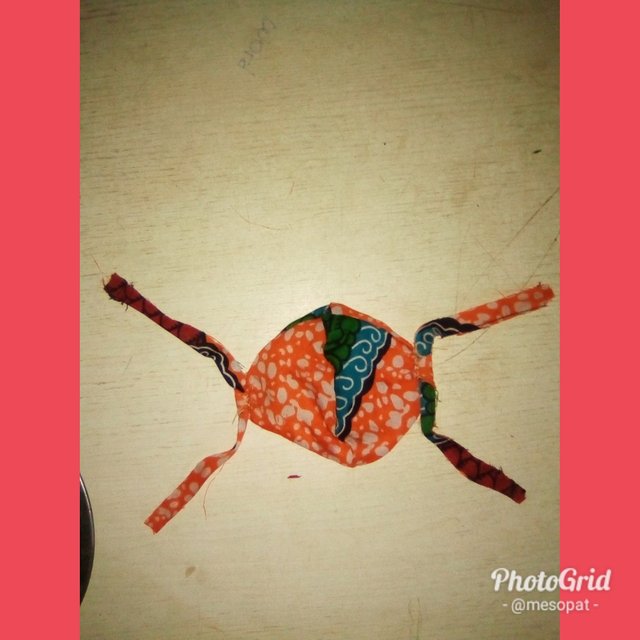
Step 12
Stitch the end of the pieces (elastic) as done in the picture.
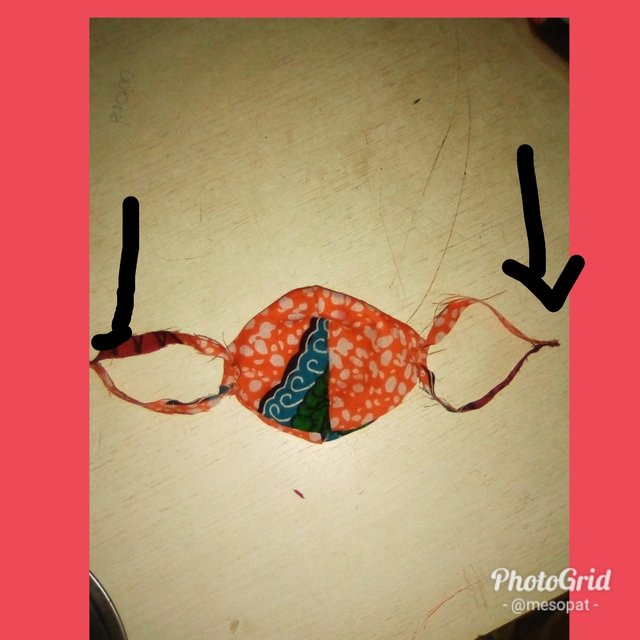
Step 13: place the stitch end of the pieces inside the folded end of the fabric ( this is done so that it won't show where it was stitch)
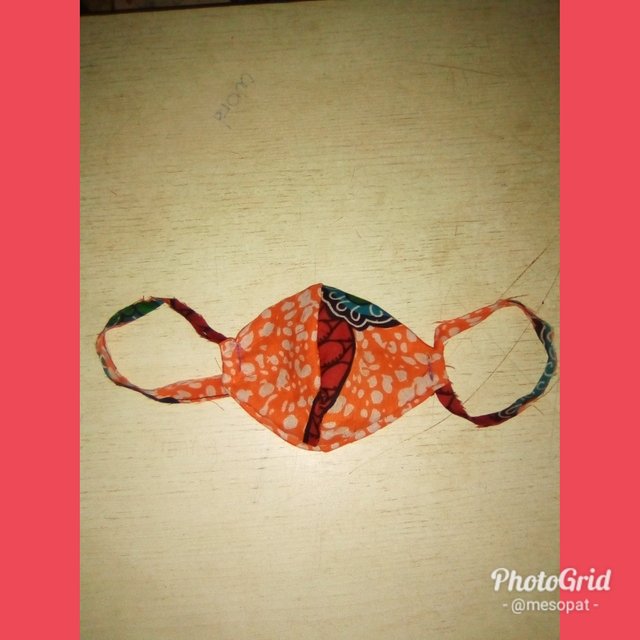
Final outcome.
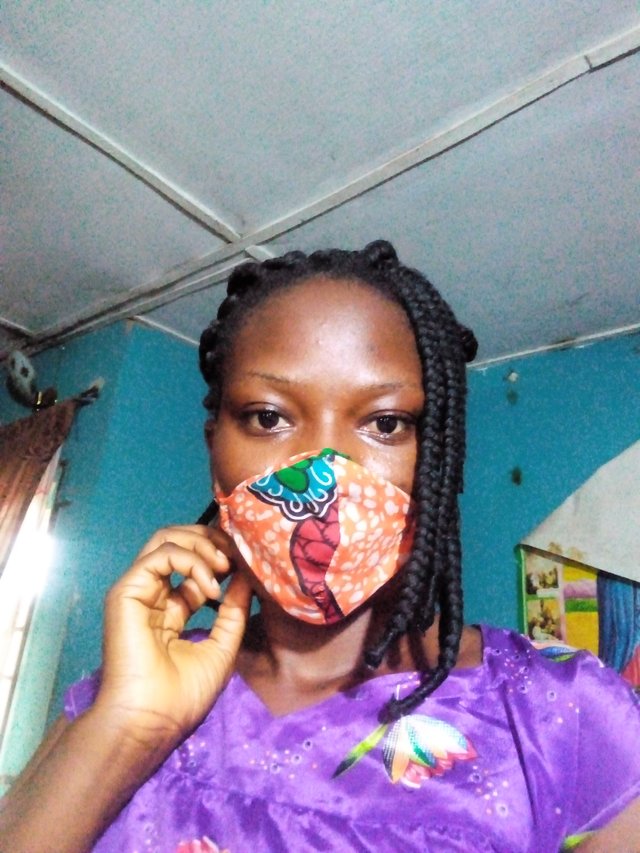
N/b: this is a reusable nose mask, just wash and use again .. hope this helps..thanks for engaging😁😀
Thank you for detailed instructions.
You welcome, thanks for engaging😀