Videoing /Connecting Rope Light on New Site and Travelling through different routes on Steem Atlas
edited using canva
It was another day to do my video coverage for the project and also work on learning the electrical skill implementation in the construction site. Using one stone to kill two birds. Anyways, it was a rough and hectic day though. I spent my whole day in the place with lots of achievements which I'm grateful for. I got to know;
- places one can purchase electrical materials at a cheap rate
- routes to places I've not been before
- exclusive strategies in shooting a construction site as seen in most videos
- some electrical terms and
- technical know-how
Let me not spill the whole gist. I'll give a detailed narration of how my day went. This publication is dated. We were done working with electrical installation in the old site and this is the video I took. He sent this to his client and his client got the satisfaction he needed on lighting, sockets, switches, the LED bulbs used, extractor fan installation, ventilator fan and other ground wiring. After receiving payment on the job well-done, we left for the new site located at Mbak rd by white house.
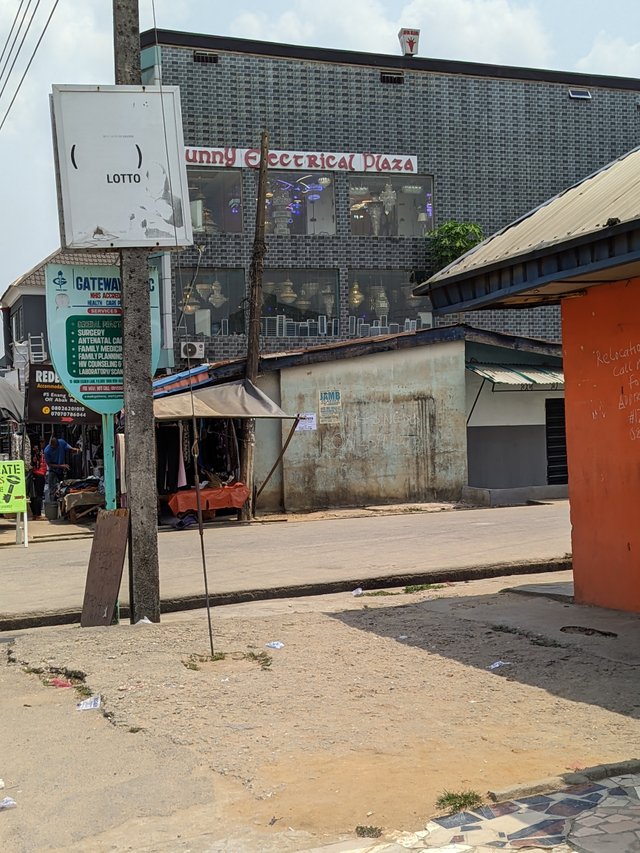
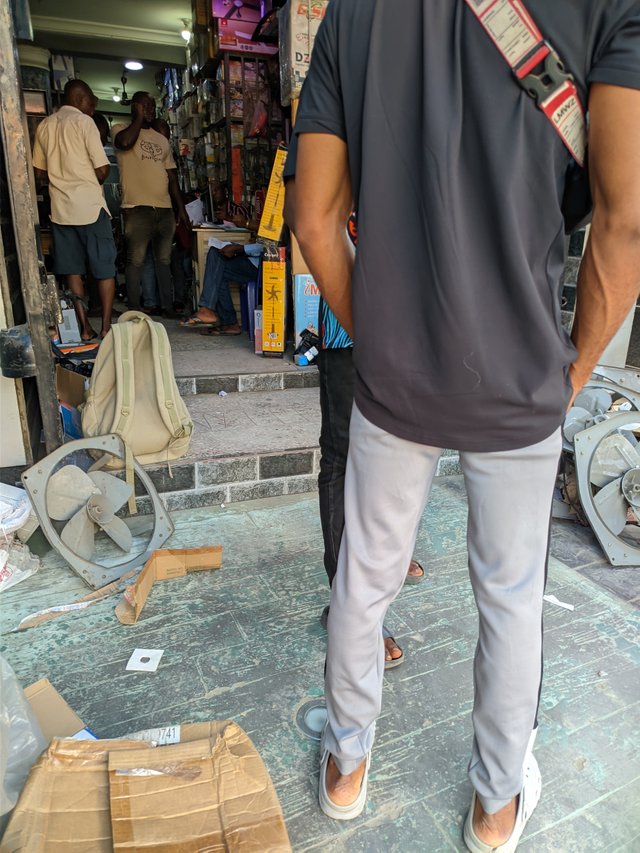
But before going there directly, Engineer took me on a round town tour. It's not an outright tour though. He wanted to purchase some electrical devices that would be used in the new site. We boarded a bus to Abak Rd where we alighted at an electrical store to purchase a ventilation fan. The ventilation fan costs 45k in Nigerian Naira. This fan is a 12 × 12 ventilation fan. He selected the best of the best to use for the new construction site he was employed to work. This is a picture of the extractor fan or Expeller.
 |  |
|---|
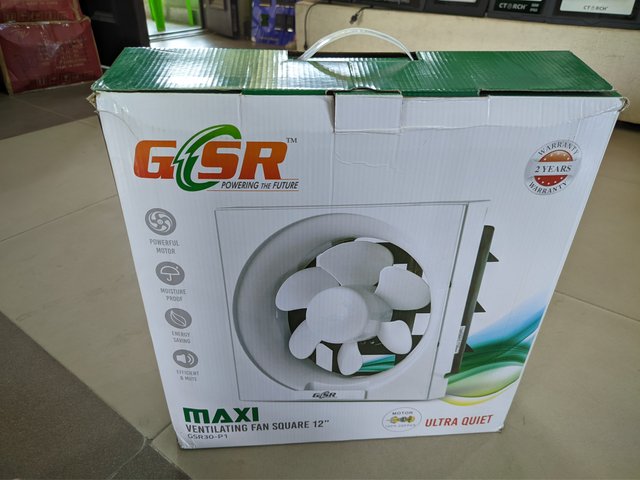
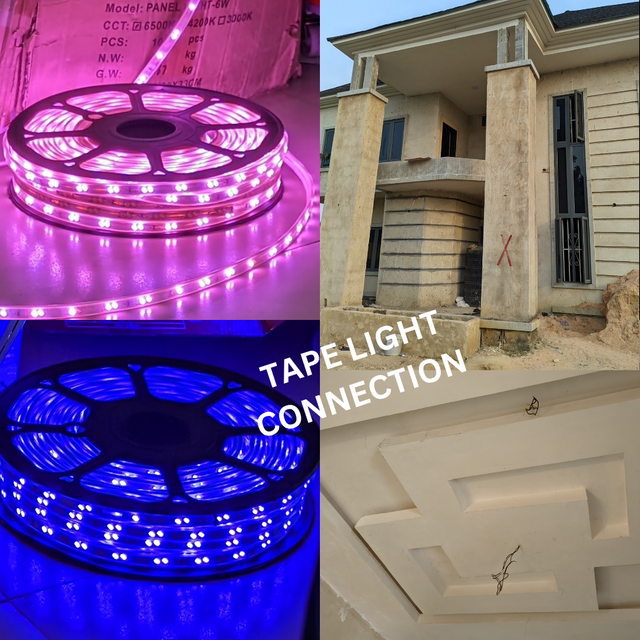
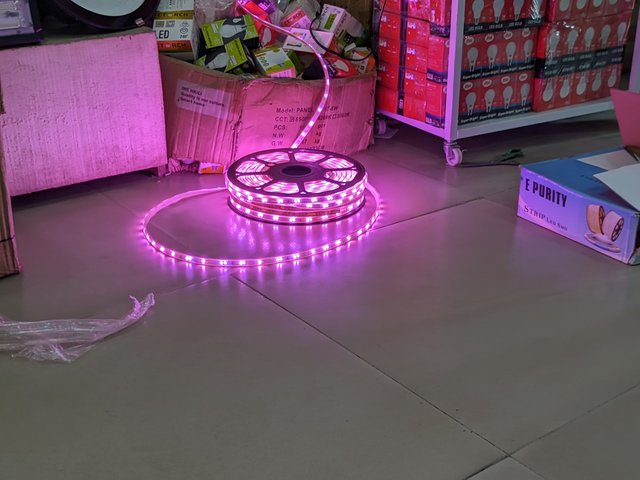
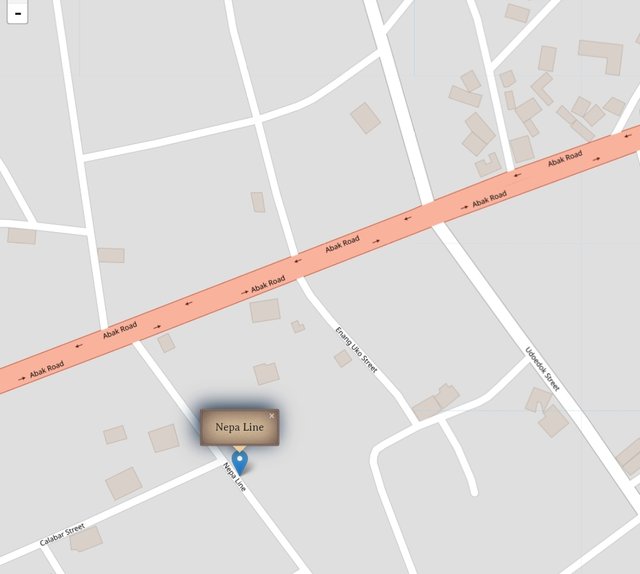
This would be used for the kitchen to remove or expel repulsive air from the kitchen to the surrounding. We left the electrical store to another electrical store where we purchased Rope light of different colours. This tape light is also sold in the place he bought the extractor fan but it's cheaper elsewhere. We boarded a vehicle to another electrical store at Nepa Line. This was the first time I knew this location was NEPA line rd. I've been hearing about the NEPA line rd but haven't been there.
 |  |
|---|---|
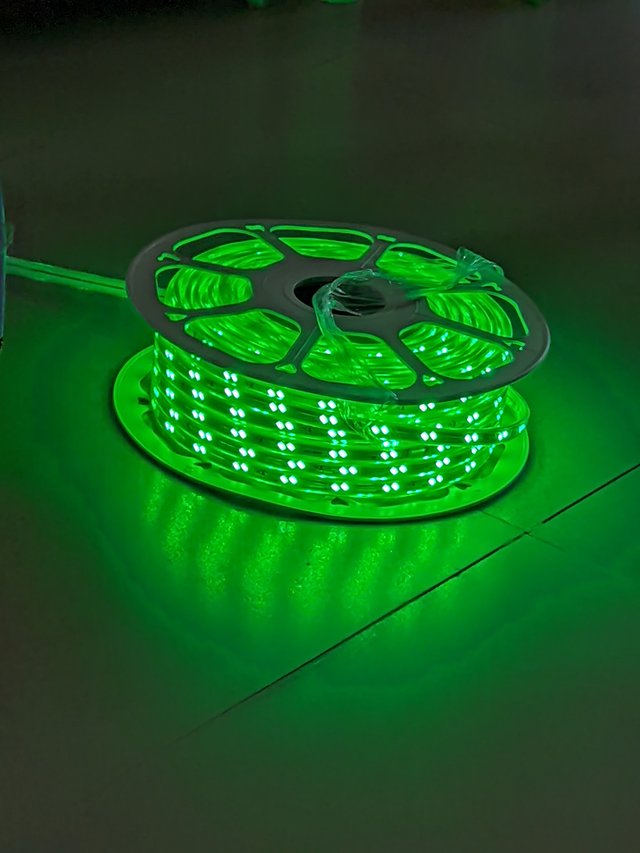 | 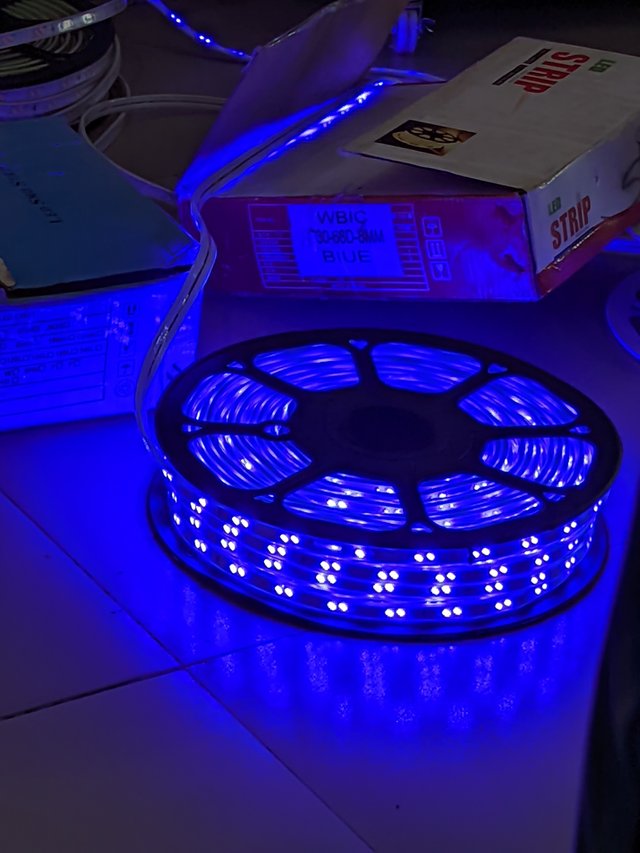 |
I was there that day and we made the purchase of two rolls of rope light which costs about 12k for each. In my mind, I was like, for ordinary light?? See something that was sold at 5k. We tasted the light to check if it was working and also to confirm the colours as the client wanted blue and pink. We selected the preferred colours and left for the new site.
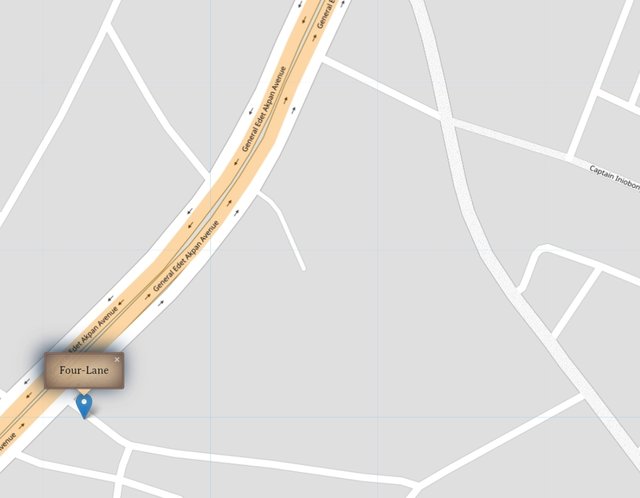
There was a short cut road from NEPA line to 2-Lane, Nsikak Eduok. It was my first time using the route. I made good use of my Google map to highlight the routes I passed through in this diary game. We boarded the vehicle to four-lane by Ewet housing and then boarded a cyclist to White House by Mbak rd which is the location of the new site.
| Routes I travelled through | Cost of Transport Fare | Steem | Location |
|---|---|---|---|
| Ifa Atai to Four-lane | 200 naira | 0.7 | Bus stop |
| Four-Lane to State Secretariat | 200 naira | 0.7 | Bus Stop |
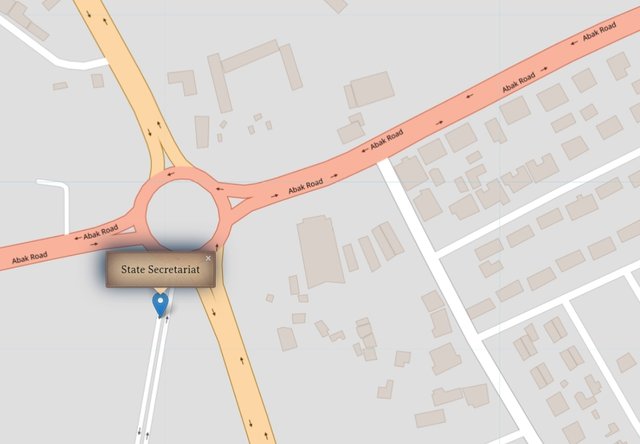
| State Secretariat to Abak rd | 200 naira | 0.7 | Bus stop [//]:# (!steematlas 5.02514981 lat 7.90594736 long State Secretariat d3scr |
| Abak rd to Nepa line | 100 | 0.3 | Bus stop[//]:# (!steematlas 5.03021673 lat 7.91970491 long Nepa Line d3scr |
| Nepa line to Nsikak Eduok | 200 | 0.7 | Bus stop |
| Nsikak Eduok to White house by Mbak rd off four-lane | 200 naira | Bus stop[//]:# (!steematlas 5.0088467 lat 7.95168757 long Four-Lane d3scr |
 |  |  |
|---|
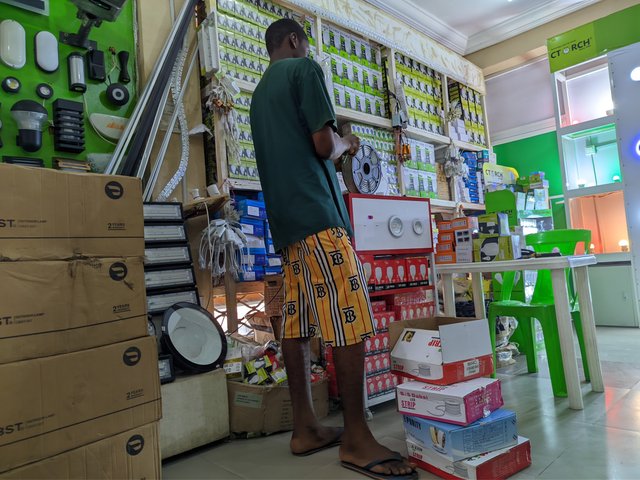
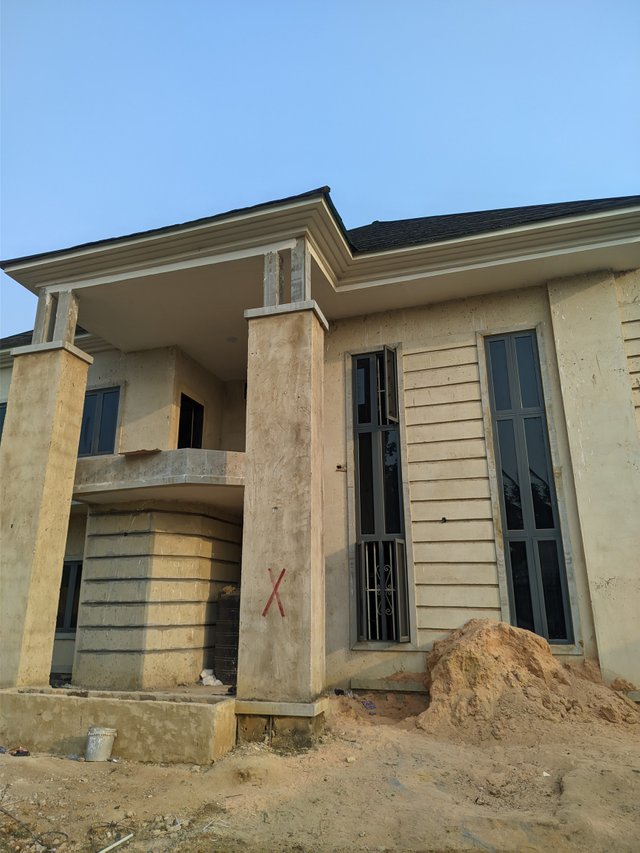
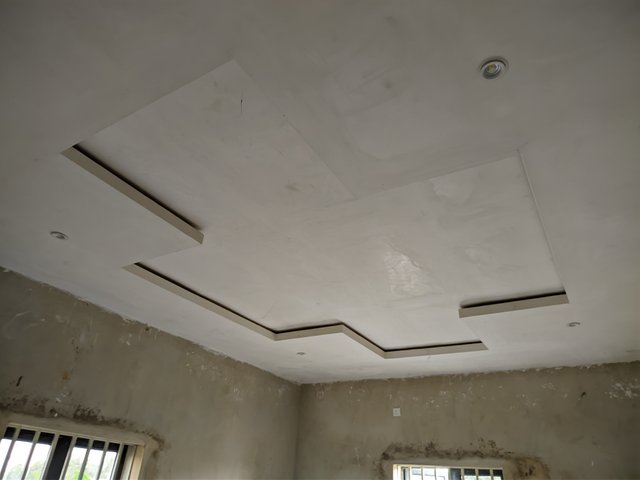
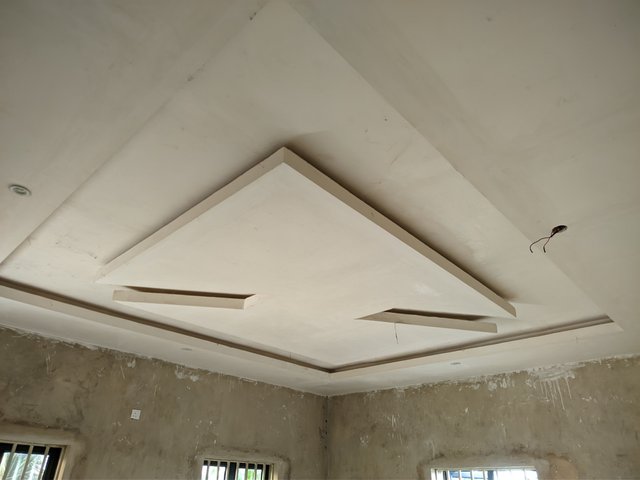
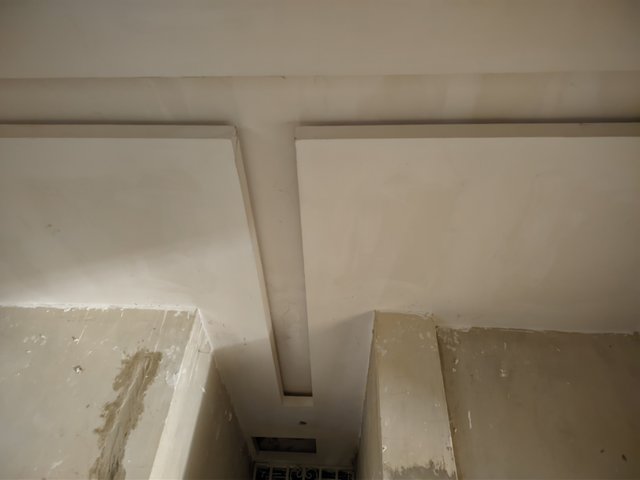
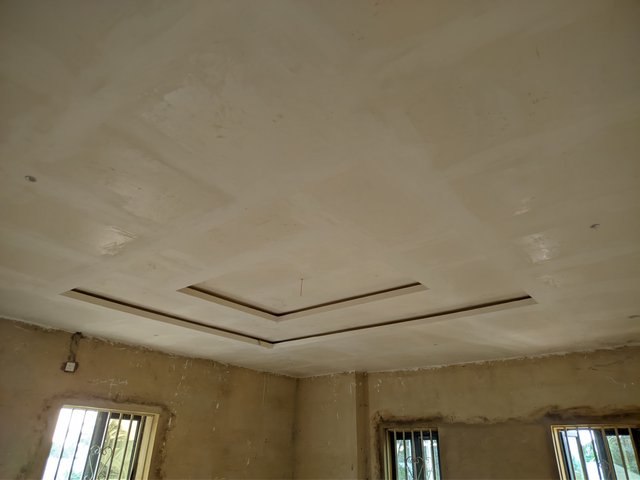
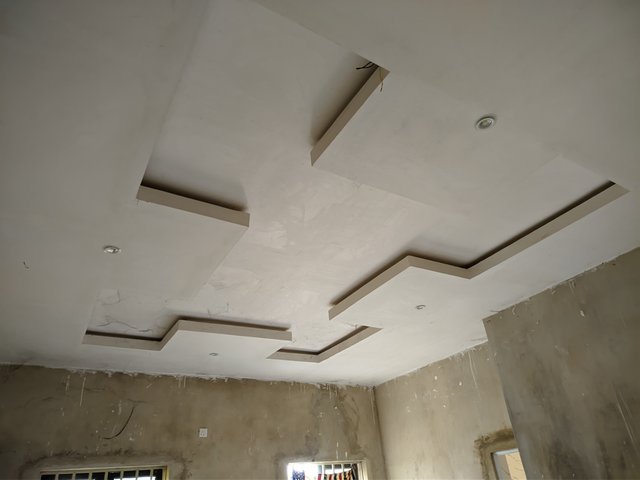
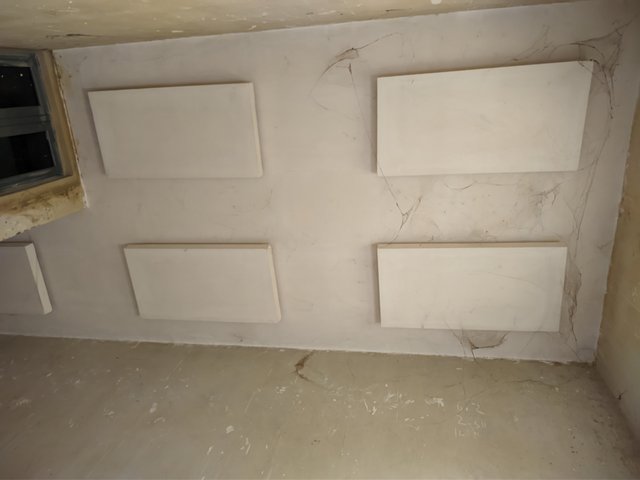
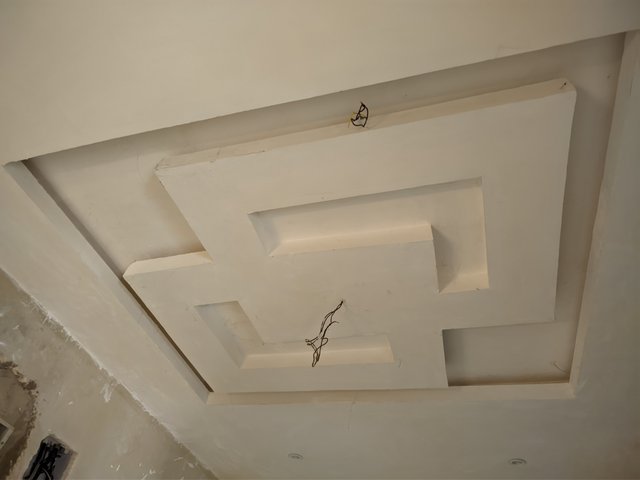
On reaching the site, I took pictures of it before moving round the house to check the structure and others. The tape light bought was to be installed in the rooms and parlours though we forgot to purchase plugging. The client was specific as to what colours he wanted in each division. All divisions were made with Plaster of Paris ceiling. The design made it possible to install these lights in its corners so they can reflect without outrightly being shown ever when viewed from a distance. Let me talk about the installation...
 |  |  |
|---|---|---|
 |  |  |
 |  |  |
Placing Rope Lights |
|---|
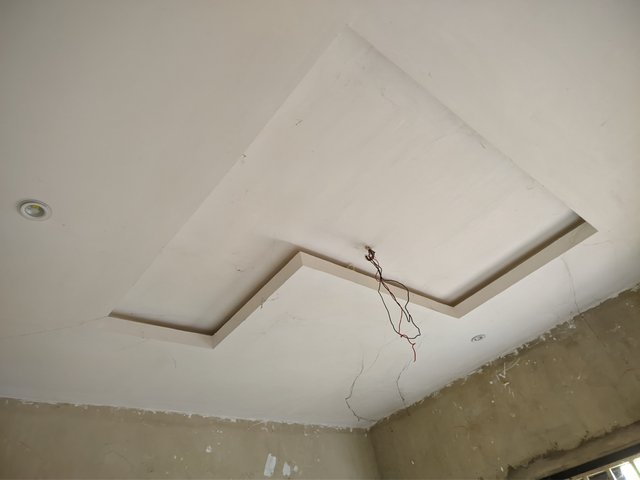
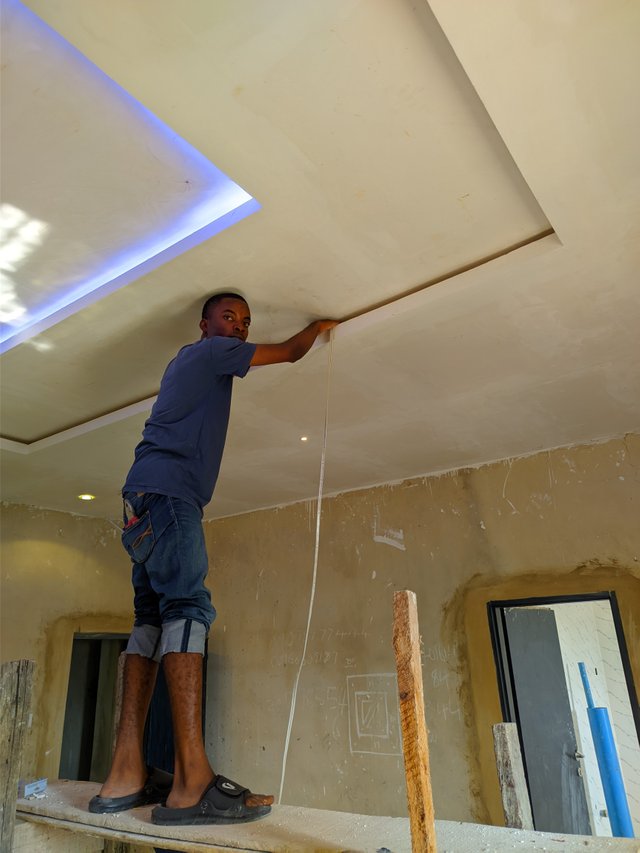
These rope lights have connectors that connect it to two visible live and neutral wires up there, linked to a particular switch in the room. This is the plugging and it's just two we bought.. We didn't know it would be needed in large quantities for use. We just had to work with what was available at the moment. You may be wondering how we reached the ceiling. Through the help of a wooden scaffold, we were able to reach such a height.
 |  |
|---|
I was just watching intensely to know how it's done before practicing it. To the placement, the engineer I was assigned to video showed me a lot of things. He told me to always check the switch before operating up there. Ensure the switch is turned off to avoid electrical shock. There are many other precautions you'll need to take to ensure you do the work well. Another is that when placing a tape light, ensure to use a plier to hold the fittings to avoid loosening when you step down from a one-sided scaffold.
This is a one-sided scaffold I used and I had to place a plier to hold my light as I came down to change position. That's it. In essence, you also need to ensure you don't cut the light bulb after placing it to the point of connection. There's a joining shown in the picture below. This is where you're to cut the tape light and not the bulb. After watching how the connection was made and doing video coverage for it, I took to placing it in other divisions of the house.
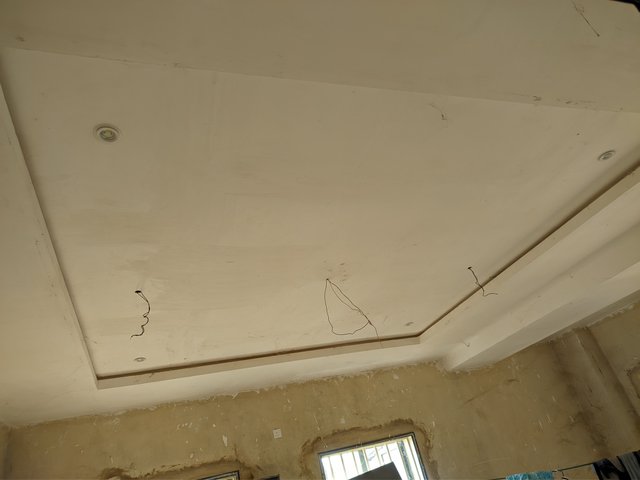
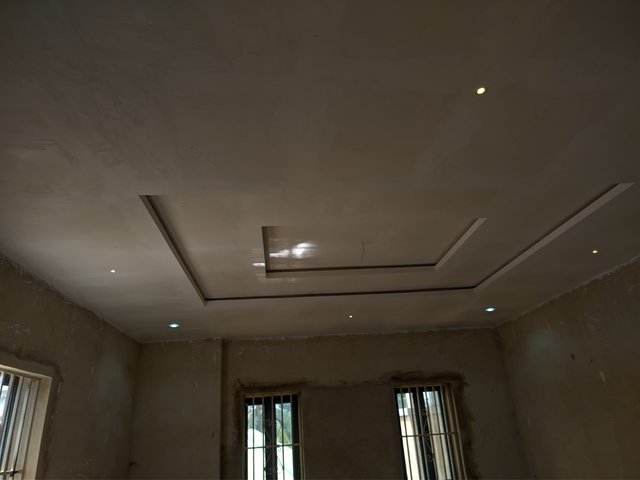
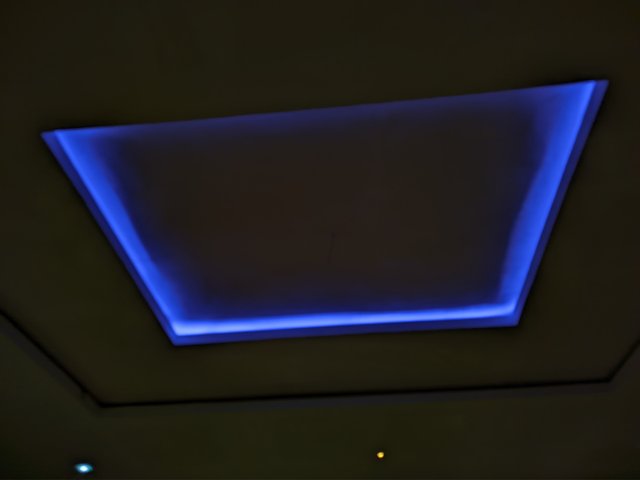
We tested it after placement to ensure a good connection. The blue light placed was ignited and shown round the designed POP. That's how we did for other rooms until we were done. It was an enjoyable experience.
 |  |
|---|
I did the video coverage which was the main reason I joined this electrical movement. This is how the lighting is, in the room. This is the ventilator fan we bought earlier. It was installed by someone else when I was placing the lights. I then left home for the next day. My work is to cover all electrical activities done there though I usually miss some days because of charity programme and school. I'll still show you guys the switch connection and what to avoid.
Dated: 14th February, 2025
@tipu curate
Upvoted 👌 (Mana: 4/7) Get profit votes with @tipU :)
Your content has been successfully curated by our team via @kouba01
Thank you for your valuable efforts! Keep posting high-quality content for a chance to receive more support from our curation team.