SLC-S22W3 | Emprende con Crochet: Tejamos Colitas.
I am @shadow04
From #bangladesh🇧🇩
Hope everyone is well. Alhamdulillah, I am also very well. Today I appeared to participate in the ongoing SLC- S22W3 | Emprende con Crochet: Tejamos colitas . Thanks a lot @naka05 mam for giving us such a nice lesson.

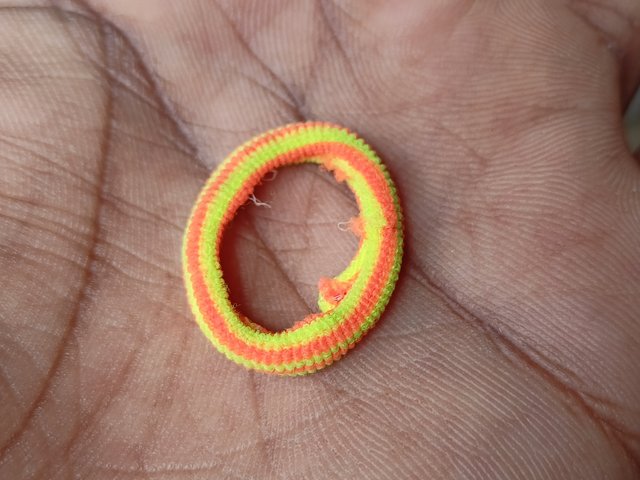
To participate in this project, I bought two colors of woolen yarn, a cruise needle and a rubber band from our local market yesterday. Below are my local currency and steem prices for them:-
| S.L | Tools | Price(BDT) | Price(steem) |
|---|---|---|---|
| 1 | Green Yarn | 9 BDT | 0.28 Steem |
| 2 | Purple Yarn | 20BDT | 0.625 steem |
| 3 | Cruise Needle | 25BDT | 0.78 Steem |
| 4 | Rubber Band | 2 BDT | 0.06Steem |
The project cost me a total of 57 BDT / 1.78 steem.
I have tried to reproduce the design mentioned in the lesson as my own step by step below.
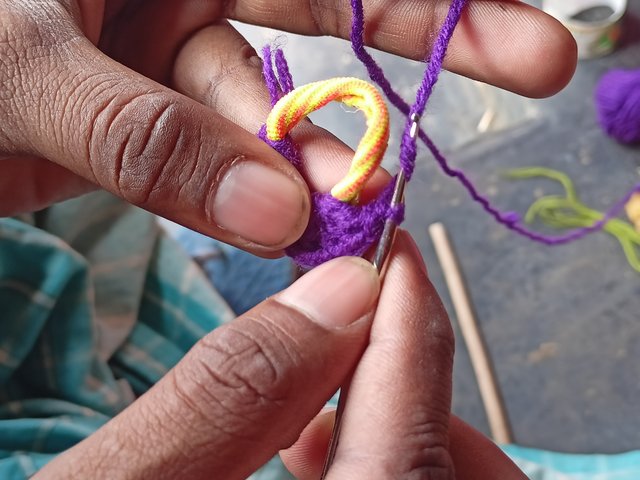
- I made a patch with woolen thread from any point of the rubber band. Then I took the cruise needle and wrapped it with two patches and started binding the rubber band from all sides.
 |  |
|---|
 |
|---|
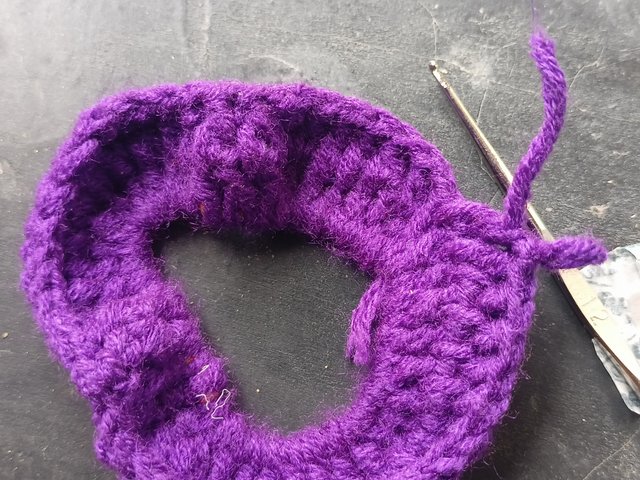
- After wrapping the rubber band completely with yarn I made another new row on top of the first row. To make this row, I will complete the row by twisting the cruise needle in the opposite direction.
 |
|---|
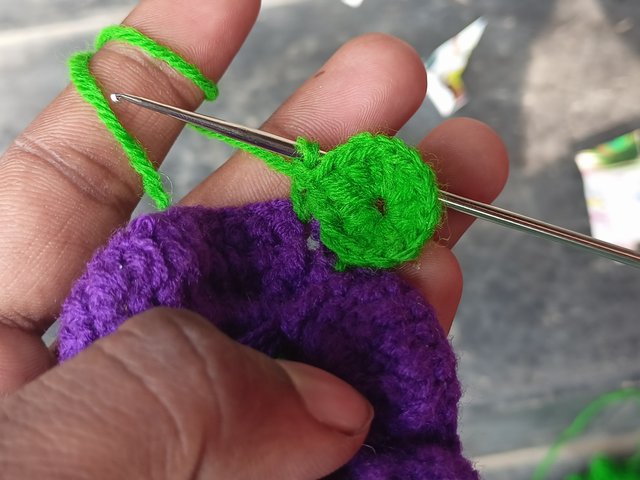
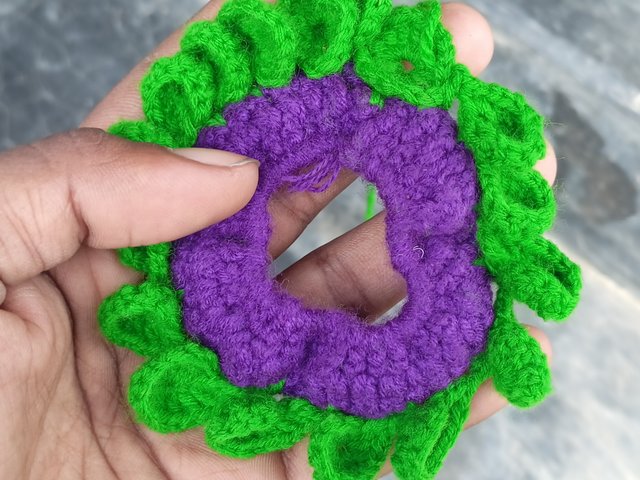
- Next I cut off the end of the purple yarn from the second row and then take the green wool yarn there and make small chains with three reverse patches on the cruise needle and bring it back half way, bringing six chains half way and meeting the center & create a round flower.
 |
|---|
- Similarly, continue making the round flower around the rubber band until the chain on top of the rubber band is completely joined.
Ever since I was a child, I have seen my mother and my grandmother making various designs of sweaters, t-shirts, sandro genjis, etc. using cruise needles and wool yarn. So, this is what I used to see since childhood but never tried to make them. Inspired by your post to be a part of this competition, I tried to make it for the first time, so it turned out not as beautiful as yours. Hope you will look at it kindly🙏.
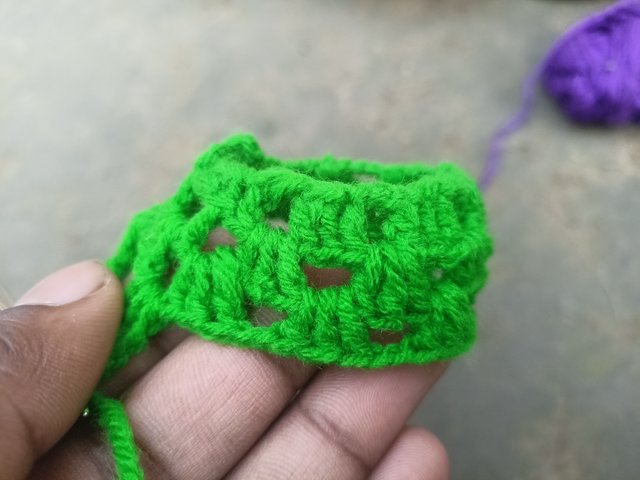
• Actually I myself have not made any design of tail before. So, after not being able to find any design, I finally got inspired by the flared round part of my daughter's doll dress and tried to make it. Below are the steps :-
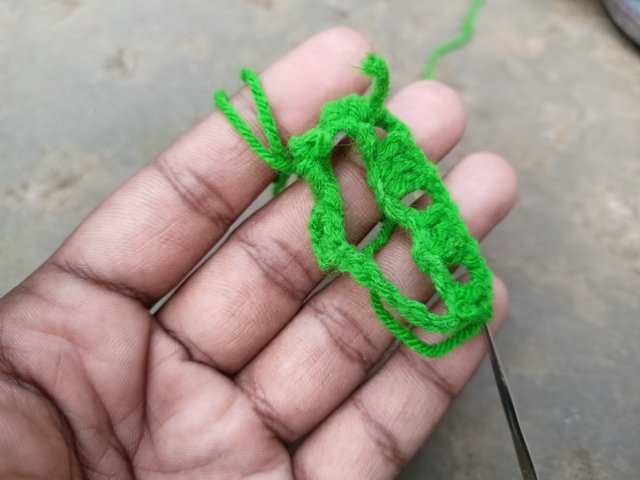
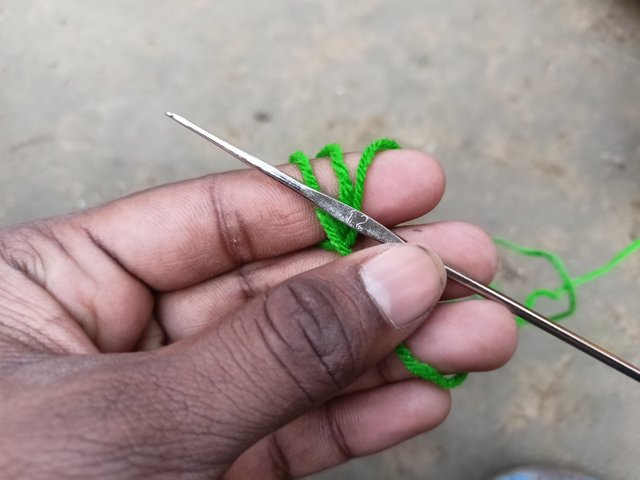
• First I made a long chain of three reverse patches using a cruise needle with a reverse patch on the edge of the green wool. Then I joined the two ends of the chain to form a circle, then I continued to make the second chain on top of the chain. Here I make the second row after giving six patches leaving some space.
 |  |
|---|
 |
|---|
• Now I continue to make the third row chain. However, I made the chain of the third row a little wider, so that it would be easier to stretch further down. I made the gaps of the third row a little more empty.
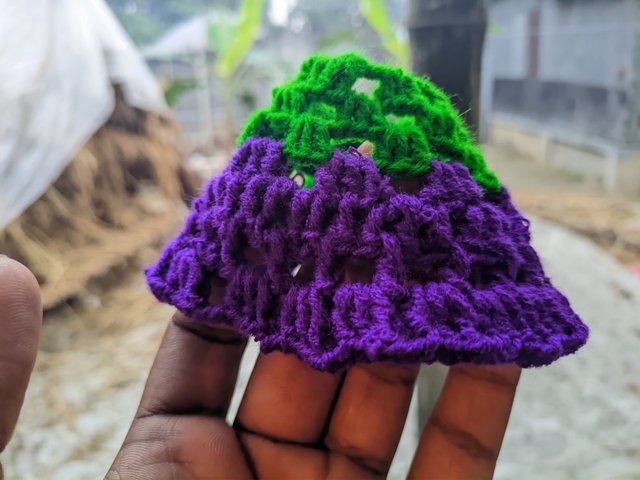 |
|---|
• Next I cut the green yarn and add new purple yarn to the design. Then I make 3 more chain rows. As the row number increases, the chains widen downwards. This is how I make a great design for the bottom of my daughter's doll dress.
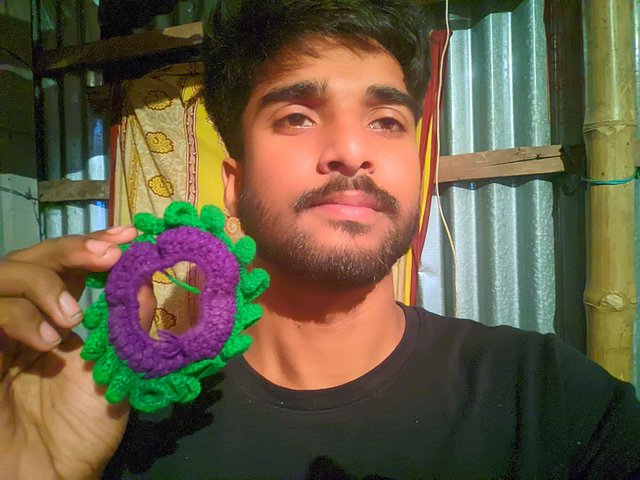
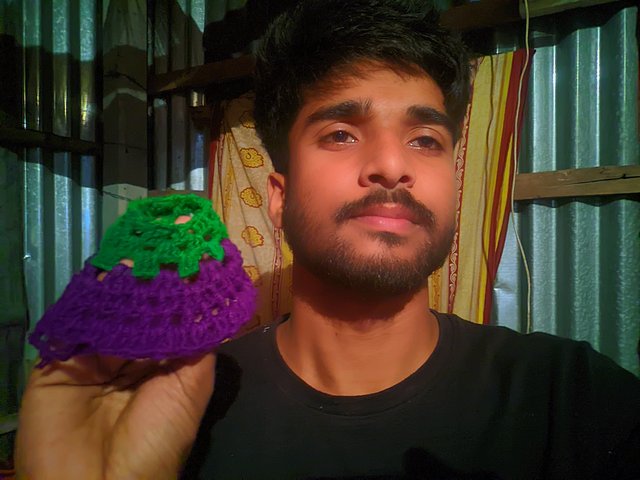
• The first design took me 2 hours 12 minutes as it was a new and relatively complex design and the second design took 1 hour 27 minutes as it was a normal design.
 |  |
|---|
If I am asked to sell my designs I will take them for a total of 150BDT/4.69steem. I will charge 100BDT/ 3.125 steem for the first design and 50BDT/ 1.56 steem for the second design. The first one took me more yarn, time and labor to make many flowers so I will charge a little more for that one


- Thanks by,,
- @shadow04
 |
|---|
X promotion link :
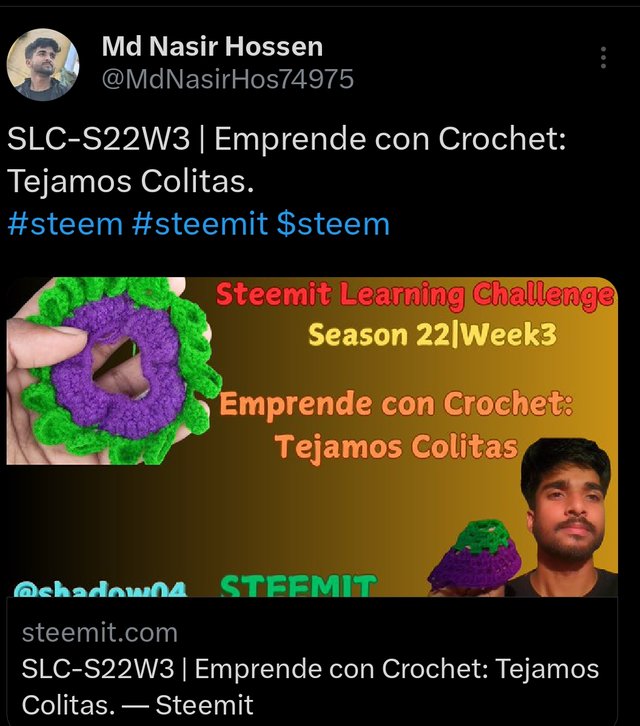
https://x.com/MdNasirHos74975/status/1875907790671352277?t=AhdIwfDi7Lte79LcGTaIVQ&s=19