The Perfect Blend: A Tutorial on Drawing a Steem Coffee Mug"

Greetings to all friends from the bottom of my heart. I am Rashid Malik, and today we are going to create a pencil drawing of a 'Steem coffee mug'. Just as Steem's price goes down, many friends definitely get worried. In such a situation, Steem coffee is essential to control our emotions and stay calm. :-)
I will try to explain all the steps in detail and in a very simple way, and I will also share some steps in picture form, so that all my friends who are beginners and want to improve their drawing skills can understand these steps and improve their drawings.
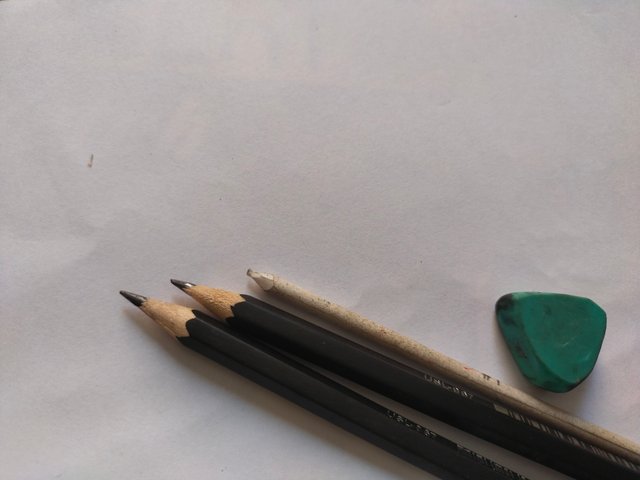
But before that, I would like to mention the tools that I will be using in this drawing.
Drawing Tools
- Blank Paper
- Pencil ( HB, 3B , 8B )
- Pastel Color
- Blending tool
- Eraser
Let's Dive In!
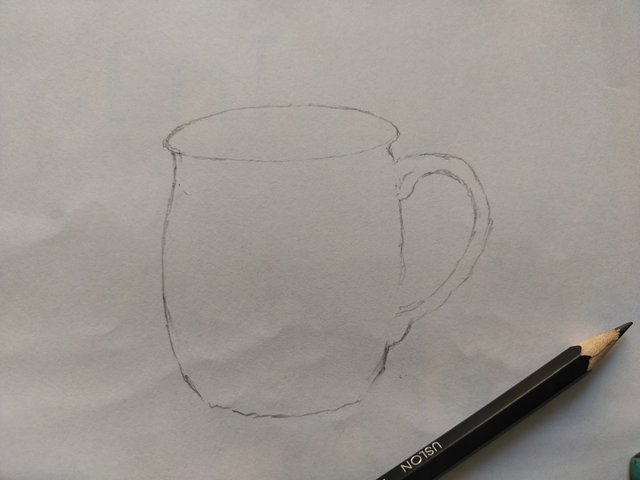
First, we will use an HB pencil to create a very light outline of the coffee mug. If the mug's shape doesn't turn out right on the first try, no worries, we have an eraser. And we can try again. Once we're satisfied with the shape, we'll move on to the next step.
 |  |
|---|
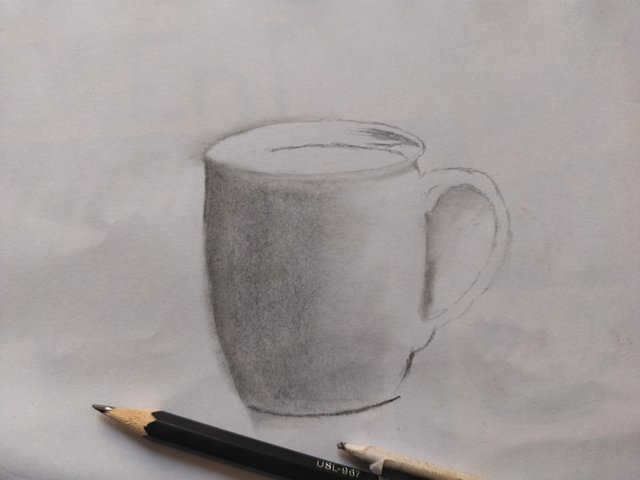
In the second step, we need to fill the front area of the mug with a gradient shape, for which we'll use a 3B pencil, 5B pencil, and a Blending tool.
To do this, we'll first use an 8B pencil to fill a portion of the mug's left side, then use a 3B pencil to fill another portion, and finally fill the remaining area with an HB pencil. After that, we'll use a blending tool to blend all these areas together.
 |  |
|---|
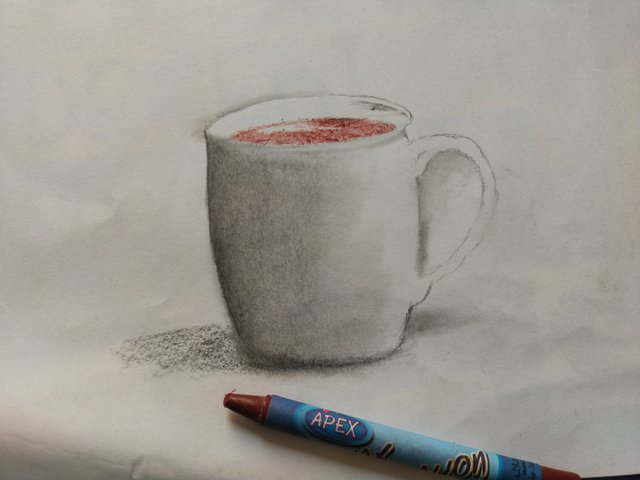
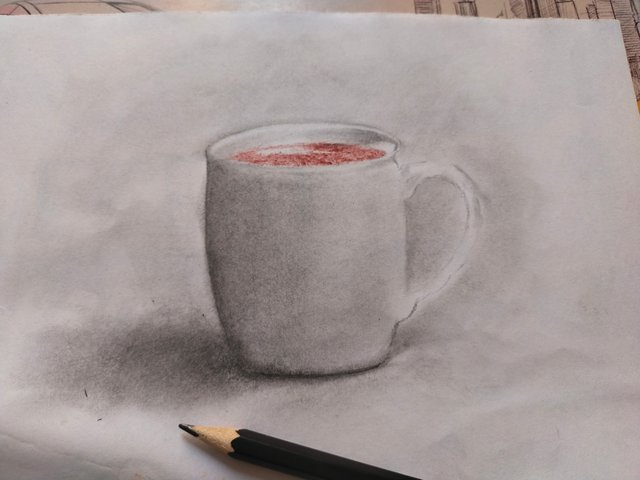
After completing the front area of the mug, we will now work on the inner parts of the mug. First, we will fill a portion of the inside of the mug with brown color, so that the coffee can be visible :-) Then, we will give a subtle shape to the upper edges of the mug and fill the corners with dark shades to make them look more realistic. And finally, we will blend them together using the blending tool.
 |  |
|---|
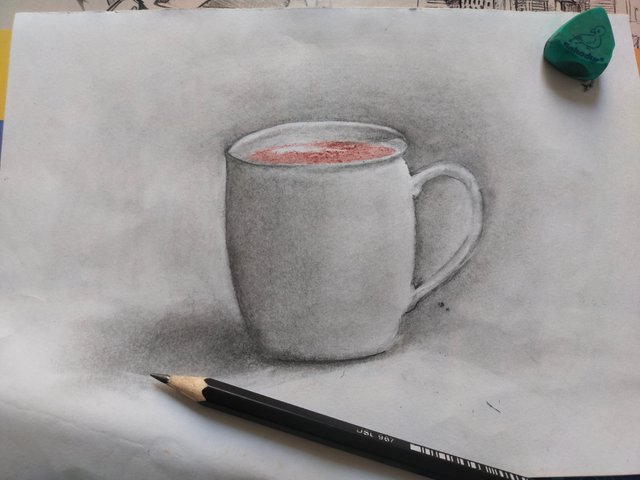
And then, we will fill the cup handle with a 3B pencil and add a touch of 8B pencil to its outer edges. We will blend these parts together using a blending tool to make them clear. Finally, to give the Mug a 3D look, we will fill the area behind the Mug with a 3B pencil and blend it with the ground using a blending tool. And wherever the Mug's shadow is to be shown, we will fill that area with an 8B pencil and blend it with the ground using a blending tool. And now our coffee mug is ready.
But it's looking a bit simple.
 |  |
|---|
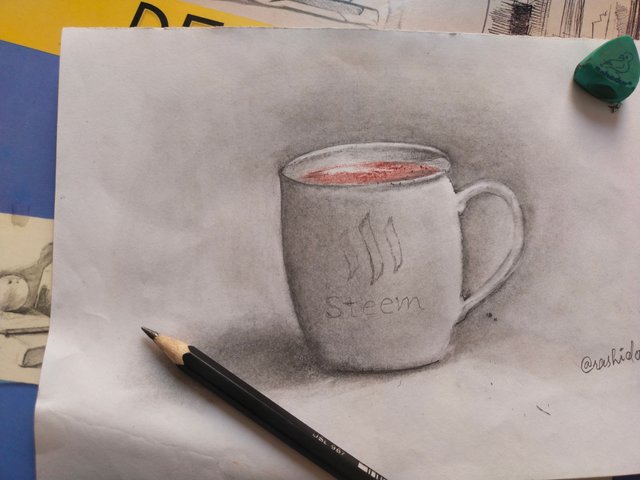
Let's move on to creating the Steem Logo on the front area of the mug and naming it 'Steem Coffee Mug'. To do this, we'll first draw the Steem logo in the center of the mug using a 3B pencil, and write 'Steem' below it. Then, to give it a slightly printed look, we'll fill in the sides of the logo and writing with an 8B pencil, and blend the two shades together using a blending tool.
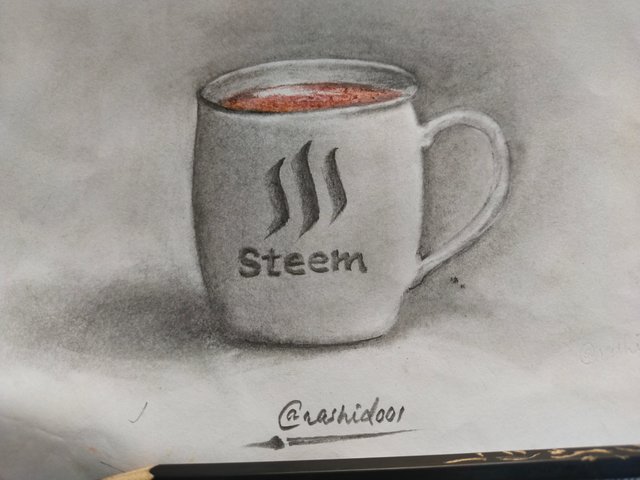
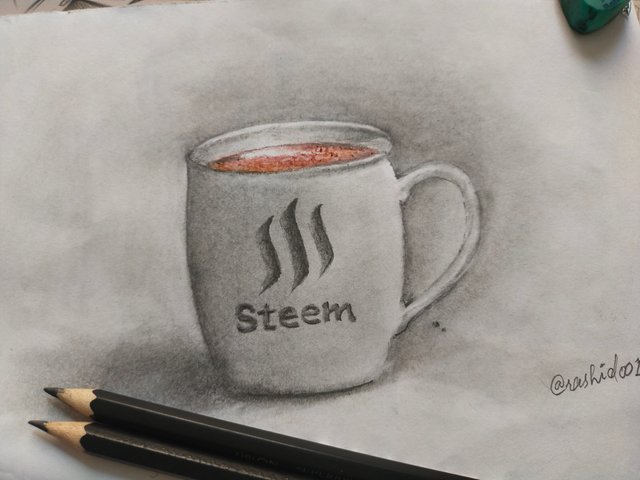
So, our 'Steem Coffee Mug' is now ready! Let's have a coffee. :-) I hope you enjoyed this tutorial and the Steem Coffee Mug. And I hope I was able to teach you something new. If you want to learn more drawing tips, please let me know in the comments. And also share your thoughts on this drawing. See you in the next tutorial, very soon! Until then, take care, stay happy, and goodbye for now.
This tutorial made me want to drink coffee :3
TEAM 5