CHARCOAL PENCIL DRAWING ON A MIDDLE POINT PAPER
GREETINGS
Greetings to @worldofxpilar I greet you all .
For the past few months now I have been making my charcoal pencil art using different paper which were so good ,so on this particular drawing I decided to make use of another different type of paper Know as MIDDLE POINT PAPER ,though it's not my first time trying it out.
I should say it was actually the first paper tried used on my first trial on using charcoal pencil art. Which didn't come out that perfect as I expected, so I had to use this anger and the zeal of getting it right with the middle point paper by making this wonderful portrait Drawing of a friend which I believe the result of the drawing came out perfectly.
Nevertheless while I was making this drawing I had to make so photo shoot on the drawing in progress which were really amazing I must say. Making this drawing it passed through many process as can imagine which took me hours and days to make it to the finish point
THESE ARE SOME PHOTO SHOTS OF MY DRAWING IN PROGRESS 👇
1st step:
This is actually an outline stage where I created an outline of my drawing or should I say a sketch of my drawing.At this point it kind of building up courage on the work.

2nd step:
I used a soft painting brush and charcoal powder in creating the cap area . Actually it was really interesting using a painting brush and charcoal powder on it by just rubbing the charcoal powder carefully without no stress.
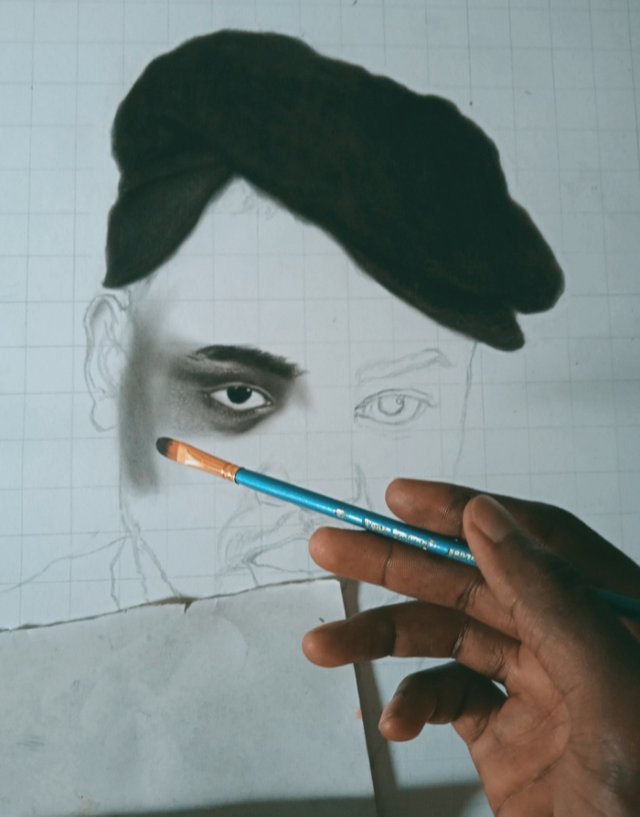
3rd step:
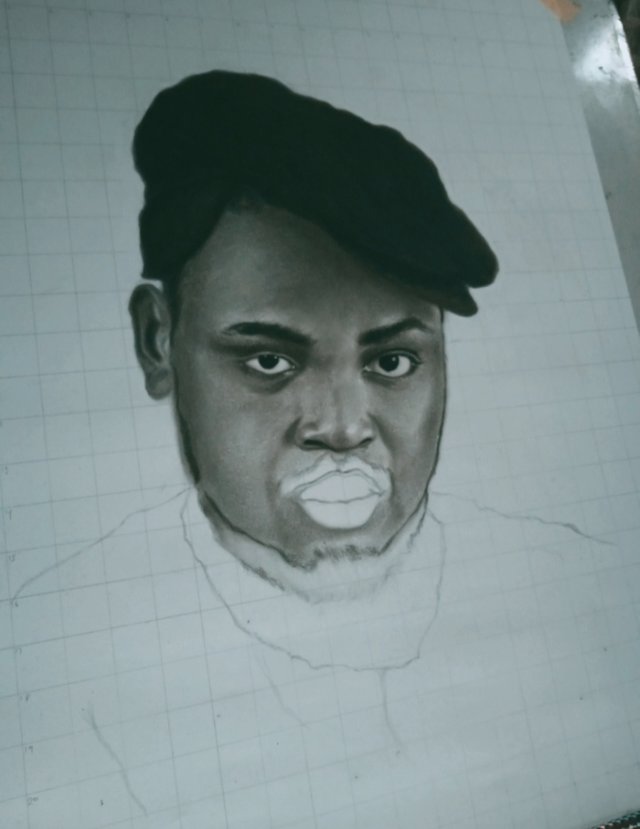
I went straight to the eye area after I was done on the cap area,it wasn't easy as you might think because at the point as I was drawing the eye I had to be very focused to make sure I made no single mistake while focusing on the eye because if I had missed and thing from the eye the drawing would be 50% different from the reference picture which wouldn't be a great idea.
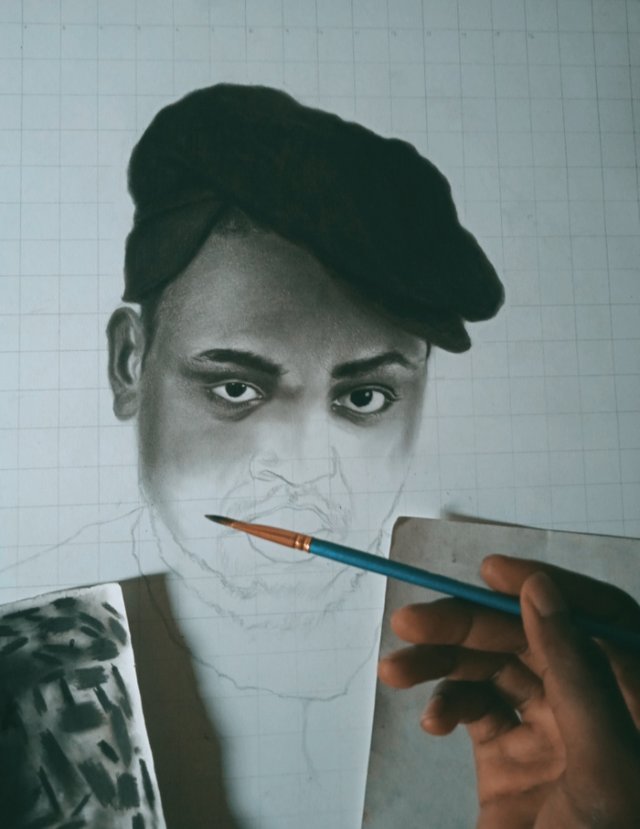
4th step:
At this stage I was already feeling happy about my drawing cause it was really giving me a result I wanted so I had to continue with the drawing which at this point I made sure I spent time in making wonderful skin details on the skin region of the eye and nose by using my painting brush and charcoal powder to create a suitable layer of the skin and then using my mone zero eraser to create the skin pores and also a HB pencil and 2B pencil.
5th step:
Gradually I was done with the face and was heading to the mouth which didn't stress me I must say.
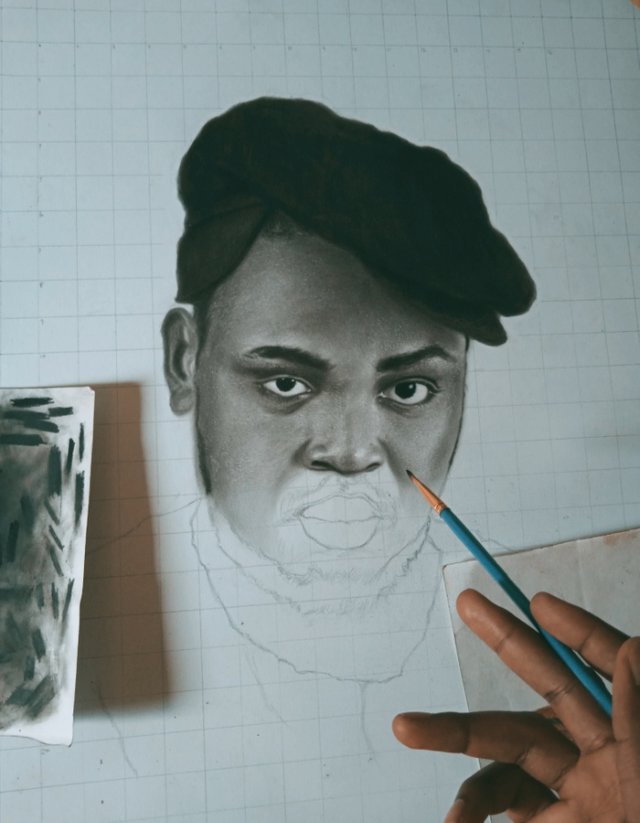
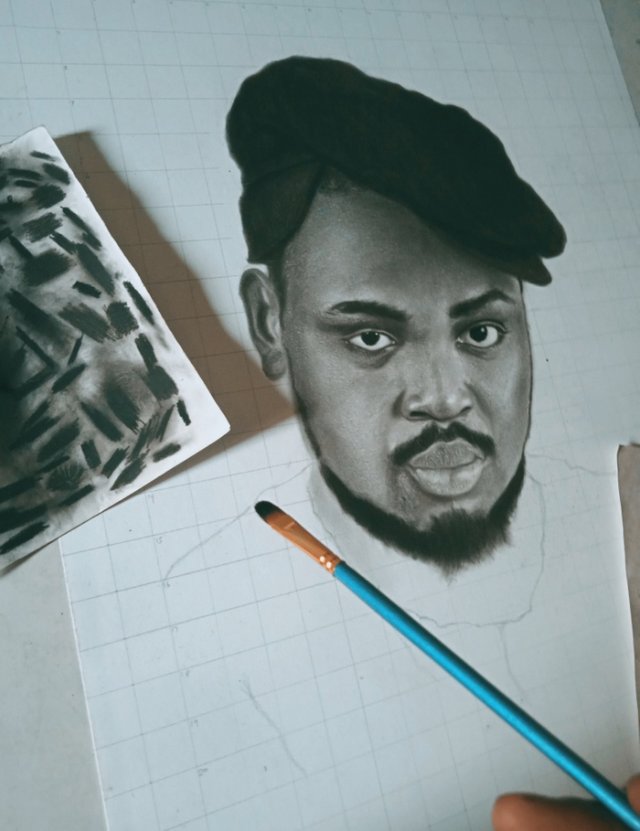
6th step:
It was very hopeful and happy about the result I was getting at this stage which kept firm on making the beards using a soft brush an d charcoal powder and a eraser to create details on the beards which I believe helped in popping out the beauty
and a good texture on the beards.
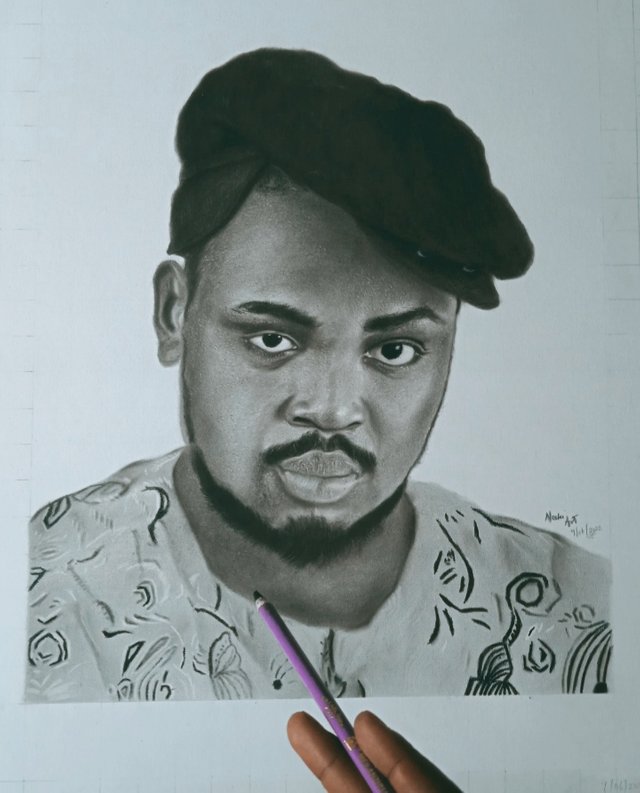
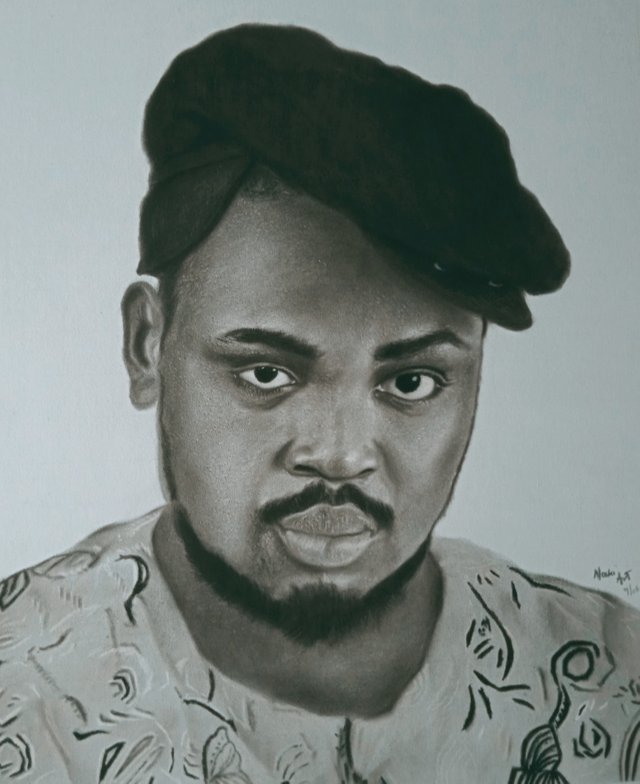
7th step(final stage):
Yeah this is the final stage where I was done with the neck area and also with the cloth area which I spent hours on .
I made this cloth area by applying a very light portion of charcoal powder using by painting brush which after that I used my blending stump ,white pencil and a mono eraser pen to create some design pattern which didn't give me a wonderful result as I wanted, nevertheless I had a very wonderful time making this drawing and I know you enjoyed knowing how I made it to the finish point.
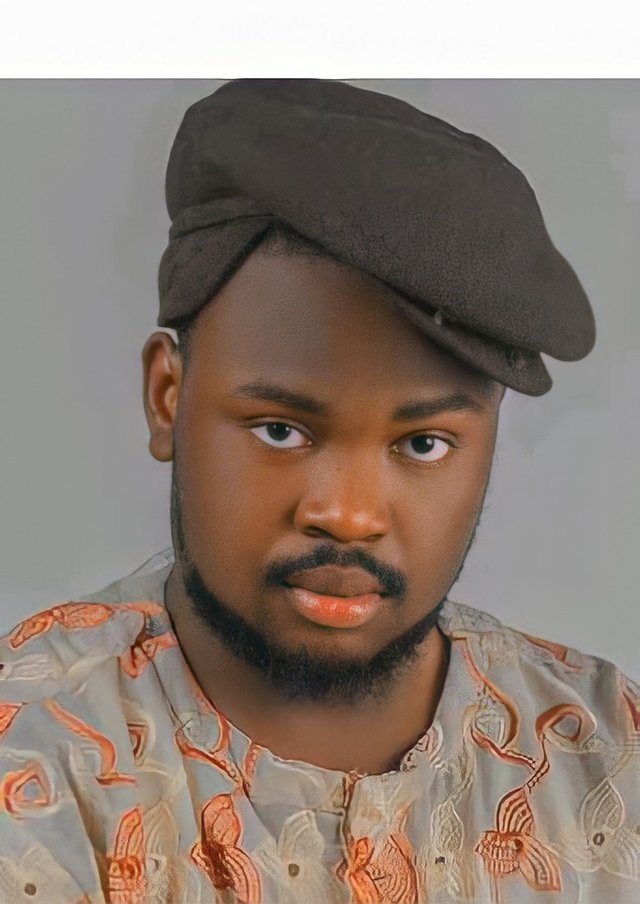
Reference picture:
TOOLS USED
- Middle point paper
- Charcoal pencil and powder
- HB &2B pencil
- Painting brush
- Blending stump
- Tissue paper
- Mono zero erase pen
- White pencil
SIZE:
- 16"20
DURATION:
- 1week and 2days
CAMERA TYPE:
- Redmi9a
Good job. I like it. I'm nominating your post for a contest.
#wox-bestpick.
Thanks I appreciate ❤️🙏