Drawing a Rooster with pencil and colours
Drawing a Rooster.
Rooster sample
To help with the drawing process, i have a sample of a rooster 🐓 as a guide.
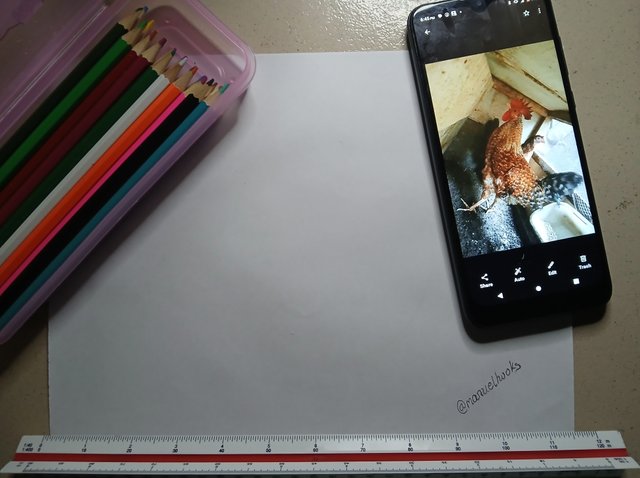 Captured with Galaxy-A15
| What I will need when drawing this Rooster? |
|---|
For this rooster, I needed a simple but comfortable space with less dustraction and all the materials listed below.
| Item | Qty | Description |
|---|---|---|
| A Guide | 1 | to look and draw |
| Galaxy A15 | 1 | Capturing the steps |
| Drawing Paper | 1 | used as a canvas |
| HB/2 Pencil | 1 | for sketching |
| An Eraser | 1 | for cleaning errors |
| Colour pencils | 1 | for colouring |
This time, I needed different shades of pink, black, and orange colour.
| The Procedure |
|---|
Step 1 [Preparing the Canvas]
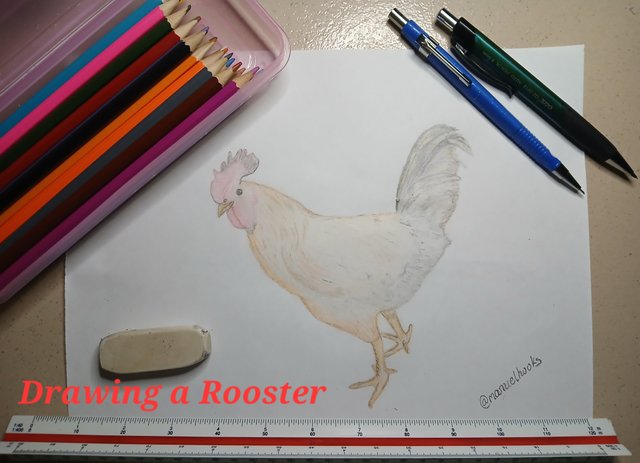
I got my drawing paper cut to size and ready, as shown in the picture above with username.
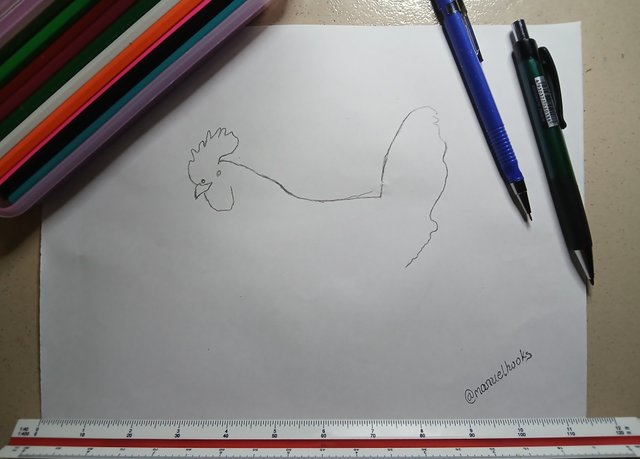
I started the drawing with the roosters head, its comb, beak, and its back doen to the tail. It looked much better when i dotted the eye and nose.
Step 2
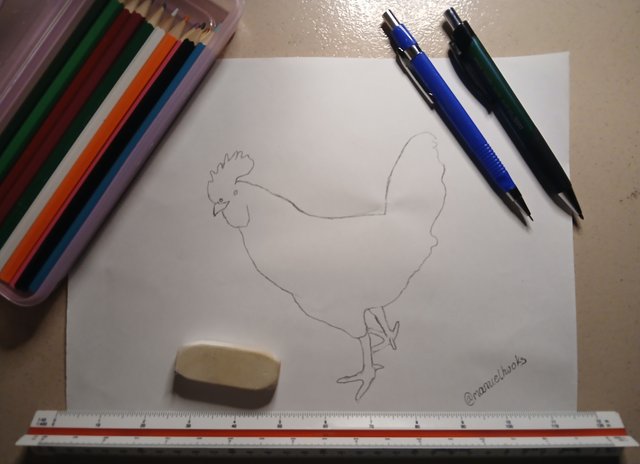
Next, I introduced the legs and connected to the rooster's tail.
Step 3 [Shading ]
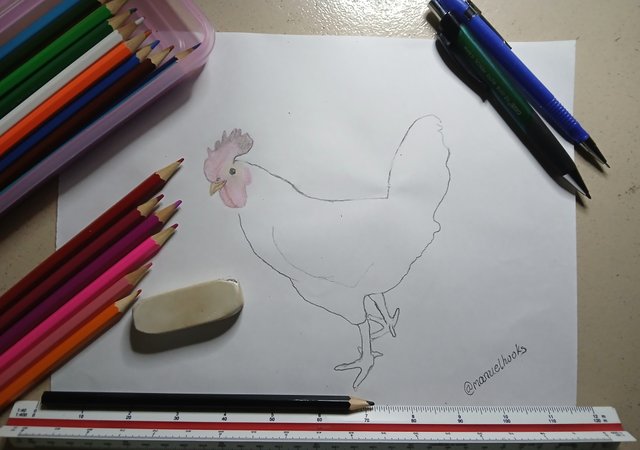
Colour shading started from the rooster's head. It needed more of black, pink, orange and a little bit of yellow around the eyes.
Step 4
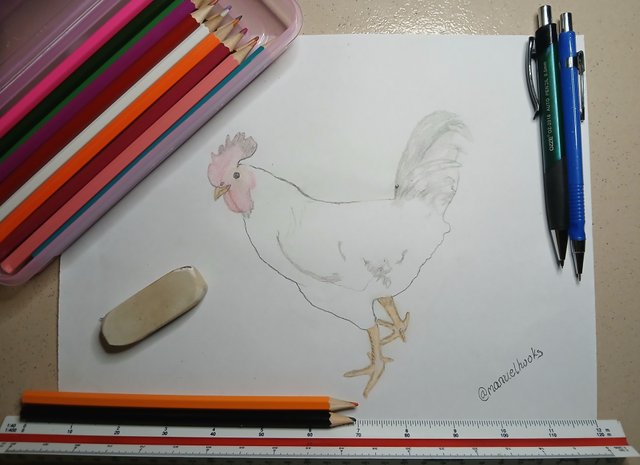
Colouring legs and tail
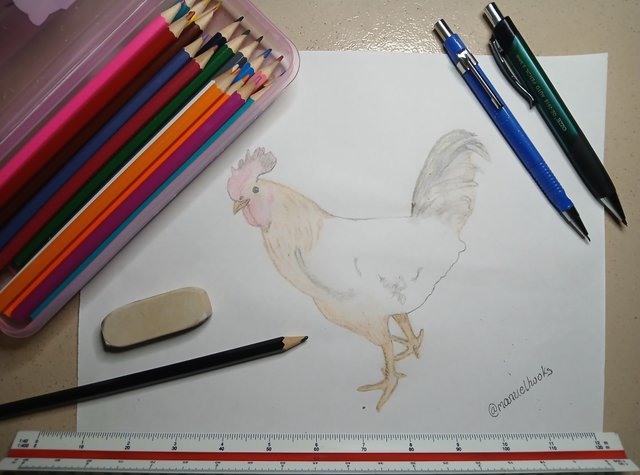
Adding some pencil shading and using different shades of black, orange, and white to show light and shadows.
Step 5 [Finishing]
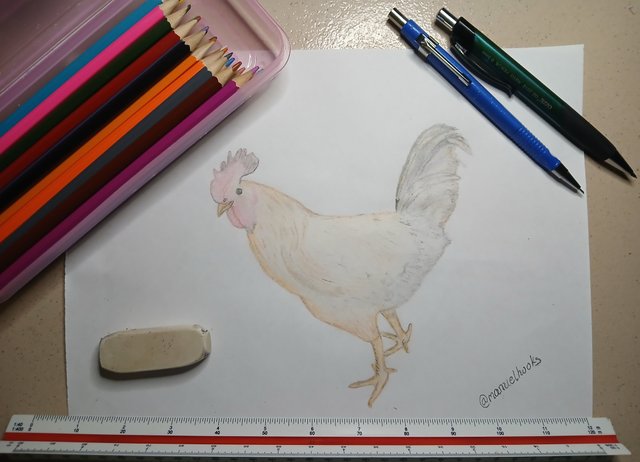
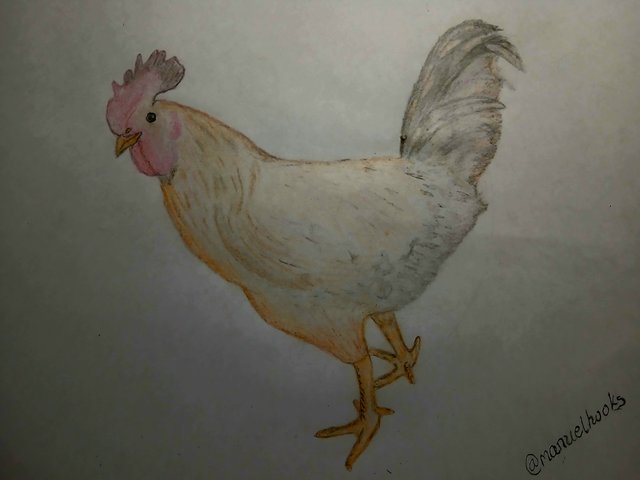
| <> |
|---|
I would love to have the following Steemians to try their hands with a pencil and see how creative they can be with colours; @edukan, @bela90 and @Luciouselucy
Media Credit |
|---|
| Graphics by | @manuelhooks |
|---|---|
| Captured with | Galaxy A15 |
| Edited with | Phone App |
#drawing #learnwithsteem #creative
#art #club5050 #nigeria
#steemexclusive
Thanks for sharing us the steps-by-steps this piece of art creation, @manuelhooks.
If you don't mind, I will publish a link to this article on our WOX channel on Telegram, https://t.me/woxchannel.
Please join ChatSteemBot on Telegram through this link: https://t.me/SteemBot or scan the QR Code on the flyer below.
Thanks.
👍