Color and Light: Orange Round 2

Welcome back for round 2! In this round we are going to ditch the reference and force our mushy brains to recall the information from our first study. Check out Orange study 1!
If you're unfamiliar, this is how we create a powerful neural connection to our practice. Just like practicing a piece of music, we start slow and gradually repeat the phrases until we have them memorized. Once we've got the piece memorized we can be more fluid and expressive and really lean into the feeling of the music. In this way we do the same with art! Practice with reference, try to 'play' the same painting again without looking at the notes and then in the WILD round we really let loose. Learning in this way is a really solid way to be sure that you will always be able to recall the information from your studying.

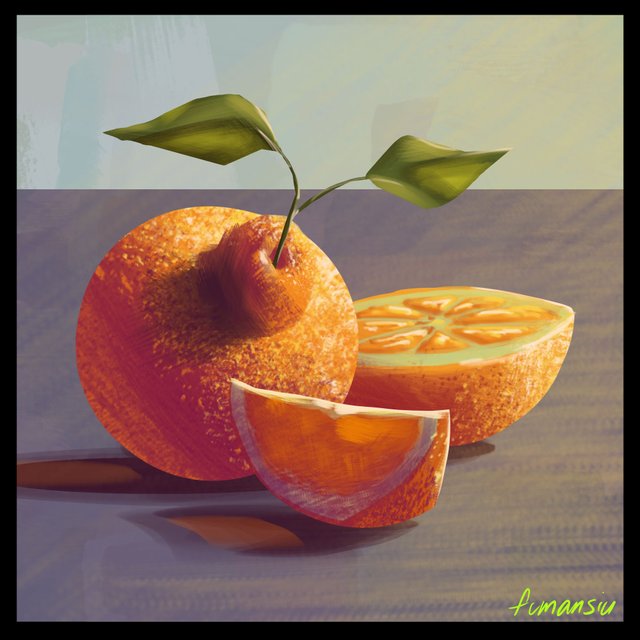
Sketcheroo! I mentioned last time that I wanted to explore some sub surface scattering. This is where light will enter a semi translucent object, like skin, or the inside of the orange. To help me along for this I've added a sliced orange at the front and we'll give it a go!
Mantra time: Base Color, Shadow Color, Light Color, Highlights, Bounced Lights, Sky Lights, Occlusion
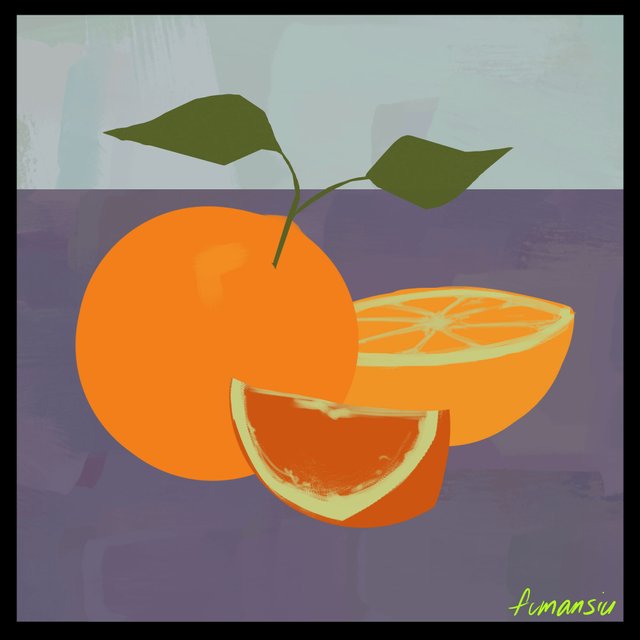
Base Color
I've given the oranges a bit of variety in the orange color to keep things interesting and I've also made my background colors very much the complimentary colors of orange to really push that color. Teal against orange has a real buzz as well as the purple. When you do these buzz colors it's important to make them a bit grey-er than your star color or they will have a very garish buzz and will be hard to look at.
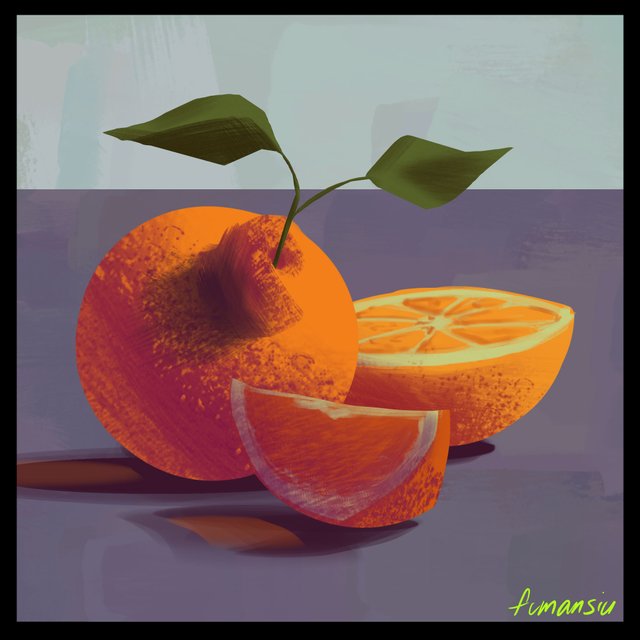
Shadow Colors
I know that my light source is going to be sunlight for this round so I'm going away from the warm yellows toward the cooler magenta zone and about halfway toward black. What a lovely color! It really plays well with the orange. You'll notice that I already threw a bit of that orange color into the shadow, this is our bounced light but I couldn't help myself and wanted to throw some more color around. I was having fun, lol! You'll also notice that I threw a little cast shadow onto the other side of the orange's navel bump.
subsurface scattering
I decided to start suggesting the subsurface light at this stage and will probably keep adding to it as I go along. I've gone a bit more saturated with the color son the front orange and a tiny bit lighter on the shadow side. Just where I think those juicy fruit shapes would be.
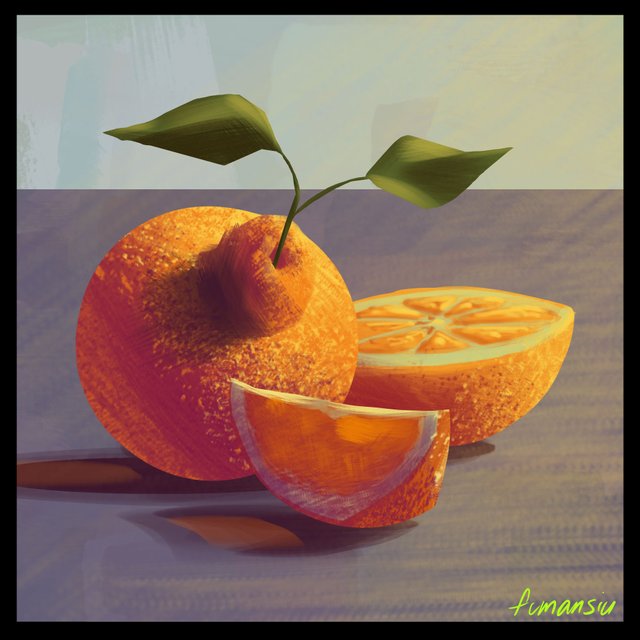
Light Colors
For this one we're heading toward the yellow sunlight and about a quarter of the way toward white. We want this to be between yellowy and a bit orangey but not too close to pure white because we need to save that for our highlights.
You'll notice that I've thrown in another swipe at suggesting some light passing through the fruit part of the front slice again. Trying to find that glow without pushing it too far.
I've also added in a little bit of that sunlight hitting the background surface to really push the sunniness of the painting.
Highlights
Highlights baby! I wanted to hit the edges pretty hard with this pass to give the cut zones of the oranges a very "wet" look. I remember from last time that my wet glossy areas kind of lacked the impact I wanted so I'm trying my best to deliver this round. I also remembered at this stage that the leaves as well will get a bit of subsurface scattering so I've pumped up the saturation a bit and gone yellower where I think the sun will be hitting the backsides of the leaves.
Bounced Light
This is where we take the color of the objects and bounce the colors around. The ground surface those a bit of grey purple into the oranges, the oranges bounce a little orange onto themselves, the leaves and the ground. The green would probably bounce a little bit of green onto the orange as well... I missed that :( I'm also noticing now that the leaf stem would probably have a cast shadow on the orange, missed that too. We're not perfect, this is why we practice!
Sky Light
A little bit of the blue sky light from the left side here on the tops of everything, including the ground plane. Be gentle, a little goes a long way!

Occlusion
Last up is the occlusion shadows, this is where light cant get. We can go pretty dark here but mainly the point is to connect the objects to the ground. We don't want them to look like they're floating so we wouldn't really be able to make out the bottom of these objects.
Smoothing, lessening detail and adding a little bit of interest to Areas of Focus
So at long last we are here! Not sure about you but the mantra is starting to become habit for me and these paintings are becoming much easier to step away from and come back later to finish. This is the power of a process! Too many times I've sat at my easel or computer for hours trying to finish an image only to get lost in the details and get frustrated before walking way. The next day the painting has so many things that need addressing that I end up just forgetting the whole thing, chopping it up as the learning process and deciding that I will do better next time. This doesn't have to be the way though!
Lately, I go slow and figure out the simple things one at a time. Big to small. While I don't think it's impossible to hold all of these ideas in your head at once while painting, I do think that it is very stressful. I don't really think about painting the light until I'm painting the light, it's so relaxing. Just solve the easy problems one at a time and you can get to the end leisurely.
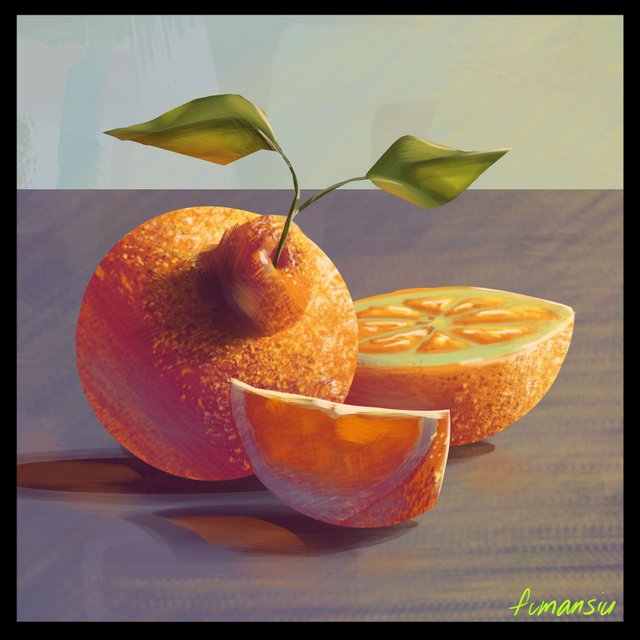
It bothered me so I took a bit of time to add in that cast shadow of the leaf stem and add a little bit of the green bounced light onto the orange. It's subtle but after I saw that I missed it, I couldn't leave it!
Join me again for the WILD round next! We are going to get silly with the shapes and see if we can say "orange" with objects that look nothing like or very much exaggerated.
If you want to go over how I made some of these color choices in this study you'll find a basic primer here.
If you'd like to get started with color studies we've got yellow, green and blue now ready to go!
Yellow Bananas
Green Tomatoes
Blue Buddies
If you need help getting started drawing, I highly recommend you head over to @jorgevandeperre's blog and start following along his lesson plans. @jorgevandeperre has over 60+ posts now to get started!
Thanks a ton, see you soon!
Your post is manually rewarded by the
World of Xpilar Community Curation Trail
STEEM AUTO OPERATED AND MAINTAINED BY XPILAR TEAM
https://steemit.com/~witnesses vote xpilar.witness