Backpacking from Bangkok To Chiang Mai: Part 1 - Leaving Bangkok
Read this post on TravelFeed.io for the best experience
I lost my job at the height of the Covid-19 pandemic in the month of August 2020. At the time, I was renting a condo in the Sukhumvit area, close to the Nana BTS, smack bang in Bangkok's CBD. After just a bit less than 2 years as an expat in Bangkok, I felt as though I had spent too much time in the city, and not enough visiting the rest of the country.
Now, don't get me wrong; I had the time of my life in Bangkok! I often ended my nights in the red light districts. Sometimes for a few drinks, but most of the times in search of TLC from the cheeky, but intelligent and oh so gorgeous, bar girls. I even fell in love with the most beautiful of them all, but this is a story for another day.
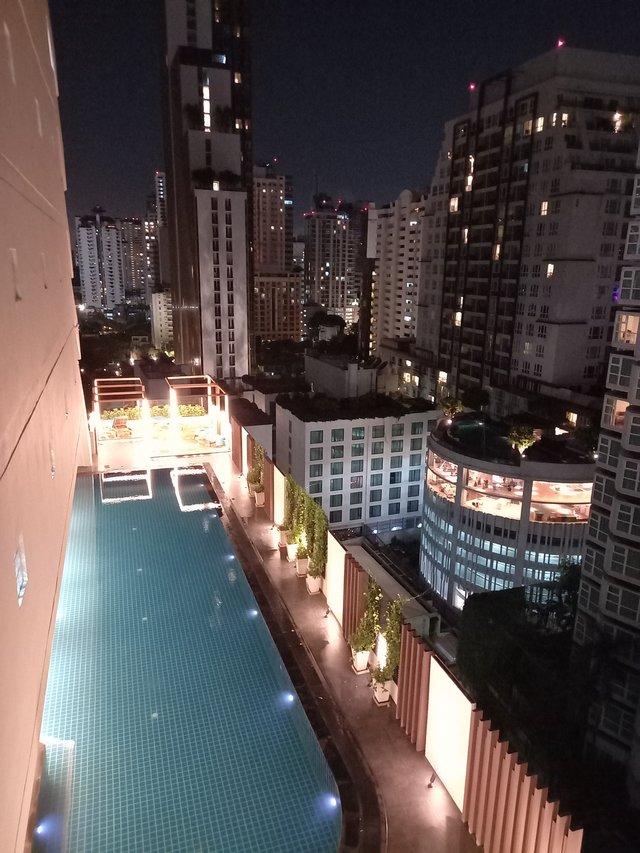
It goes without saying, I was crushed that this leg of my life was coming to an end. With Covid-19 at its height, the chances of getting a new job as an expat was next to none. Trying to see the silver lining in being let go, I decided to set out on my first ever backpacking trip.
My idea was simple:
do away with all of my unnecessary worldly belongings,
choose one of Thailand's train lines, and
travel via train to well-known touristic, and less so, destinations along the chosen line.
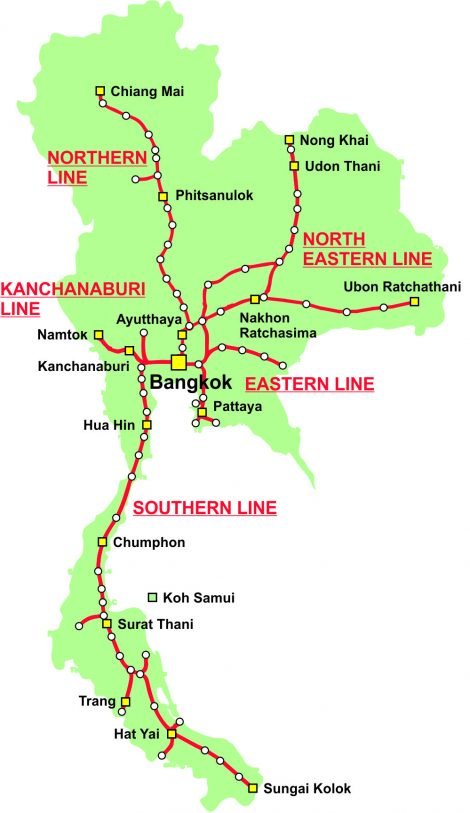
Being from Australia, project "Walk About"** was born and adventure was calling.
Selling and giving away my belongings
I had no income anymore. Having lived large from day 1 in Bangkok, I had no savings in Thailand to speak of either. Also, over the course of 2 years there, I had accumulated a fair bit of "junk". The first order of business was therefore to sell as much of my stuff as possible, and to give away the rest.
In Thailand, the best way to sell your second hand items is via the Facebook marketplace. You can ask your Thai friends to invite you to the buy/sell groups that generate the most traffic, and post there.
As it turns out, I was only able to sell my ps4. I also had many computer parts, which did not sell because of the lack of the original boxes. In the Thai culture, people expect to buy second hand items that come in the original packaging. My ps4 was the only item that did.
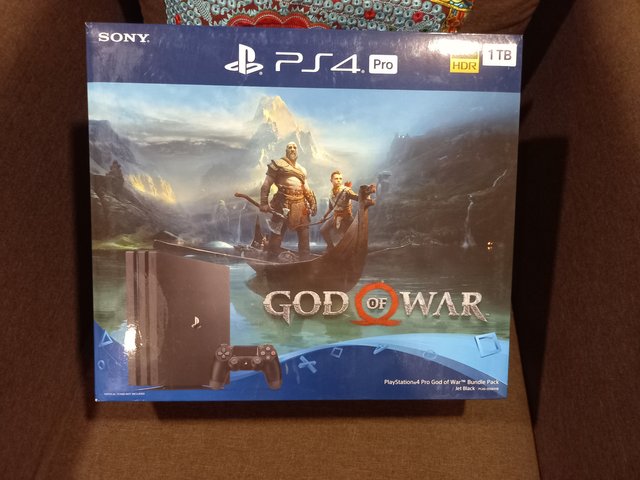
I gave away the rest of my stuff to friends, and staff from my rental's building.
I only had my core belongings left, and it felt freeing.
Backpacking equipment
Having unburdened myself from the things that I did not need anymore, I next had to gear up for the trip ahead. Since I had never backpacked before, I searched the internet for the best advice in terms of buying and packing a backpack. Below is a list of the best articles I came upon:
- 7 Secrets to Packing Light,
- The Carry On Luggage Rules to Live By,
- The Definitive Carry On Packing List, and
- What to Pack for Thailand.
I proceeded to make a checklist of the most relevant advice in my situation:
Rules
- Start with the right bag - buy second hand within dimension, weight, and budget constraints
- Pack “Must Have,” Not “Just In Case”
- Pack for One Week
- Pack Layers, Not Bulk
- If It’s Bulky, Wear It
- Don’t Pack Anything Cheap, i.e. < $10
- No Toiletry Gadgets
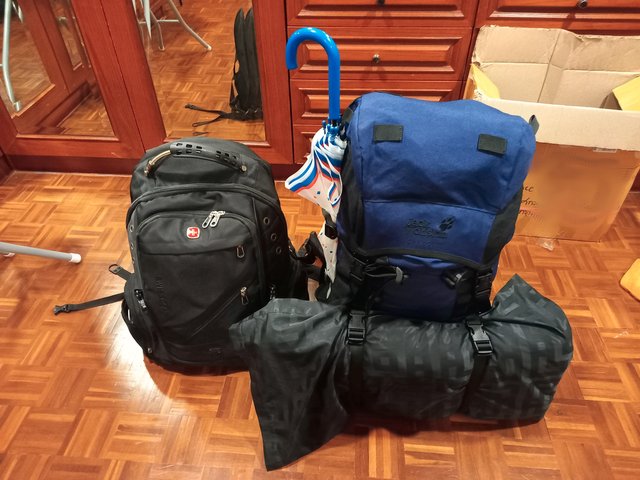
From those rules, I derived a complete checklist of all items I was packing on my trip. Below is my survival checklist:
Items Checklist
Documents
- Passport
- 2000 baht cash
- Credit Card
- Debit Card
- Insurance card
Clothes
- 10 t-shirts - 3 good 7 average
- 4 shorts
- 10 boxer shorts
- 2 pairs of socks
- 1 jean
- 2 face towels
- 1 towel
Work
- Laptop + charger
- Phone + charger + earphones
- Adapters & extension cord
- Bluetooth speaker
- Notepad + pens
- Day backpack; to carry around while not at base-camp
Hygiene
- Toothbrush, electric toothbrush, & toothpaste
- Nail clippers
- Shaving blade and small foam
- Soap bar in zip lock bag
- Hair clippers
- Deodorant
Miscellaneous
- Sunscreen
- Insect repellent
- Medkit - band-aids, paracetamol, anti-histamines, etc.
- Toolkit - elastic bands, scotch tape, etc.
- Umbrella
Gym
- Skipping rope
- Elastic bands
- Leg rolling bar
I left my condo with my backpack on my back, and my day back carried up front for a total weight of 14kgs; it was much heavier than I had aimed for, but I had packed with me everything I needed.
As I locked eyes with passersby, they seem to bid me godspeed and farewell with, what I imagined, a knowing smile hidden beneath their n95 masks.
First Destination
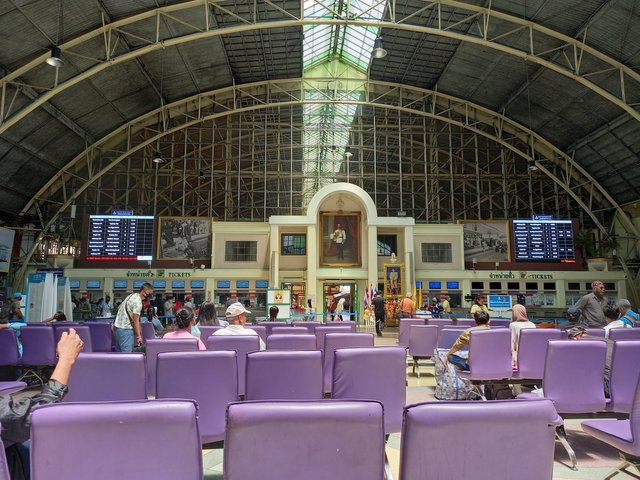
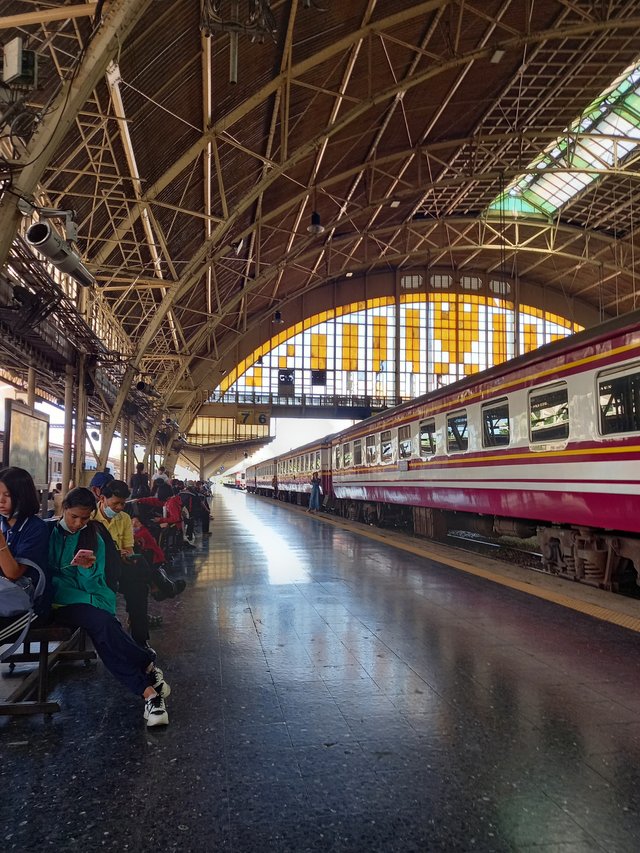
I settled on the Northern Train Line, with Ayutthaya as my first stop. I caught the MRT from the Sukhumvit station to the Bang Sue station, and made my way to the Bangkok Bang Sue Central Station.
After less than an hour waiting and nursing a hangover from my farewell party of the previous night, I boarded a train to Ayutthaya.
Congratulations @tobatunaornot! Your post brought a smile to the TravelFeed team so we have sent you a smiley. Keep up the good job. 🙂
We noticed that you edited your post through a different Steem frontend, so we were wondering if you experienced any issue posting through TravelFeed. If you have any suggestions for us, we would appreciate if you would let us know about them :)
Thanks for using TravelFeed!
@smeralda (TravelFeed team)
PS: TravelFeed is in social media to reach out more people, follow us on Facebook, Instagram, and Twitter.
Thank you @smeralda, I am enjoying using your platform so far.
That being said, I have encountered a few issues since I began using it.
The first one is, as pointed out, having to edit the post that was automatically created from the TravelFeed integration onto Steem. It was initially only a matter of aesthetics. There were spaces where I thought there shouldn't be on the Steem post, while the same spaces were missing from my TravelFeed post.
As I began editing it directly on Steem, I could not subsequently save my changes; the Steem editor complained about some HTML elements for images, along with the use of more than 8 tags for the post. I therefore had to manually remove those tags and re-add each image separately.
The second issue I have encountered is with the automatic creation of the post on Hive. I tested out this integration with a test post right after setting it up, and it worked. However, when trying to publish this one, the integration did not work. A bit of help on that one would be much appreciated.
Thanks guys :-)
Hi @tobatunaornot, sorry for the late reply, we only now saw your comment!
Our EasyEditor has some special features that are not available on other frontends and in some cases there can be incompatibilities like the spaces you experienced. If having your post look great on TravelFeed is most important to you, we recommend using EasyEditor (that also has cool features such as image galleries or the table of contents) and making edits through TravelFeed only, but if you want full compatibility with Hive/Steem, you can switch to the Markdown/HTML Editor which is the same as on other Hive/Steem frontends.
Hive and Steem both work with a resource credit system - if you don't have enough available resource credits, you can't post - this is a problem that many new accounts have since you start out with very few resource credits and accumulate more resource credits as you earn more Hive power/Steem power. This was the reason why posting to Hive failed for you. We have delegated you 30 HP so your next posts should go through :)