How I Repaired and Installed a Motor in a Pedestal Solar Fan: A Step-by-Step Guide
Hello everyone!
Today I am here to share how to install motor in the pedestal solar fan. I have two solar fans at my home. If any problems happen to them I look after them by myself and when it is out of my control then I visit the shopkeeper.
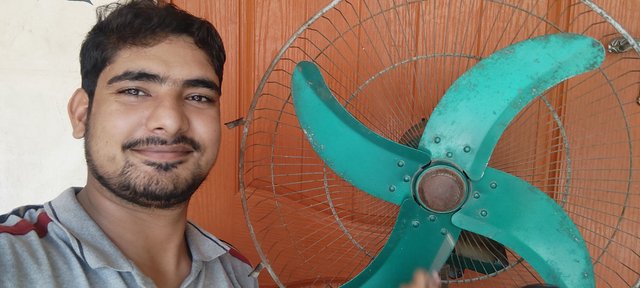
So how it started, actually at night we use pedestal fans with power supply which converts AC current to DC current. And it helps us to save energy in the form of electricity. At night the wires were crossed due to which the motor of the fan was destroyed. On the next morning I checked the fan with other power supply as well as with the direct solar circuit but fan did not work.
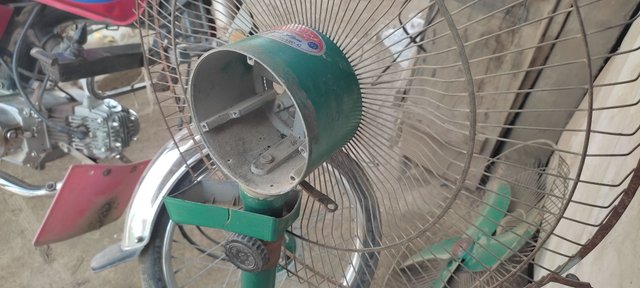
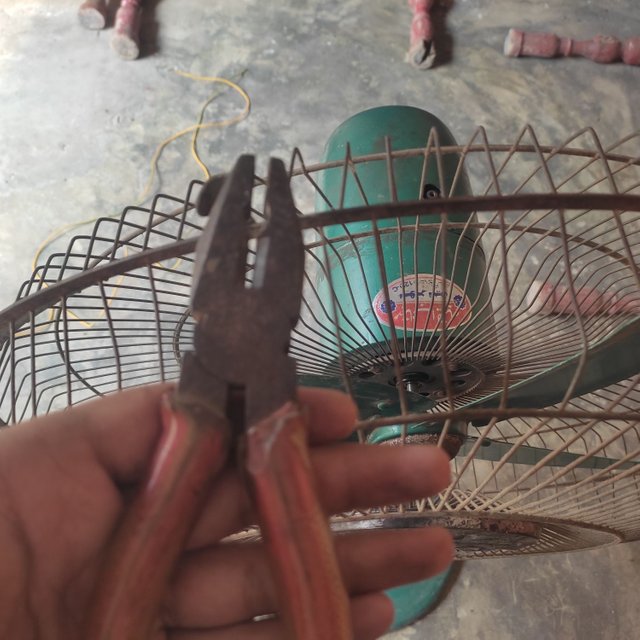
I open the protection of the fan from the wings side and tried to rotate the wings but they were stuck and I could not move them. Then I opened the back of the fan for the inspection. It took time because I am not an expert. But finally when I got the motor out of the fan the shaft was jam and it was not rotating. You can see the fan is on the shop on the road side.
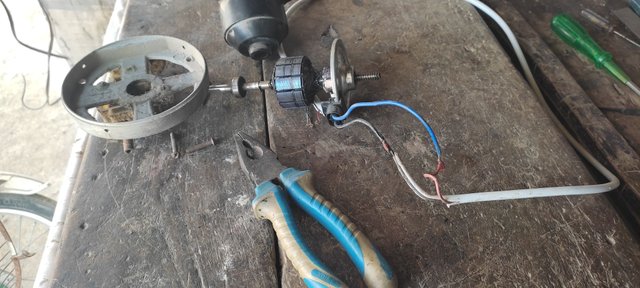
The shopkeeper then open the motor and I was looking it keenly to open and check it next time by myself. He faced difficulty to text h the armature from the motor box because the outer plastic was completely stuck due to heat with the body of the motor. He applied force and then it was out of the body. We got to know that the motor was burnt. He was busy and he asked me to open all the winding from the armature. He taught me and finally I did it.

I open all the winding from the armature. It was of copper. The shopkeeper asked me to buy the same copper wire from the store so that we can repair it again to avoid the cost of new motor. I went to the electricity store to buy the copper wire. In the picture you can see the shopkeeper measured it's size and told that this wire is not available. I became worried again.
I contacted to other stores as well but the required wire was not available. So in this way I returned home disappointed. So this day ended without any result.
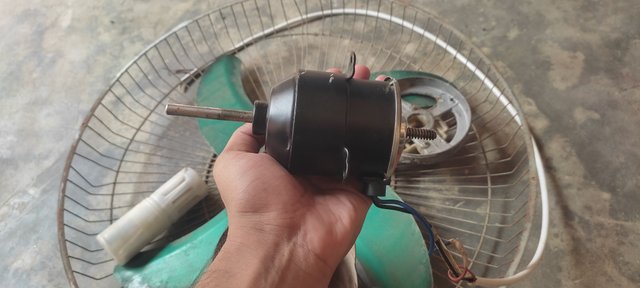
Then after two days I got done free time and I thought to visit the shopkeeper for the rewinding and repairing of the motor. When I reached there I became happy to see that motor was already repaired and windows with new wire. He found it from his scrap and I checked the motor there it was working fine. I brought the motor at home as the other parts of the fan were already at my home. Now I had to fix and install the motor in the fan by myself.
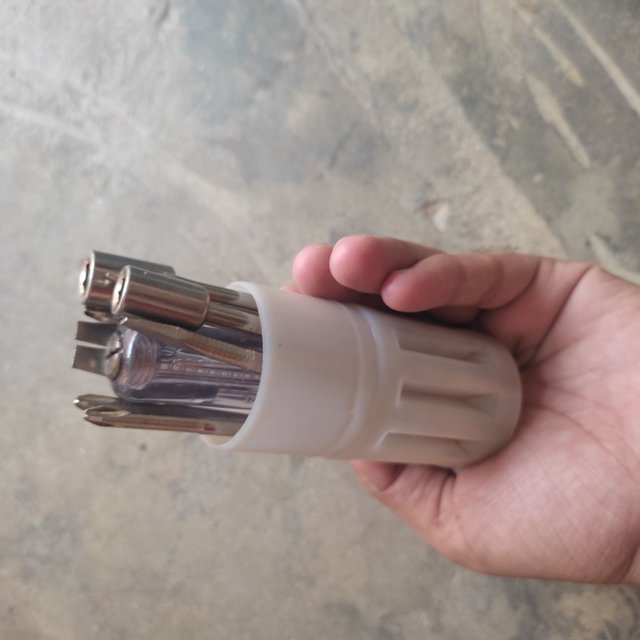
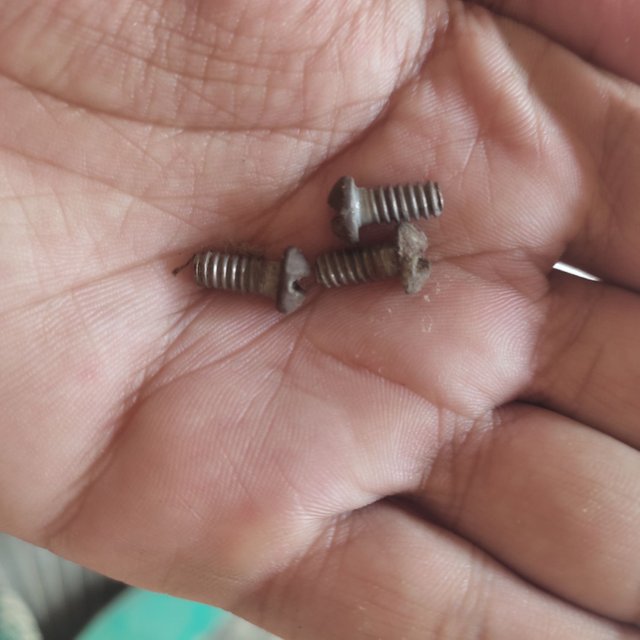
I needed a toolbox of the screws to screw up everything like motor and wings. At the home of my bog brother this little toolbox is available. So I got it from them.
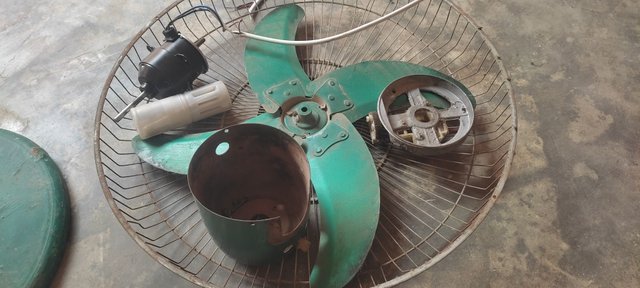
These are all the parts of the fan which I had to fix and install the motor in it. I was a little bit confuse about the correct installation of the motor because if the wires become cross then the motor will be burnt again.
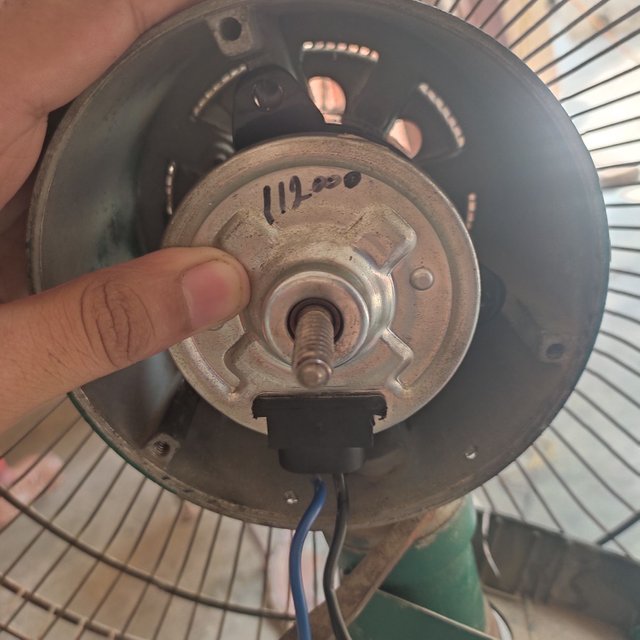
As in the motor there is a magnetic field. When I was putting the armature in the body of the motor the magnet was capturing it and it was not going into the body. After some attempts it was completely fit in the body. I started installing the motor from the back side of the fan. You can observe it is how we place the motor in the body of the fan.
The shaft of the motor should be on the front side of the fan. Because it is the correct way to place it and on the shaft of the armature wings are fixed. After the I stallation of the motor I tested it with the DC solar current. The shaft was moving smoothly. Now I was feeling very happy that the motor was installed and it was working.
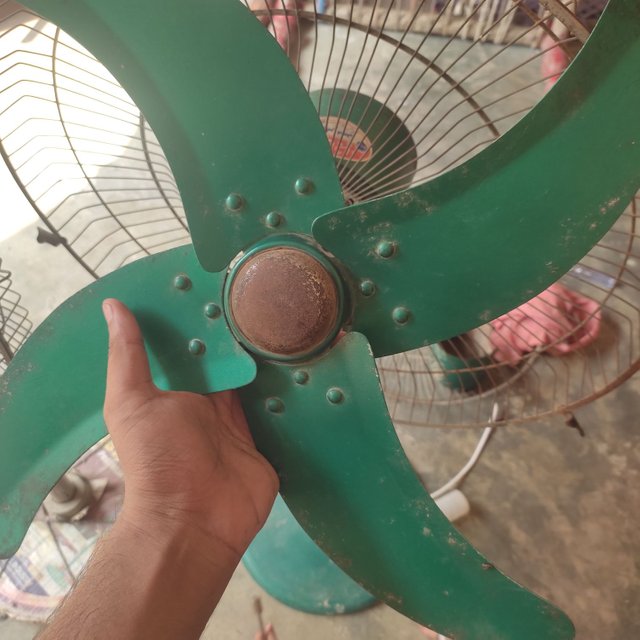
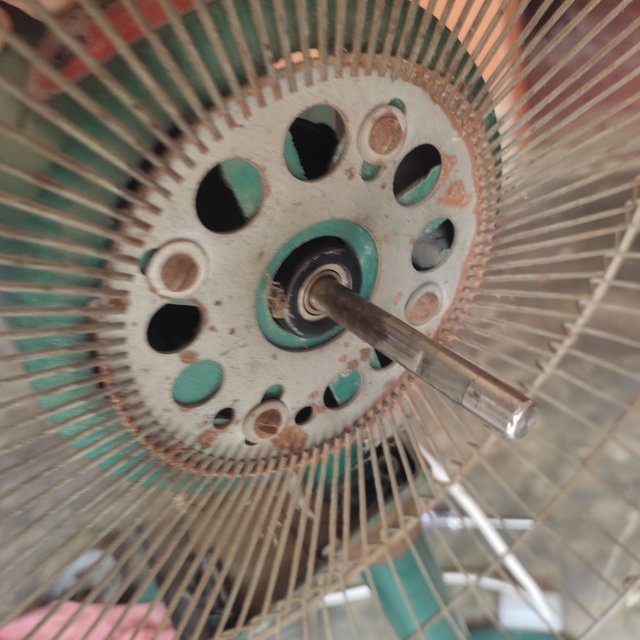
In order to test the air from the fan I installed the wings with the shaft. I felt problem while fixing the screw of the wings with the shaft because the space was not enough to put my hand there. I got a long rod screw 🪛 to fix it. After the installation the wings I turned the fan on and it worked really smooth with good output of air. My hardworking was paying of now. I was feeling like an expert.
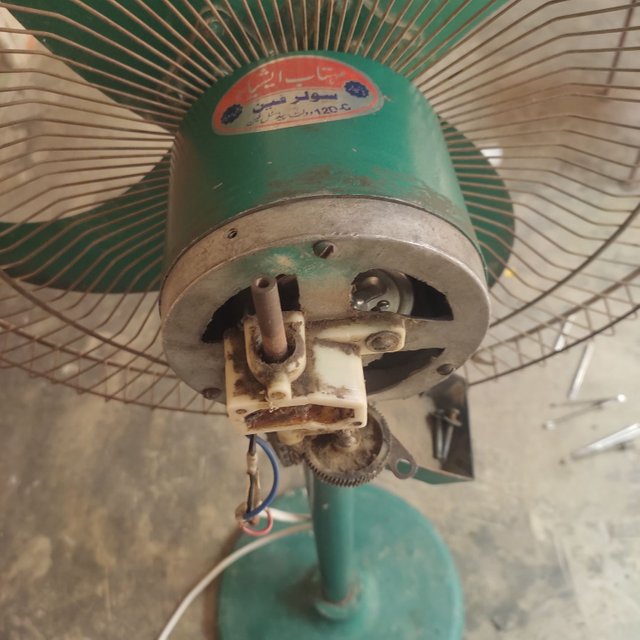
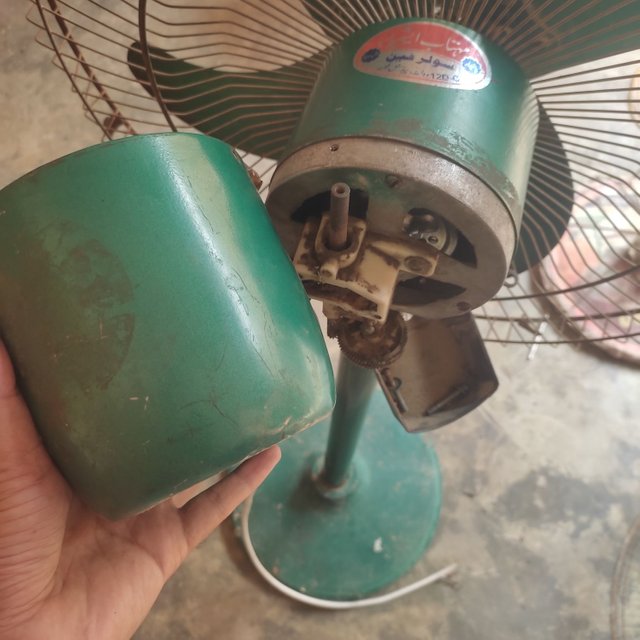
After the installation of the motor there was another part of the fan body and it needs to be fixed right after the motor. It was a protective cover for the motor. It was made up of silver like material. The rotation setting was also in this part. I passed the wire of the motor from this part.
 |  |
|---|
It was the last part of the fan body. It was the protective cover for the whole back of the fan. I found it's screws and fixed it at the back. Now the installation of the motor was completed. After the fixation of this cover I again tested the working of the motor. And it was working fine. I was more satisfied now.
At last it was the turn to install the protective cover for the wings. I had a poker at home which I often use for the fixation of the wires and other related works. I fixed the cover and started moulding it's locks so that it did not disturb the wings. The locked were finally fixed.
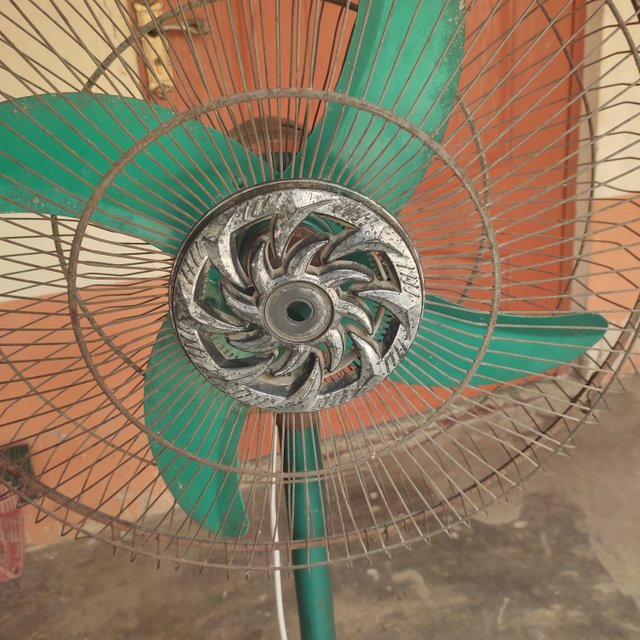
Now you can see everything is looking complete in the fan and it became a working fan from the faulty fan which was unable to work. In this way we can I stall the motor and all other parts of the solar pedestal fan at home without the need of the electrician. It was more than easy as I thought.
All the pictures are mine and have taken with my mobile phone Redmi Note 10.
I would like to invite solar and electric experts to give me suggestions and rate my work @kiwiscanfly, @ubongudofot, @mahadisalim.
X Promotion: https://x.com/stylishtiger3/status/1848673798301565261
Upvoted! Thank you for supporting witness @jswit.
You've got a free upvote from witness fuli.
Peace & Love!