SLC S21 Week 6 - Beauty and Self-Care with Herbs
First of all I want to thank steemit blog for choosing the best teachers for us and those teachers have been giving us the best topics for six weeks straight and we have been doing our homework for them. So the best teacher is @afzalqamar and this topic is hisSLC S21 Week 6 - Beauty and Self-Care with Herbs
Canva designing
Q.1 - Make a herbal hair tonic to promote the health the of the hairs. Write the herbs used in the tonic. Explain how the tonic will help for the hair health. Write the step by step process of making hair tonic.
Herbal Hair Tonic with Berry Leaves, Dried Amla and Mustard oil
This organic herbal hair tonic uses the nutrients of berry leaves, dried amla fruit and mustard oil to support hair health. It enhances hair strands adhesion to the head, slows hair shedding, and improves skin at the root of the hair. This tonic has been in use and is well steeped in traditional medicine and taking it regularly brings out the much needed different on the skin.
Ingredients
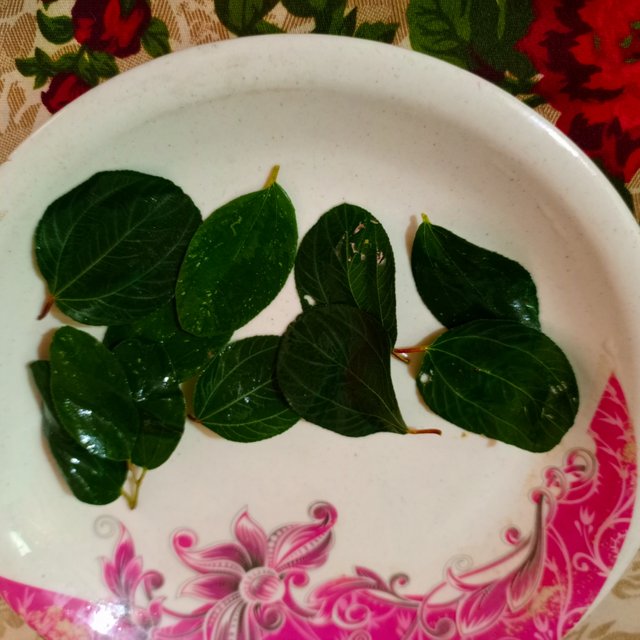
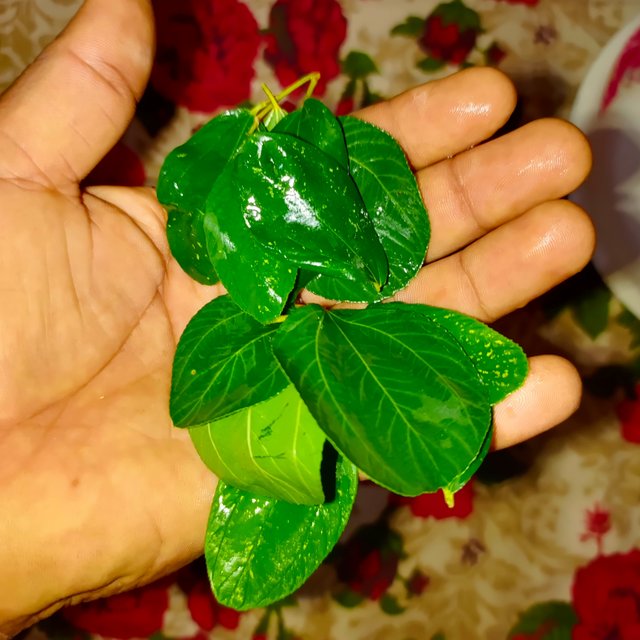
- Berry Leaves 10-15
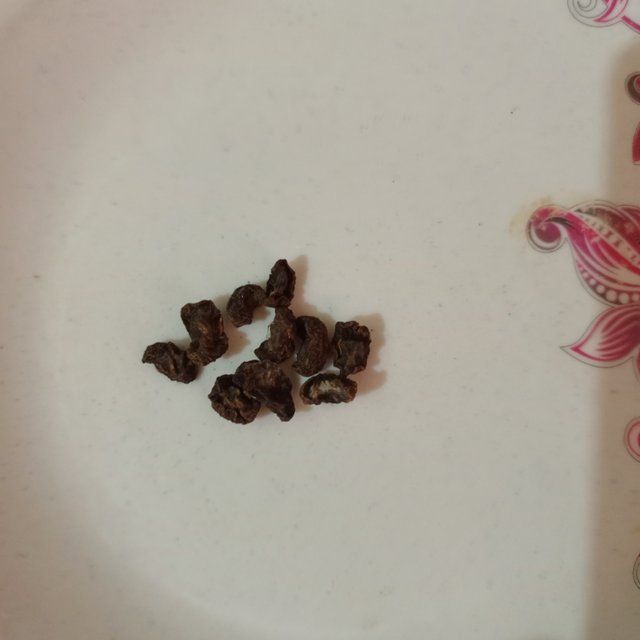
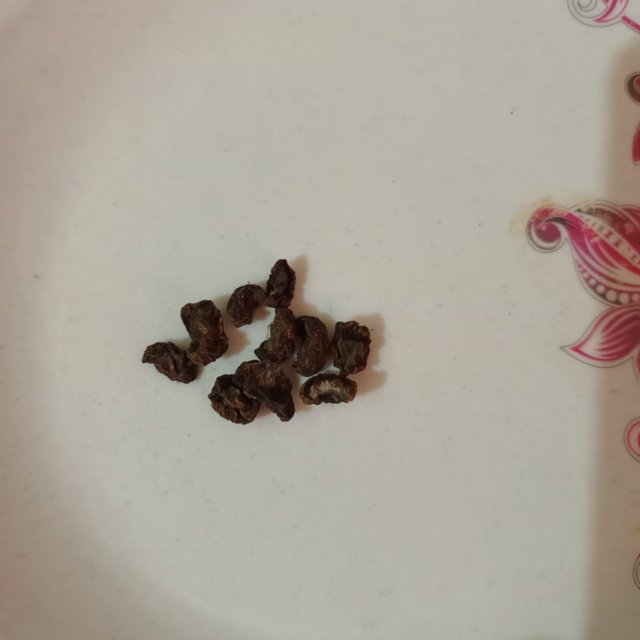
- Dried Amla (Indian Gooseberry): 50 grams
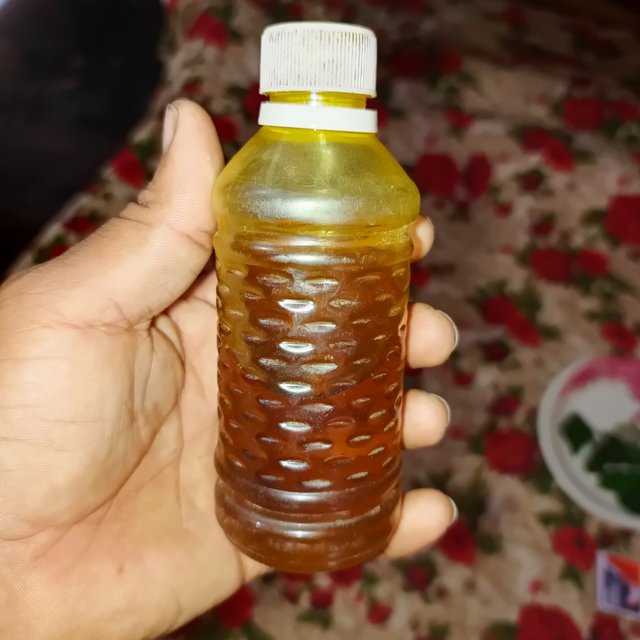
- Mustard Oil: 250 ml
Benefits of the Ingredients
1. Berry Leaves
Including berries, berries are nutritious food that is rich in vitamins and antioxidants, which are beneficial for hair roots and will allow hair to grow thick.
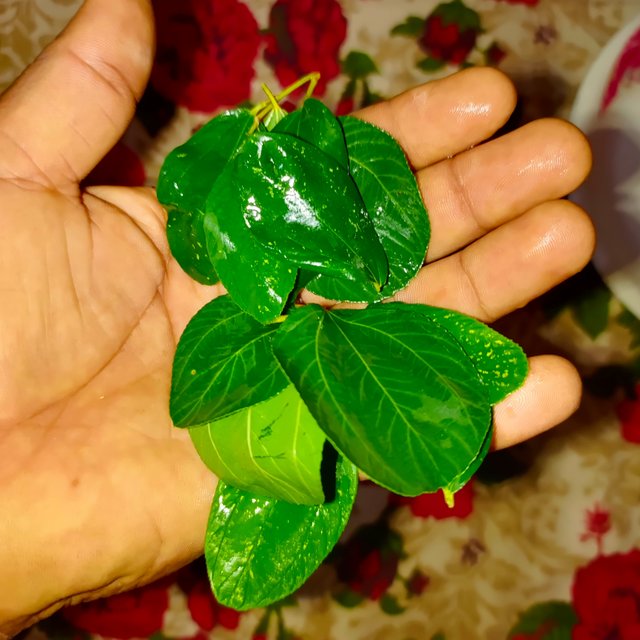
They help to reduce swellings which causes roughness of the scalp and also controls the formation of dandruff.
They merely reduce hair breakages and give the hair a natural sheen.
2. Dried Amla
Having Vitamin C and antioxidants, amla improves circulation and stimulates hair growth in hair follicles.
They help prevent hair pre-mature greying and also gives back its natural colour.
Amla also cures dandruff, nourishes the scalp and lends a good texture to hair.
3. Mustard Oil
Considered to be one of the best for penetration, mustard oil does not allow the scalp to dry and minimizes frizzy hair.
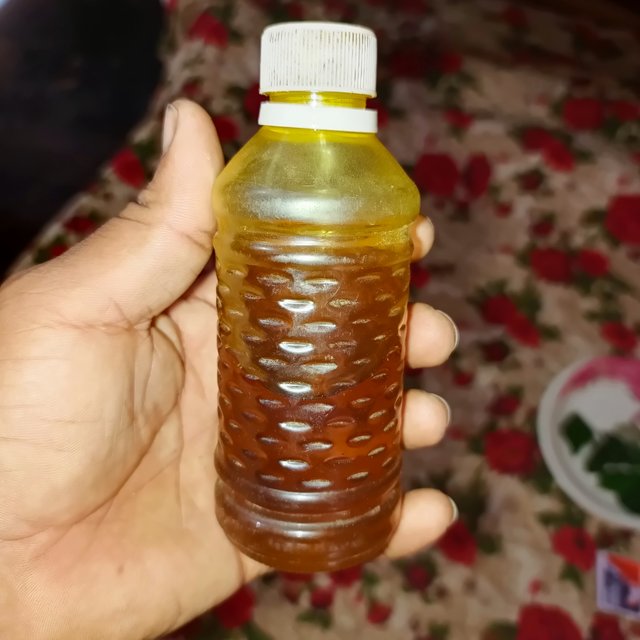
It helps little blood vessels in the scalp to be active thus supplying the hair follicles with nutrients.
Packed with fat contents and Vitamin E, mustard oil deeply conditions the hair shafts and prevents hair loss.
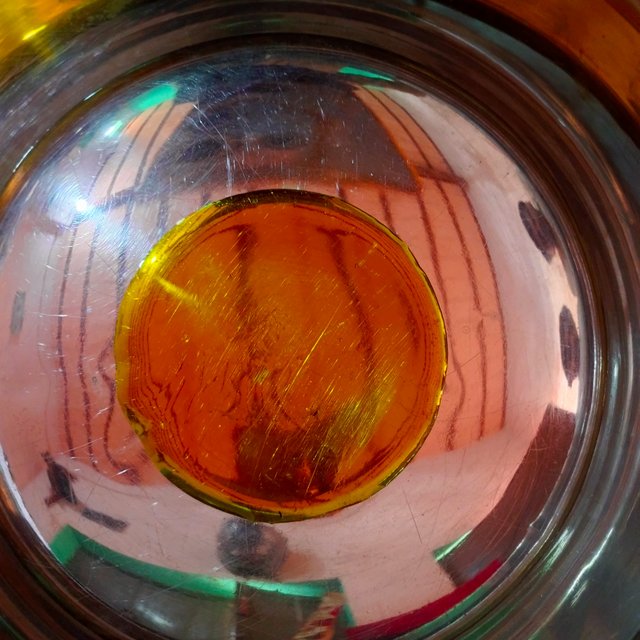
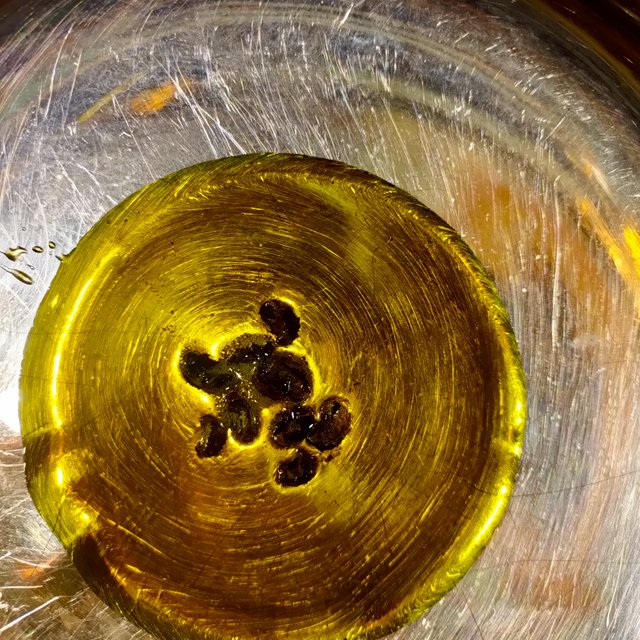
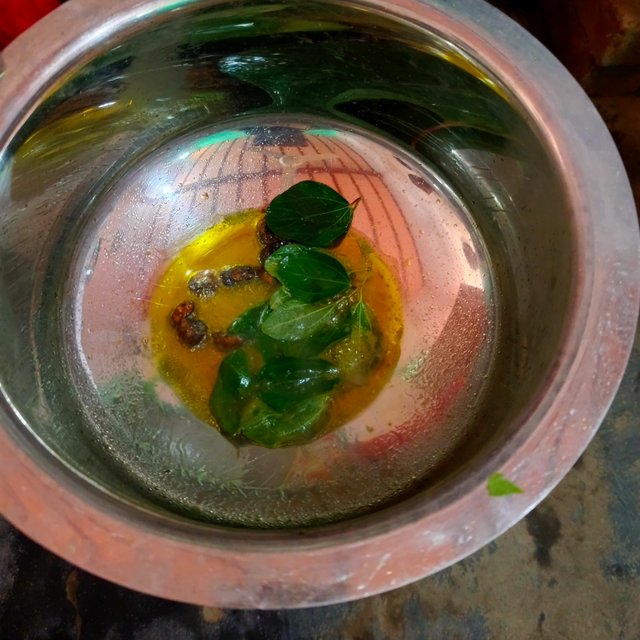

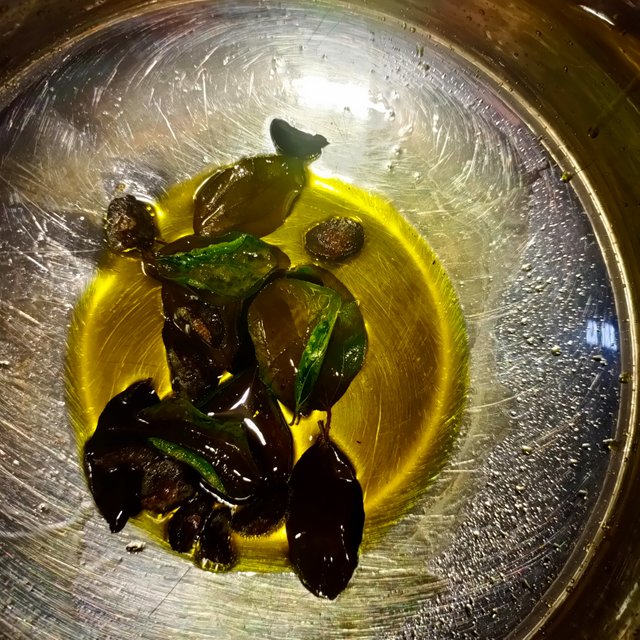

Step-by-Step Preparation
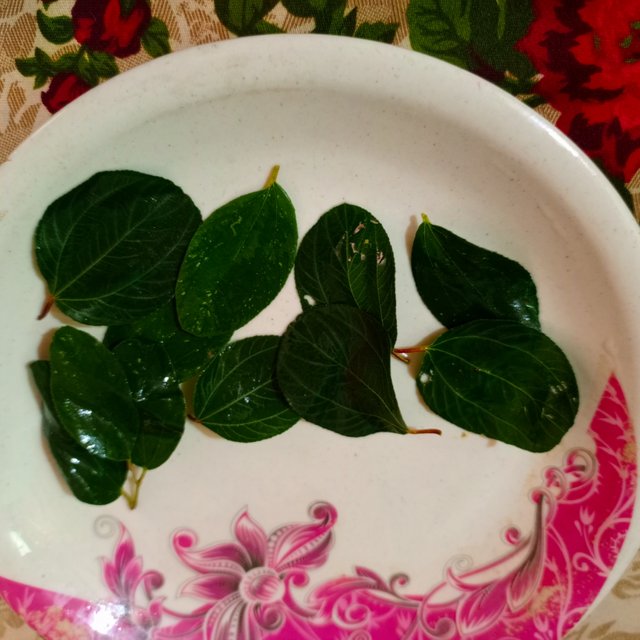
- Berry Leaves
For this, berry leaves and dried amla. berry leaves dispose the leaves either through washing and drying them under sun until it becomes fully dry.
Dried Amla
Chop the dried amla into small pieces as this makes the infusion process easier in that it allows the nutrient to be released easily.

- Heat the Mustard Oil
Place 250 ml of mustard oil in a pan or pot with a heavy base to heat the oil with desire consistency.

Heat the oil on low flame. Cautiously fry the oil to the point it gets warm rather hot because overly hot oil negates the nutritional value of the ingredients.
- Add the Berry Leaves and Amla
Once the oil heats up, disappearing from the raw reddish color, add the crushed berry leaves and dried amla pieces to the pan.
Mainly with leveling it, mix gently just to make sure that all the contents are covered with the oil.
- Simmer and Infuse
It is advised to let the mixture reduce on slow heat until it is ready, which is probably around 25-30 minutes. Keep it stirred from time to time so they do not burn on the bottom of the pan.
The oil will turn black as it takes nutrient from the berry leaves and the amla. The amla pieces will turn brown and those leaves will become crisp.
- Cool and Strain
Remove from heat and let it cool for sometime.
Apply a fine strainer or muslin cloth and strain it in a clean and sterilized glass bottle. Press the residue in order to get all the oil infused into it.
- Store the Tonic
This should be done tightly and the prepared bottle should then be placed in a cool dark area free from direct sunlight.
Incidentally, the tonic can be stored for up to 6 months.
How to Use the Hair Tonic
- Application
2-3 portions of the tonic for shorter hair – for longer hair, you can increase the dose.
It is better warmed a little to have better absorption.
- Massage
Rub the oil gently on the head and on the roots with your fingertips moving in circular motions. This encourages blood flow and makes certain that the tonic arrives to your hair follicles .
- Leave it On
Keep the tonic on for a minimum of 2 hours. It best to leave it overnight but it is advisable to make the necessary changes while still warm. Shower cap helps in preventing the garment from staining.
- Wash Off
Wash your hair with lots of water and a mild herbal shampoo. Do not use fatty chemical shampoos which wash off the sebum on the hair.
- Frequency
It is recommended to use the tonic two or three times a week for achieving the best outcome.
Benefits of Using the Hair Tonic
- Strengthens Hair Roots
The nutrients present in combination in berry leaves and amla are great for strengthening the hair roots and minimize hair falling and split end problems.
- Promotes Hair Growth
Pennyworth mustard oil improves blood flow and free radicals; amla strengthens the hair roots leading to hair growth.
- Promotes Hair Growth
- Prevents Premature Greying
Amla is rich in Vitamin C and antioxidants that help prevent greying and maintain our hair natural color.
- Prevents Premature Greying
- Helps Beat Dandruff and Scalp Troubles
The shingar made from the leaves of berry is anti-inflammatory, along with the moisturizing impact of mustard oil that gives a remedy to get rid of the dandruff and relieves itching.
- Helps Beat Dandruff and Scalp Troubles
- Adds Shine and Softness
The results suggested prove that frequent use of the tonic improves the feel of hair since it became softer, silkier and shinier than before.
- Adds Shine and Softness
These components are commonly used in this herbal tonic to get incredibly healthy hair that becomes stronger, thicker and shiner with continued use. They are chemical free that makes it possible for people with all types of hair to use it effectively as presented in the remedy.
Q.2 - Prepare a mask for the skin purely made with the herbs and use at least 3 herbs to prepare a mask. Write down the procedure and explain how it helps for the skin care.
Herbal skin care mask using turmeric gajini and aloe vera Rose Water
This homemade mask utilizing herbs can be useful when you need to make your skin radiant. When using turmeric blended with gajini and aloe vera you will be moisturizing your skin naturally and adding protection and a youthful glow. Here's how to make and use it:
Ingredients
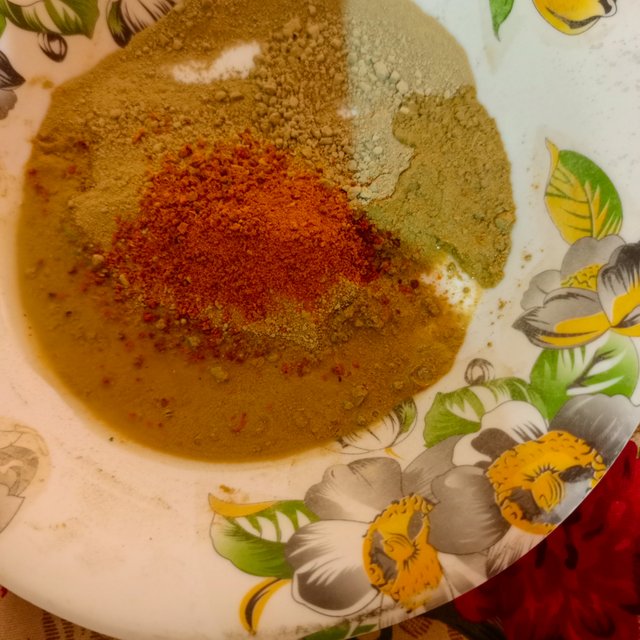
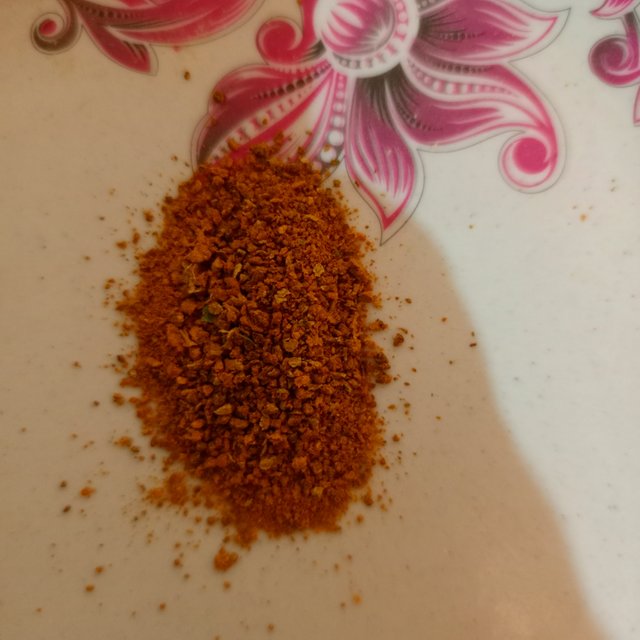
- Turmeric Powder (1 teaspoon)
Turmeric used in fighting inflammation accompanied by antibiotics to reduce cases of acne, lessens dark spots, and ensures uniform skin color. It also saves its owner from facing hazardous environmental problems.
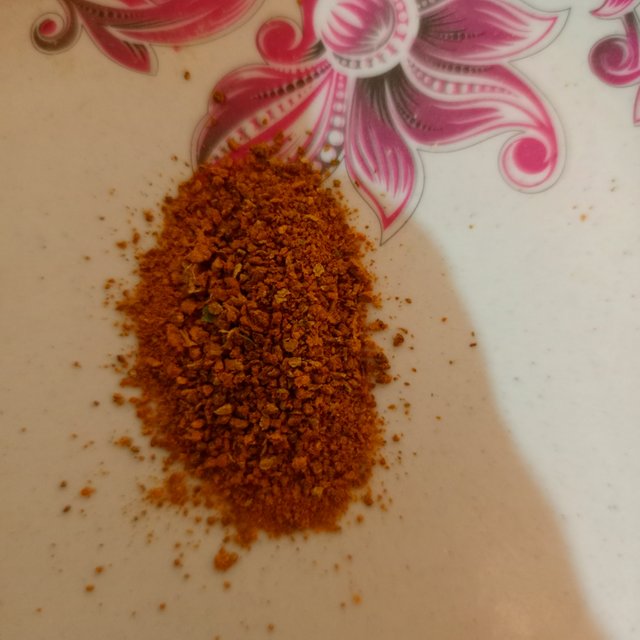
- Gajini Powder (1 tablespoon)
Gajini (also called Fuller’s Earth) is replete with minerals that aid in declogging pores, reducing secretion of sebum and effectively detoxifying the skin. It also firms the skin, which then regains its elasticity making it look young and tight.
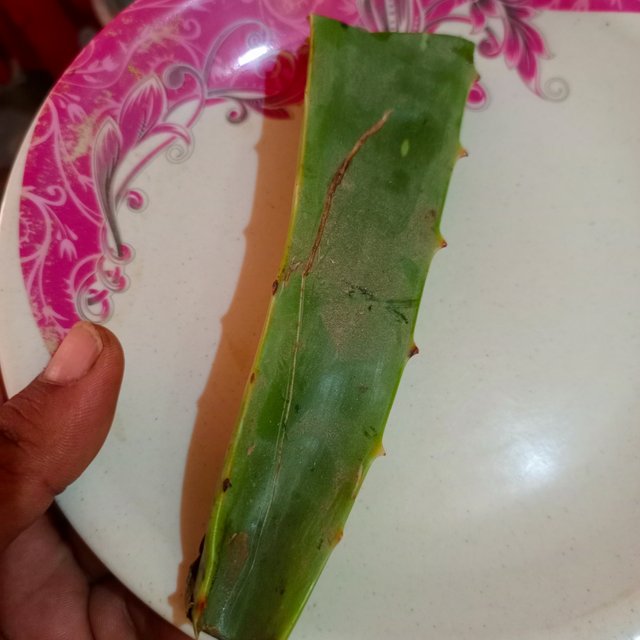
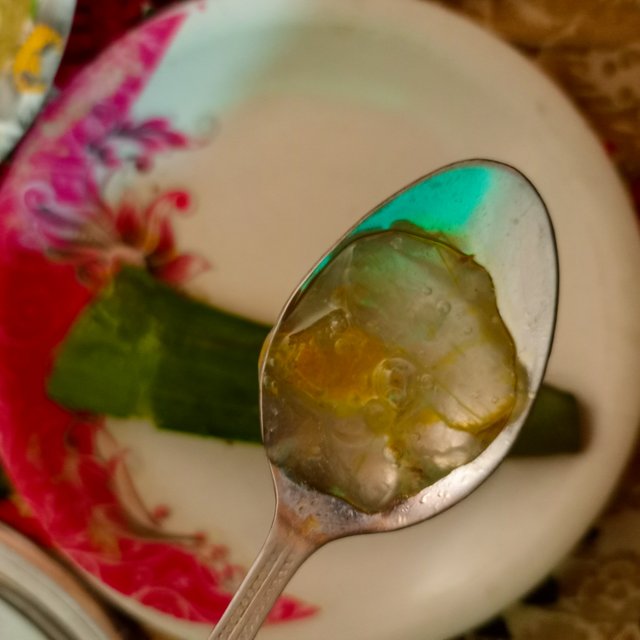
- Aloe Vera Gel (2 tablespoons)
Aloe vera gel is useful in the curing of skin, has properties of hydration and minimizing skin inflammation. These vitamins and antioxidants fight aging as well as give you back the glow on your skin.
- Rose water (Optional – For mixing purpose, 5 teaspoon)
You get to include some level of hydration here, a refreshing feel, and a rather subtle scent of roses.



Step-by-Step Procedure
- Step 1: Prepare the Ingredients
Take 1 tsp of turmeric powder, 1 tbsp of gajini powder and 2 tbsp of fresh aloe vera gel.
When using aloe vera plant, take a fresh one, use a kitchen spoon to scoop the gel and blend until smooth.
- Step 2: Mix the Mask
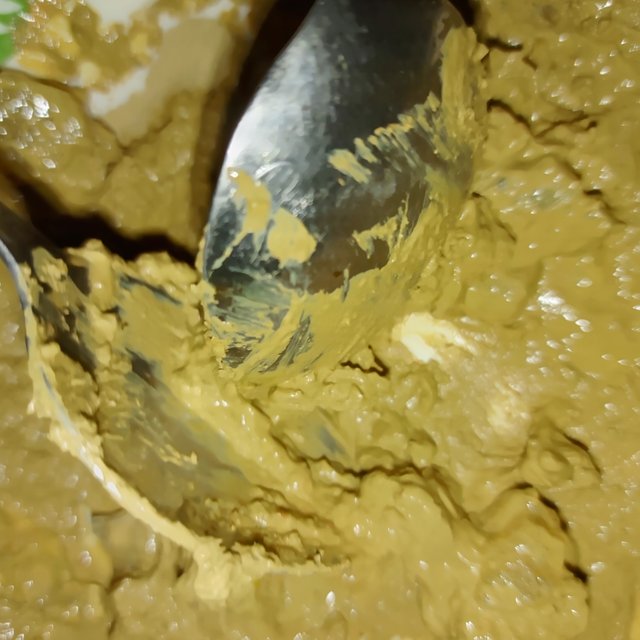
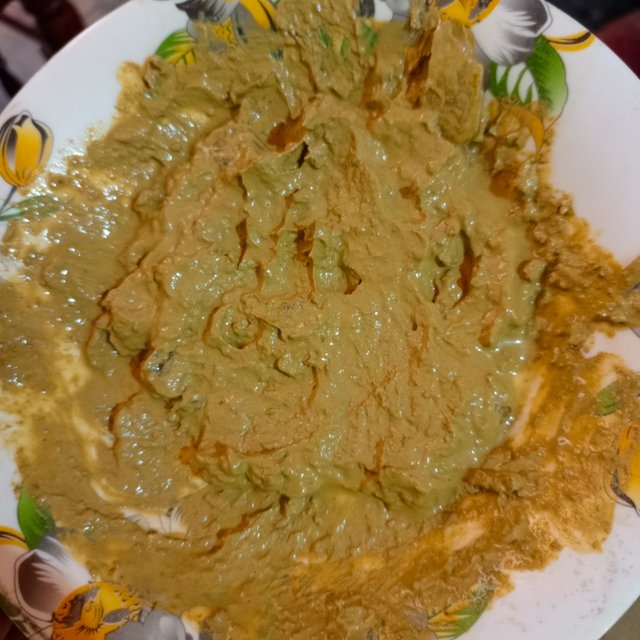
It is recommended that for the preparation you should use a clean bowl; blend the turmeric power and gajini powder.
Finally pour the aloe vera gel into the mixture and stir slowly to acquire a paste.
This should be soft to spread; if too stiff add 1-2 teaspoons of rose water or plain water.
- Step 3: Cleanse Your Face
It is recommended that you use a persistent facial cleaner so that you wash your face to eliminate the presence of dirt and oil. Instead of rubbing off the skin with a towel, gently pat the skin till water dried up.
- Step 4: Apply the Mask
Proceed with clean fingers or a brush and spread it over the face and the neck region but not the eyelid part.
Then let the mask stay for 15-20 minutes to let the mask do its wonders.
- Step 5: Rinse Off
Splash water on your hands and using circular movements wash your skin while you are washing off the mask.
After that, wash the face gently with warm water, and dry it up by gently blotting it with a towel.
- Step 6: Moisturize
Finally, apply your preferred moisturizer on your skin to seal the moisture and have soft skin all through.
How It Helps the Skin
Turmeric
Brightens Skin: Minimal pigmentation, a natural curcumin content disciplines your skin gives you the look a natural glow.
Fights Acne: Reduces redness, swelling, and unusual skin breakouts since it possess antibacterial and anti-inflammatory effects.
Prevents Aging: The ant-oxidant properties of turmeric get rid of free radicals and increase collagen level, thus eradicating fine lines and wrinkle.
Gajini (Fuller’s Earth)
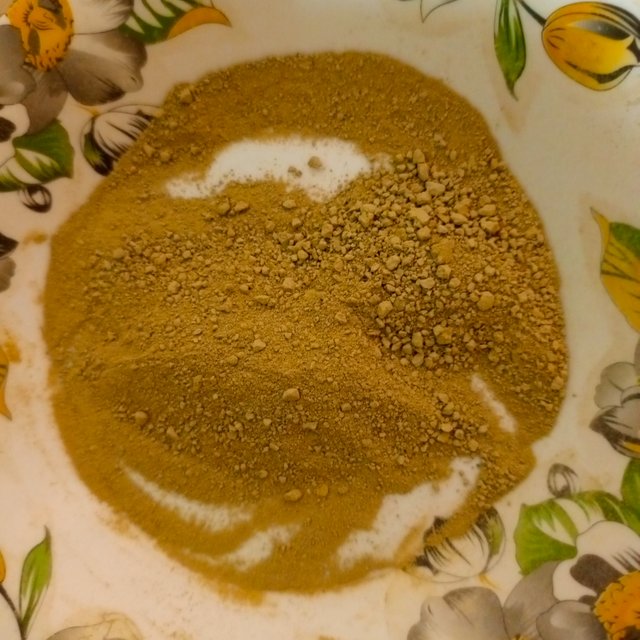
Absorbs Oil: Ideal for use on the oily skin type since it helps to eliminate sebum in the skin without overdoing it.
Detoxifies: Removes out the dirt and other harms causing substances from your skin for a healthy look.
Improves Texture: This is uttered regularly to tighten pores and smoothe rough patches.
Aloe Vera
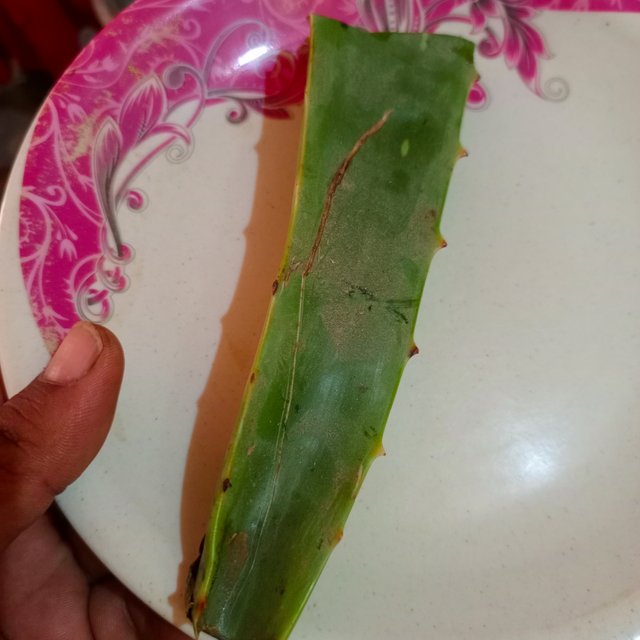
Deep Hydration: This is actually very important in replenishing the skin’s moisture without making the skin oily.
Soothes Irritation: Relieves skin redness, sunburns as well as skin sensitivity to enhance skin health.
Boosts Healing: These antioxidants and vitamins are useful in helping the skin heal, and eradicating post acne scars and blemishes.
Benefits of the Mask
1. Natural and Gentle: This mask contains no chemicals that can harm the skin and it can be used by all types of skins.
2. Multi-Functional: Can prevent and cure a variety of skins conditions, such as lack of brightness and elasticity, pimples and oily skin, and dry skin.
3. Affordable and Easy to Make: Based on raw materials which are easily found in homes or super markets at an inexpensive cost.
4. Customizable: You can change the thickness or pour a few drops of essential oil if you like your smoothie to have a scent.
Pro Tips for Best Results
Frequency: It can be applied 1-2 times a week for the visible effect, although you can apply it every day if you want faster results.
Patch Test: Everyone should carry out a patch test to ascertain whether they are allergic to any particular product.
Sun Protection: Due to the fact that turmeric makes the skin sensitive to sun, and you have to apply sunscreen after use if you plan to be under the sun.
This is a mask made from turmeric, gajini, and aloe vera which is ideal for the skin. It incorporates the medical impact of turmeric the purification capacity of gajini as well as the nourishing addition of aloe vera to provide you with a smoother, glowing and healthy skin. You should definitely use this simple and beneficial mask for face in your weekly skin care program.
Q.3 -Make a bath soak with herbs and write about its benefits for relaxation and self care.
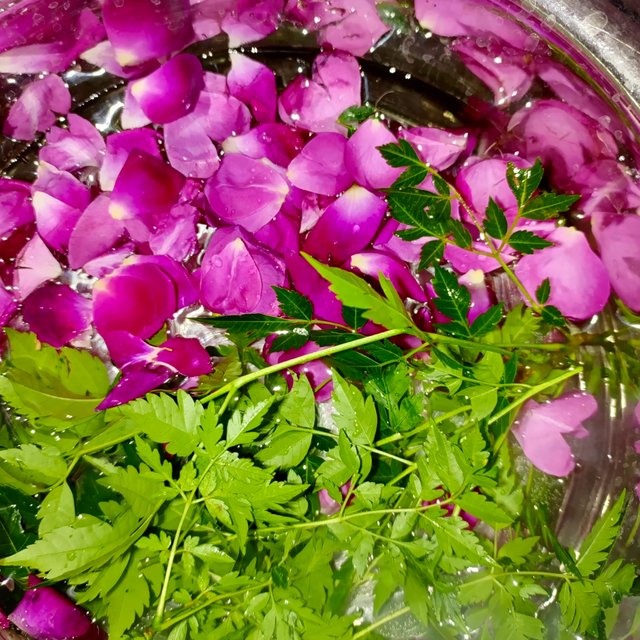
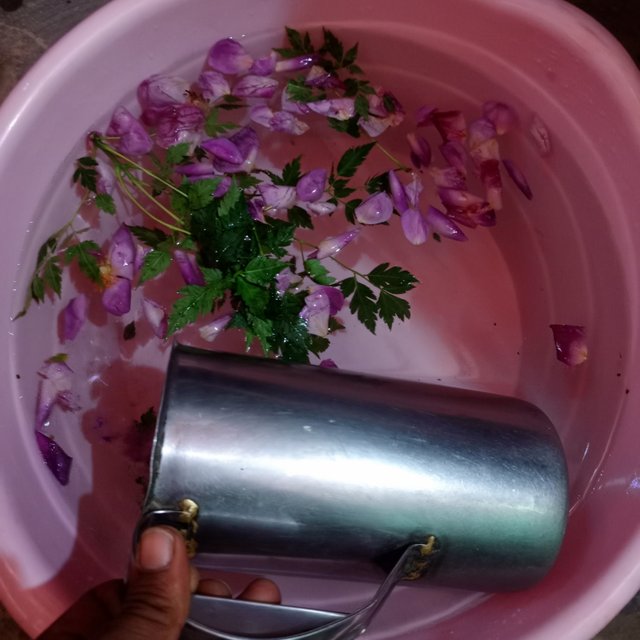
Recipe is the that of using fresh neem leaves, rose petals and cinnamon for a homemade bath soak.
Try and enjoy a aromatic bath with fresh neem leaves, rose petals and cinnamon. An end-of-a-long-day’s bath perfectly complements the benefits that this ingredients have to offer to the skin. Read this tutorial to find out how you can prepare a bath soak of your choice in your own home.
Ingredients
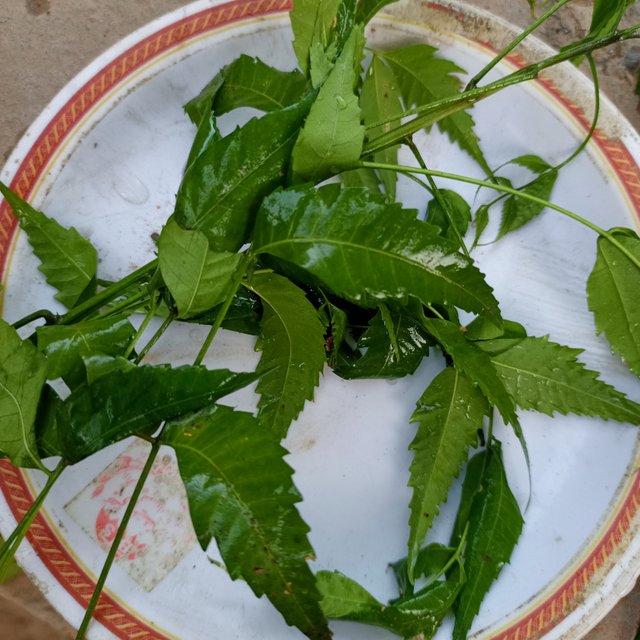
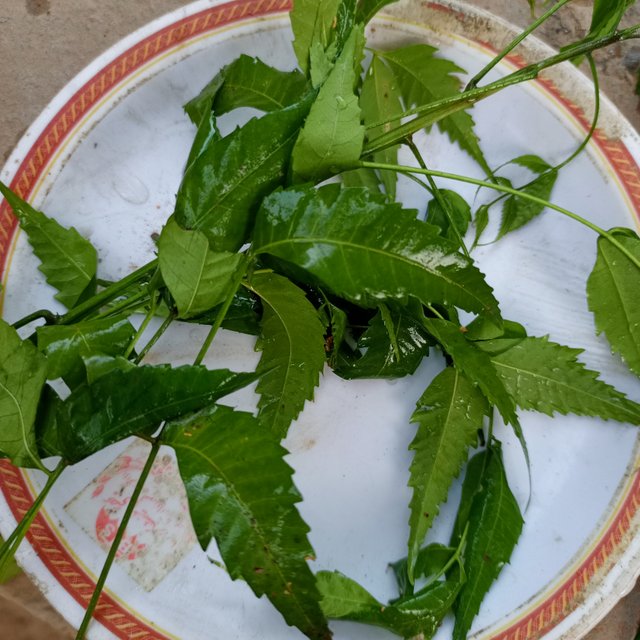
Fresh neem leaves (a handful): Neem is known to possess bacteria and fungi killing abilities, and is anti-inflammatory, thus perfect for the detoxification of the skin and for lessening the inflammation.
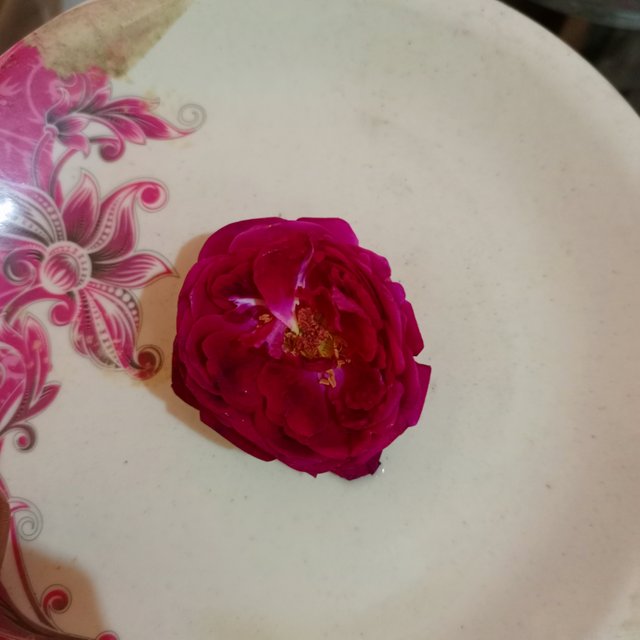
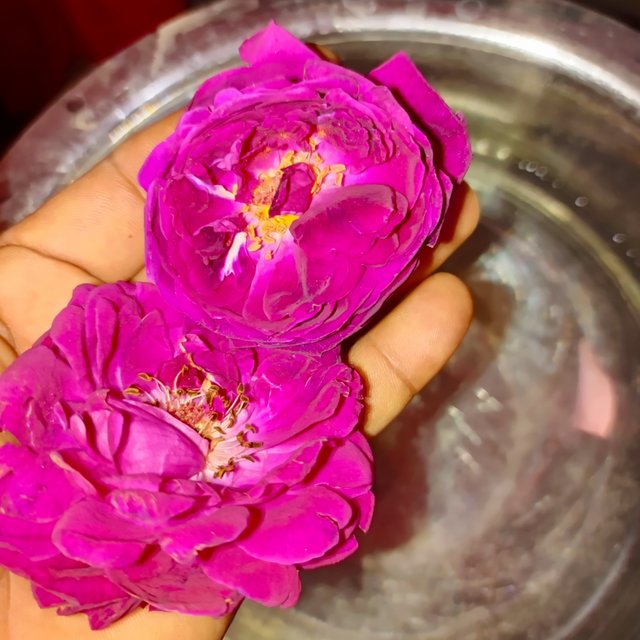
Fresh rose petals (1 cup): For instance, rose petals help to moisturize the skin and make it smooth, besides the fragrance that has relaxation effect and can able to decrease stress level.
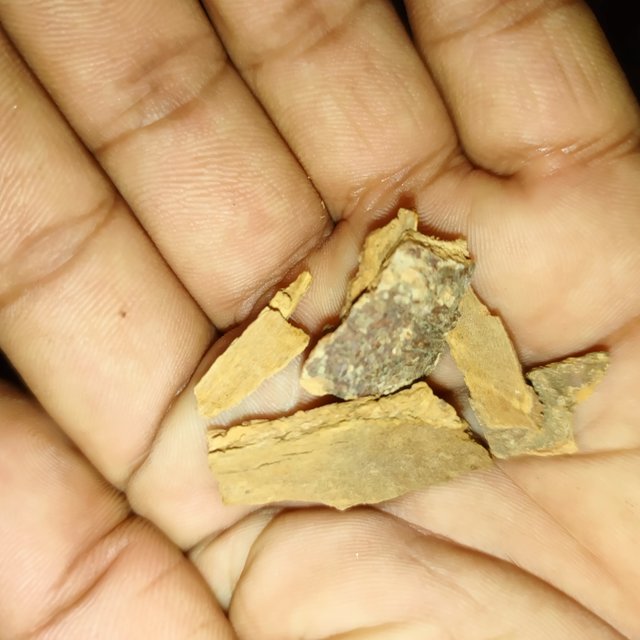
Cinnamon sticks (2 sticks): This spice helps to decrease inflammation, improves the circulation of blood, alleviates body pains and gives the bathwater a sweet-cinnamon smell.
Benefits of the Bath Soak
- Remedial effects, reduction of stress and enhancement of mood.
The nice fragrance of fresh rose petals and cinnamon soothes the mind or Spirits and brings happiness.
Itching or discomfort can be managed with neem leaves and creates a somewhat relaxing environment.

<
2. Skin Detox and Hydration
The Neem actually nourishes the skin as well as help remove toxins that cause acne, red or slightly inflamed skin.
The human skin becomes soft and even The woman’s skin in the video becomes supple after a deep hydration mask using rose petals.
3. Enhanced Circulation
Cinnamon has circulation boosting properties that helps make the skin look fresh again and alleviate mild muscle soreness.
4. Natural Healing
The antibacterial and antifungal agent found in Neem makes it very useful in managing skin health and preventing skin infections.
Cinnamon and neem are anti-inflammatory that help with the swelling or discomfort of the affected area.
How to Make the Bath Soak
Step 1: Prepare the Ingredients
Pick fresh neem leaves about fifteen to twenty of them. Wash them well under clean, running water to wash off any dirt or any other materiel.
You should preferably use roses from your garden or buy pesticide-free roses from your local store. Wash the petals gently.
When using cinnamon sticks it’s better to chop them into smaller pieces so that they can release the oils when boiling.
Step 2: Here, create the Herbal Bundle (Optional).
For easy disposal, the neem leaves, rose petals and cinnamon sticks should be put in muslin bag, cheesecloth or tea strainer. Secure it tightly.
You can also put the ingredients into the bath water directly, however, you might need to remove some of them out after sometime.
Step 3: Prepare the Bath
- Preferably, select a warm water temperature and fill your bathtub with it.
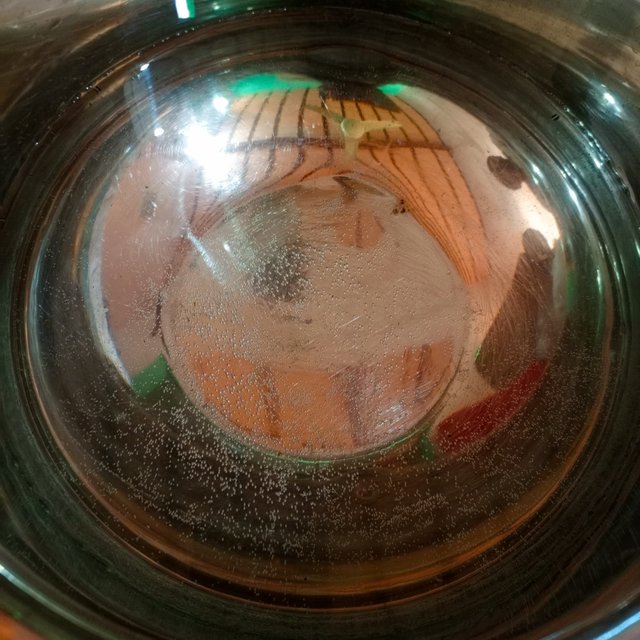
- If using the fresh herbs, put the bundle or the ingredients in the water if using loose ones. If the ingredients are free flowing, make sure that they cover the tub as level as possible.
- It should be noted that one should allow the ingredients to soak for 5-10 minutes so that the fresh neem leaves, rose petals and cinnamon can impart their usefulness.
Step 4: Enjoy Your Herbal Bath
Swim for 20-30 minutes minutes in water in order to bathe thus making it a very tight schedule.
They should take this time to ensure they deemphasized, take a break from the busyness of life and maybe pray or take deep breaths to calm the body.
To get the most of the benefits of neem leaves or rose petals, you can lightly massage it on your body.
Tips for Maximum Benefits
For Extra Hydration: Sprinkle a tablespoon of honey to the bathing water for the extra effect of moisture.
For Muscle Relief: Add one cup of Epsom salts into the water to relieve the tension within the muscle.
For Aromatherapy: Have a lit candle or light up an essential oil diffuser using some of the best calming oils such as lavender or chamomile.
Precautions
Even though, fresh neem leaves and rose petals are gentle on the skin you should try them for the first time in a small area of your body if your skin is very sensitive.
Do not use neem on your body if you are engrave with cuts or any injure on your skin.
Because of the potential skin irritation, pregnant individuals should first see a doctor before they add cinnamon to their bath.
The use of fresh neem leaves, rose petals and cinnamon in a bath tub is one of the most effective and at the same time a very enjoyable way of utilizing natural remedies. Not only is it refreshing and again beneficial for the skin but also it serves as a much needed respite to the busy world we live in. If you don’t mind what people will say of you, this simple homemade bath soak can turn your bath time into a heavenly experience.

i would like to invite @wilmer1988 @stef1 @sduttaskitchen to take part in this contest
Regard for me @shabbir86

X Permotion Twitter
https://twitter.com/shabbir_saghar/status/1865045984415289711?t=6uqGQ5nlwgH4cFOXa33ppg&s=19
@adeljose Sir Thank you so much