Paper craft tutorial : A nice parrot😍
Greetings friends!!
This is @urmilanath650 from @bangladesh
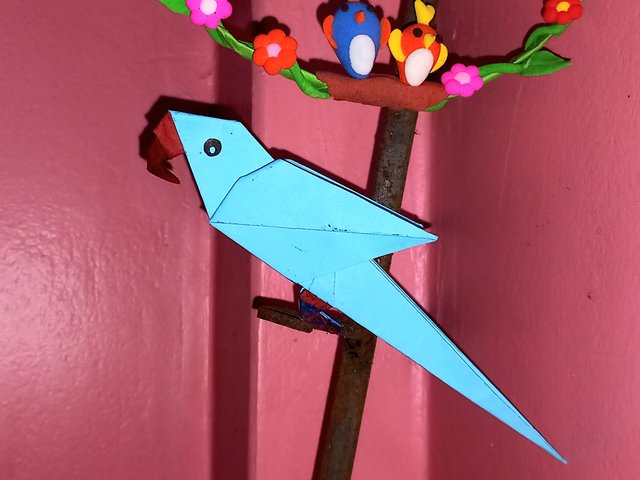
How are you friends?? Hope everyone is well by the grace of Almighty and so am I. Today I am here to share a nice origami with you. I have made a cute parrot with color paper and eagerly want to share this craft with you. Hope you all would like this nice parrot so much. Let's start the preparation without delay...
- Green/ blue color paper
- Scissor
- cm scale
- Black color pen
- Red color pen
Measure 21*21cm square from a blue paper. I have used blue paper as I don't have green paper now. Cut the square and fold it from the two diagonal positions and from two straight middle positions. Open all the folds.
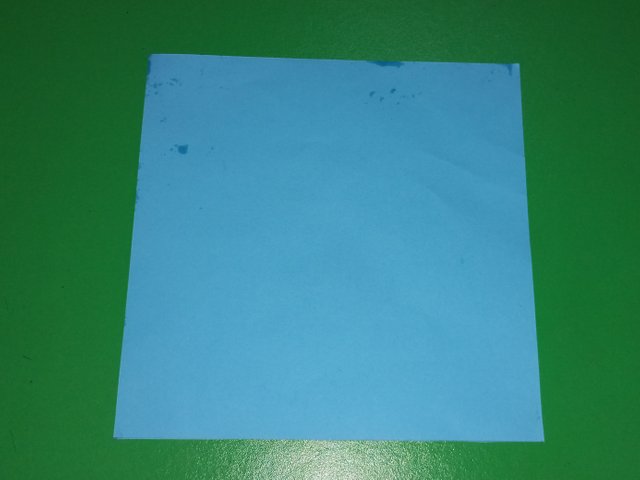
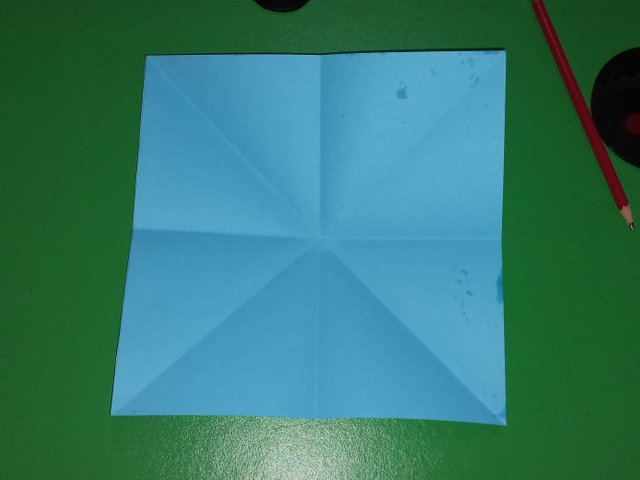
Take one of the middle line fold and make a smaller square by inserting two side folds inside.
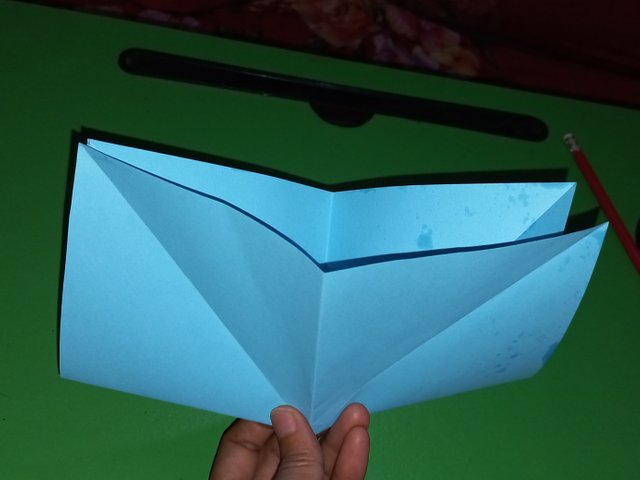
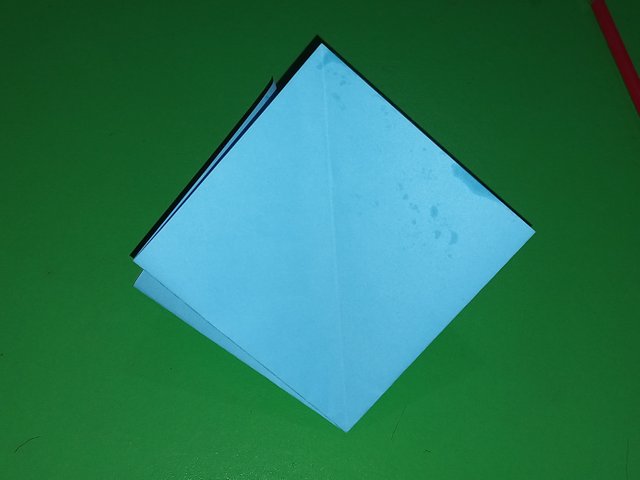
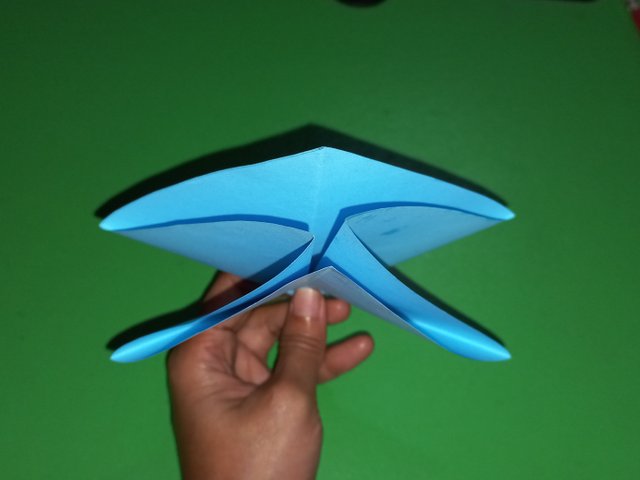
Now fold the two upper side parts of the two sides along the middle straight line and fold the lower triangular shape. Make such folds from two sides. Open all the folds again.
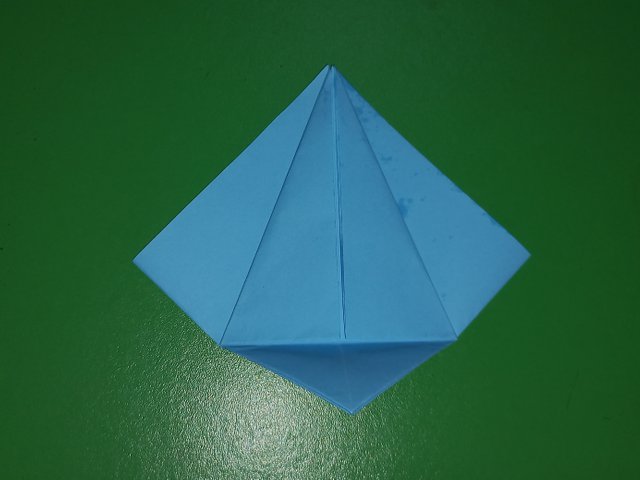
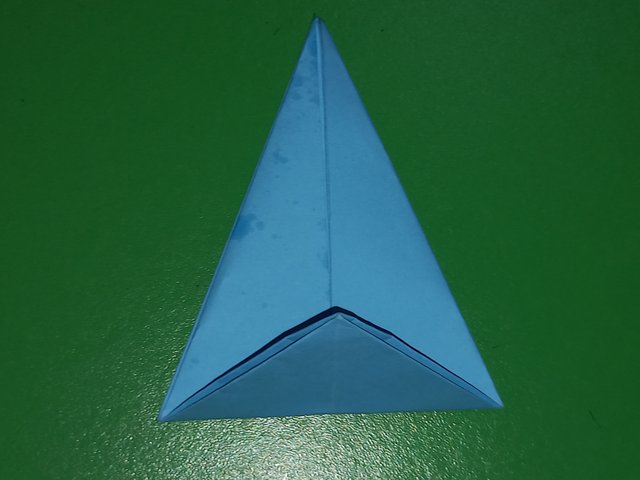
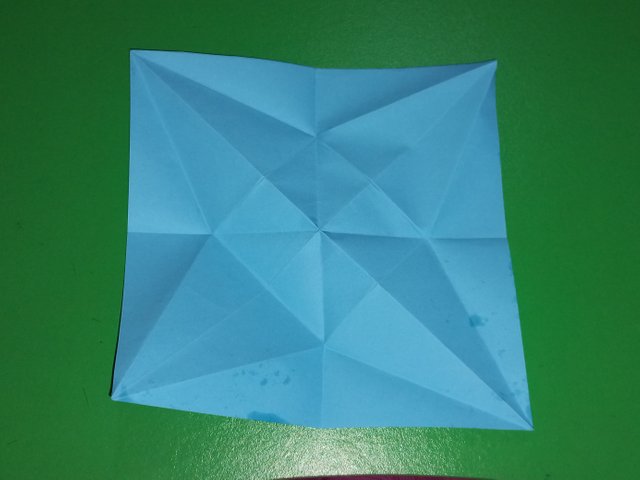
Take a diagonal fold now. Cut the lower middle line upto the straight fold as shown in the picture. Open the paper now.
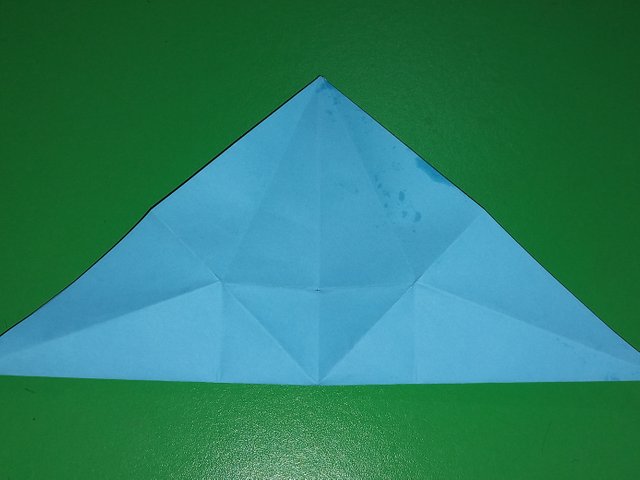
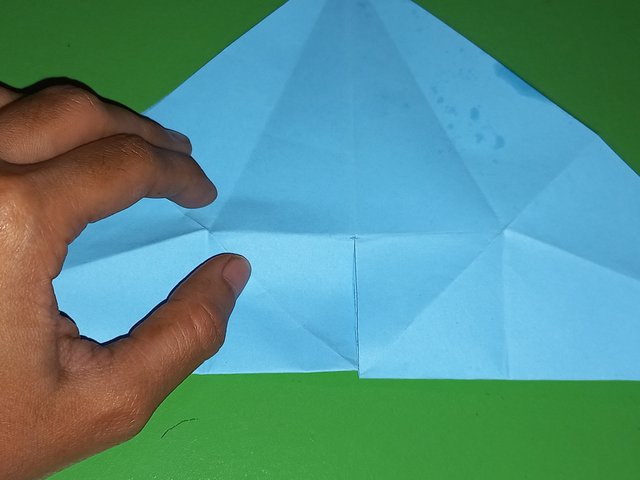
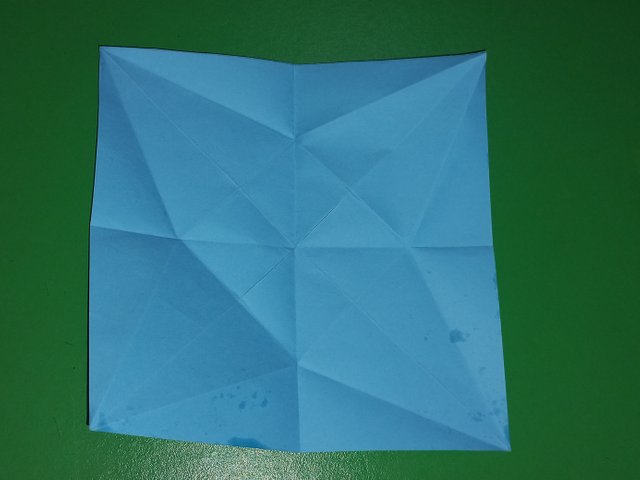
Take one middle straight fold again and make the smaller square again as mentioned in step 1. Move the upper part to the right side to get the cut portion at the front side.
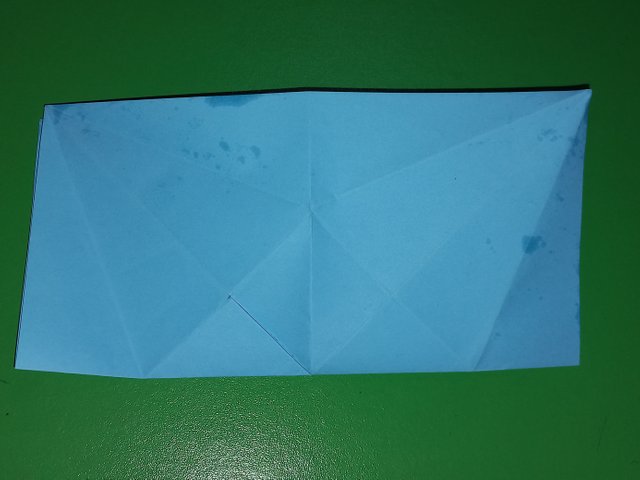
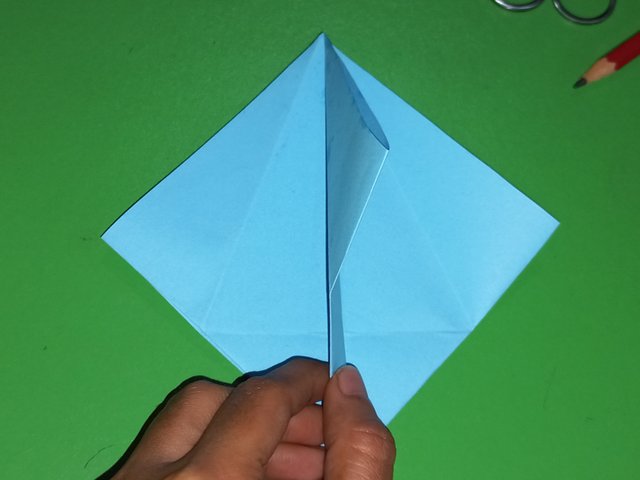
Cut the lower middle fold line upto the straight fold as shown in the picture. Fold the lower triangular shape then.
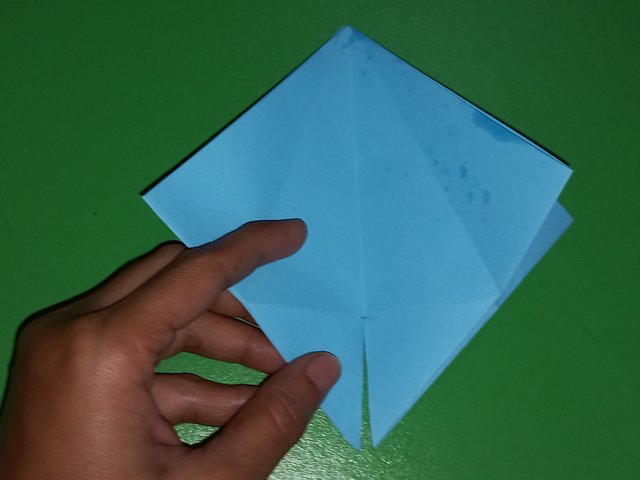
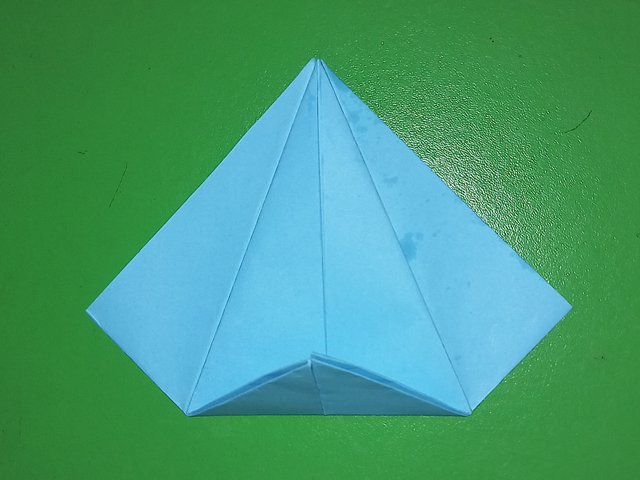
Open up the upper folds and fold the two sides along the middle straight line in both sides of the paper.
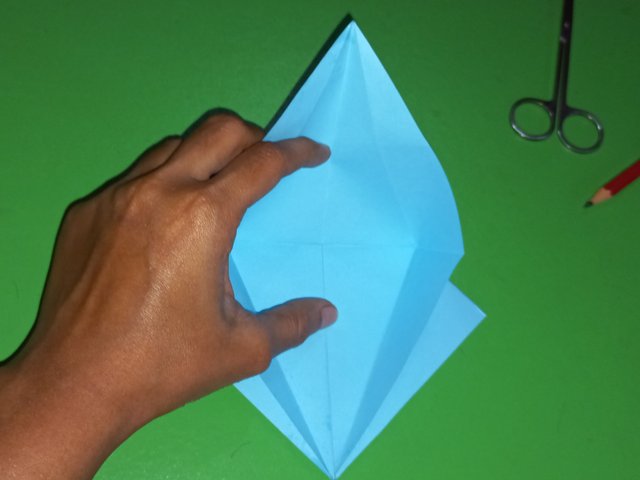
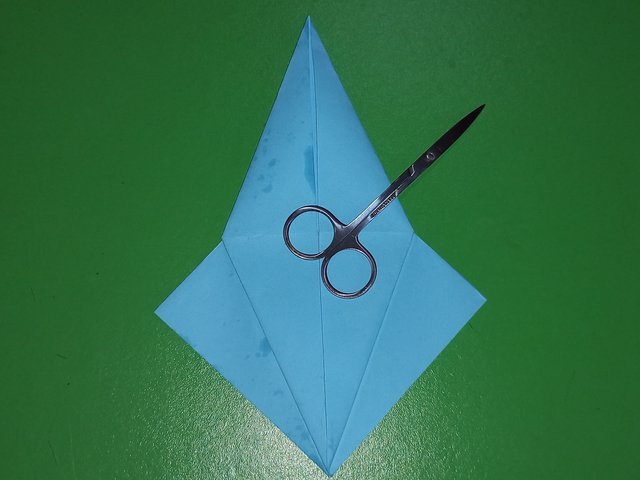
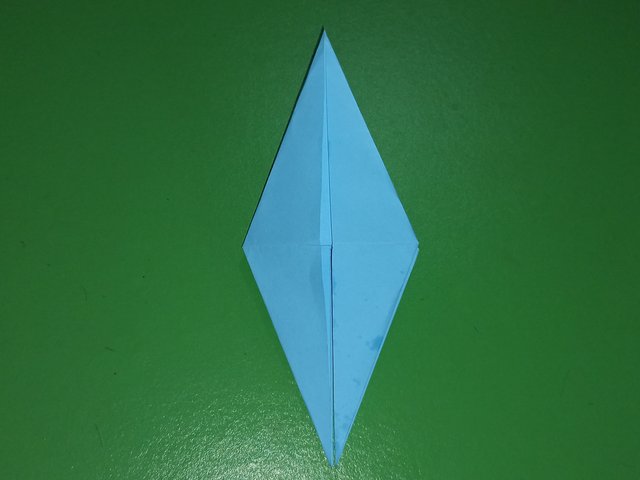
Move the long triangle to the lower side to get the smaller triangle at the middle position.
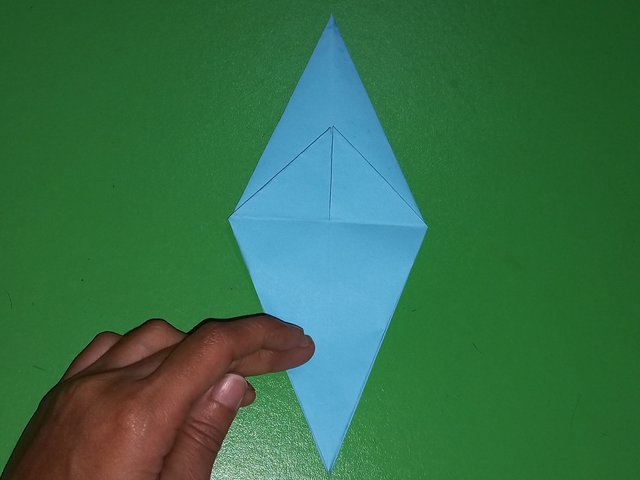
Break the folds of the two sides of this triangle and press to make two small squares.
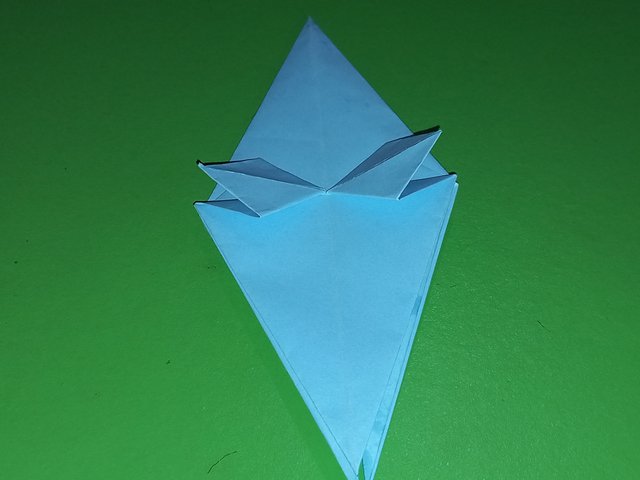
Folds each two sides of both squares and fold lightly at the straight line of folded end.
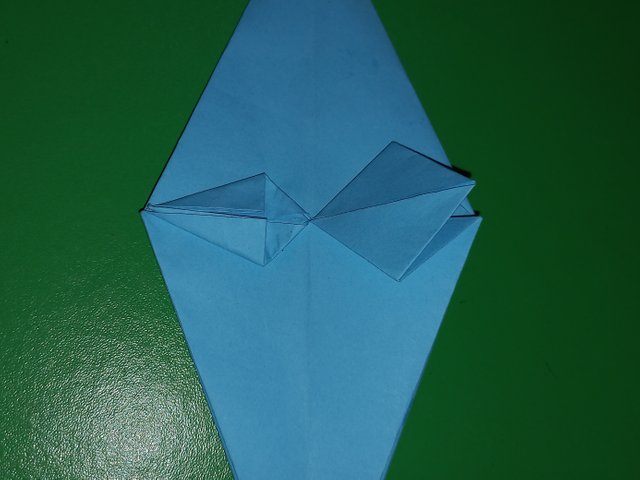
Open the last two folds. Then open the upper fold of the square and fold two sides to get a long four angled structure. Fold half of this structure on the other half.
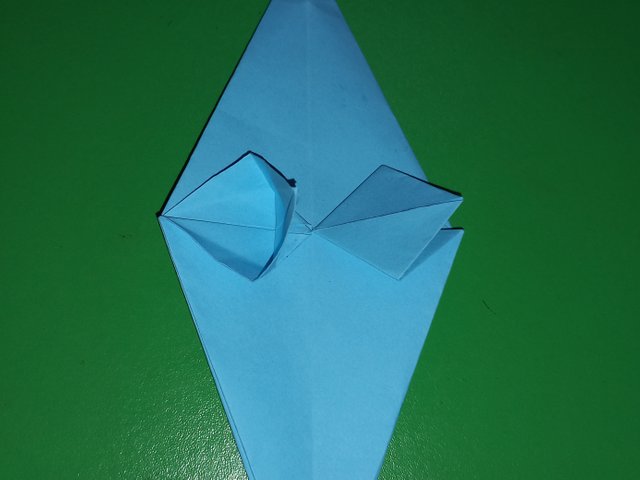
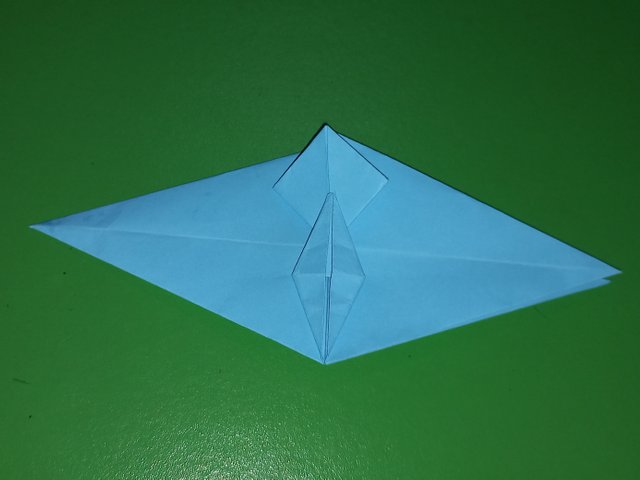
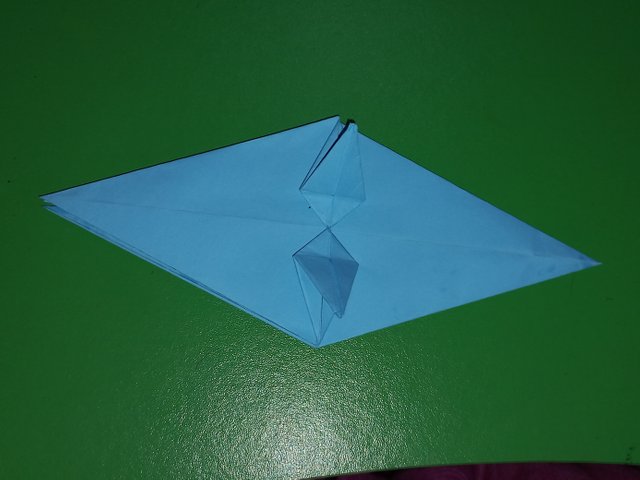
Now we get a structure with three folds at one side and one fold at the other side.
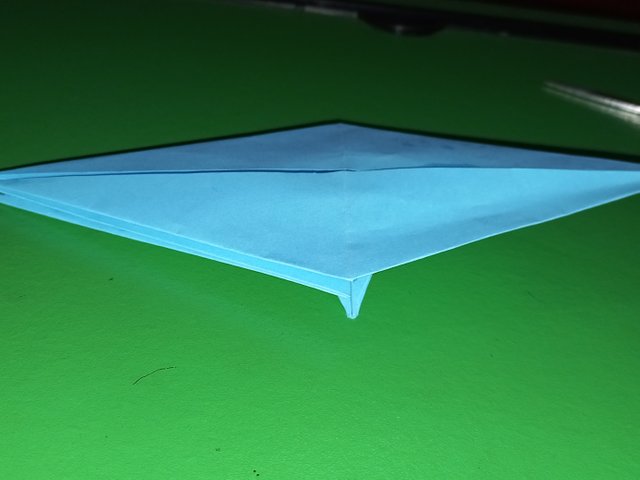
Fold the two halves of the long structure from the side where no outer folds are seen.
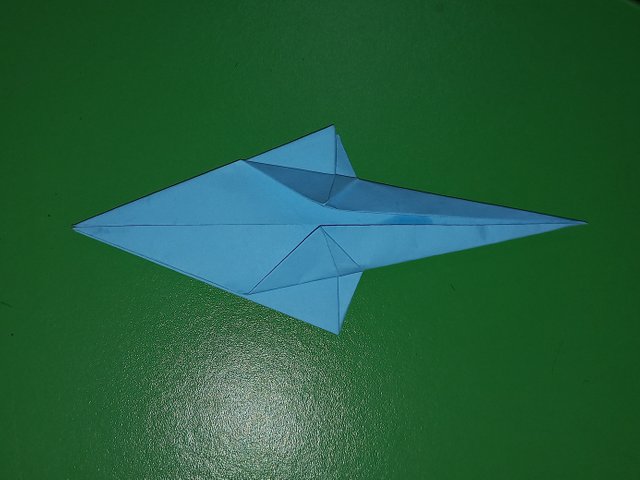
Invert the paper and fold the two smaller forms along the straight line.
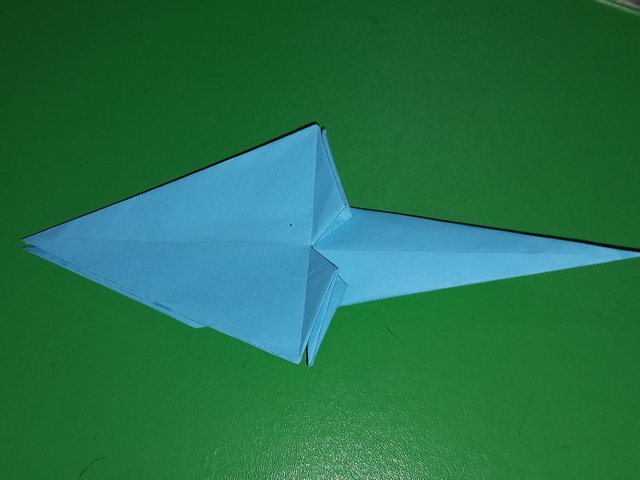
Fold the two corners of the broader part of the structure.
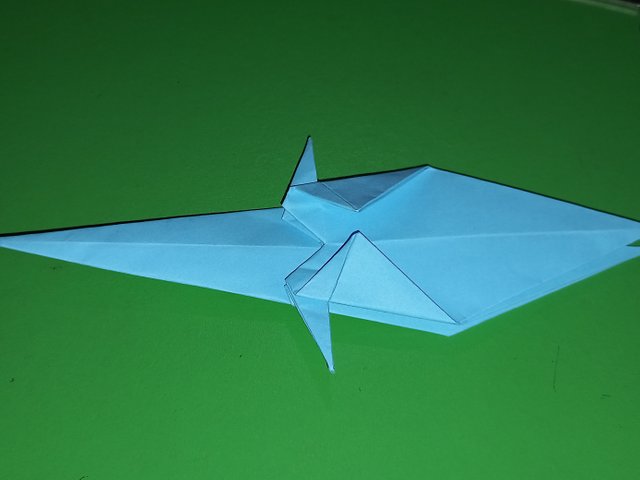
Fold the structure longitudinally at the middle line. Now we get two leg structure.
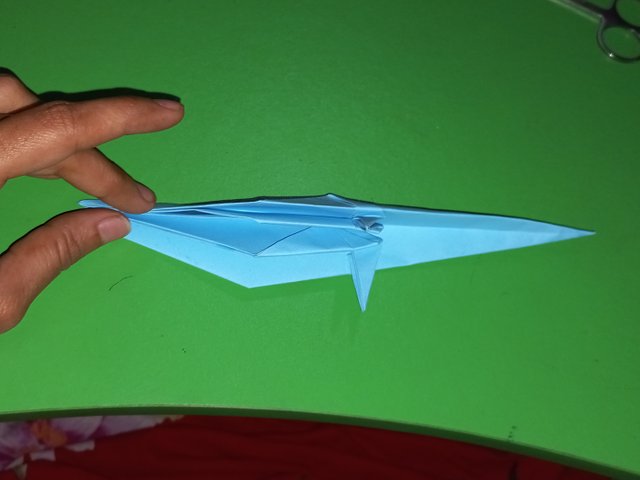
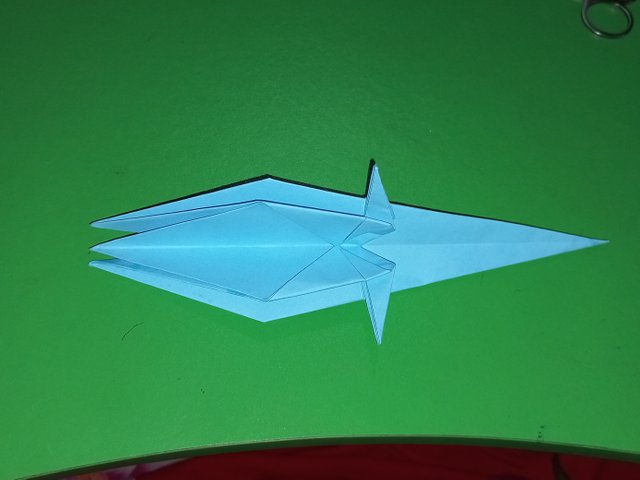
Fold the two outer parts of the broader part to the upper side and then towards the narrower part.
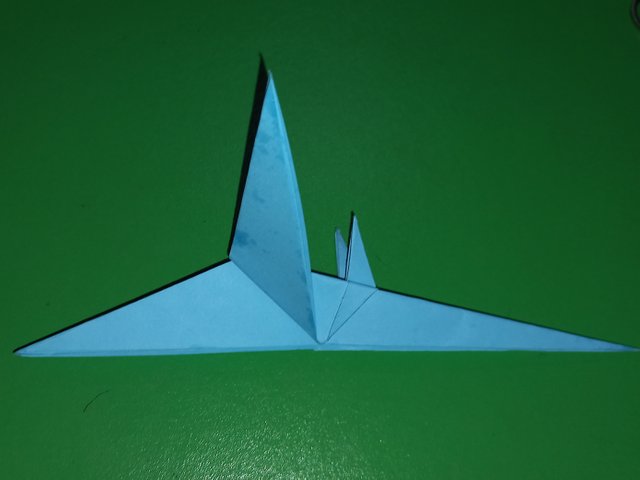
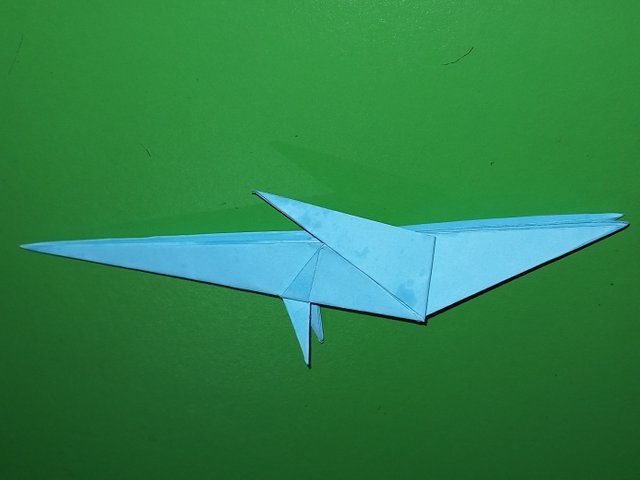
Open the folds and fold the two outer parts from two equal sides.
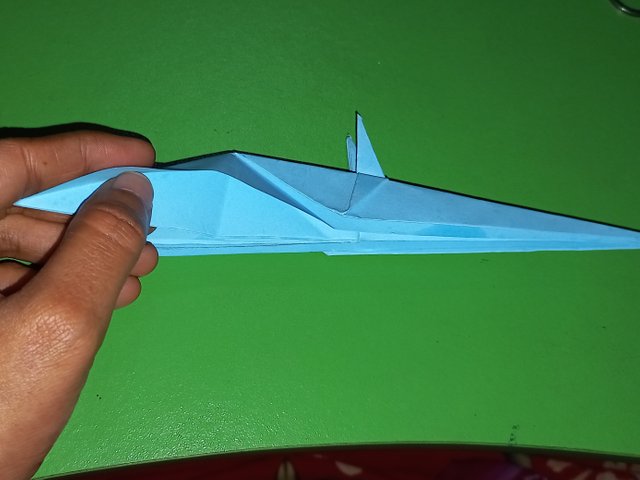
Fold the two corners of the two new structures. This makes the wings of the parrot.
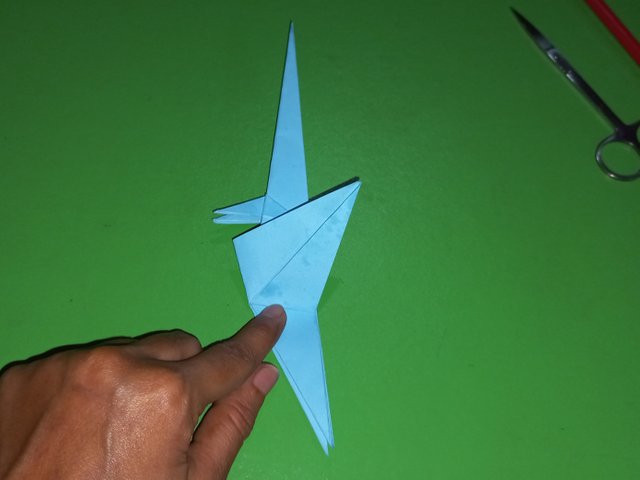
Fold the shorter end of the long structure to make the neck and head.
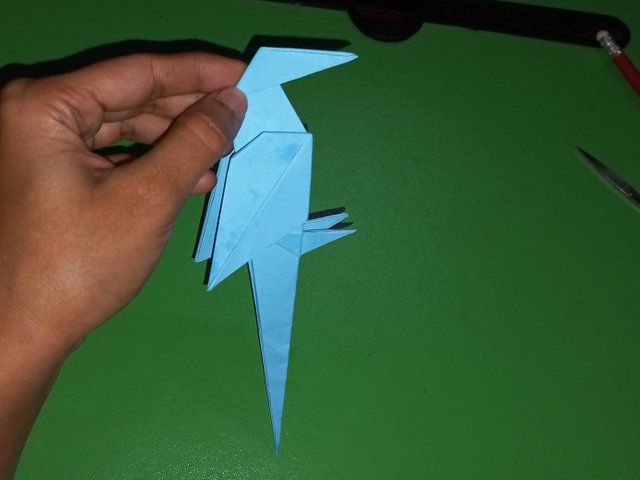
Fold the end at middle towards inside. Then move the fold at one side and fold the angular end.
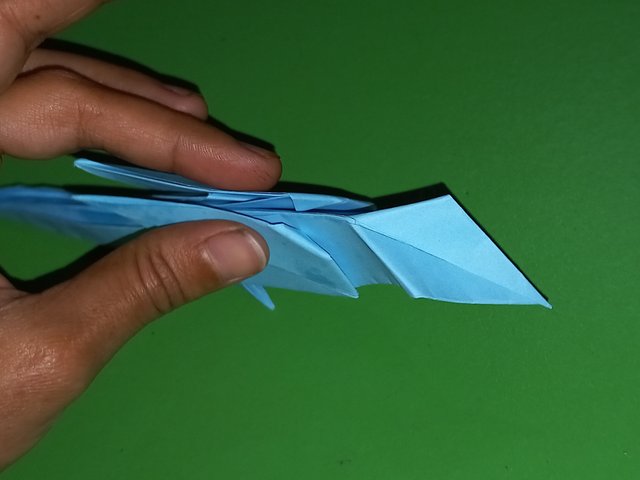
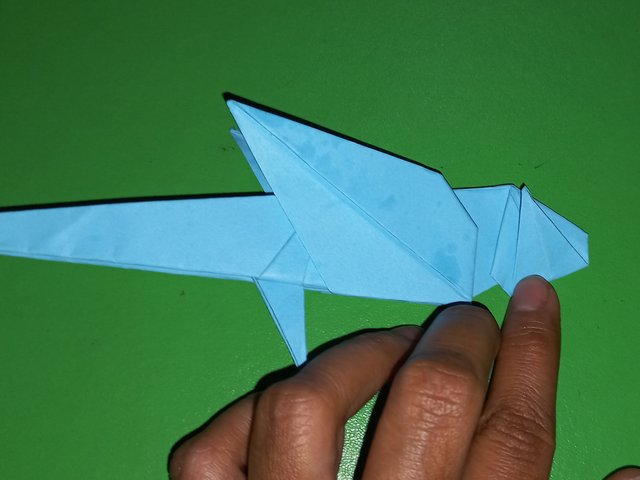
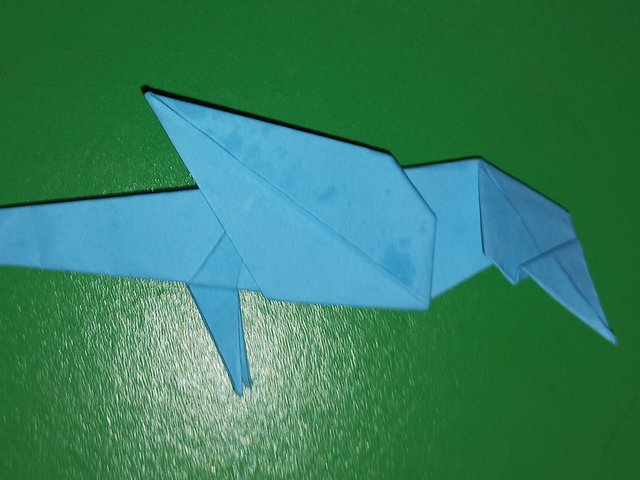
Make the middle fold again to get a head and beak structure.
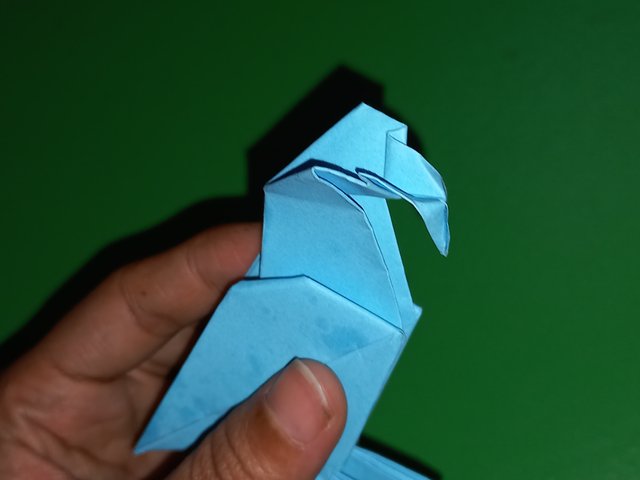
At last fold the angular leg structures inside the middle fold.
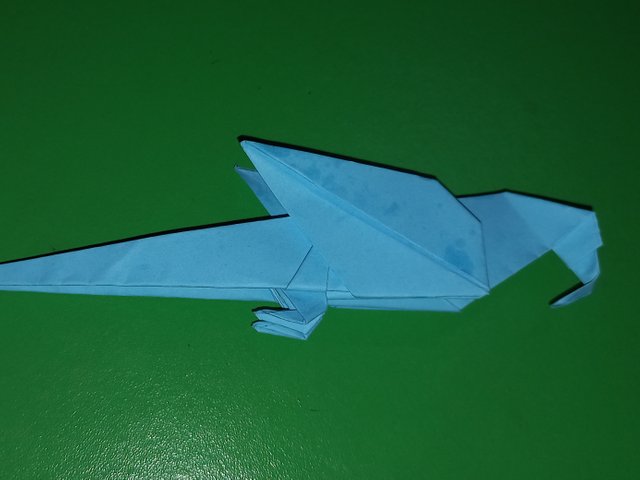
Now color the beak and legs with red color pen. Draw the eyes with black color pen.
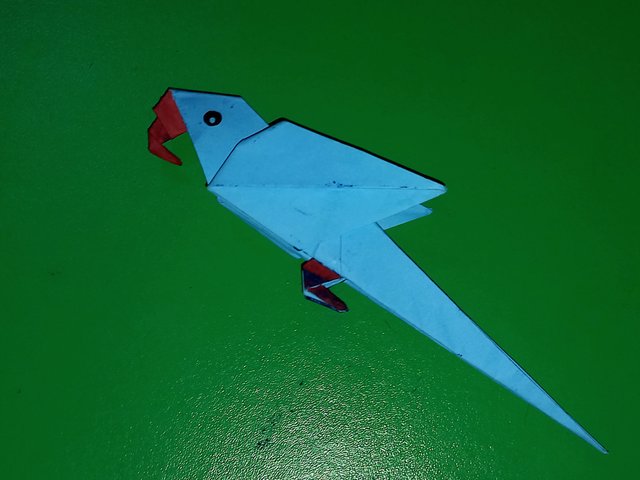
The beautiful and creative parrot preparation is finished now. I have explained the details in the above ten steps. Hope you like this parrot so much. I have provided the youtube video link of this craft so that you can see the complex steps.

x share https://x.com/urmilanath55/status/1873749606384980400