Learning Canva Design Part 2 - written by @msquaretwins

Introduction
Hello Steemians!
I welcome you to another beautiful week. I hope you had a very great weekend. My weekend was very beautiful. I am Kehinde Micheal and my username is @msquaretwins on this platform. Some days ago, I walked you through the some features on Canva App. In that training, we were able to touch some basic elements, and I promise to do the part 2 of the training. For those that have not gone through the first part of the training, the link to the training is Learning Canva design part 1.
By the special grace of God, the part 2 of the training is here. Are you happy to hear that? Great! Without further ado, let's get started with today's business. Happy reading.
Learning Canva Design - Part 2
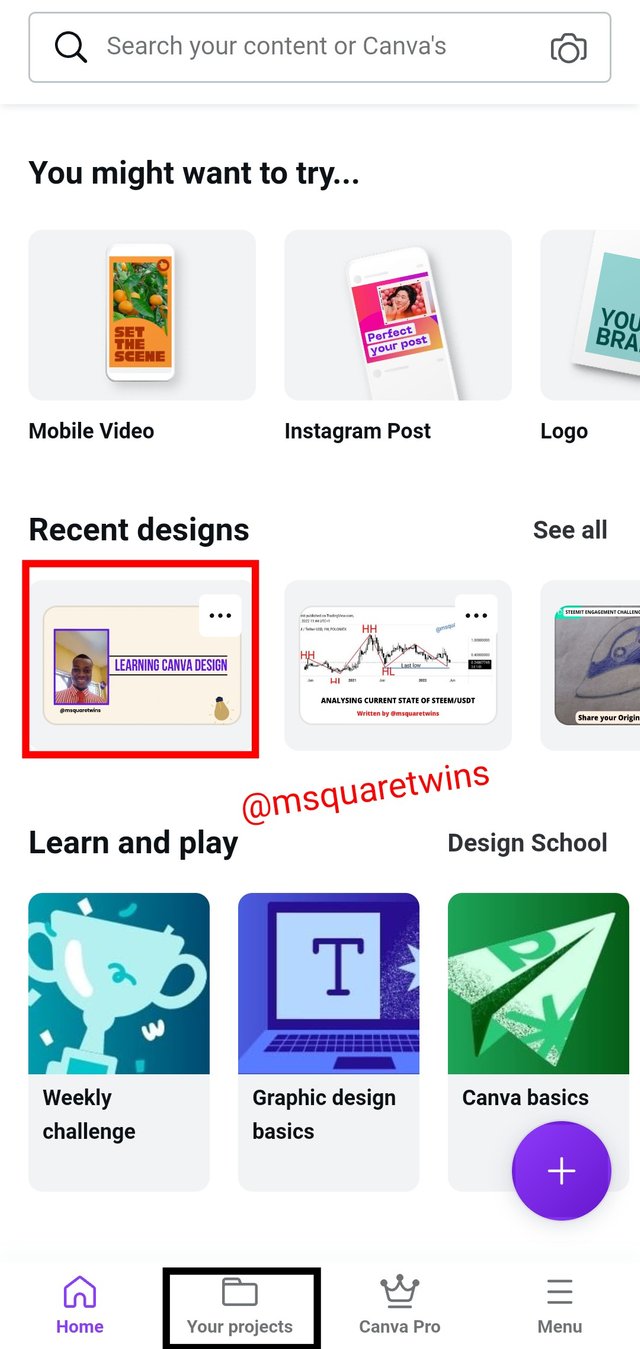
Let's take the design from where we stopped. Now, login to your App and open the project. You can open your project by clicking recent design from the home page if you have not done many design after the previous one. However, you can go to "my project" at the bottom of the page beside "home" and click it to open your design.
When you open it, then you will see something like what I uploaded at the right side below.
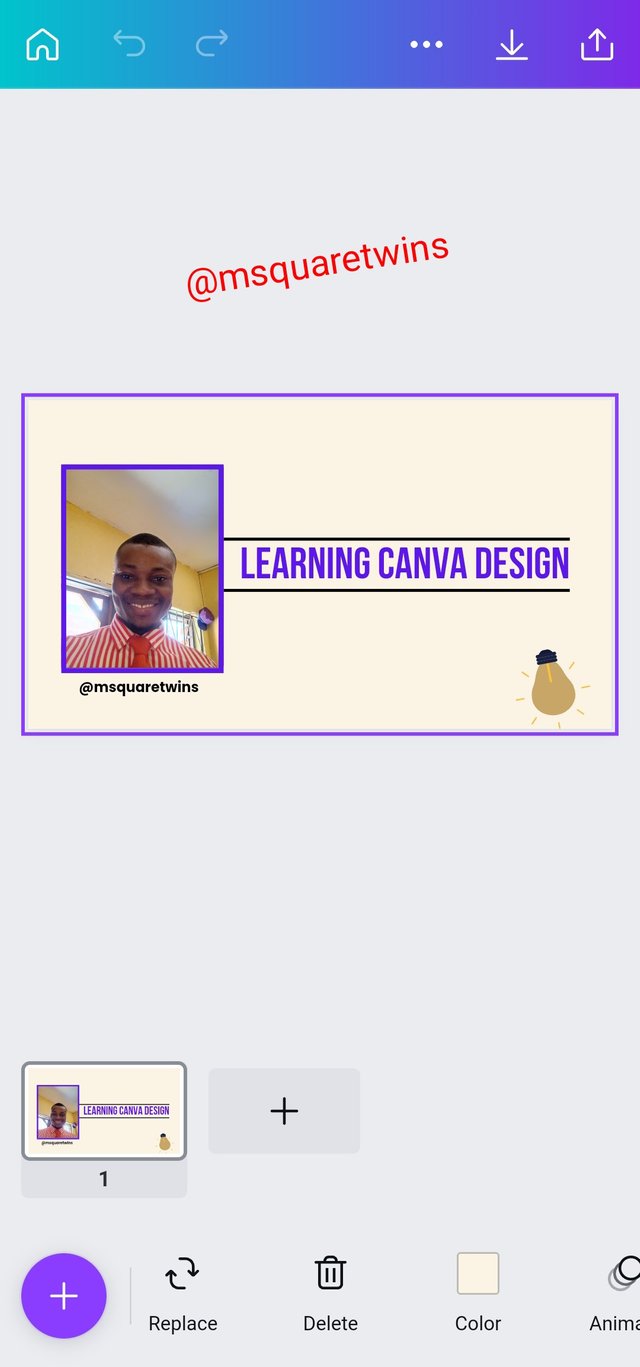
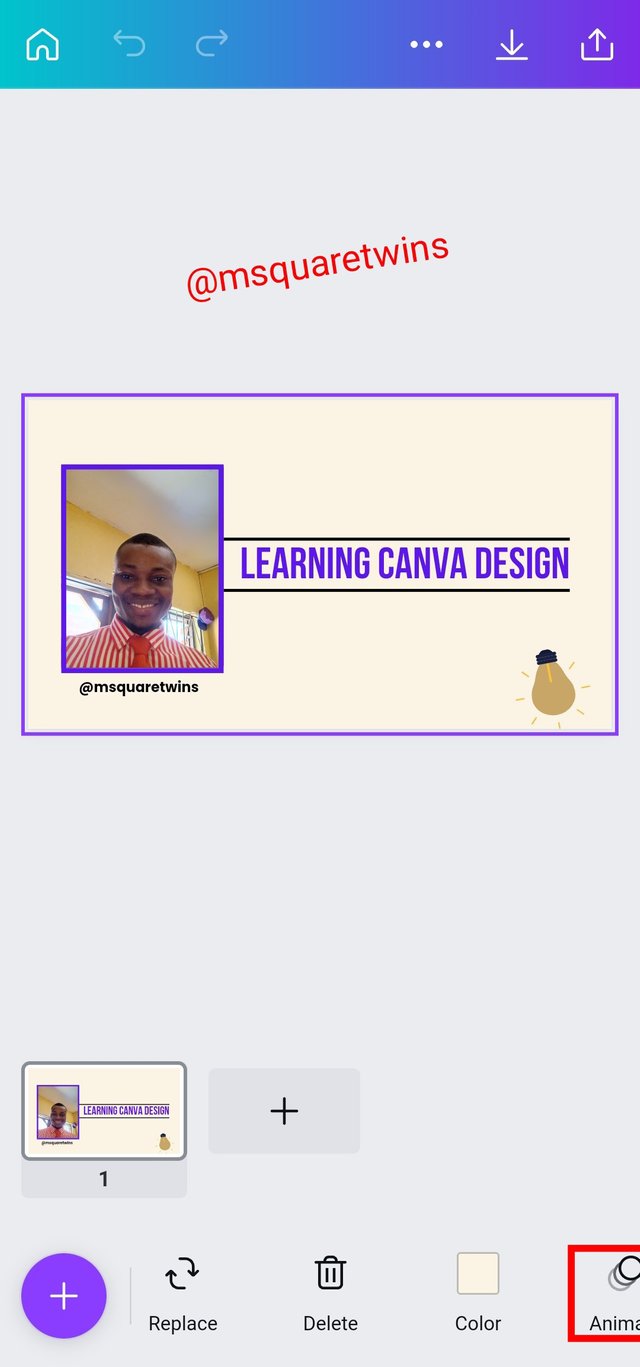
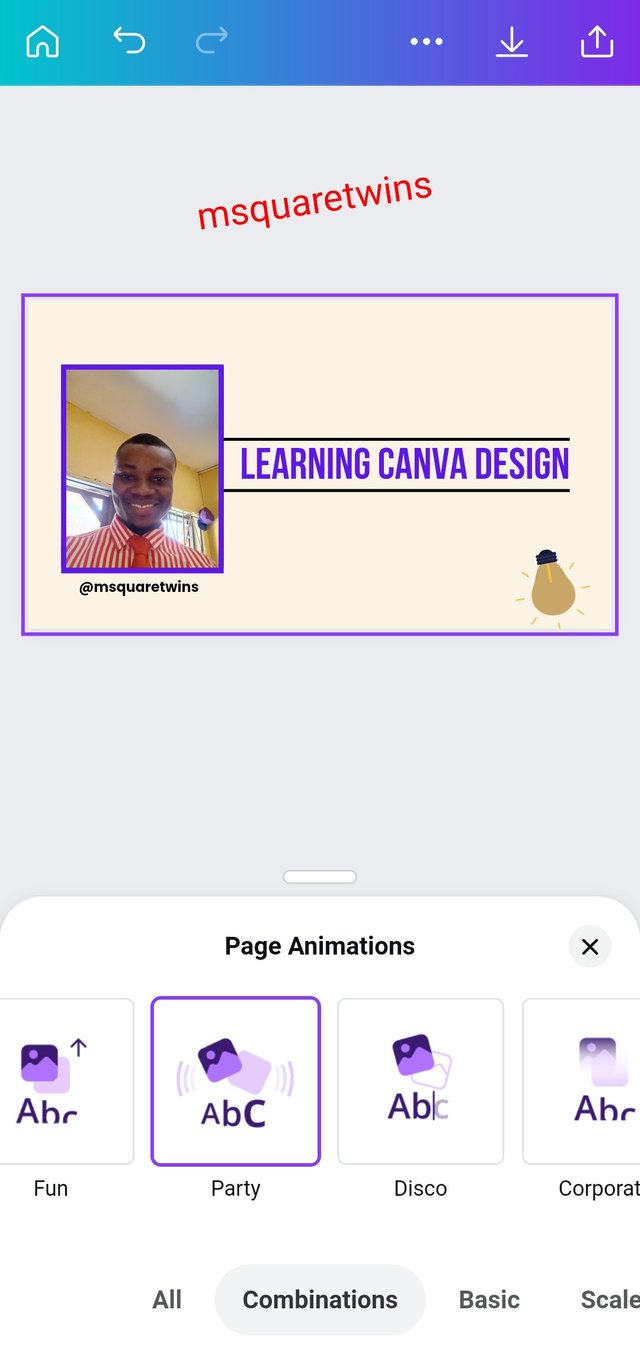
We have talked about, delete, replace, and some other features Now let's look at animate. As seen in the picture below, we can animate out design by simply clicking animate at the bottom of the design page as seen in the picture uploaded on the left side below.
When you click it, another page will appear for you as uploaded on the right side. As seen in the image, you can choose any animation for your page.
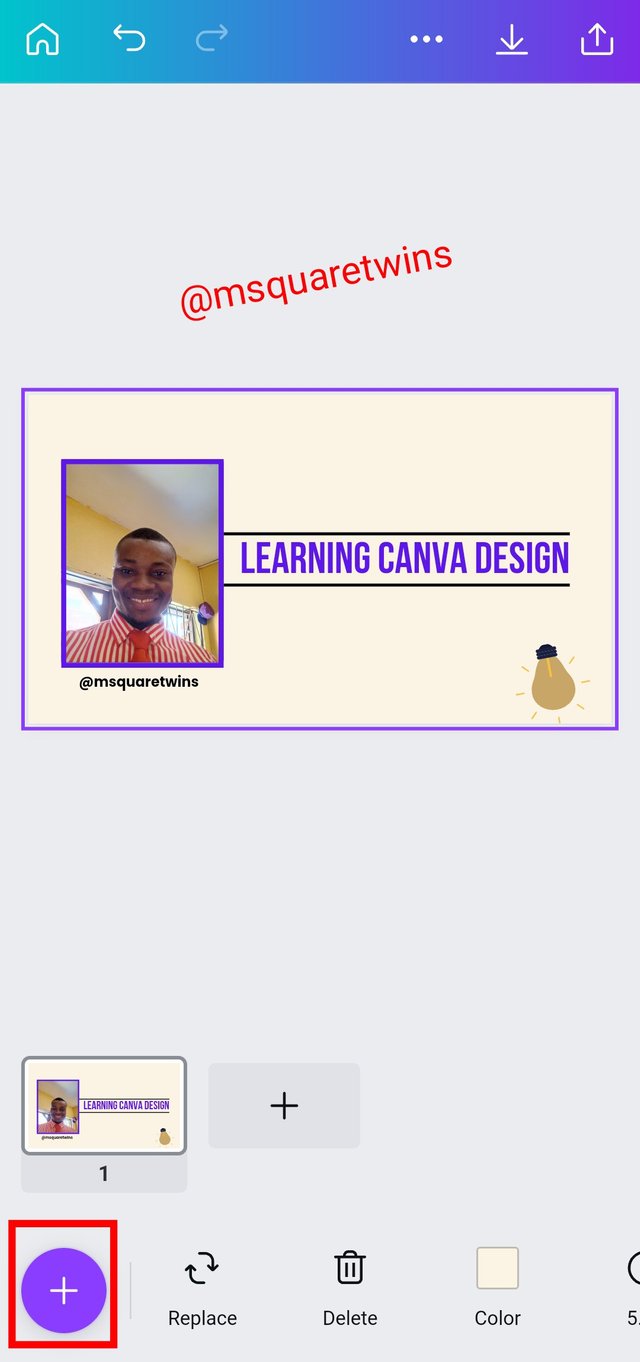
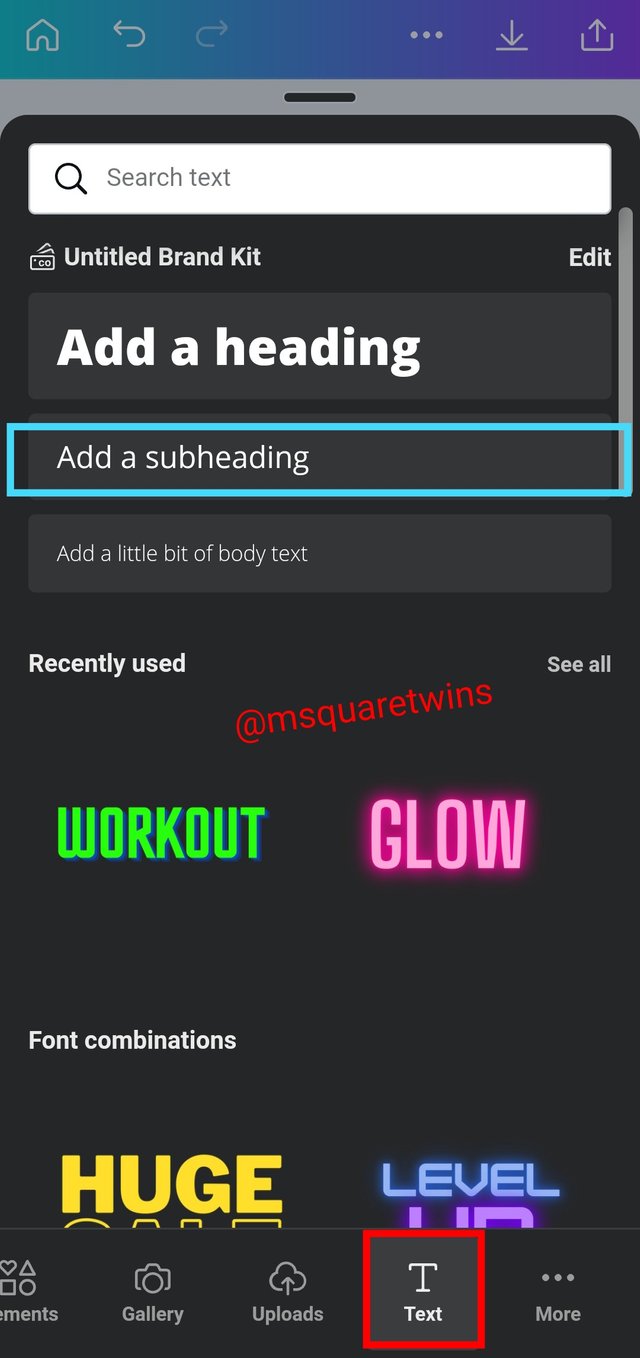
The next thing I want to show you is how to add new text to your design. To do this, click the positive (+) button as indicated by a red box in the image uploaded on the left side below. Then when you click it, another page will appear, click text as indicated in the picture uploaded on the right side. Then add text. You can add a heading, subheading, or body. In our case, let's add subheading.
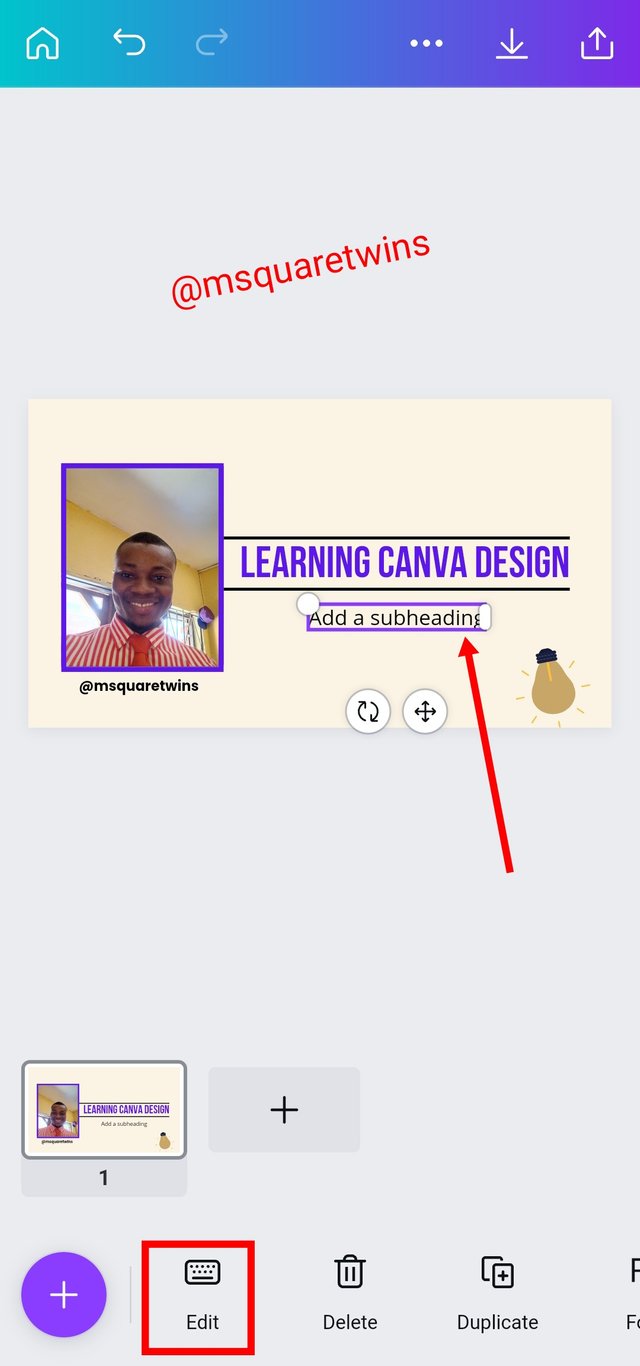
Then, the text appeared on our design page as seen below. To edit the text, click the "edit" at the bottom of the page. The image uploaded on the right side is result of the edit text I did.
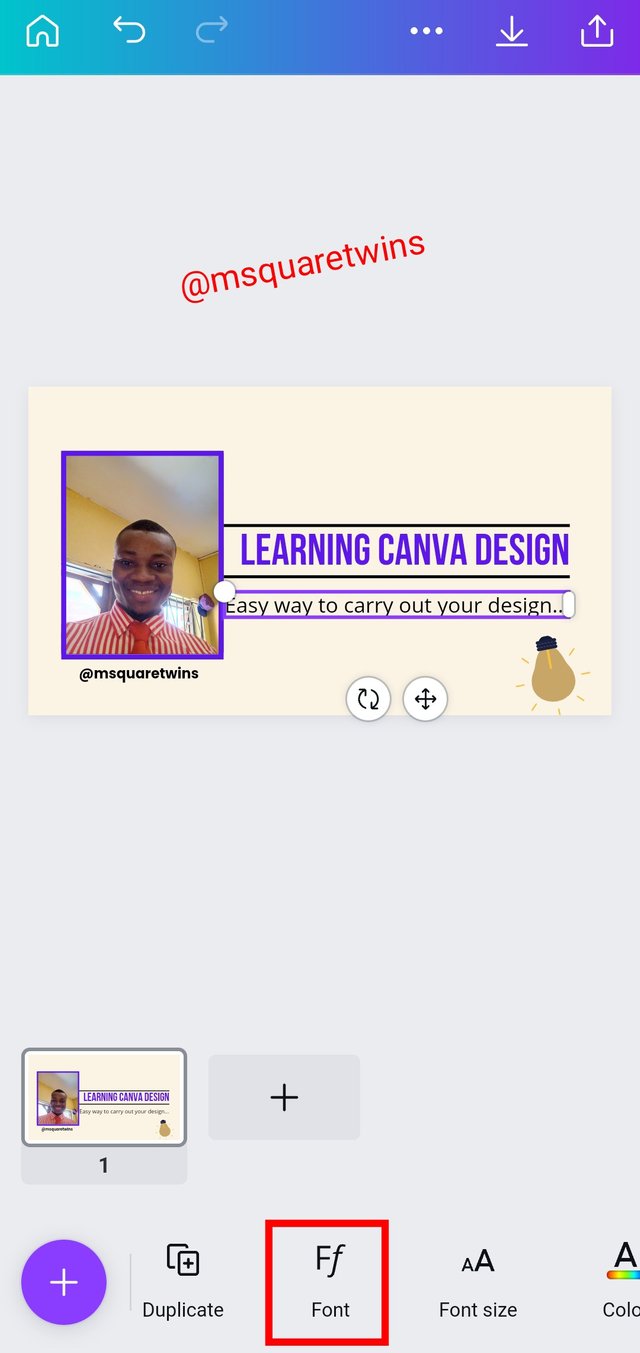
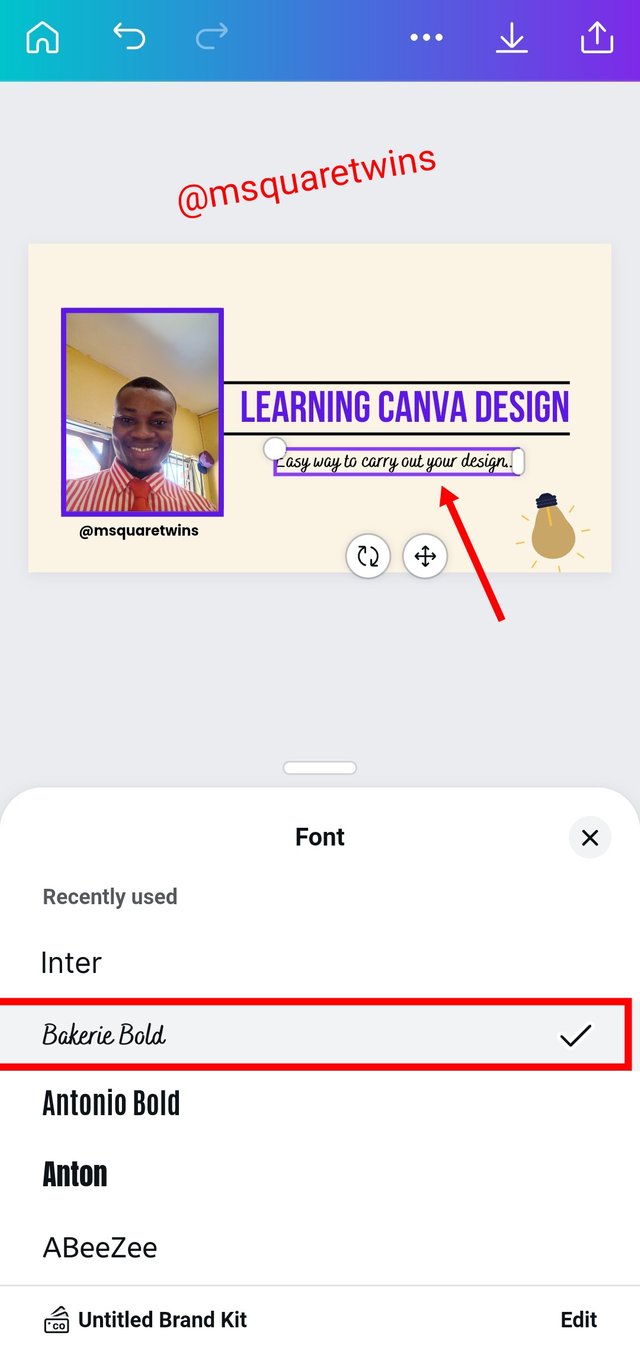
Another beautiful thing you can do to your text is to change the font to suit your taste. To do this, click "font" as indicated by a red box in the image uploaded on the left side. Then another page will appear for you as uploaded on the right side below. You can then select the font that you want. When you select a font, it will change to the font you selected and you will see mark ✅ button beside the font you selected as seen in the image.
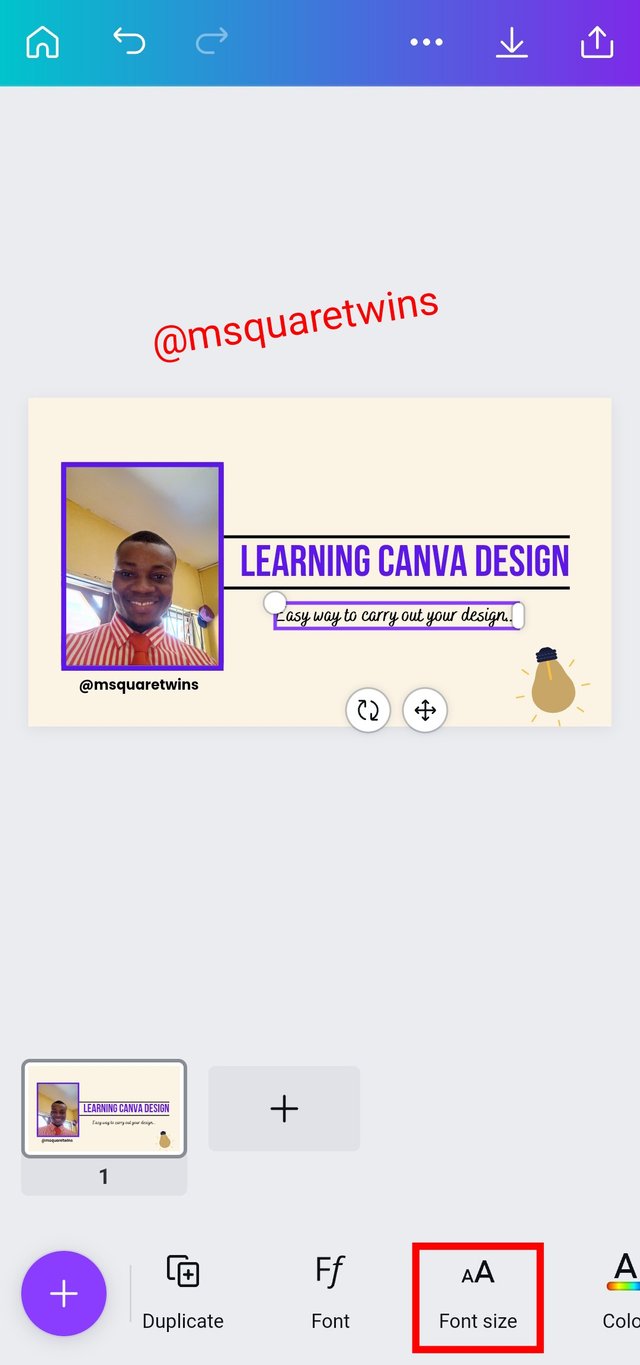
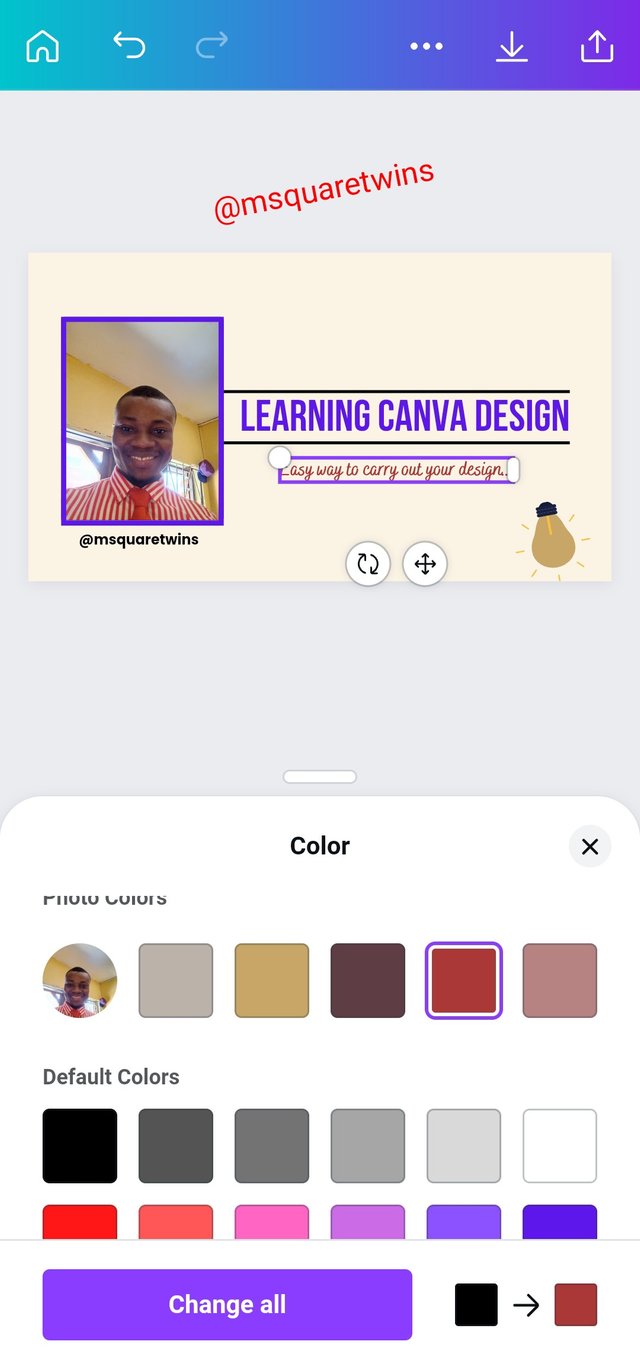
We can also change the font size by simply clicking the "font size" beside the font and then adjust the size. Apart from this, the text color can be changed. The color is right beside the font size at the bottom of the design page. When you click it, it will take you to the color section where you can select any color you want. In fact, you can select the color of any photo image you have added to your design. An example of this is uploaded on the right side below.
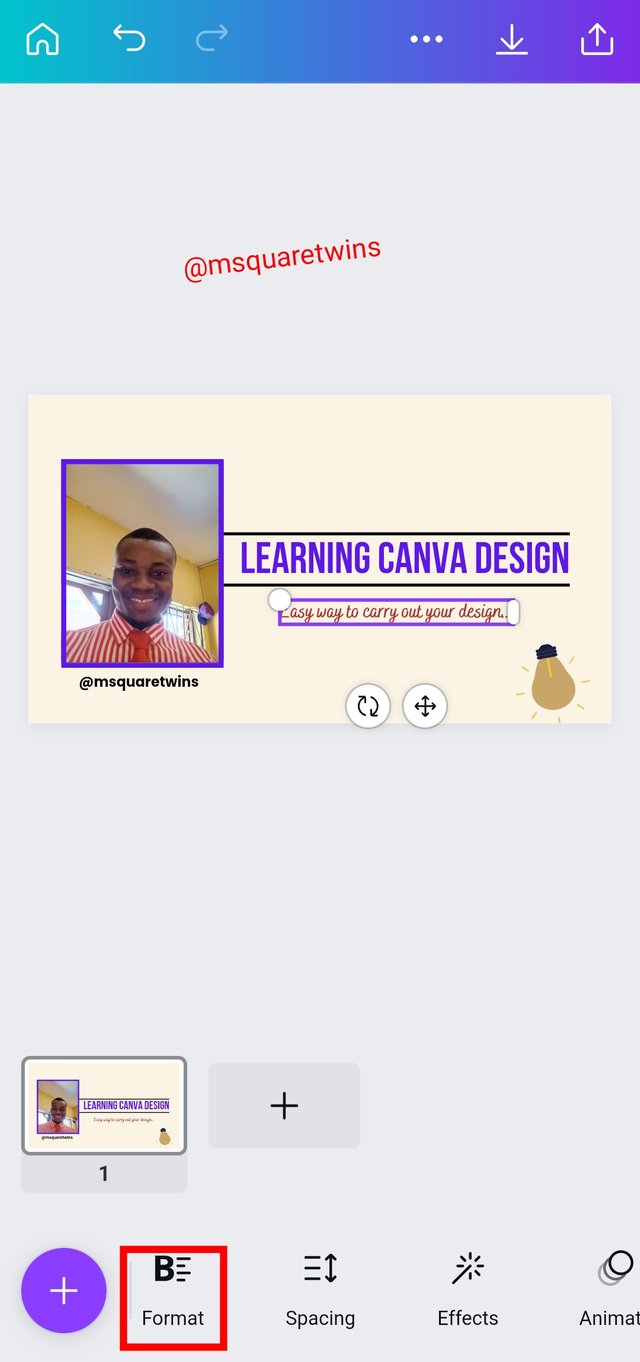
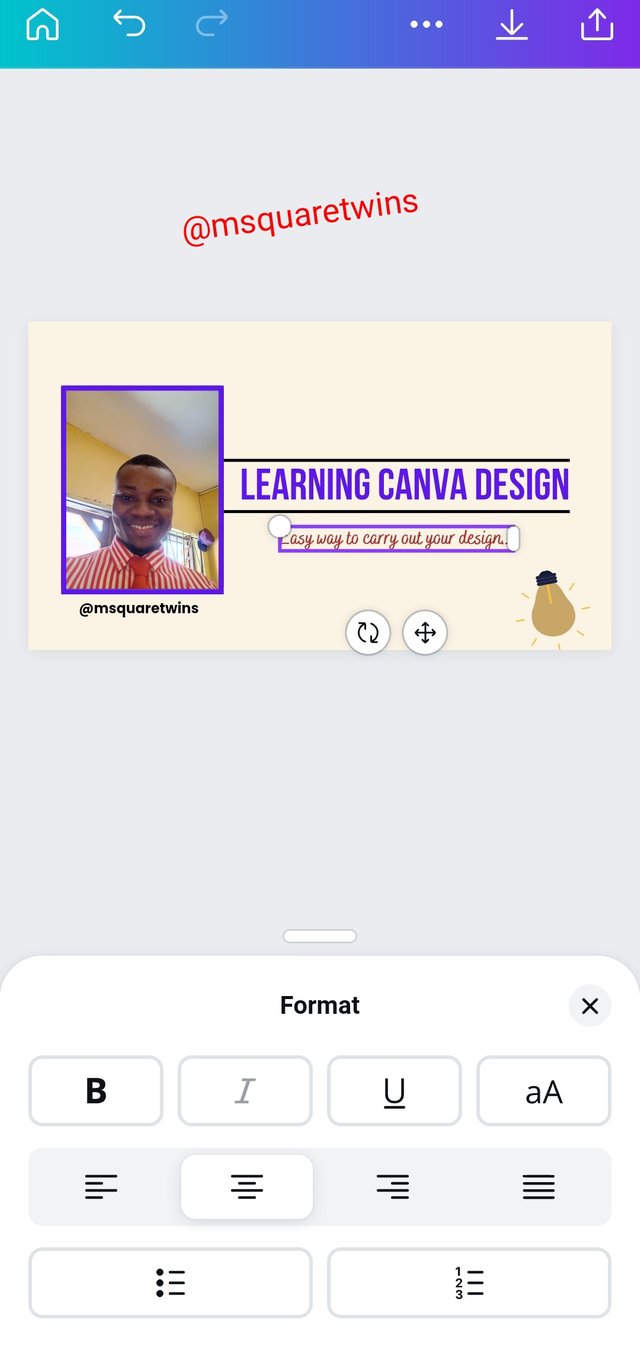
The text on our design can also be formatted by clicking "format" at the bottom of the design page as indicated by a red box in the screenshot uploaded on the left side. When you click it you will see another page where you can format your test. You can align text, underline, bold, italics etc.
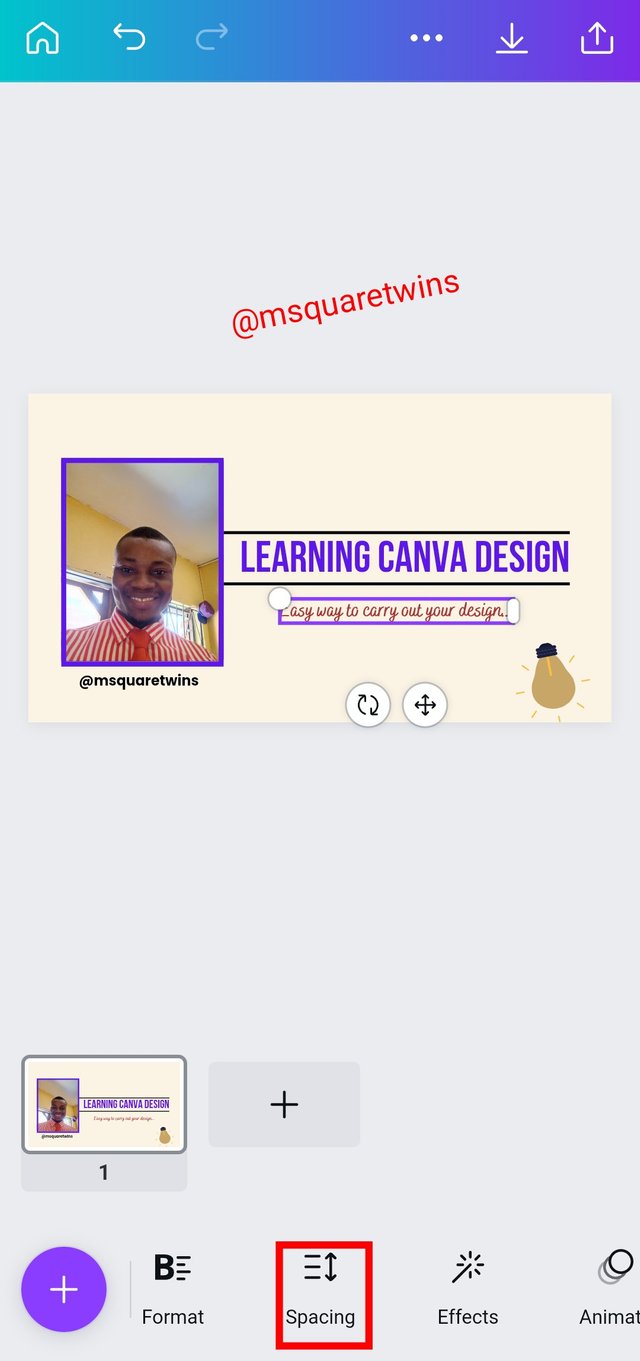
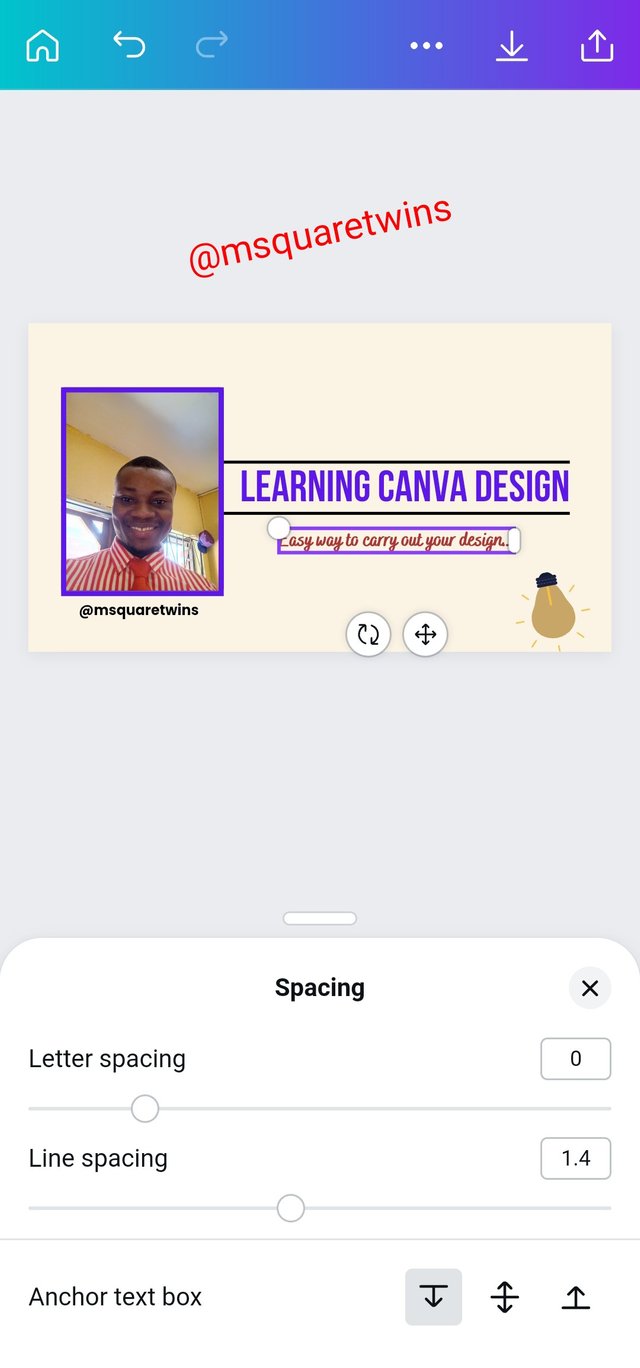
Canva App also has spacing for text. It is indicated by a red box in the screenshot uploaded on the left side below. When you click this you will be able to do both line spacing and letter spacing as uploaded on the right side below.
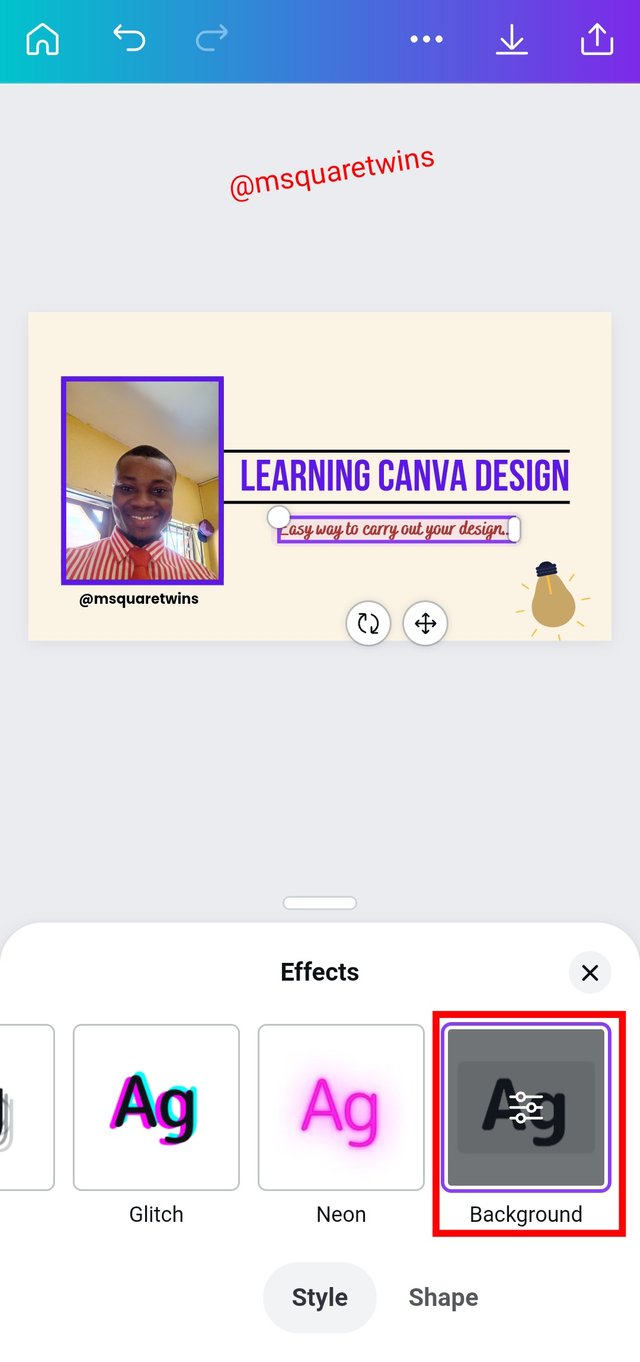
The next thing I want to talk about is "effect". It is indicated by a red box below. There are so many effect that can be added to the text. I will use background effect for an example here. As seen in the picture on the right side, the background effect gave background color to our text. We can change this background color to any color of our choice.

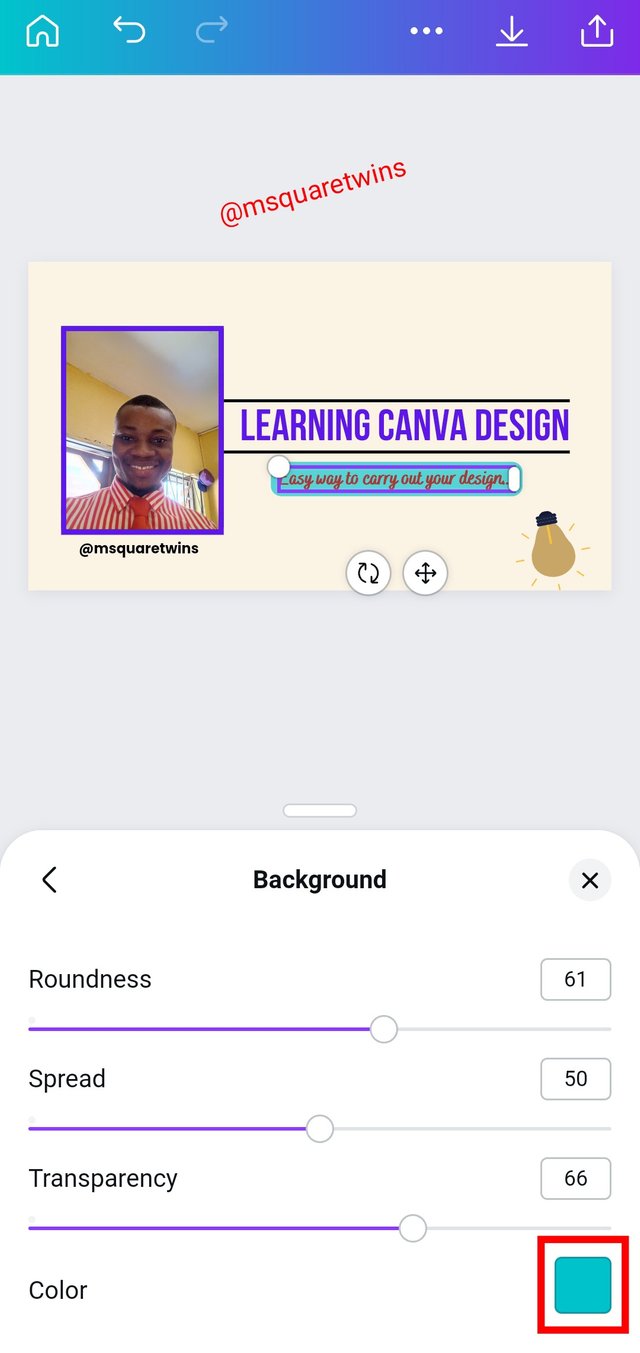
To change the background color of the text, I click on the background text on the image above and it took me to where I can select color. Then I changed the color as seen in the picture uploaded below.

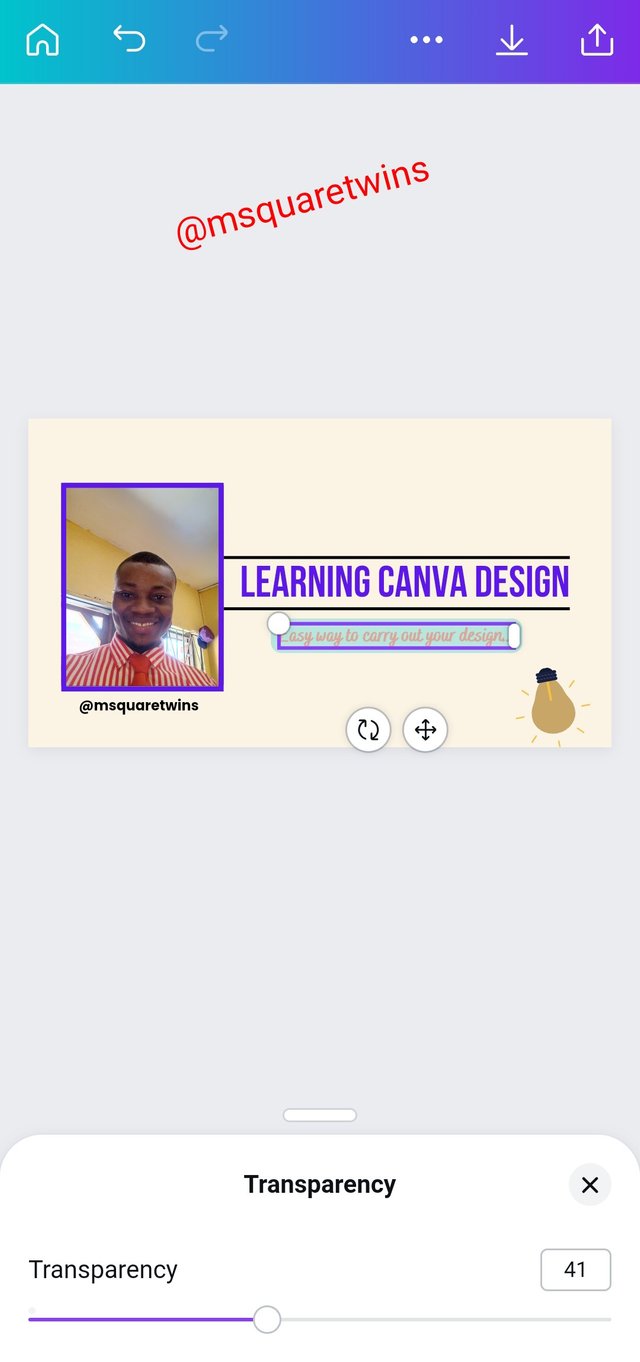
We can also make the background color added to the text to be transparent. To do this, we click on the "transparent" icon as indicated by a red box in the image uploaded on the left side. Then we can select how transparent we want it to be by drawing the line as seen in the image on the right side below.
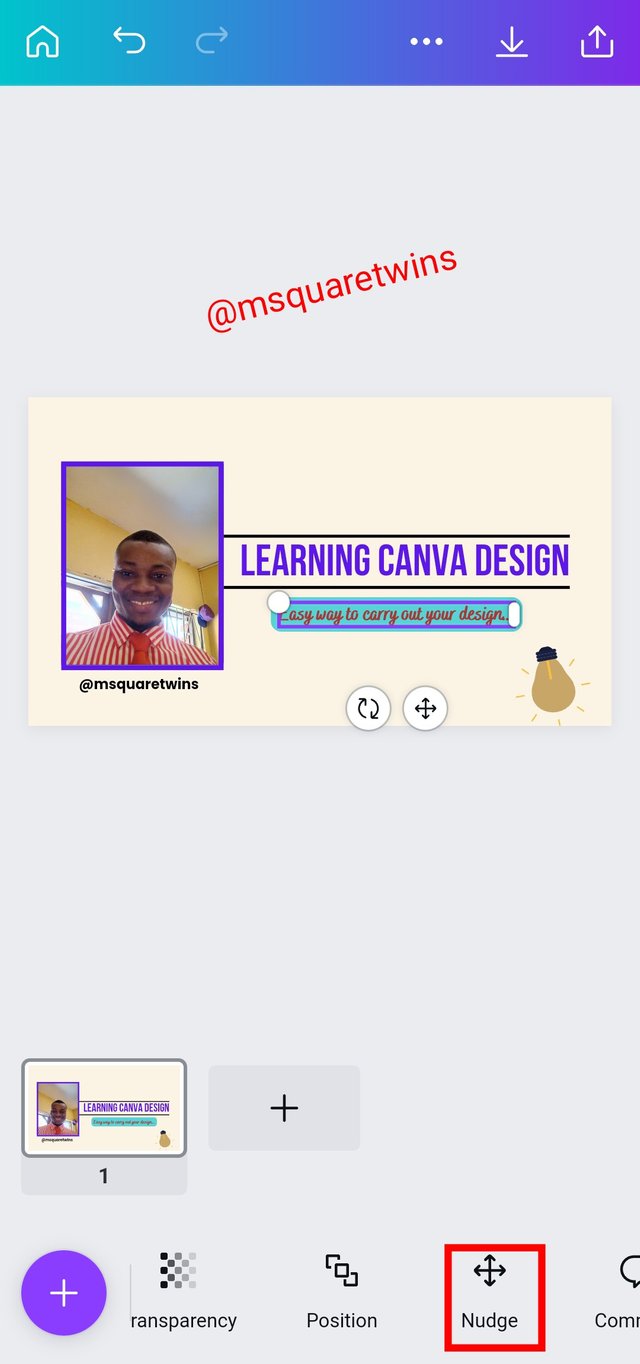
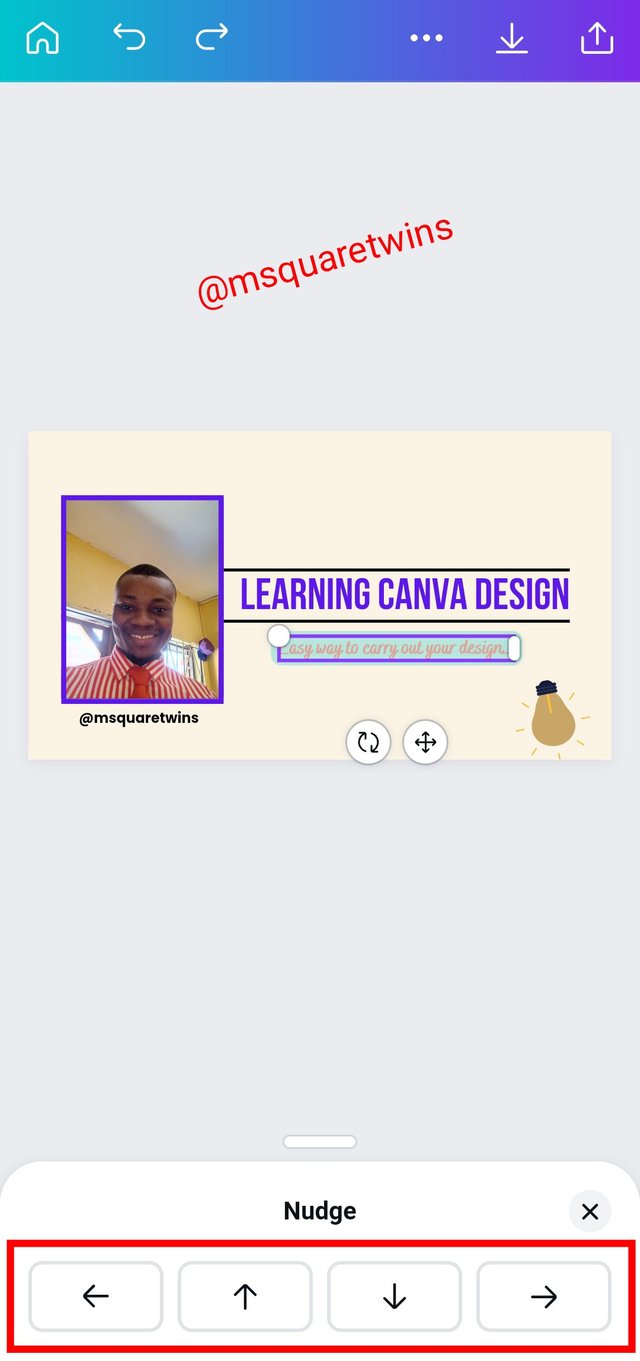
Nudge is another powerful feature on Canva that we can use to align our text. As seen in the image uploaded below, we can use this feature to move the text up👆, down 👇, left ◀️, and right ▶️.
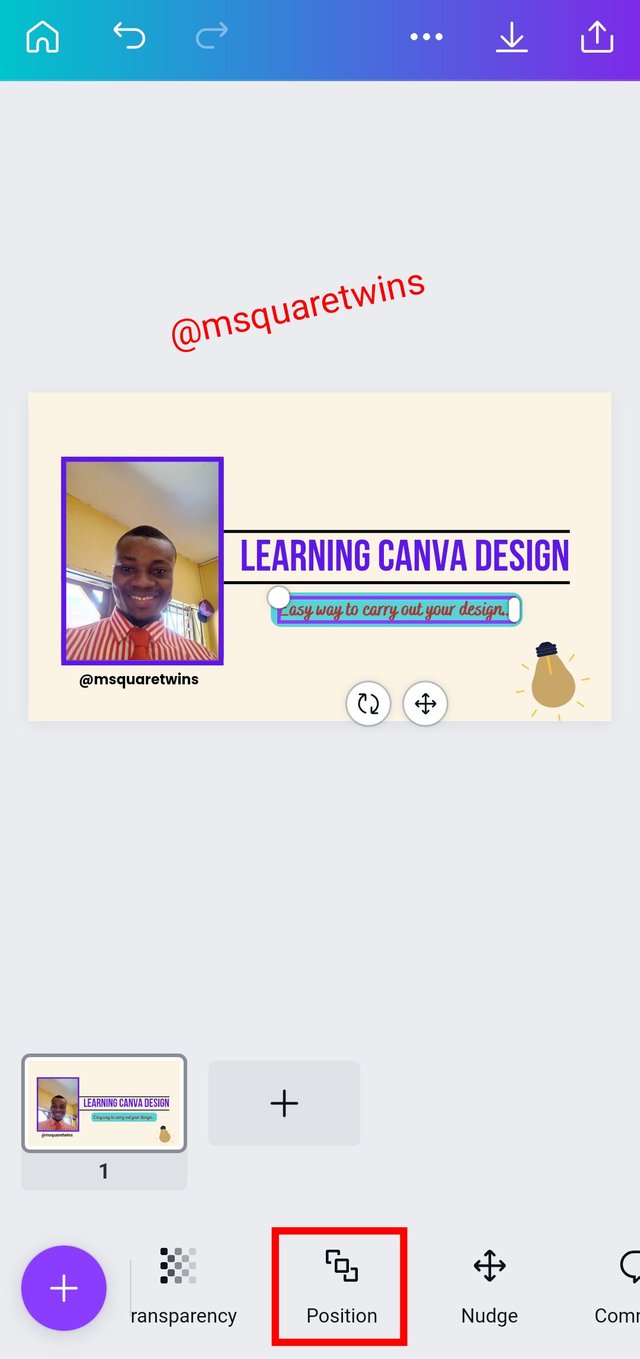
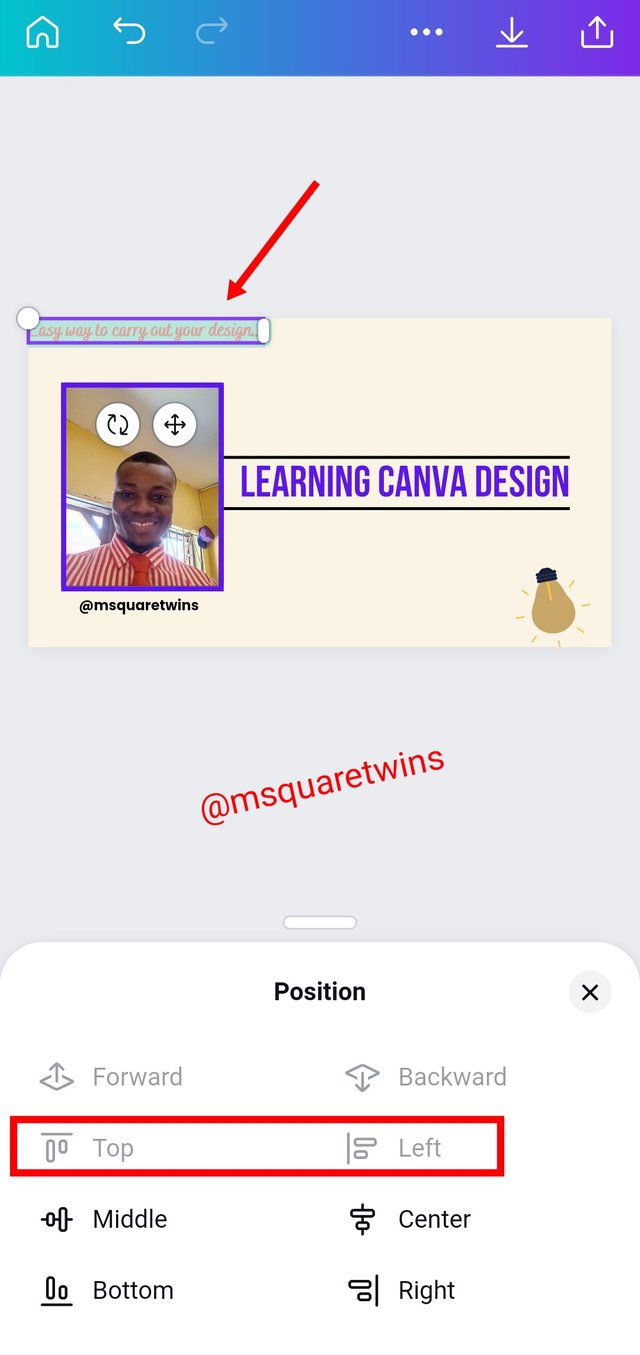
We can also use "position" feature to do some modification to the text. We can use this feature to send the text backward or forward. We can also use it to take the text to the top, bottom, center, left and right.
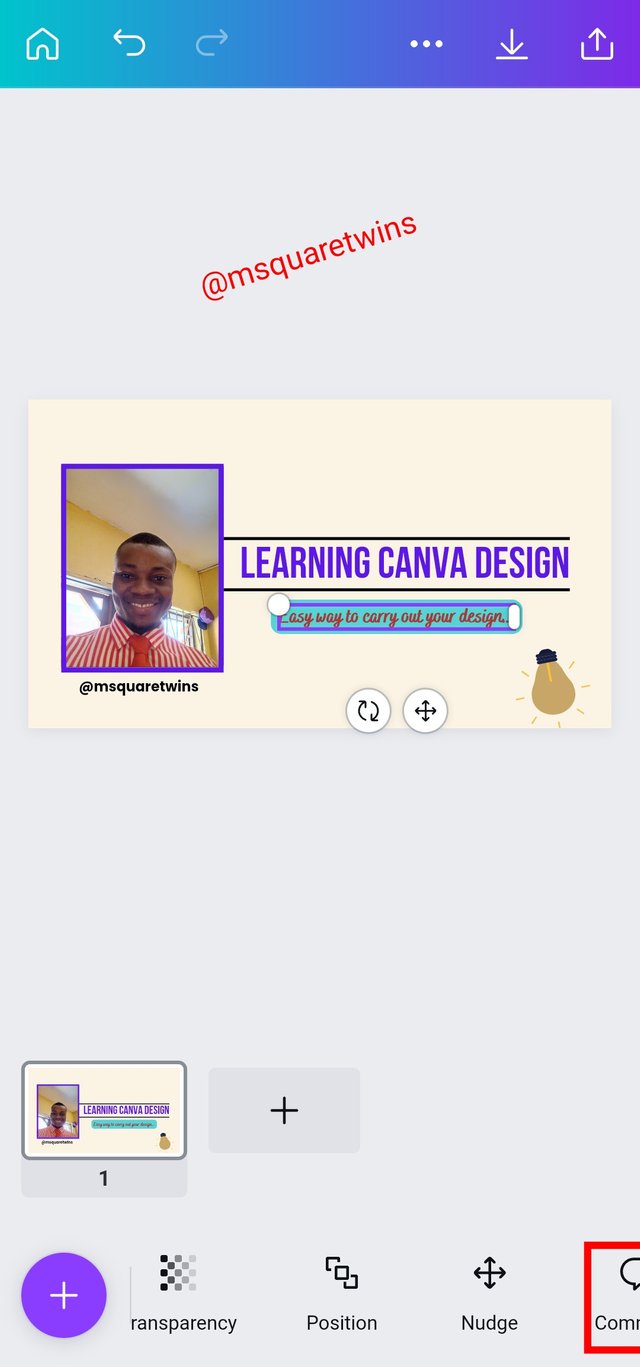
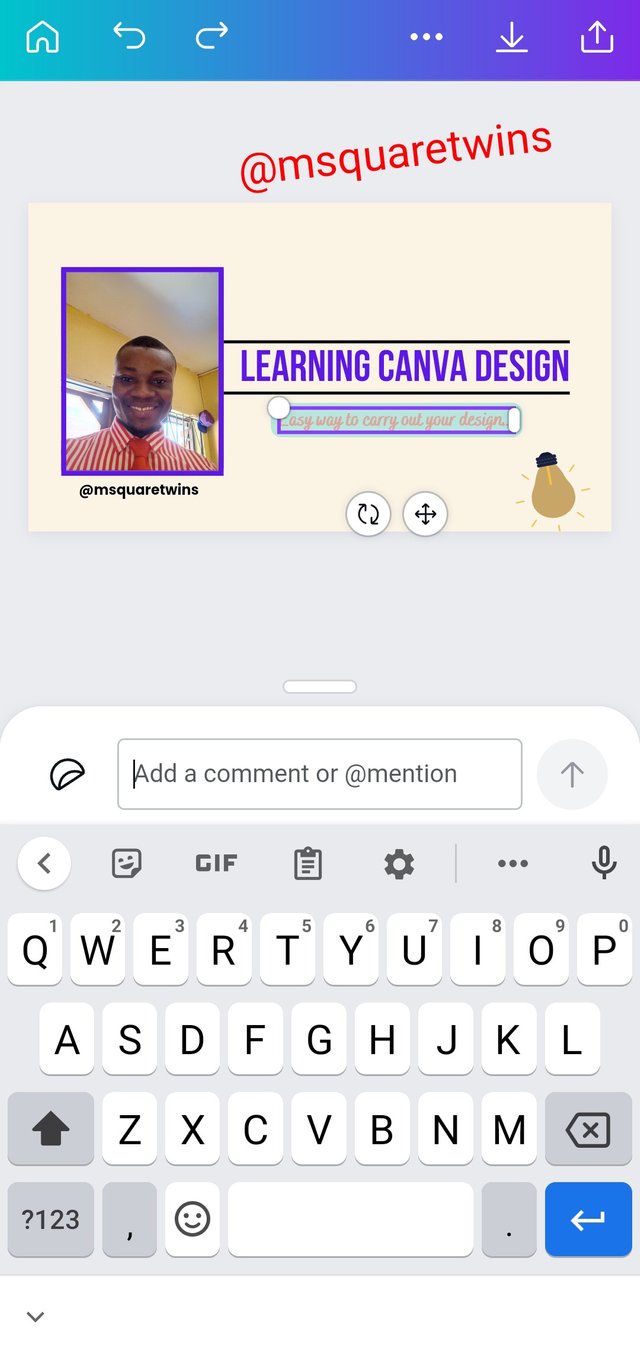
We can add a comment or mention on the design as well. The comment section is also at the bottom of the design page. This is uploaded below.
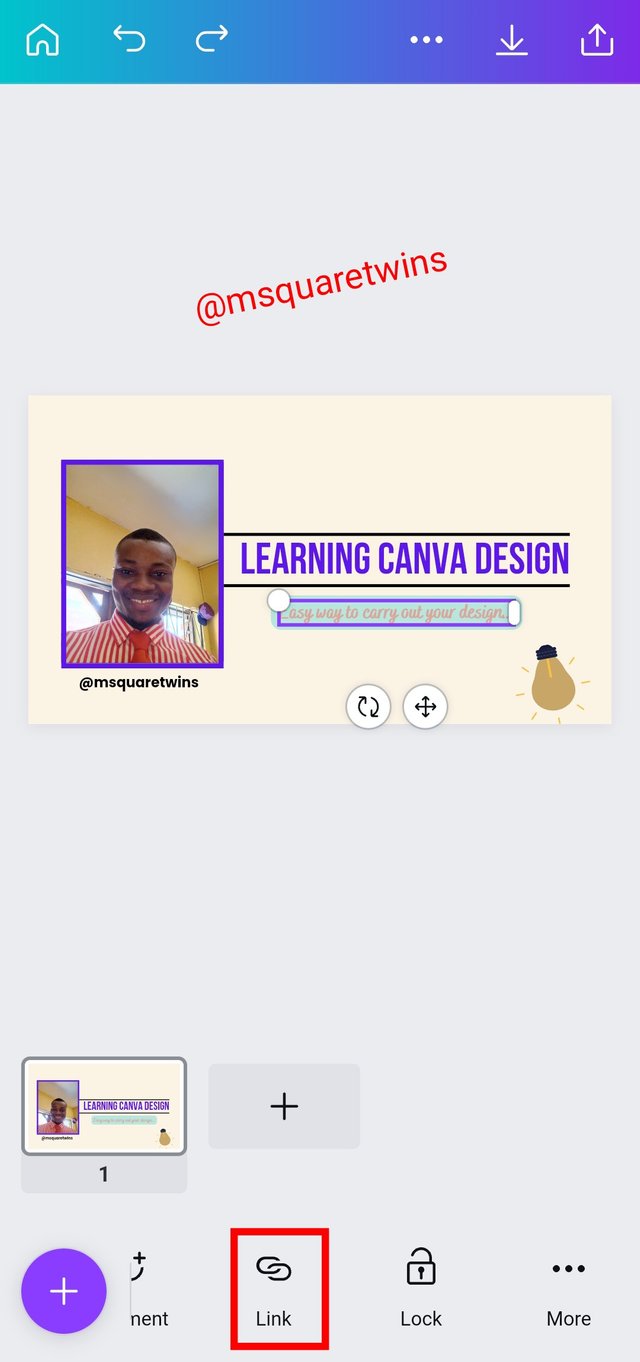
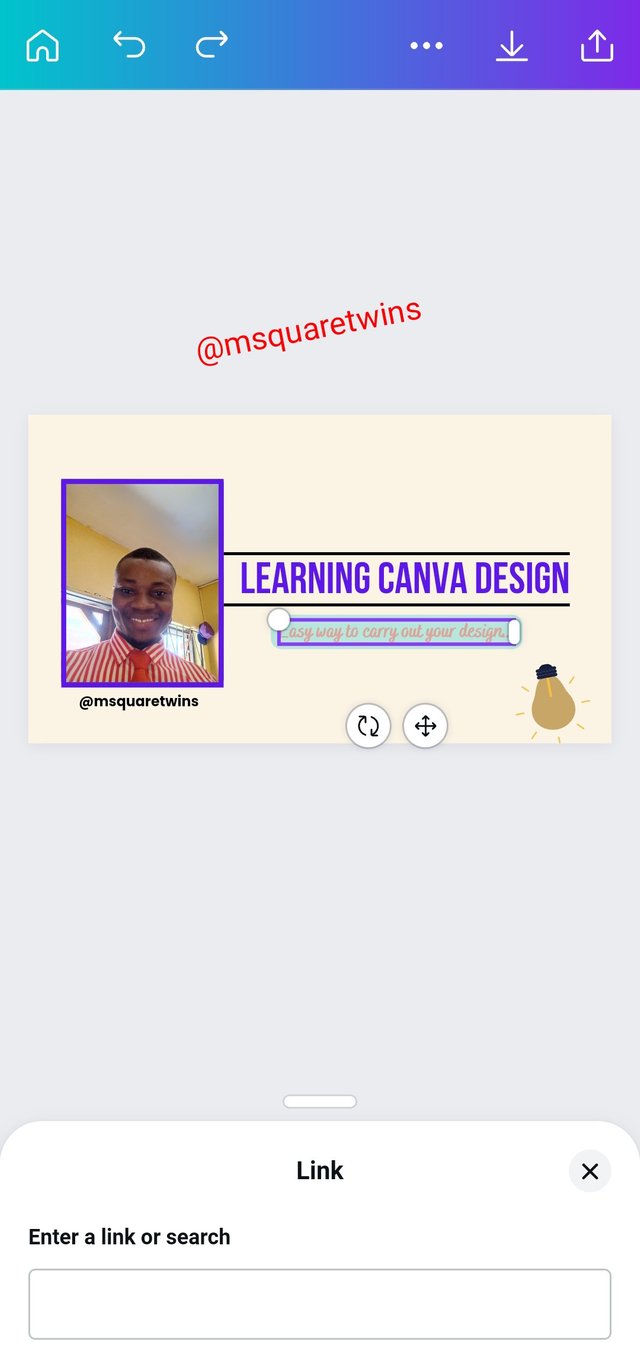
Another beautiful thing about Canva design is that we can enter a link or searchon the design tap and the go to the search link directly from the design page. This space is uploaded below.
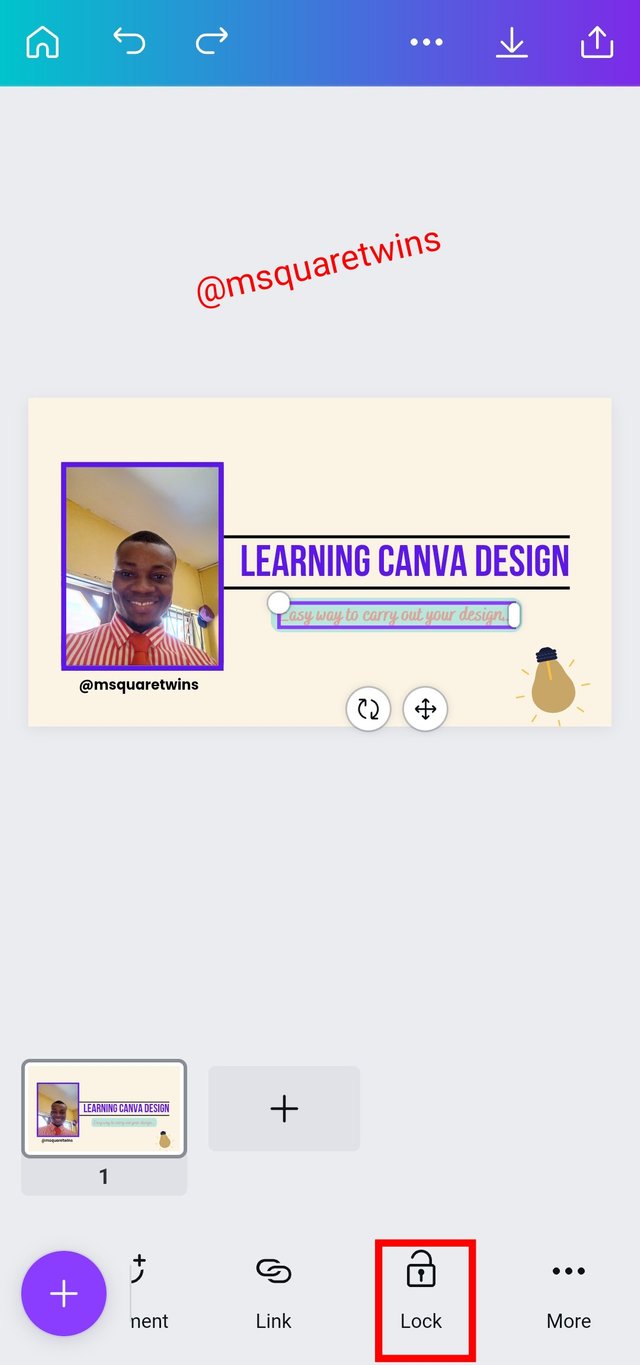
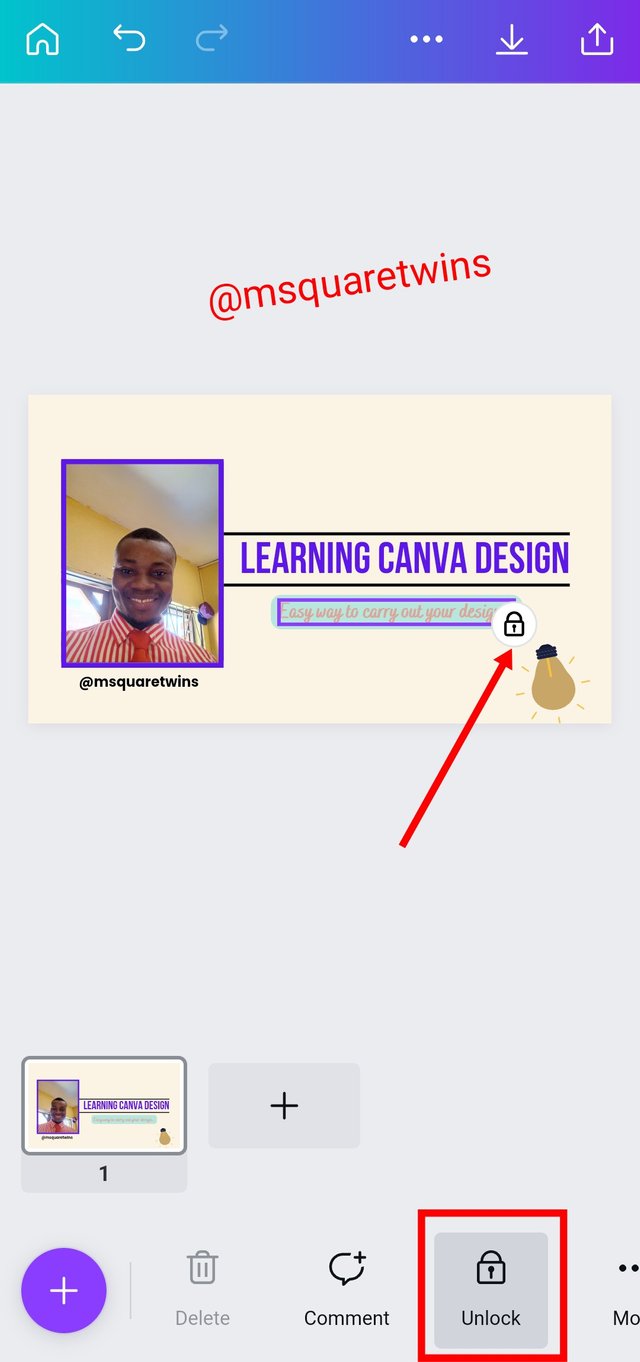
The next feature is "unlock" feature. It is a feature with a padlock icon as seen in the first picture uploaded below. When this icon is selected or tapped, it will automatically lock🔒 the text. And as such, no edit can be done on the text unless the icon is unlock 🔓
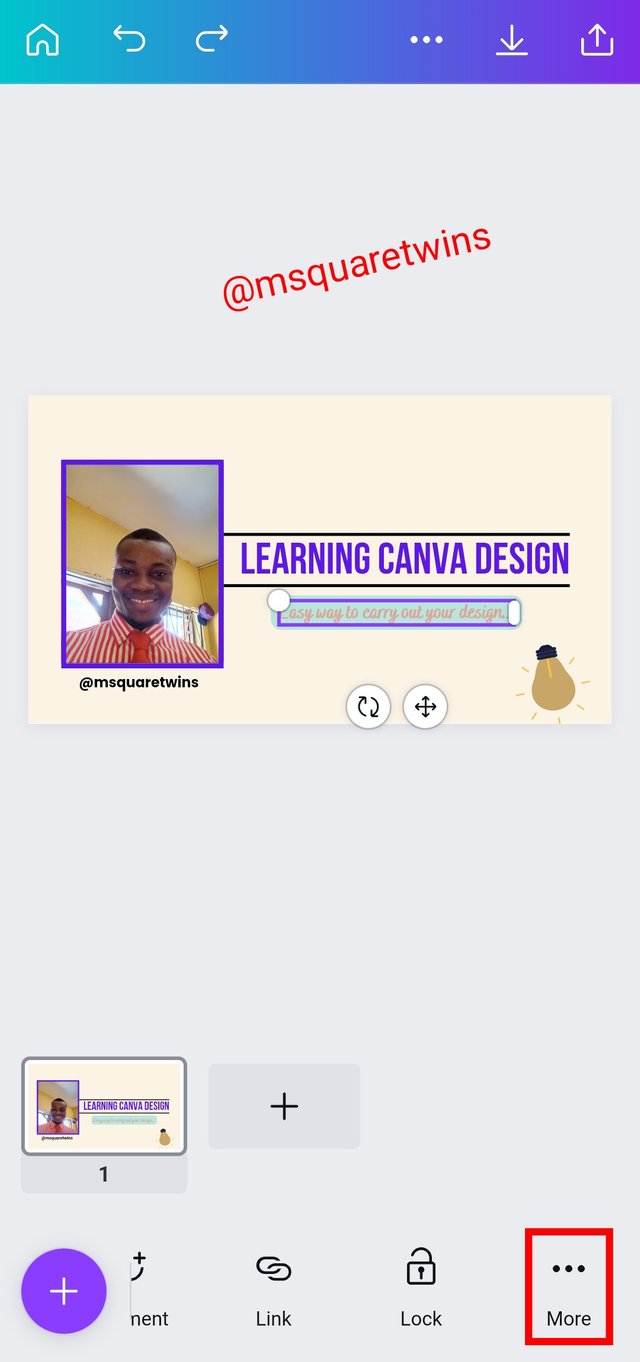
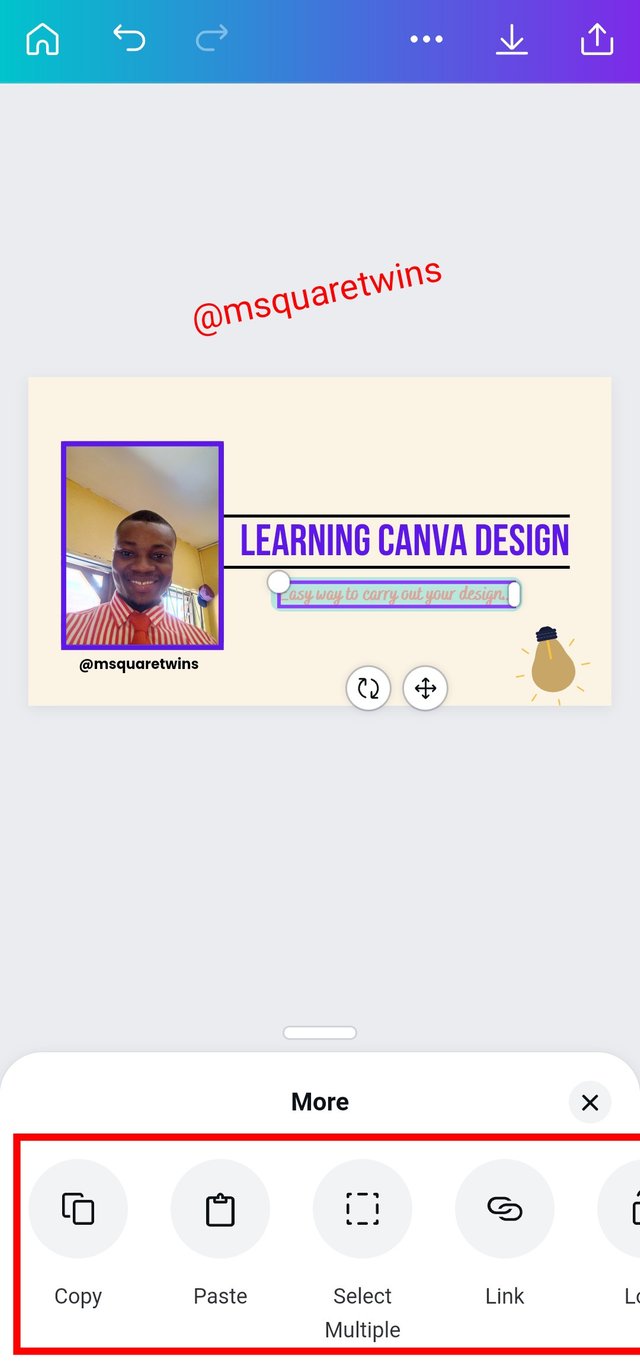
The last feature is "more" icon as indicated by a red box in the screenshot below. This however encompasses some other features like copy, paste, select multiple, link etc. You use this link anytime you want to carry out either of the operation mentioned above.
Conclusion
In this post, I have explained some other features of the Canva design App that we were not able to touch in the part 1 of our training. You are advice to perusing the App very well to get familiar with the features and elements present on Canva design App. Canva design App is one of the design App that is very simple to use. I hope you find this training interesting. Thank you to those who follow my last training. And thanks to @ijelady and @marajah for the support and engagement on the first part of the training.
Its like canva is one of the best design app? All your tutorials with it gives added knowledge. Thank you @msquaretwins.
I always learn from your tutorials. Thanks
Thank you for the review.
And many thanks for reading my article
Do you know that I have uninstalled Canva app and reinstall it many times because I don't know how to use it effectively, but with this lesson I can now create a good and quality design.
Wow! I am happy this tutorial is helpful in some way.
Thank you for reading my article.
The training is interesting, canva can make an ugly object beautiful, it can be use in different design, thank you for this tutorial @msquretwins
Than you for reading my article.
Steem-on
Thank you for contributing to #LearnWithSteem theme. This post has been upvoted by @daytona475 using @steemcurator09 account. We encourage you to keep publishing quality and original content in the Steemit ecosystem to earn support for your content.
Regards,
Team #Sevengers
Thank you for the support. It is well appreciated.