Learning Canva Design Part 1 - by @msquaretwins | burnsteem25% set

Introduction
Hello Steemians!
I bring greetings to you from this side of the world, Nigeria. How was your day or how is your day going? I do hope you have been having a nice moment since the beginning of this week. I am Kehinde Micheal and my username is @msquaretwins here on this platform. In this post, I will be teaching you how to design with Canva App using your mobile Phone 📱. I hope you will find this article interesting. Happy reading!
Designing with Canva App
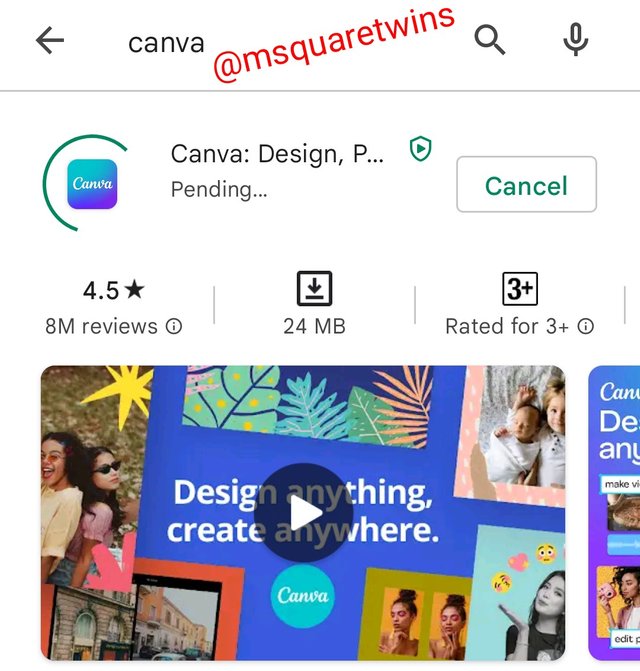
For those that don't have the App on their phone, the first step you need to do is to download the App. Go to play store on your phone and search for "Canva" on the search bar as seen in the picture uploaded below and then click download. Then allow the App to download.
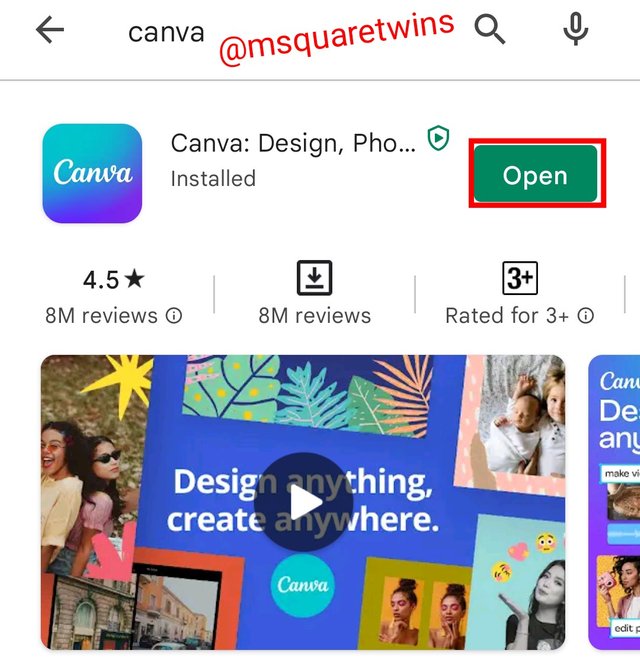
Then after successfully download, click on "open" to open the App as displayed in the he screenshot uploaded below.
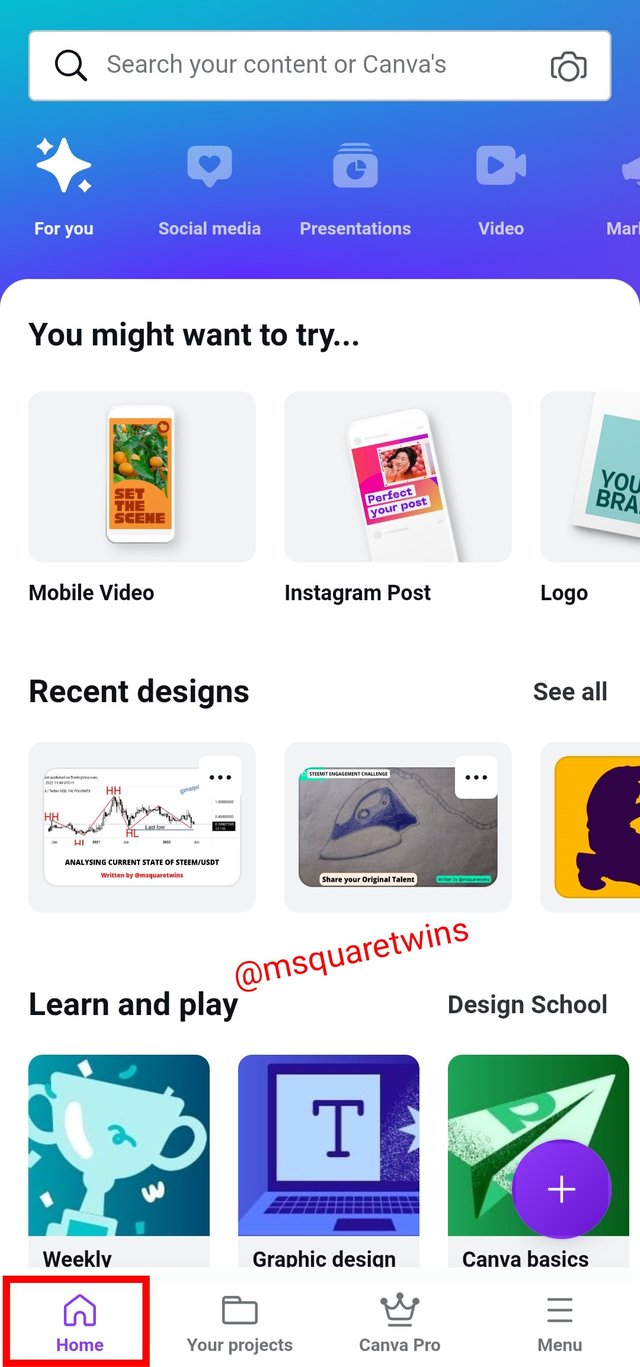
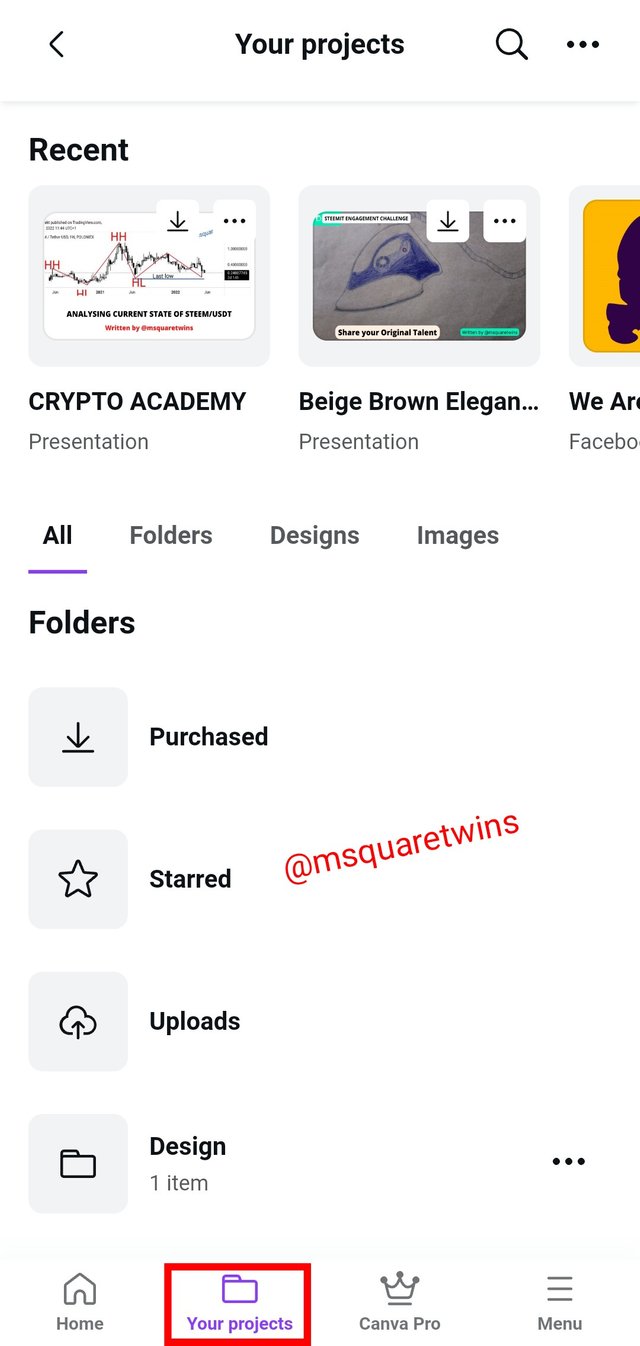
If it is your first time, you have to register first on the App and then login. When you login, then App will open for you as seen in the screenshot below. There are four icons at the bottom of the App. The icons are;
- Home
- Your project
- Canva pro, and
- Menu
The home page of the App is the first picture on the left side uploaded below, and the project page is a page where you can see all the project that you have done in the past. As you can see mine, some projects that have done before is showing for me here.
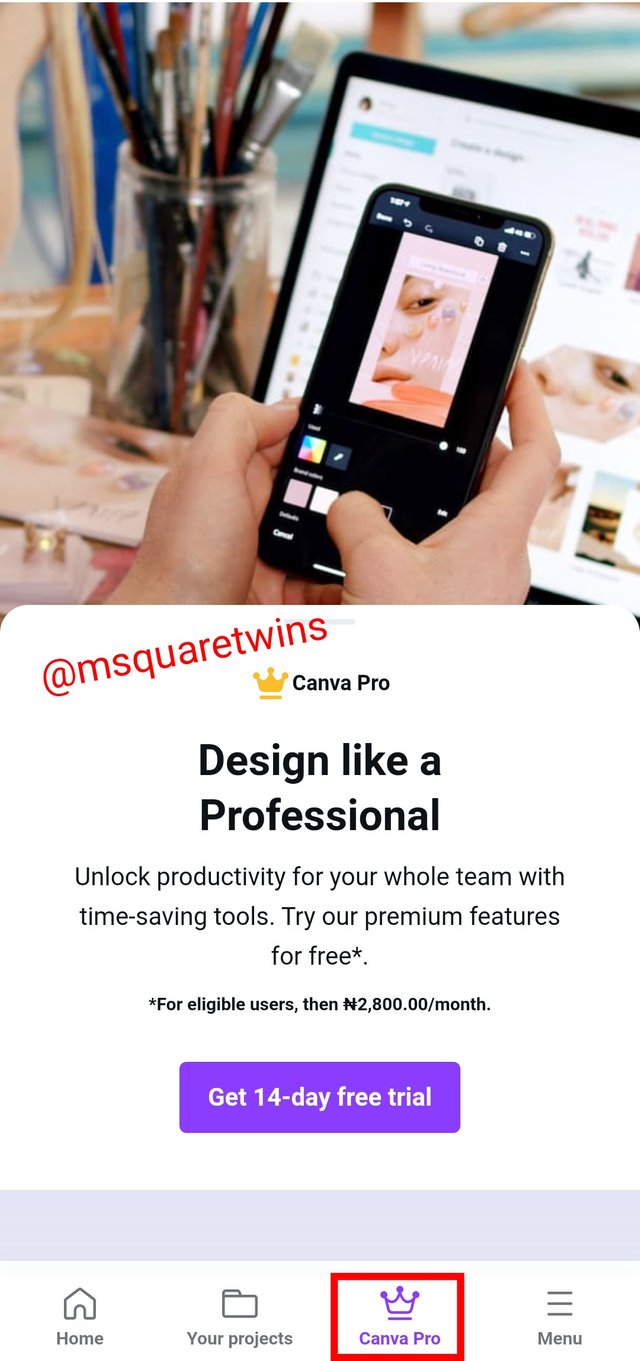
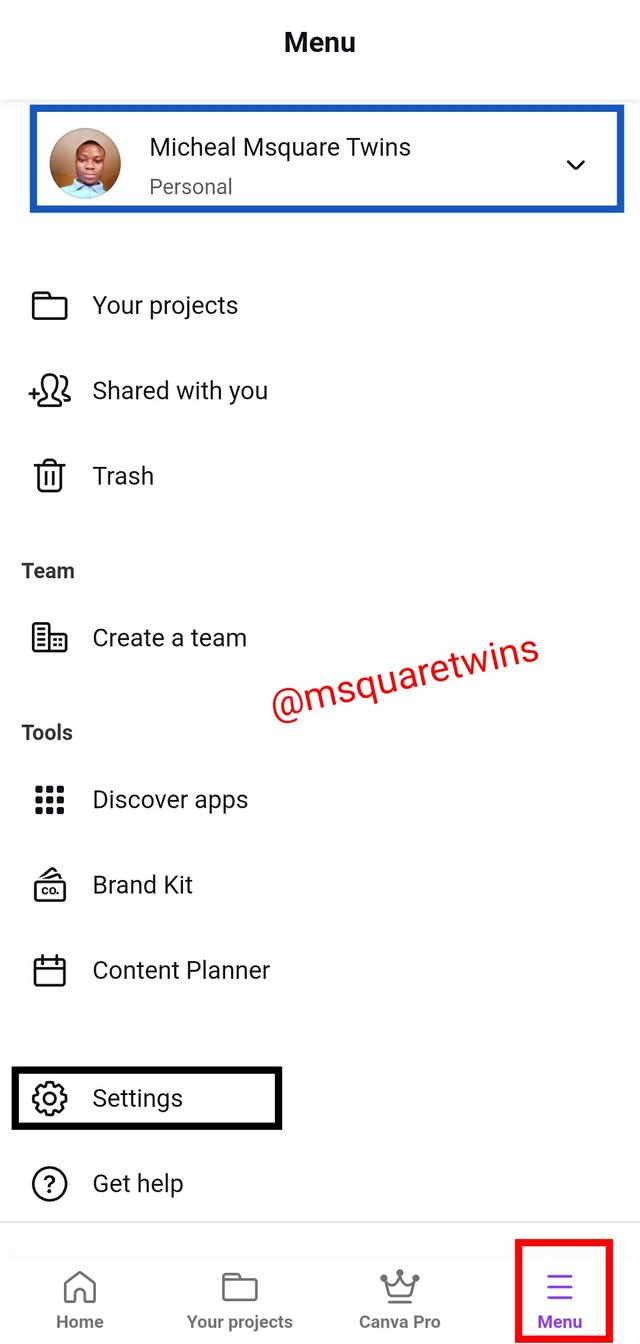
The last two icons page are uploaded in the screenshot below. The Canva Pro and the menu The Canva Pro page is where you can upgrade your account to enjoy some benefits and the menu page is where you can see your profile, do some settings. Etc.
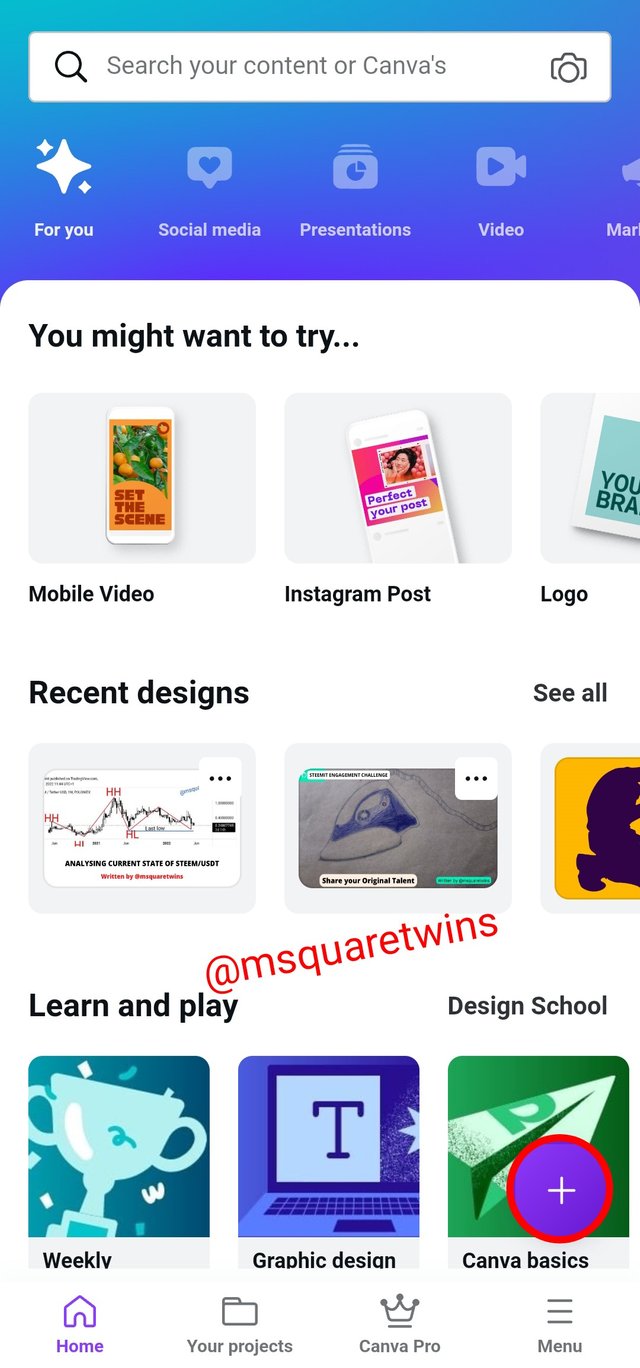
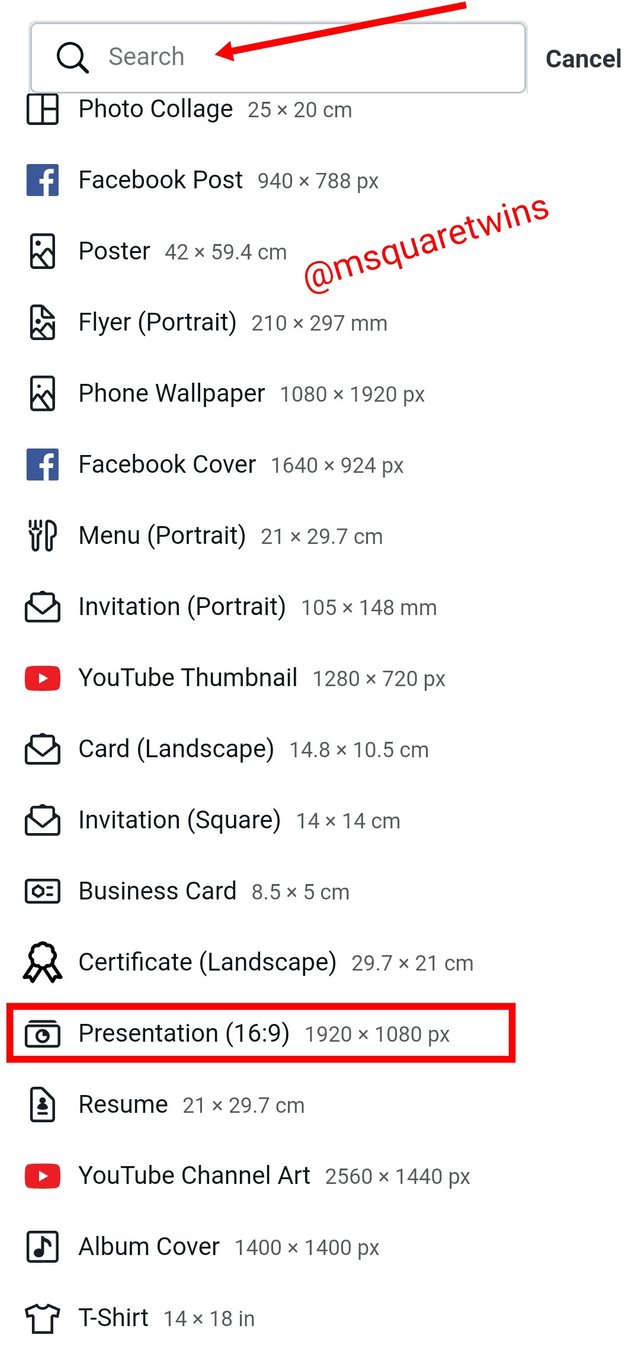
Now, let's go and do a design. To do that, locate the plus (+) button on the home page as indicated by a red box in the screenshot uploaded below. Then when you click the plus icon, another page will appear as uploaded on the right side below. From the page, you can search for anything and it will bring template of any design that's related to your search. However, you can also choose design format as suit your design as listed in the image below.
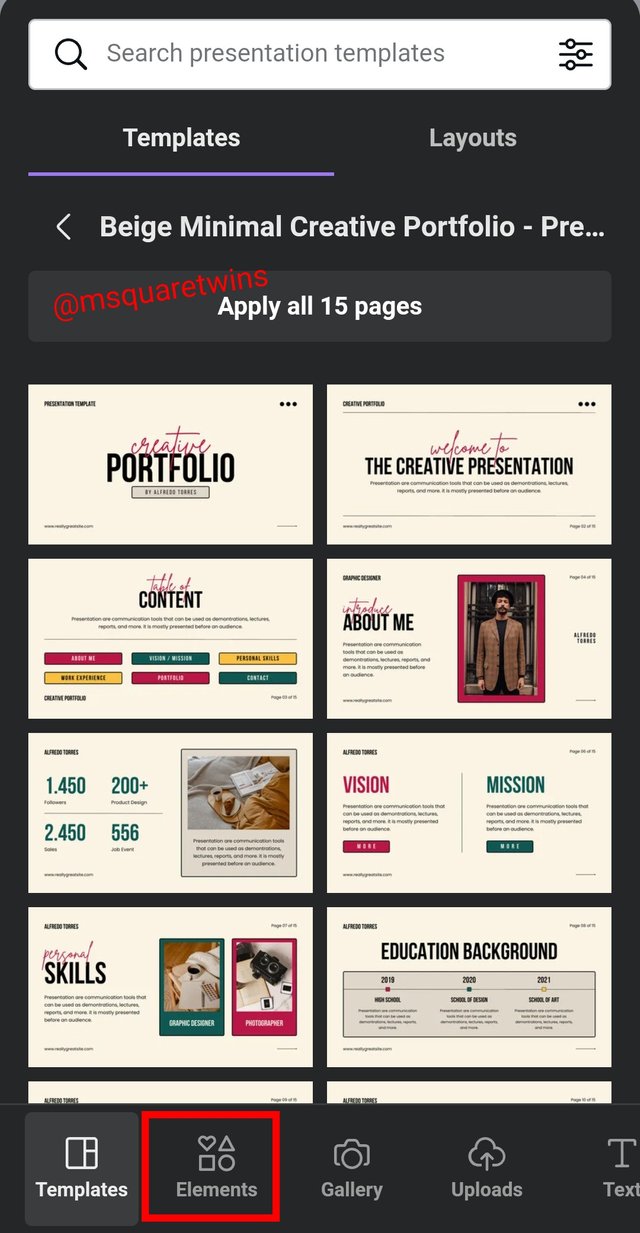
For this training, let's choose "presentation template" as indicated in the screenshot by a red box.
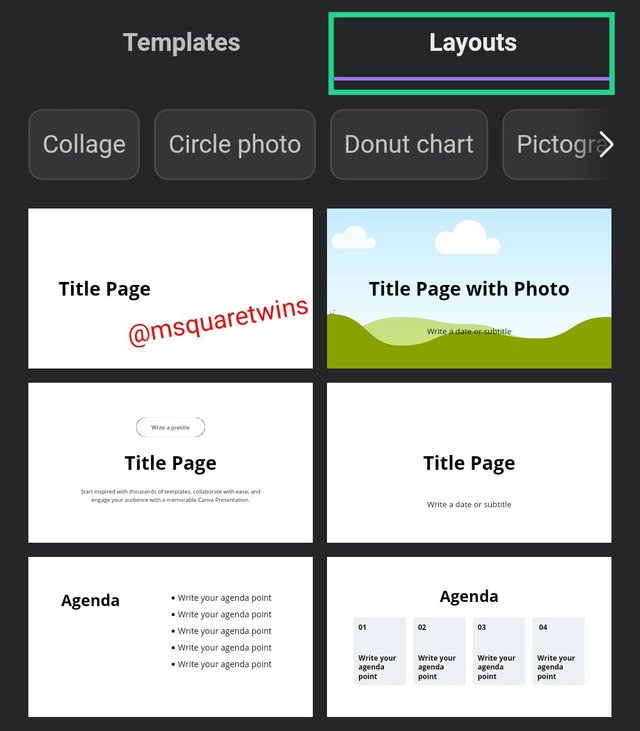
Then it will bring another page for you as uploaded in the screenshots below. You can either choose from template as uploaded on the left side, or layout as uploaded on the right side below.
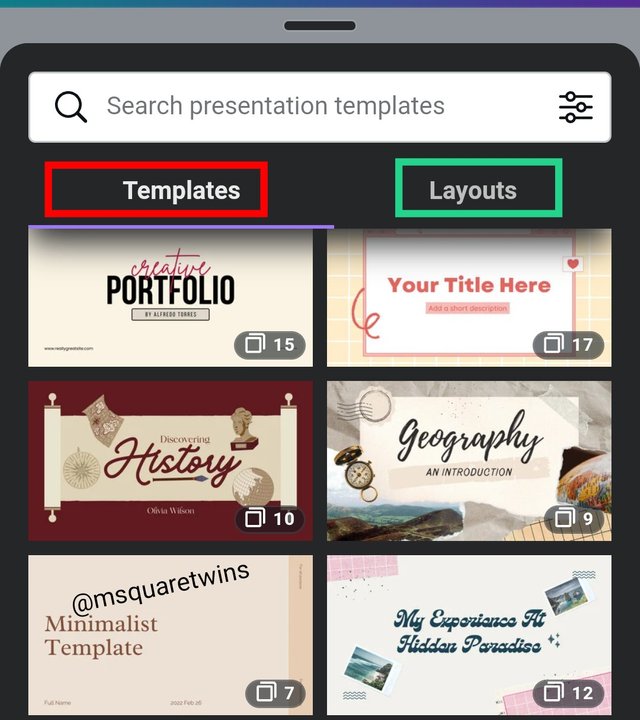
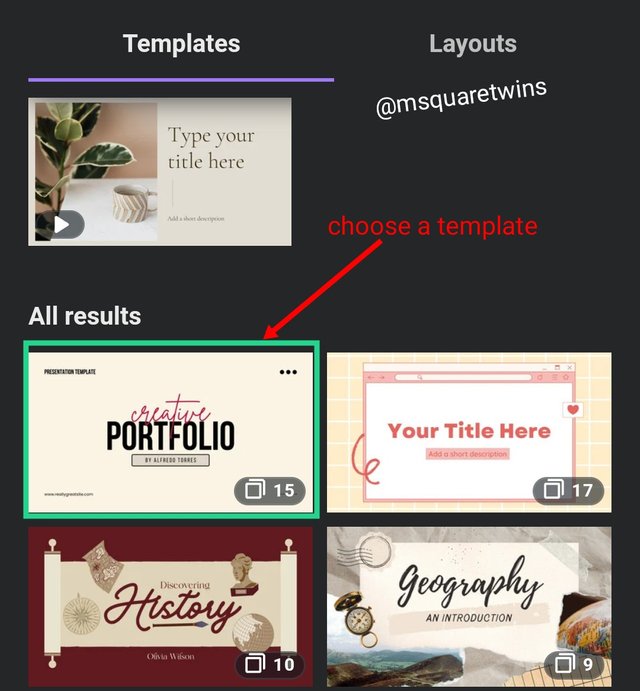
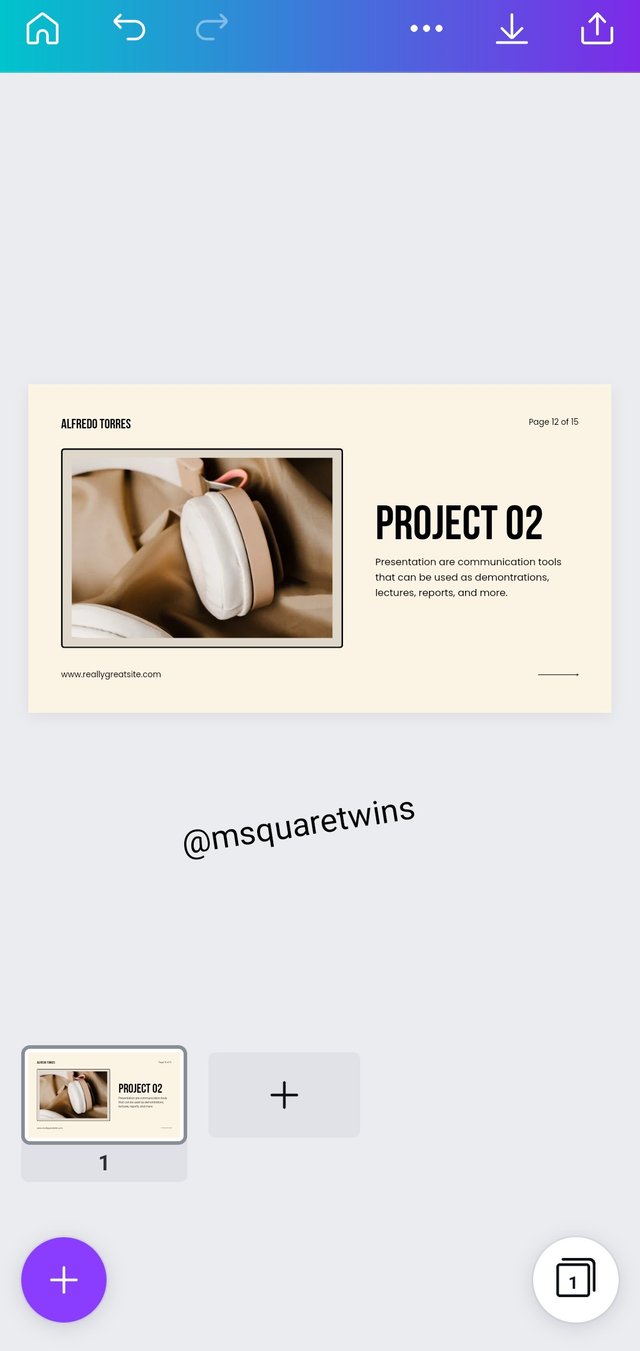
For this training, let's choose from the template. Let's select the first template as indicated by a red arrow in the screenshot below.
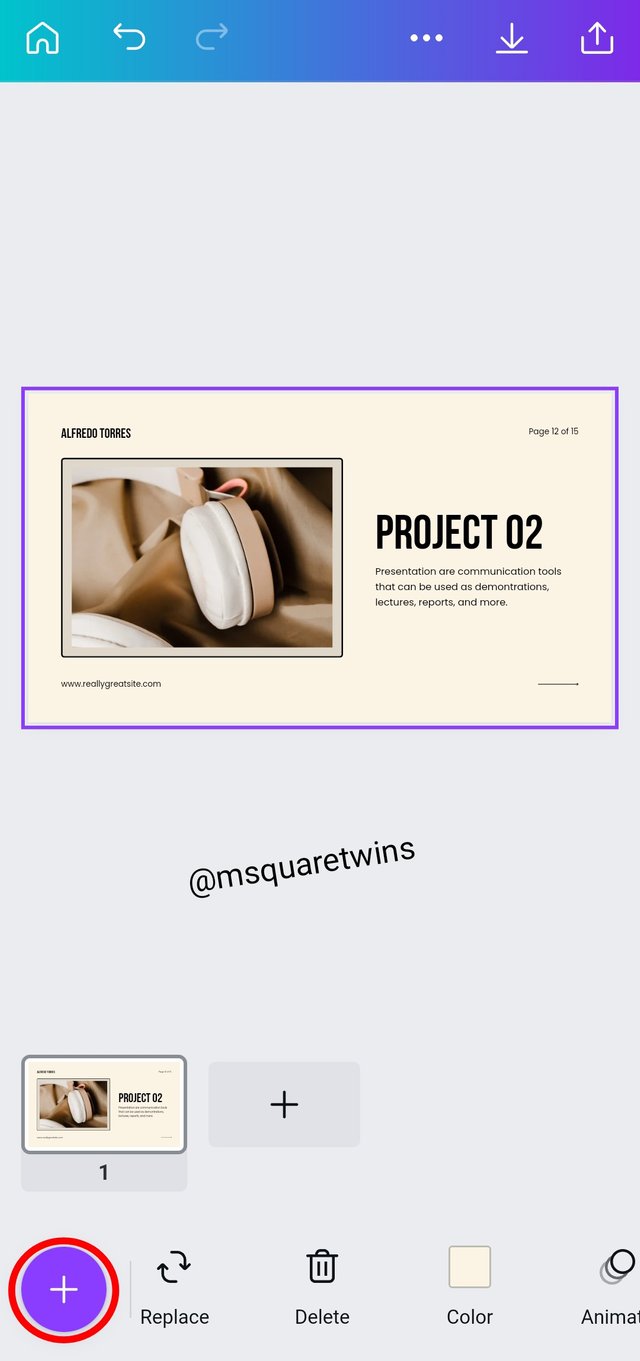
Now, the design page will appear for you as uploaded on the left side below. But when you tap on the design area, it will bring some icon as seen in the bottom of the second picture uploaded below. From there you can see replace, you can replace the background of the design. Anything that you tap, you can replace here. There are other things like, delete, color, animate etc these are what you can use to adjust your design.
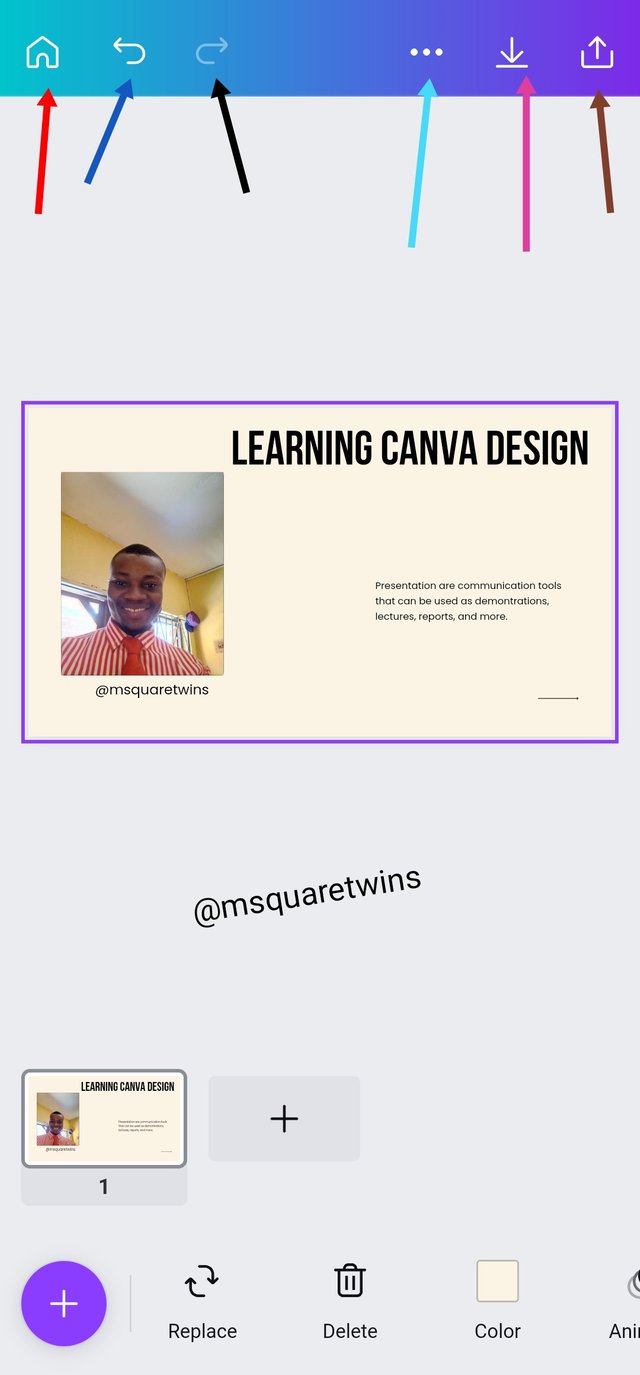
Now, if you check the top of the page, you will see some icon. The one indicated by a red arrow is the home icon. When you click it, it will take you back to the home page. The second icon next to it is undo button. The next one is redo. The icon with three dots is where you can click to title your design. The arrow icon facing down is for automatic download to your device and the arrow ⬆️ that faces up is where you can click to get link for your design and to share it.
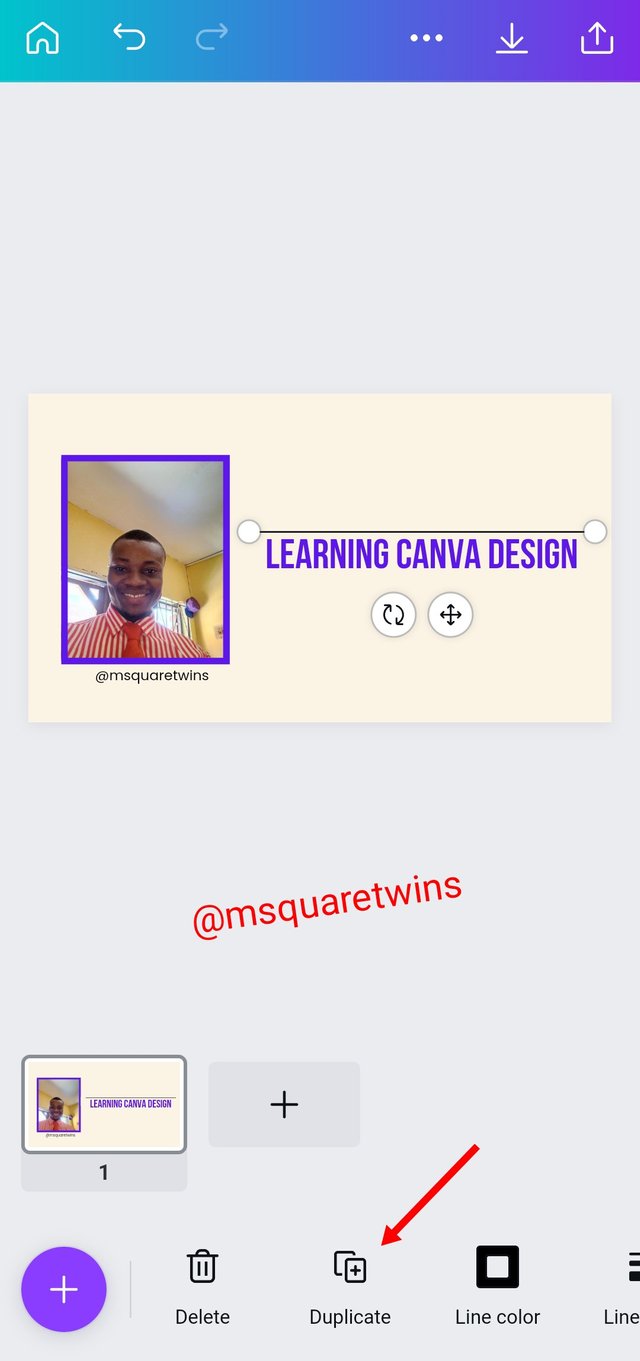
Then, notice that I have changed the picture on the previous image uploaded above. How did I do that? It is very simple, to upload a picture to your design, simply click the plus, + icon at the bottom of the design page as indicated by a red arrow in the screenshot and then locate the image you want to upload and tap it. When you do this, it will appear on your design. Then you can adjust it.
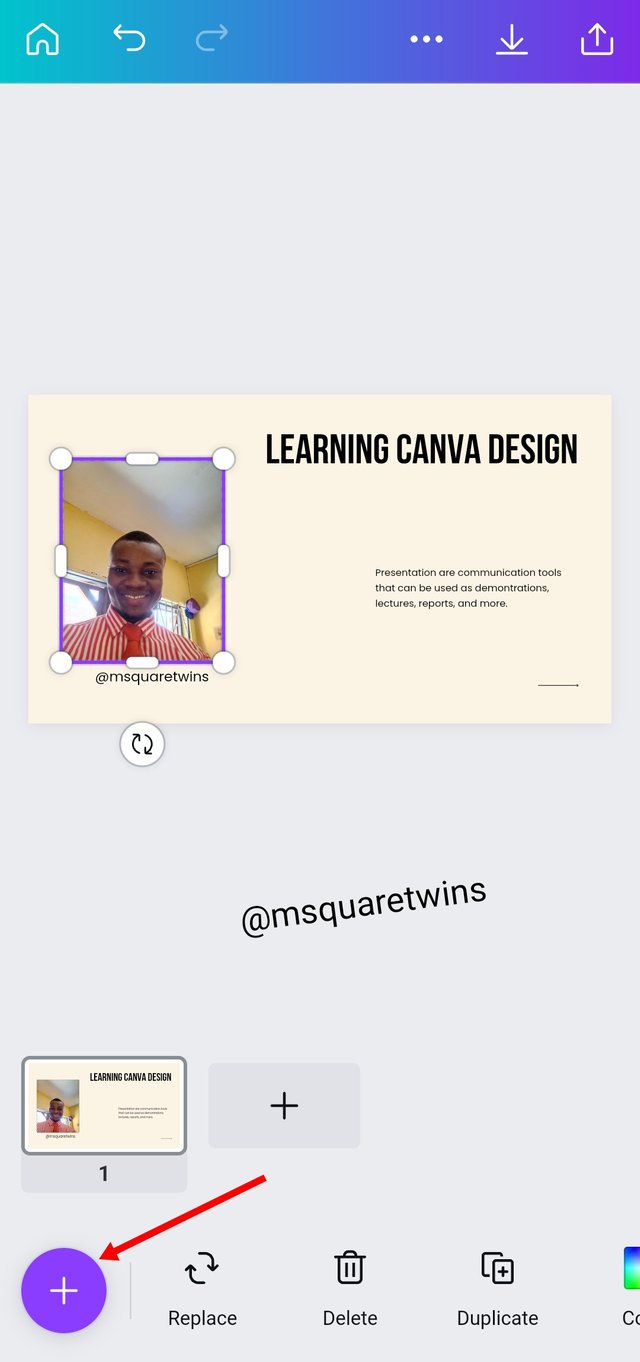
Now look at the images uploaded below. The first one is the image that will appear when you click the plus icon, + on the design page. This icon is simply use to upload features, like image, shapes, text, and template on your design.
The picture I uploaded is taken from my gallery. You can do this by clicking the gallery at the bottom of the first picture uploaded below. Now, I click shapes to upload a line. Once I tap on the line, it will appear on my design page as seen in the second image uploaded below.
Note that you can also use search button 🔍 to search for anything and the upload it to your design by tapping on the result of the search.
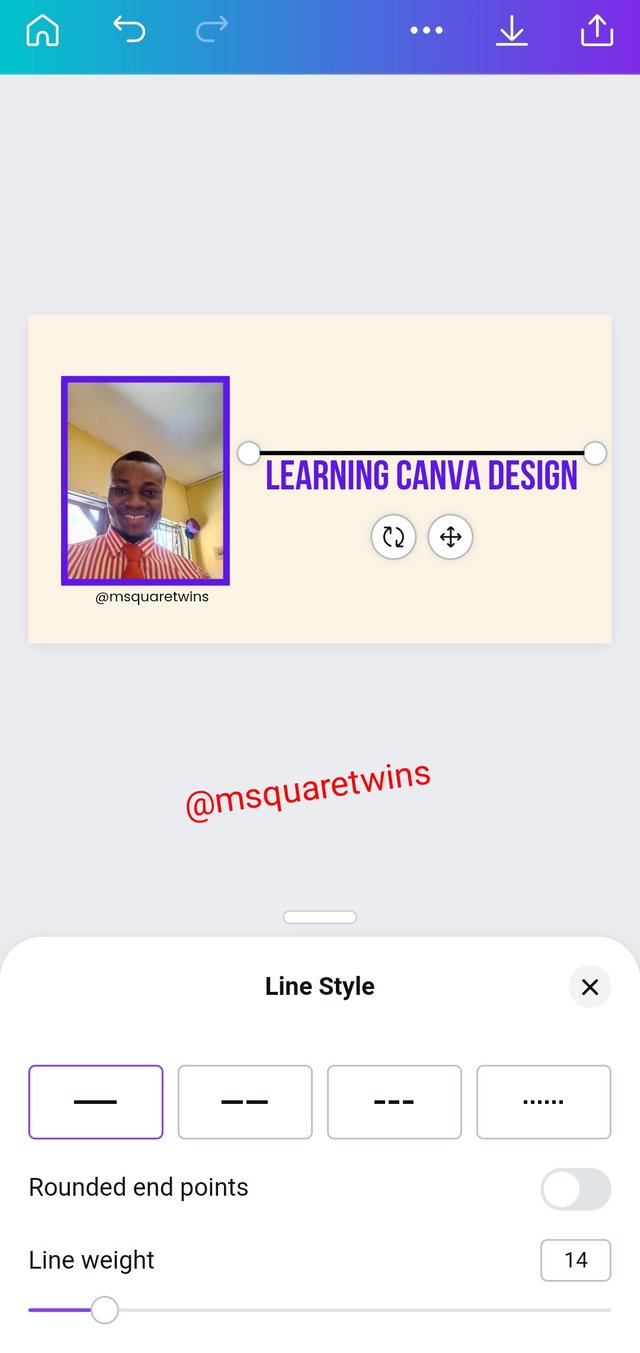
The line that uploaded to my design above can be modified by clicking on the line style at the bottom of the design page as seen in the first picture uploaded below. There is nothing that you add to your design that you can not modified or add a touch of beauty to.
For instance, I added another image to my design as seen in the second picture uploaded below. I then click on color to change the color of the image I added. As you can see, there are a lot of color I can change it to, even, including the photo color as indicated by a black box, the color of my own image in the design. So let's choose from the color of my image on the design and effect the changes.
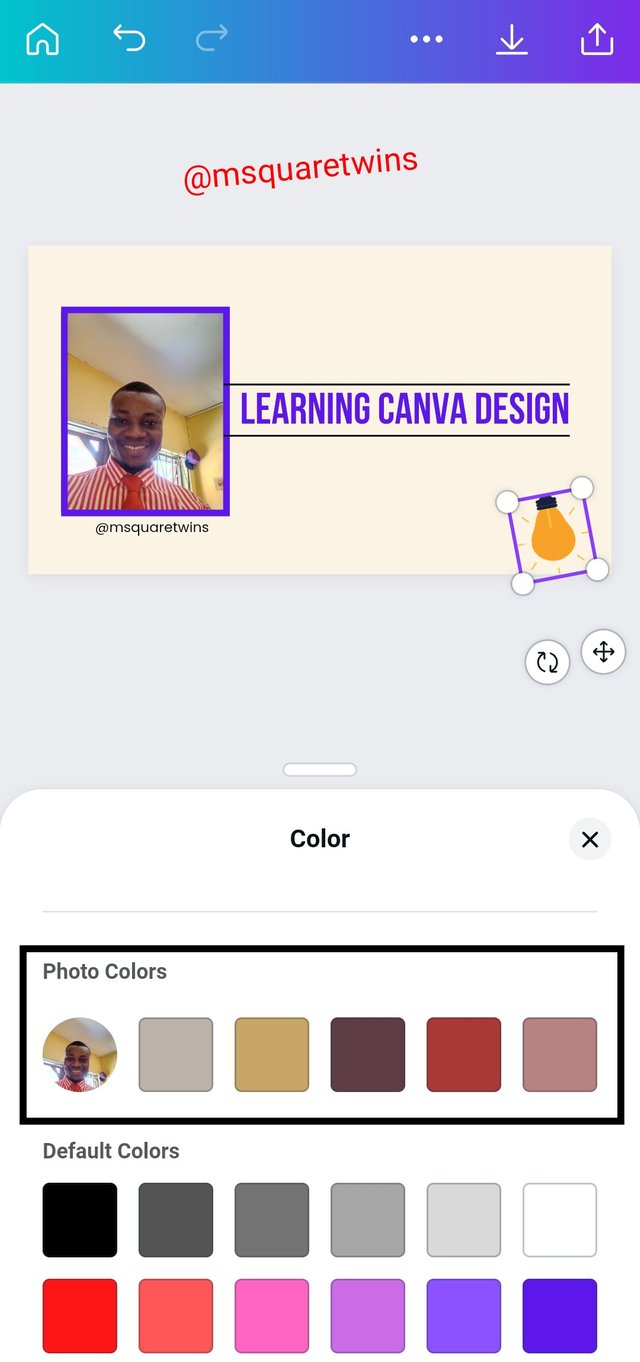
Now I chose the second color in the photo color and effect the change. Then we can see the effect of the change made in the second picture uploaded below.
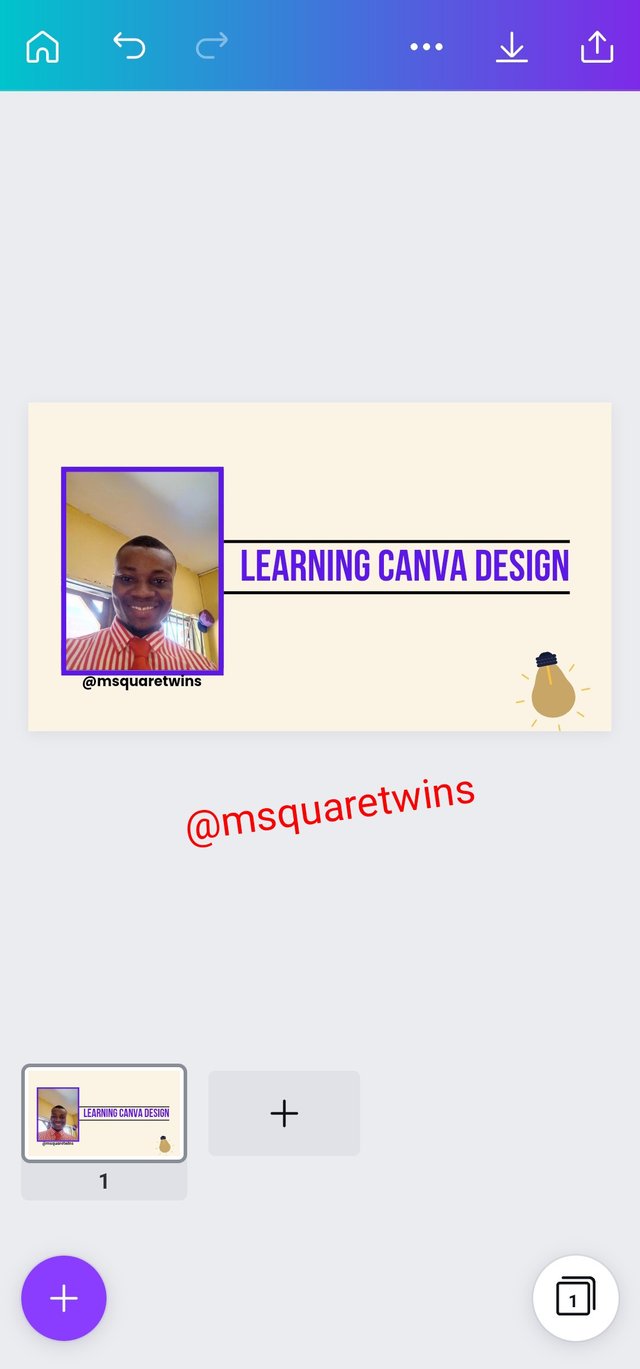
This is where we will stop the design for today. We will continue next time. There are still more features that I would like to show you. The design that we did for today is uploaded 👇
Thank you for reading.
I had canva app before, i tried to use it but could not, with this your tutorial @msquertwins, i will download the app again
I am happy that you find this tutorial helpful. I hope to create another post to explain some other features.
Thank you for engaging.
The more I read your post in steemalive, the more I love steemit
Hahahaha......😀😀😀 Thank you.
Thank you for contributing to #LearnWithSteem theme. This post has been upvoted by @fabio2614 using @steemcurator09 account. We encourage you to keep publishing quality and original content in the Steemit ecosystem to earn support for your content.
Regards,
Team #Sevengers
Thank you for the support.
Wow, @msquaretwins, thanks for this tutorial. With this, i believe i can now design things with the aid of canva designs.
But i wish am around you to learn more.
Thank you for the review. There are still more features that I want to touch. I will take part 2 of this tutorial at any opportune time.
Please what do you mean by rewire the plagiarized content? This post is never plagiarized please.
Please where did you see plagiarism in this content? I will like you to point it out.
Thank you. I await your response.
Sorry dear, i had a bit network challenge, you can edit. I've corrected it
No problem. I understand.