Learn With Me // Mastering The Art of Making Hair Accessories
Learning is an ongoing process and as such no one can say that he has fully acquired knowledge. We all learn everyday. Learning a skill is very crucial especially as life gets tougher. It would help us cope better as it serves as an extra source of income. I would love to share what I learnt few days ago.
I got opportuned to attend a fashion design training class. The class has helped me to design simple but beautiful hair accessories. Apart from that, I learnt how to braid and makeup. Today, I would be sharing how to make a simple hair band using simple materials at home. The steps are very simple.
Materials Needed
• Needle (preferably medium sized or large)
• Thread
• Chalk
• Measuring tape
• Scissors
• A fabric (this can be gotten from an old cloth)
Step One
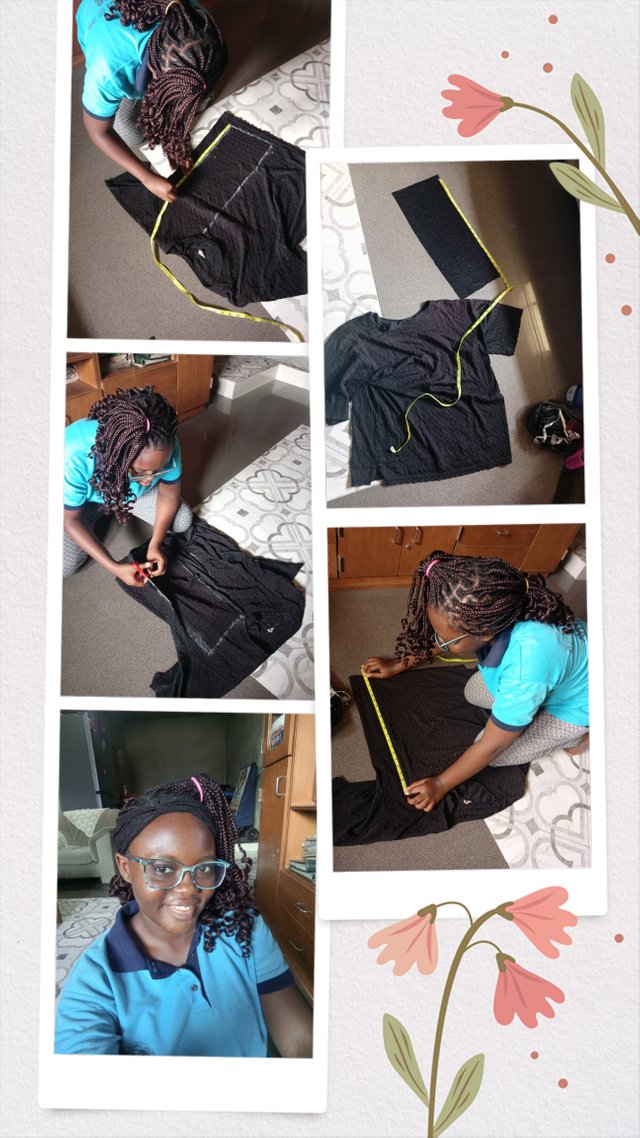
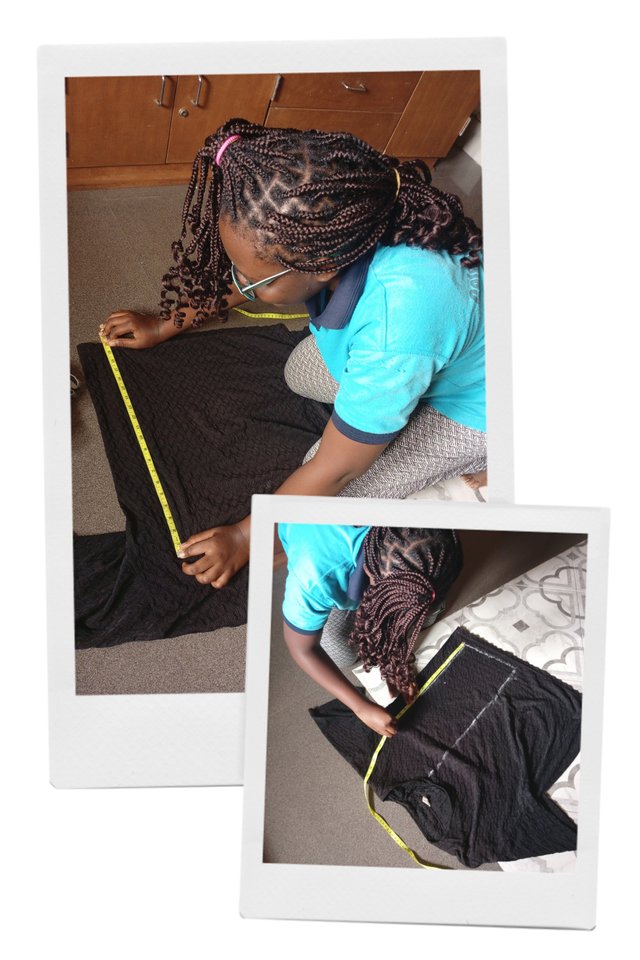
Using a tape, measure the size of the person's head and record.
Step Two
Use a tape to record the measurement on the fabric and mark it out with a chalk.
Step Three
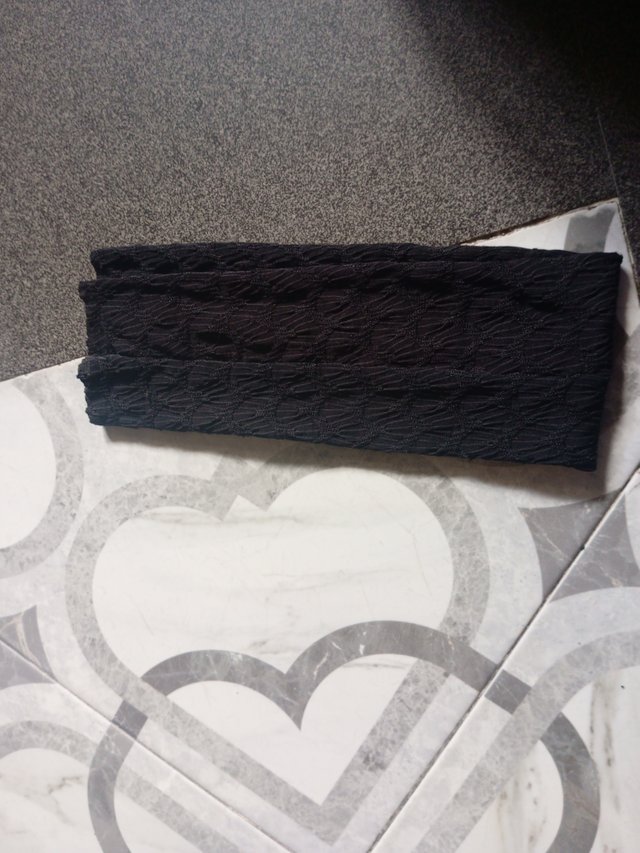
Neatly cut out the fabric using a pair of scissors. After this, you should have some thing like this 👉
Step Four
Fold the fabric sidewards into two equal parts.
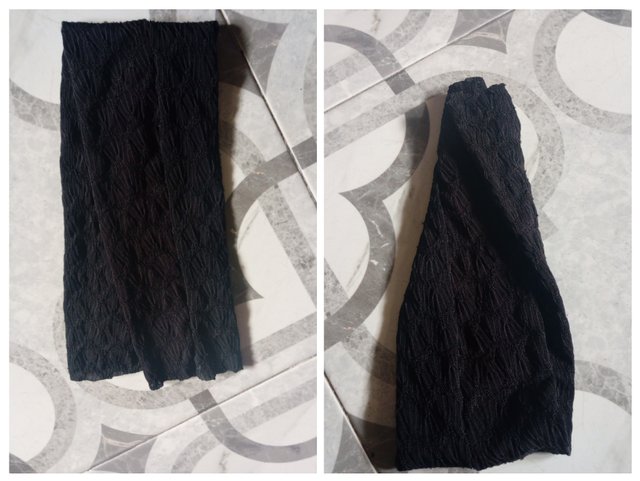
Step Five
Gently stitch the edge of the fabric with your needle and thread. Make sure you stitch on the wrong side of the fabric. After stitching, turn the fabric to the right side. Make sure you adjust the stitching line to the middle like this 👇

Step Six
Fold it upwards into two equal parts with the stitching line outside 👈.
Step Seven
Move one part to the side and fold both sides (that is, forward and backward)👆.Then stitch it. Turn it the other way and you should have something like this 👇
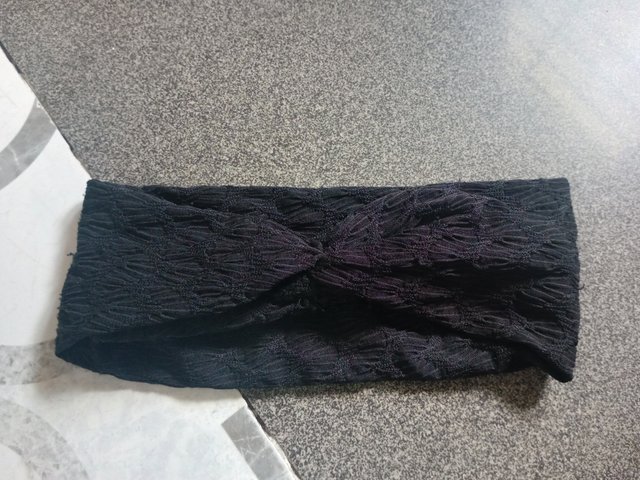
Hair band ready for use

Rocking my homemade hair band
It is your turn to try? Why not try it yourself and let me know in the comments section. I can assure you, it is worth the effort.
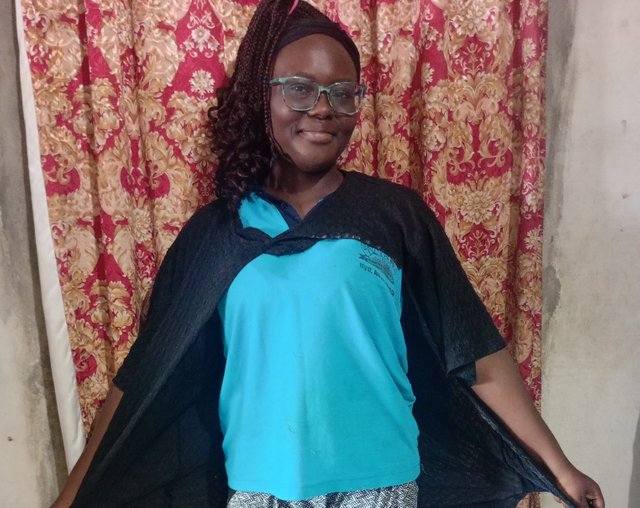
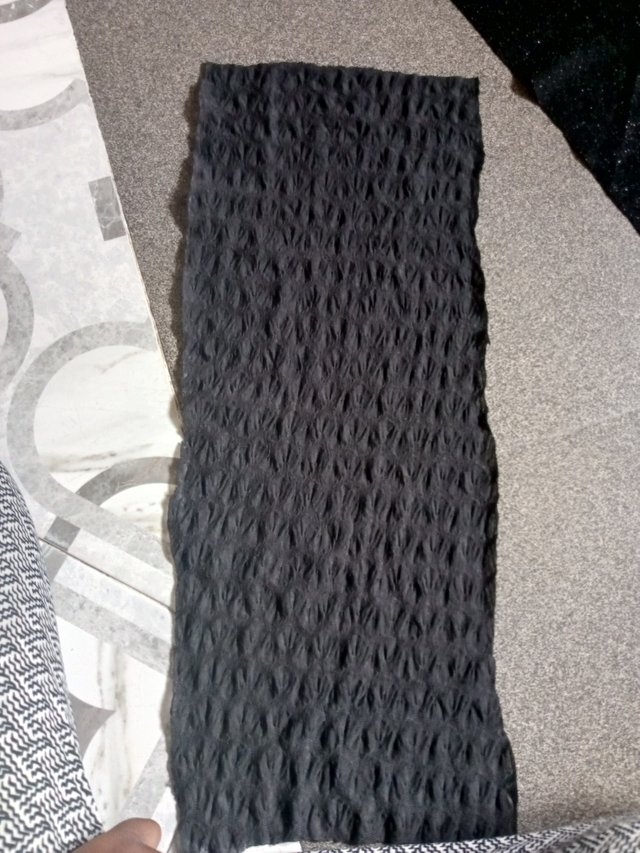
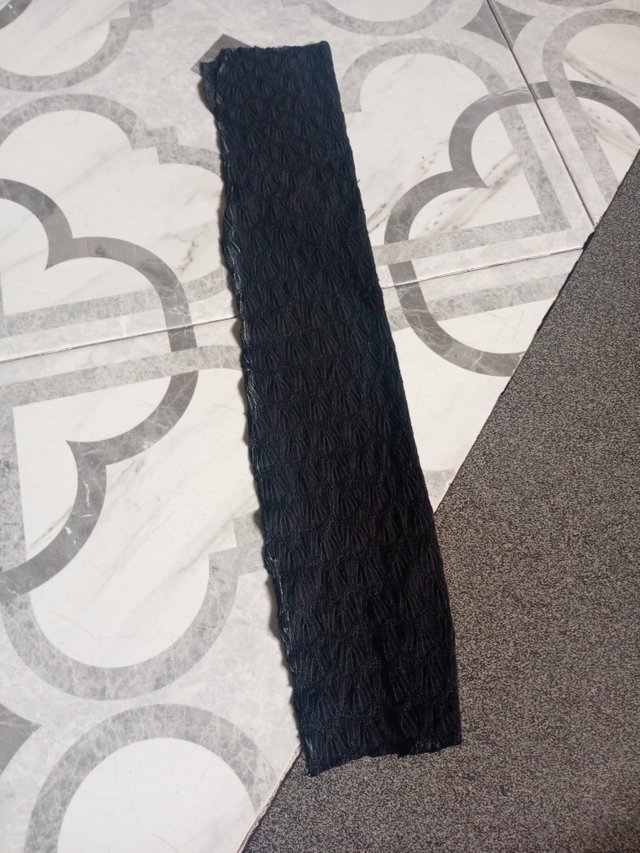
The remaining material is now a superhero cape 😅
Thank you so much for learning with me. I am really glad you stopped by and I really appreciate it. I hope you learnt something new.
INVITATIONS
I would like to invite @vickmoon, @abijacob and @eliany to participate in this contest.
*Thank you for reading me *
Hello, here are the results of our assessment of your post:
Feedback:
Thank you for the kind words.
I really appreciate.
Thanks for the invite, your hair band is nice and most especially the super hero cape. @khayjhay to the rescue 😀. Wish you all the best in this contest.
Thank you so much
I also like the super hero cape😅
Your hairband is beautiful, and the steps you showed us are clear and simple to follow. Hey, you look good in your superhero cape, haha. Please keep sharing your quality posts with us and try to engage meaningfully with fellow users by commenting and upvoting their posts. This will help you to improve your Voting CSI. Success!
Thank you for visiting 😊
I hope to engage more often. I appreciate the support.