Seraphic Sorceress Water Color Art
🌸 Hey everyone! 🌸 I'm thrilled to show you my approach for designing an enchanting white mage illustration! 🧙♀️✨ We'll go through the five primary steps, from the initial sketch to digital rendering. So, gather your art materials and let's dive in! 🎨🖌
💖 Step 1: Initial pencil sketch ✏️
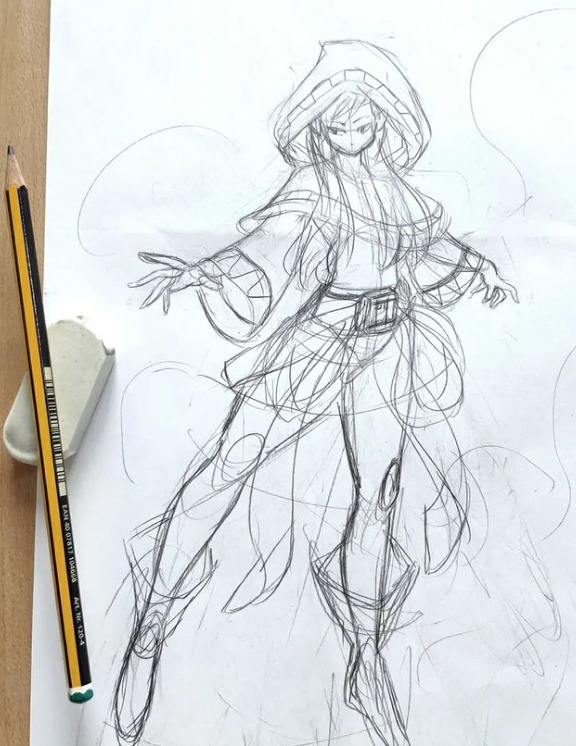
I like to create a rough pencil sketch of my character. An HB pencil works great for this purpose, as it allows for sketching without making harsh lines. At this stage, the focus is on capturing the basic form and proportions of the character, so don't fret over perfection. Feel free to experiment and modify as needed! 🌟
🌺 Step 2: Refining with ink 🖊️
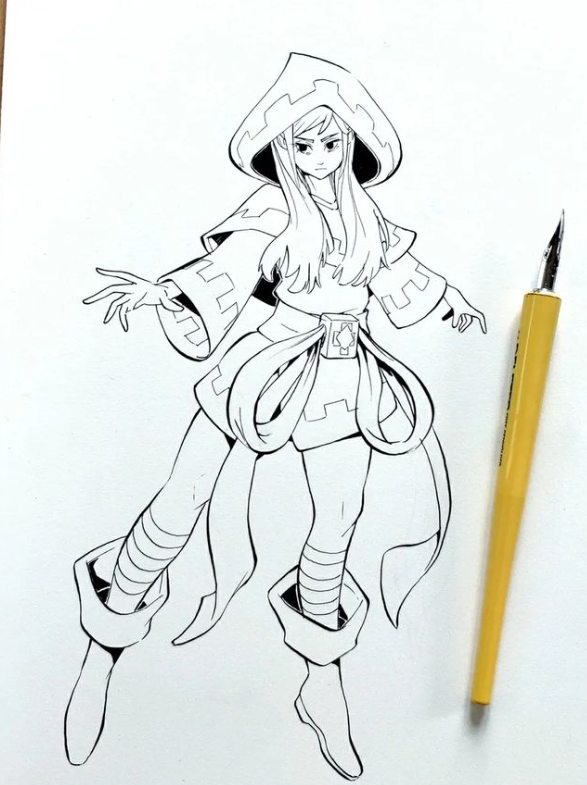
With our basic sketch in place, it's time to sharpen the lines and add definition. Using a fine-tip pen or marker, carefully go over the pencil lines, adding details and smooth lines. I prefer using a Micron pen or brush pen for this stage, but any pen that provides a clean line is suitable! Take your time and enjoy the process. 🎀
🌼 Step 3: Adding color with watercolor 🎨
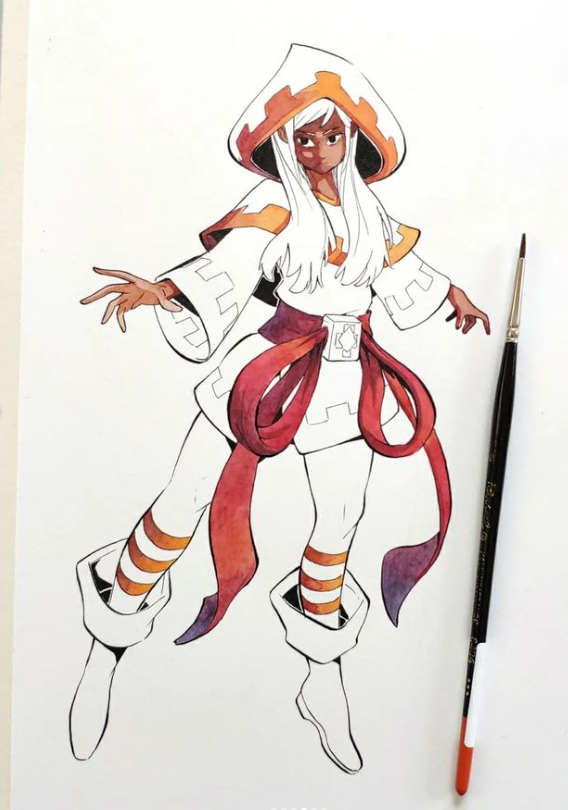
Now that our line art is complete, let's infuse our white mage with vibrant hues! 🌈 Watercolors are my go-to choice for this step, as they lend a soft, otherworldly quality to the character. Begin by moistening your brush and applying a light layer of color to different sections of the character. Allow the colors to blend and mingle organically, creating a delicate and whimsical effect. Remember to leave some white spaces for highlights and a touch of magic! ✨
💐 Step 4: Coloring the remaining parts of the white mage with watercolor 🖌️
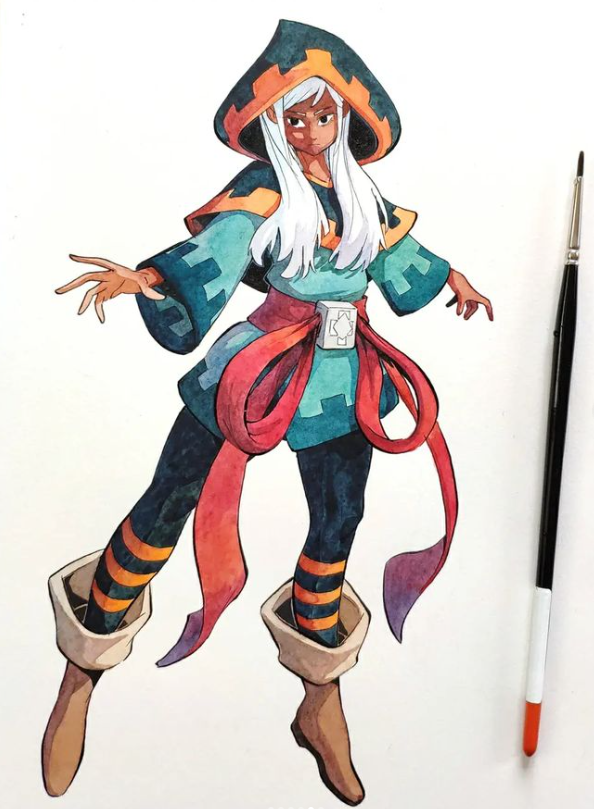
With the base colors in place, it's time to complete our white mage by coloring the remaining elements. Continue using watercolors to give depth and dimension to the character's attire, hair, and accessories. This stage is all about making your vision a reality, so unleash your creativity with colors and details! 🌟
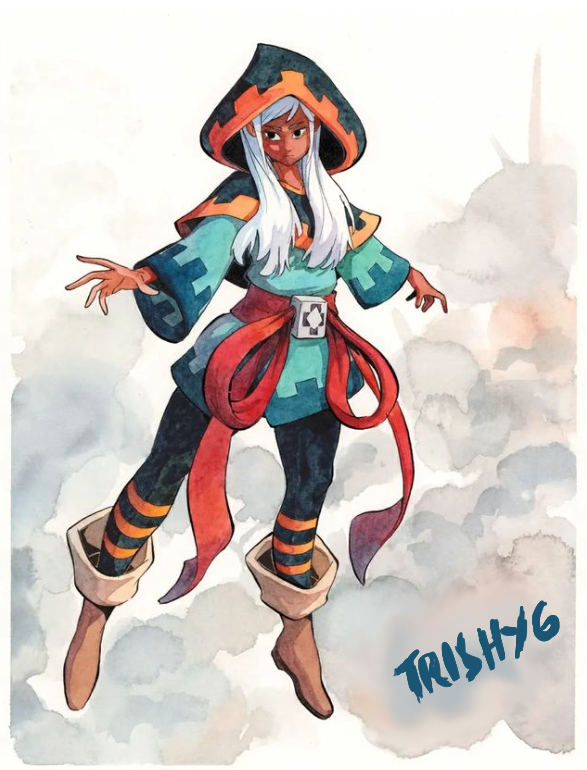
🌷 Step 5: Digital rendering using Photoshop 🎨💻
Lastly, let's polish our work of art using digital rendering! I opt for Photoshop for this stage, but any digital art software you're familiar with is suitable. Begin by scanning or snapping a high-resolution photo of your watercolor piece, and import the image into your chosen software. From here, you can intensify the colors, incorporate highlights and shadows, and even apply a range of filters and effects to make your white mage truly bewitching! ✨
And there you have it, darlings! 💕 I hope you enjoyed this walkthrough of my drawing approach and that it sparks your creativity to design your own mystical white mage character. 🧙♀️ Remember, the most crucial aspect of the creative process is to have a blast and savor the experience. Happy illustrating! 🌸💖
Date Evaluated: April 07, 2023
Increase your voting CSI by voting for others' posts. Also, visit other communities and engage by commenting on other members' posts.
thanks for your guidance 👌
Curated by - @juichi