How to Screw Setup on Electrical Distribution Board from scratch.
 Thumbnail Image
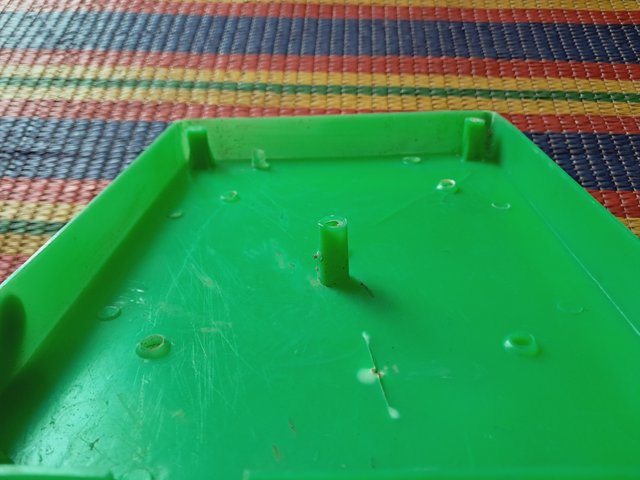
Assalamu Alaikum friends hope you all are well by the grace of Allah I am also well. Today I came to you with an electrical topic. In a very simple way, I will show how to install the screws of all the circuits of the electrical distribution board. It's a very easy lesson you all need to know. Knowing how to install electrical distribution board screws and fittings is very important because it directly affects safety, performance and durability. Improperly installed screws or fittings can cause the wires to become loose which can cause a sparking short circuit or fire. First I assembled a distribution board.
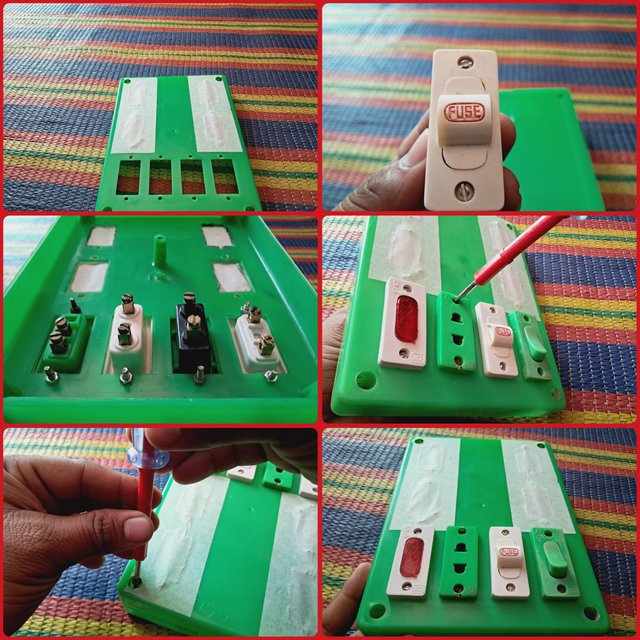
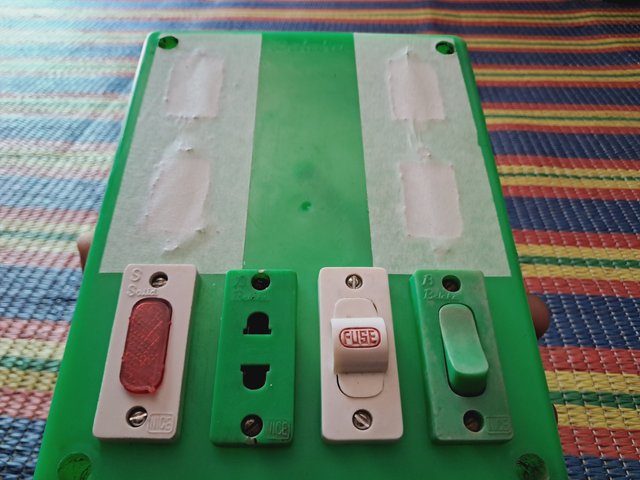
Step-1 :- In the beginning I collected the devices that I would put on my board. I have mentioned their names and pictures below.
| Fuse | 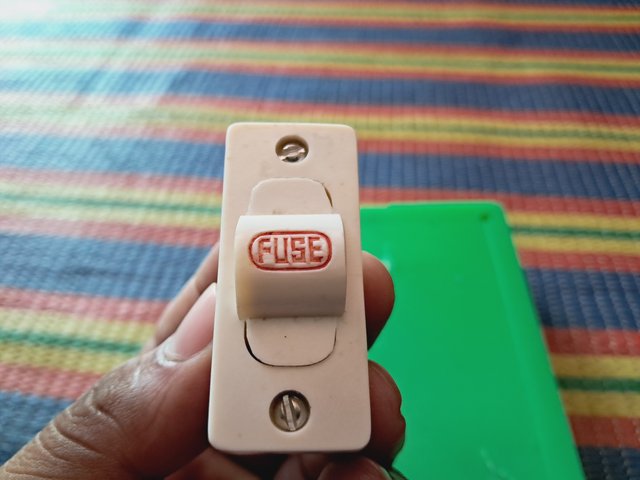 |
|---|---|
| socket | 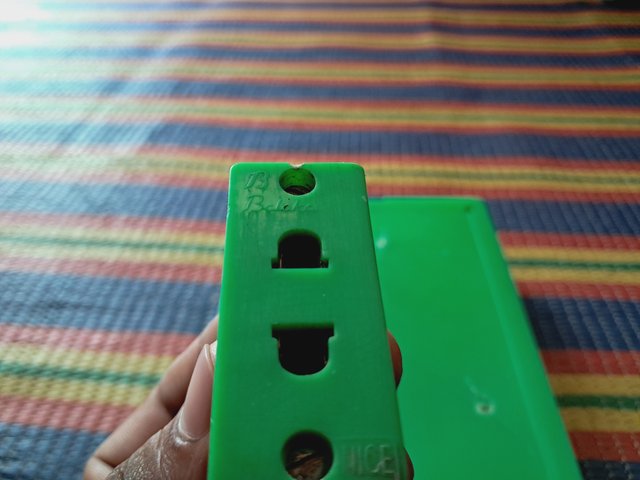 |
| indicator | 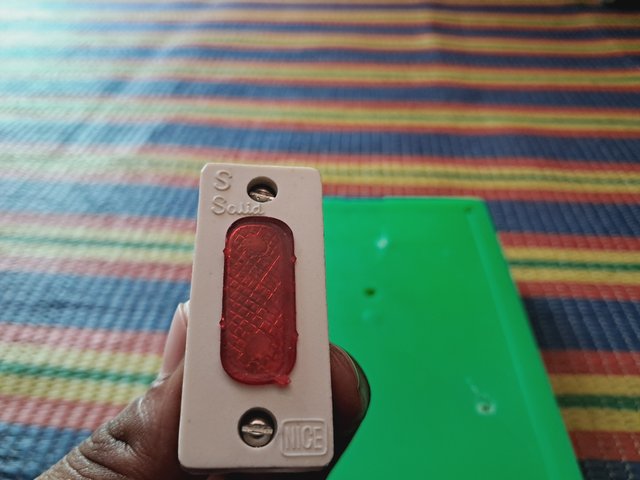 |
|---|---|
| switch | 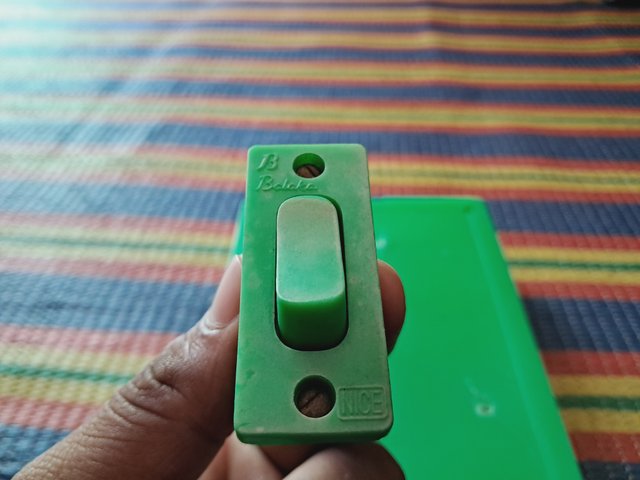 |
Step-2 :- Then I loosened the nuts inside the device and set them aside so they could be inserted inside the board.
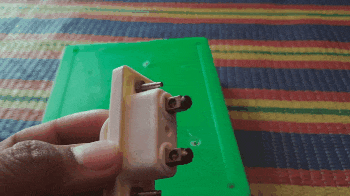
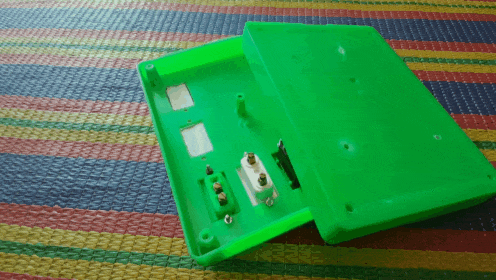
Step-3 :- Now I set the devices that will be installed inside the board through the holes of the board. The parts mounted on the board should be installed correctly and straight.
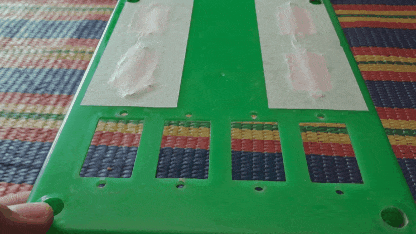
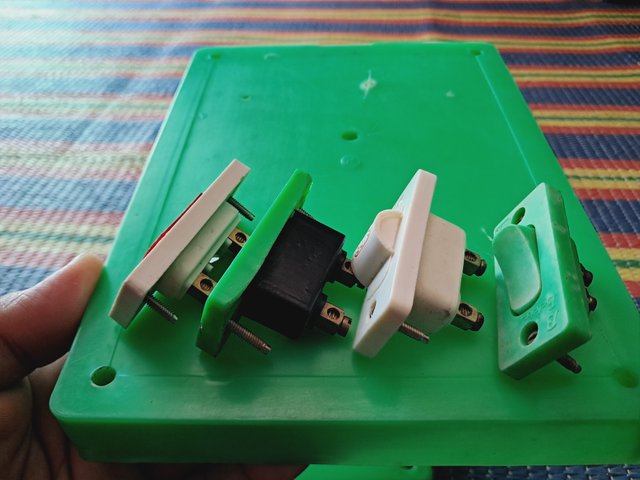
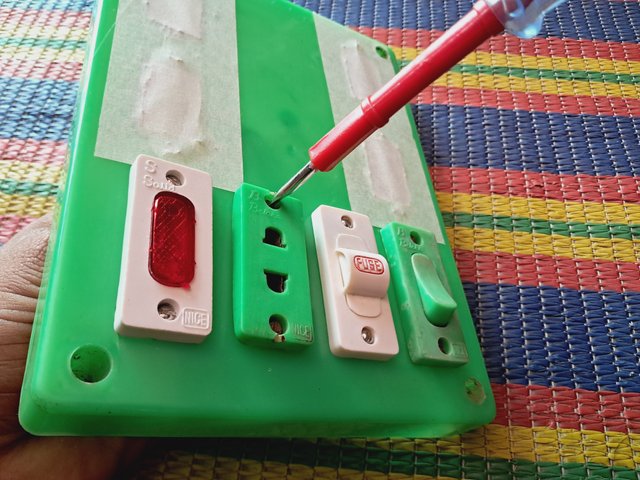
Step-4 :- I put all the ones I need here according to the serial. You can install any equipment here. Now look at the picture on the opposite side where the naats are seen.
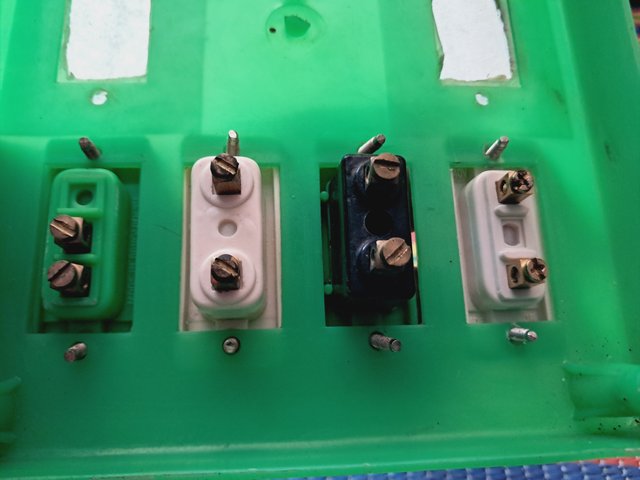
Step-5 :- Now I took a nut in my hand and turned the nuts on the bolts on the parts on the board. I installed the nuts of each circuit in serial order.

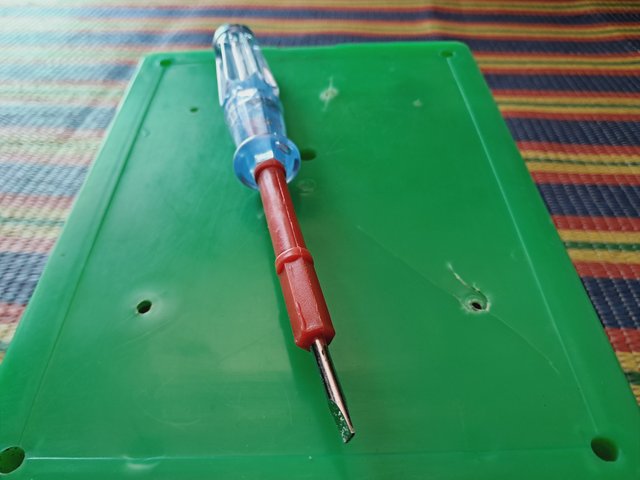
Step-6 :- Now you need a screwdriver to tighten these nuts. So I gathered my own screwdriver. It is a dual screwdriver with star and minus.
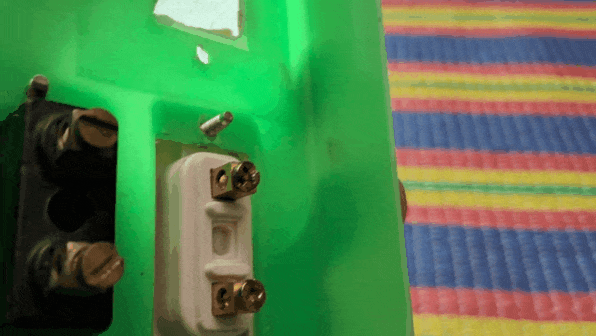
Step-7 :- Now I put the screw in the upper part of the bolt and hold it by hand and turn it tight. Care should be taken not to move the above circuit or it will become crooked.
Step-8 :- For your convenience I am making a video so you can understand how nicely and correctly each screw is installed.
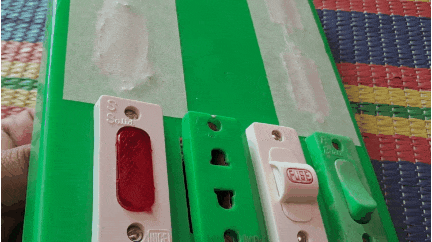
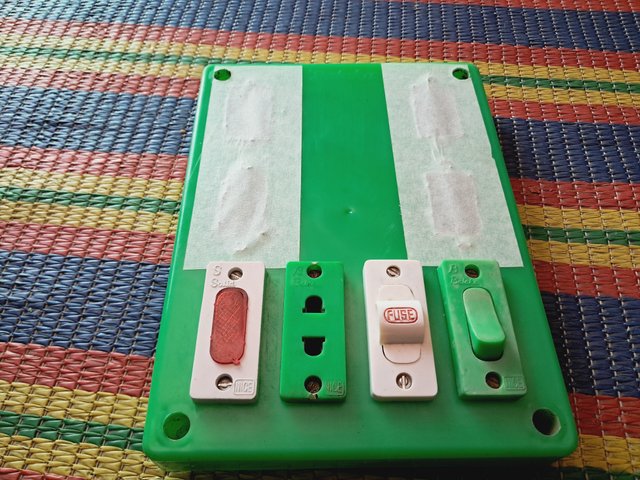 Screw installation is complete
Step-9 :-
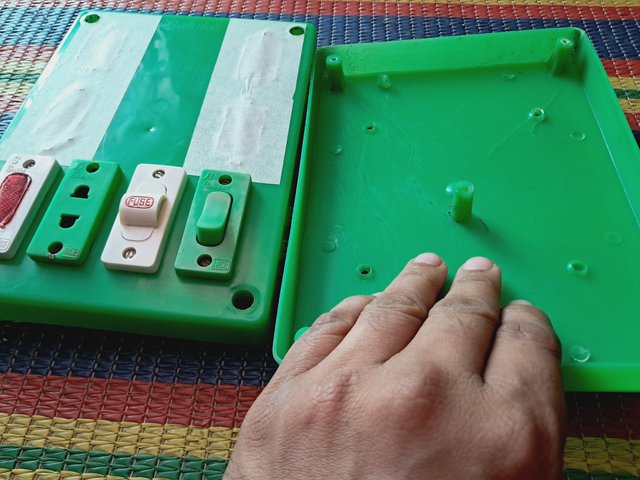
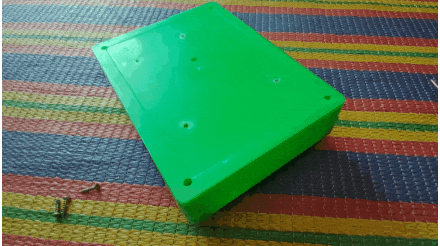
Step-10 :- Now put the back cover of this distribution board. If the cover is not attached, there is a possibility of electrocution. So be careful. Along with this, I took the required 4 screws.
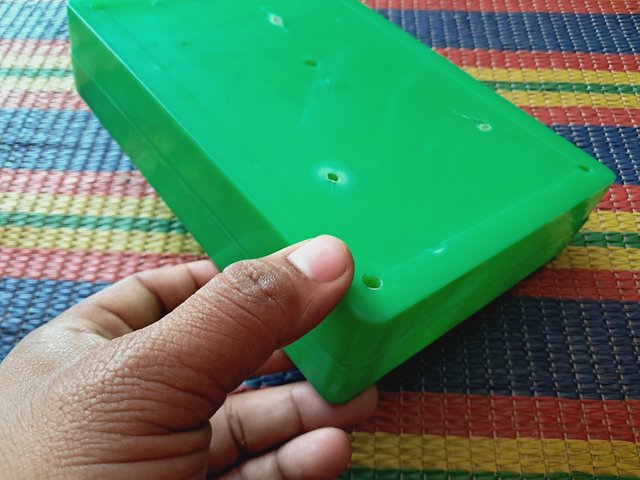
Step-11 :- Now with my left hand I hold the board and with my right hand I hold the top lid and gently place it on top so that it fits evenly.
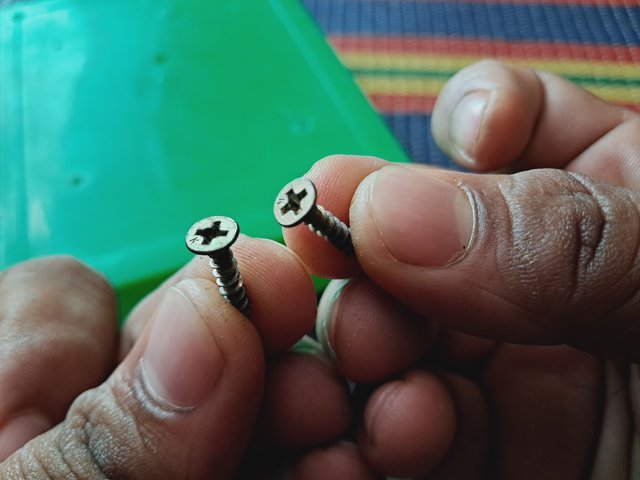
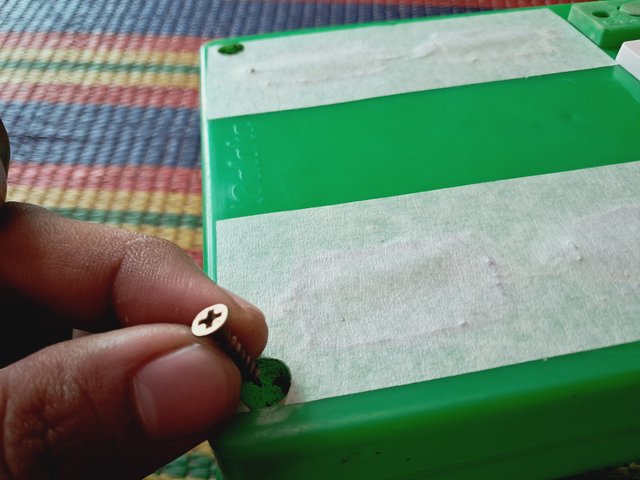
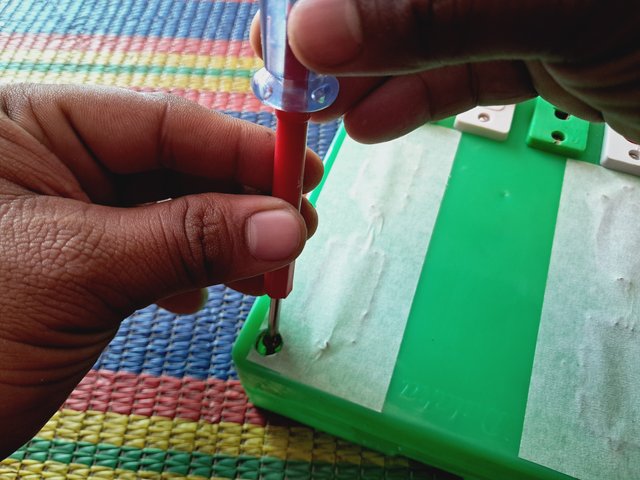
Step-12 :- Now I removed the minus option of my screwdriver and installed the star option. Because my screws were star. Then put the screws in the front part of the board instead of the back part because this is the correct rule.
Step-13 :- After installing the first screw, I correctly installed four screws in each corner and tightened them.
Final Step :- Now you can see that I have installed all the screws on my distribution board correctly. This is the real rule of thumb for screwing.
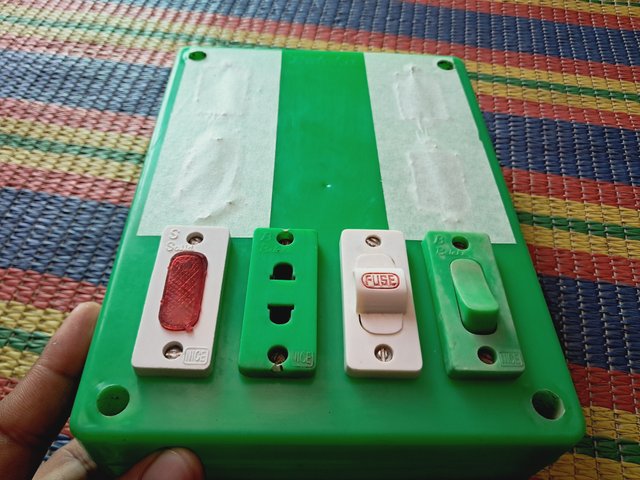
Proper screwing keeps the stability of the board so it lasts well for a long time. If the fittings are done properly then future repairs or changes are easy. Neat screws and fittings make the board look neat and professional. I didn't connect the wires inside it though. I will show you this in the next episode because it is not possible to show so much in one post. So knowing how to install distribution board fittings and screws can ensure safe, effective and long-lasting electrical connections. It is not only for electricians but also common people need to know especially those who want to do home electrical work.

Twitter share link: https://x.com/maxpro1412/status/1897149258035552604?t=GCZaiOx-jmggsQQlRmTH9Q&s=19
Hallo 🤗 Brother @max-pro
You have presented us with a very beautiful post.You used electronic devices during the post.Where you have used several electronic devices through a new board, using:socket, fuses, inductors, switches.I would have liked this post even better if you had connected the electrical lines.I give you my personal rating of 10/07 points.
🤩🤩🤩🤩 ধন্যবাদ একজন ইঞ্জিনের হিসেবে আপনি আমাকে চমৎকার রিভিউ দিয়েছেন ✅
Thank you very much for your kind support. It means a lot for me. I am grateful to you. Good luck.