Heading "Handmade" #15/ 2023 - "Chococat" Coin Purse
Greetings, steemers!
Another week of this beautiful contest has come thanks to @strecoza and I'm pleased to be able to participate.
If you, who's reading this, like the contest and want to be part of it, follow this link and have fun!
Now, I will show you my most recent creation ♥
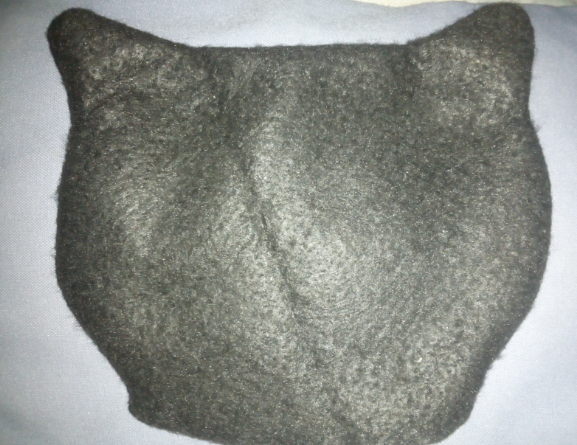
Handmade #15
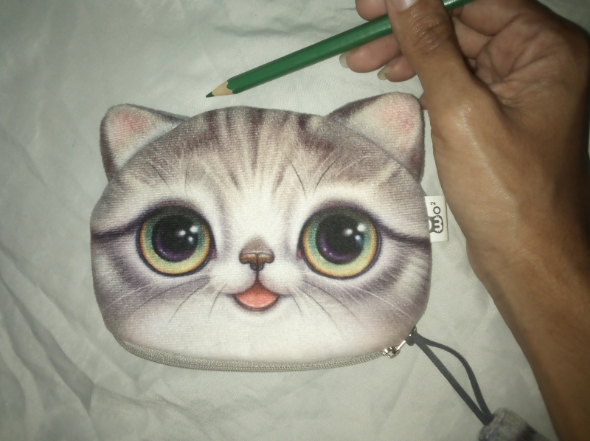
This is the result of my attempt to make a coin purse in the shape of a lovely Sanrio character called Chococat.
For those who don't know, Sanrio is the Japanese company widely known for being the designers and producers of Hello Kitty and many other "kawaii" characters. Well, Chococat is one of them.
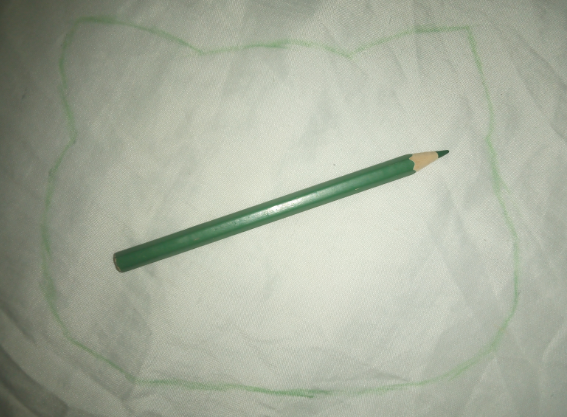
All the photos shown here were taken with my Nokia 1 Plus cellphone and belong to me.

♥ The making Process ♥
- First step:
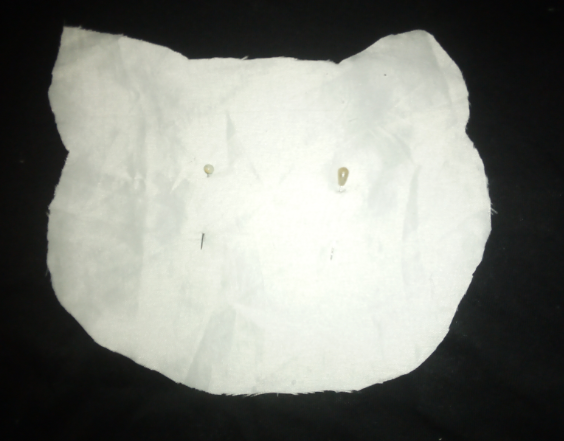
I took my coin purse that has the shape of a cat, and drew its form directly on the lining fabric. This time I wasn't afraid of ruining it, because that lining fabric would go inside the coin purse, so it didn't need to be perfect... Well, somehow it had to, since its size had to match the whole little coin purse.
This cat coin purse you see here, was a gift that one of my cousins gave me. I love it! isn't it cute?
- Second step:
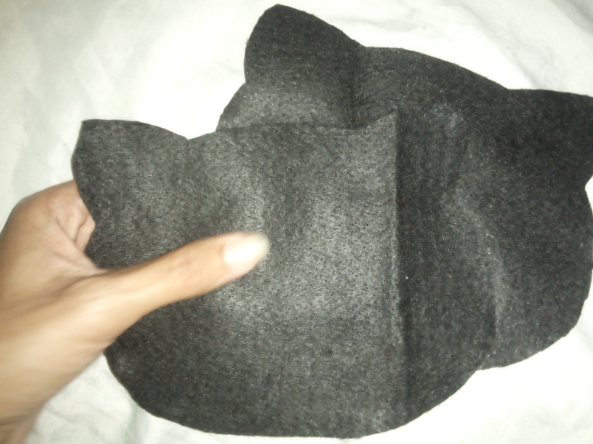
I repeated the same process, but this time on the felt fabric, which is the fabric I chose for the coin purse.
Using a white colored pencil to draw the shape / Having both pieces of fabric cut
Now a quick look at the materials I was going to use for the next steps:
- Cat-shaped white lining fabric (could have been any other color, even printed) both side pieces cut.
- Cat-shaped felt black fabric (both sides)
- Zipper
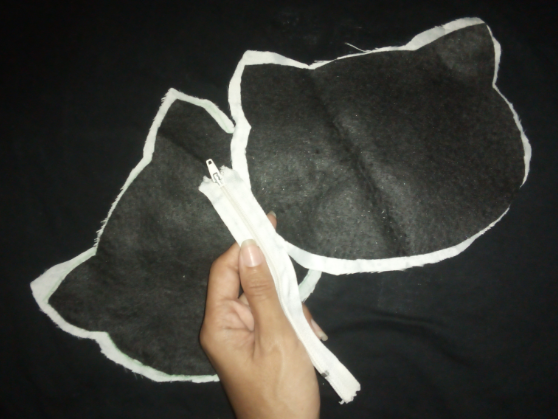
- Third step:
Fix the pieces of fabric using pin needles, following strictly the order that is required to have the lining cloth covering the inside and both pieces of black felt on the outside.
- Fourth step and how I screwed it up
The fourth step was nothing but sewing the pieces I just had fixed with pin needles; the problem was that I made the wrong choice of sewing thread. I unconsciously took the white sewing thread instead of the black one. But don't worry, I just had to undo what I had sewn, and then start it all over using the right color.
Just kidding, guys, there's no pic of the piece sewn in black because you wouldn't be able to see the sewing line ;D
(I'm obviously lying)
This is the evidence of my little mistake:
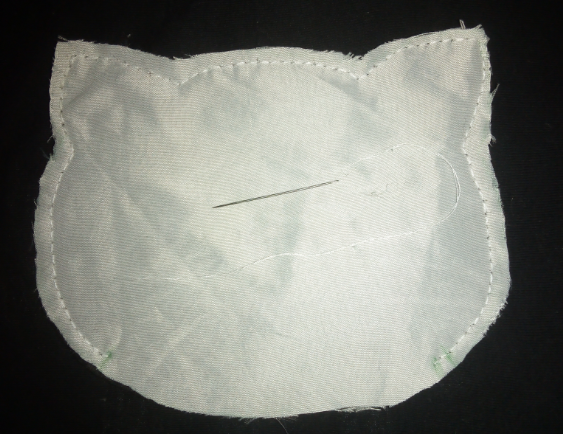
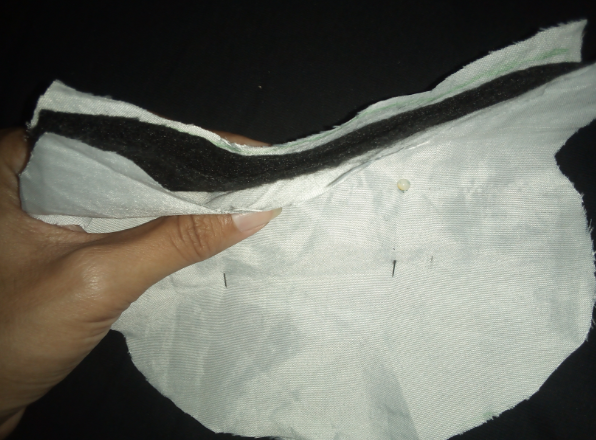
- Fifth step:
Turn it upside. Of course, after using the correct color of sewing thread because otherwise the wrong color would be too notorious. When matching both the color of fabric and thread, you don't even see it.
Notice I left a portion without sewing. This is the part where the zipper will be.
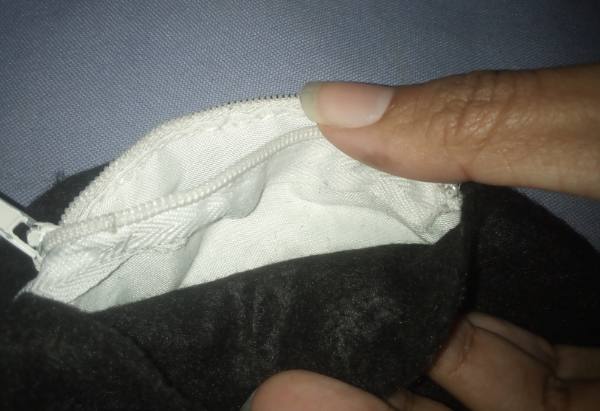
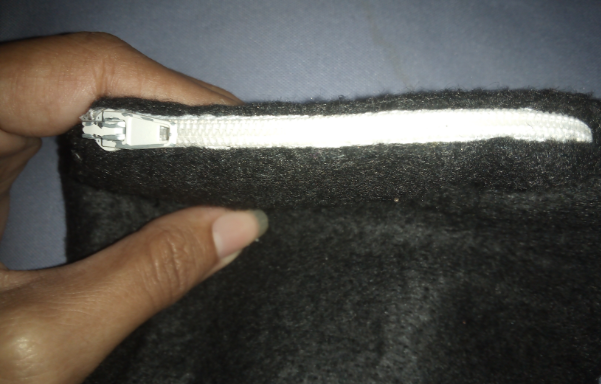
- Sixth step:
Sew the zipper to the lining fabric FIRST. This time the white thread is really necessary.
- Seventh step:
Sew the felt fabric to the resultant piece. Use black thread so it looks invisible on the outside, no matter if it can be seen on the inside (only you will see it, who cares, ha ha).
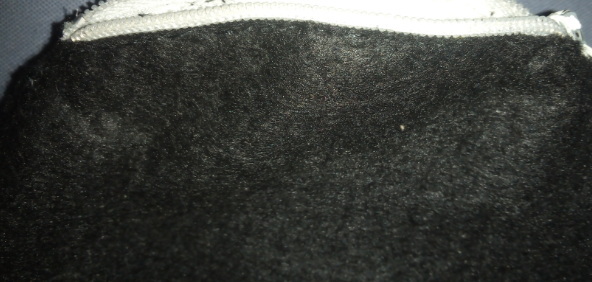
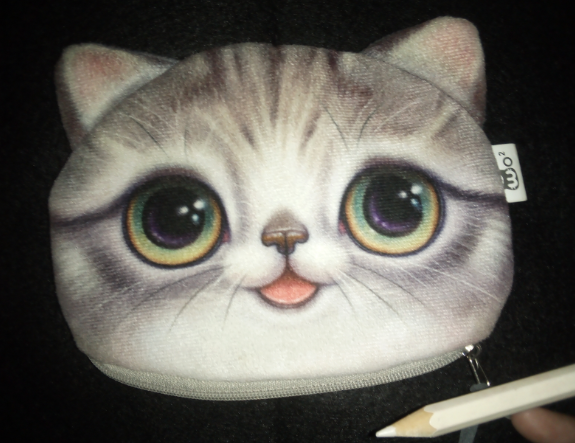
Done!
- Eight step:
Cut the pieces that you will use to make its face.
You can do better than me :') try to cut them giving them a more rounded shape.
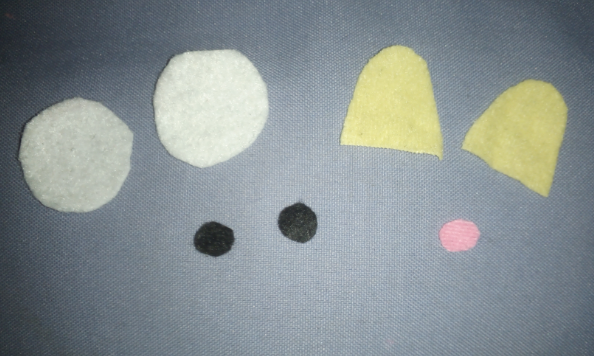
- Ninth step:
Glue the pieces as it was your broken heart :')
(Sorry, I was talking to myself)
Voilá!
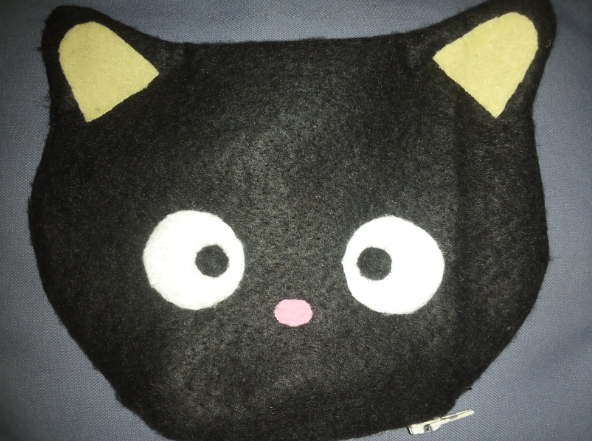
I hope you liked it and get inspiration for making your own :D
It looks so cute! I will try someday to make one for myself too. You are so creative!
Wow! Thank you! I will love to see it whenever you make it :D
Sure thing 😊
Upvoted! Thank you for supporting witness @jswit.
This looks adorable 😍 very creative, thankyou for shring the process.
Thank YOU for visiting my post! I'm so pleased to know you liked it :)