Excellent craft with jute rope by @jubayedhossen91
Assalamualikum, everyone(Peace be upon you). |
|---|
Hello friends, myself @jubayedhossen91 from @bangladesh.
How have you been? Hope you all are good. I am also well by the grace of almighty Allah, Alhamdulillah.
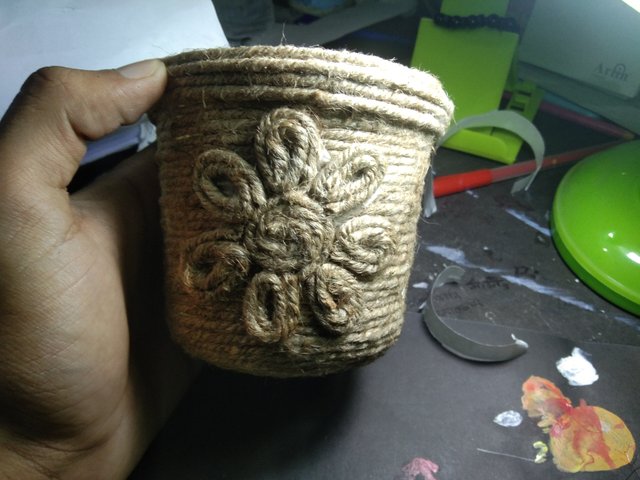
I was thinking of doing something new since morning. Like every day after class I came to the room and sat down with a thin jute rope and an empty casket of noodles to make a tub. I did this kind of work for the first time. Still I'm satisfied with the finished craft that it looks so good. Completed this craft in few steps. The steps are attached below with pictures.
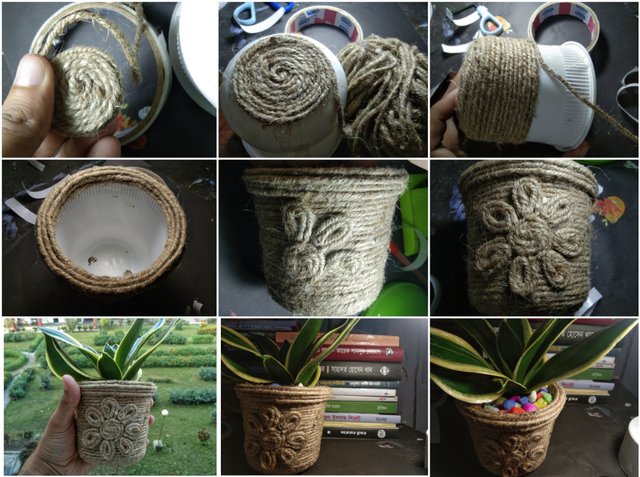

Craft materials |
|---|
🔘 Jute rope
🔘 Empty noodles casket
🔘 Double sided tape
🔘 Scissors

First Step: Applying Double Sided Tape |
|---|
First I applied double sided tape to the top and bottom of the empty casket of noodles. Gum could be used here but it takes a long time to dry. If you work with gum, you cannot give the desired design. So I took double sided tape so that the thing stays dry and I can finish the craft in less time. First I taped from top to bottom. Here I've taped the whole thing crosswise rather than taping it in place. It didn't take much tape. I put a little more tape on the lower part. So that the jute rope is stuck well.
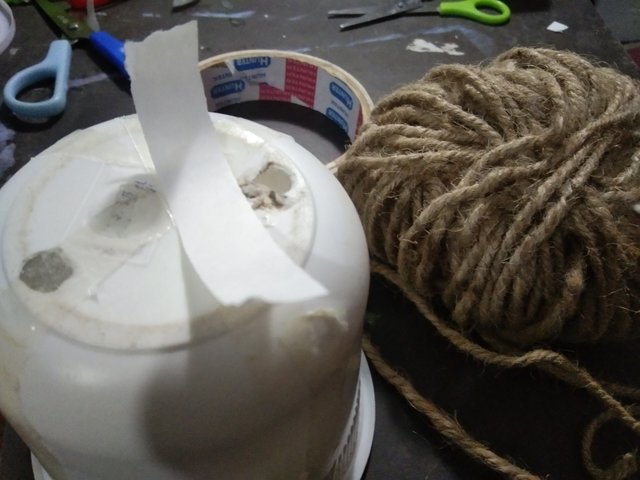
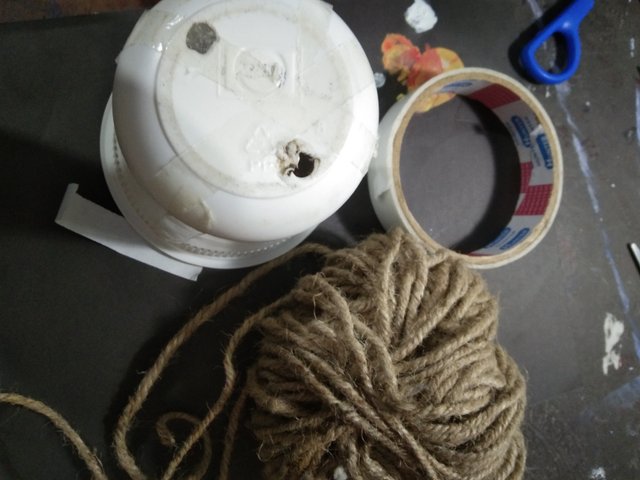
Since I am making a tub for planting plants, I first made two holes in the bottom of the pot so that the water can drain easily.

Second step: Pulling the Rope |
|---|
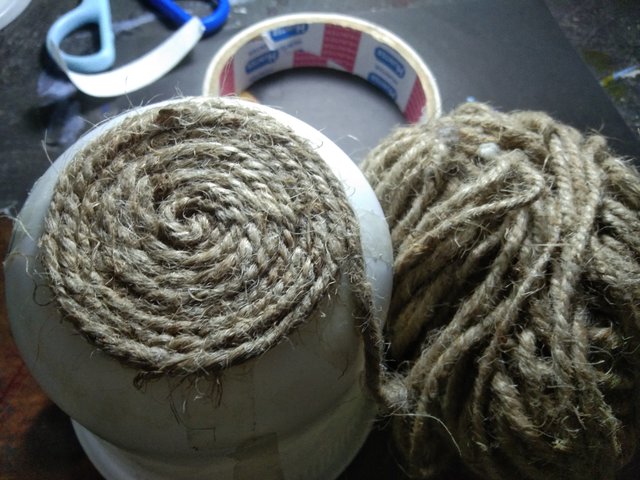
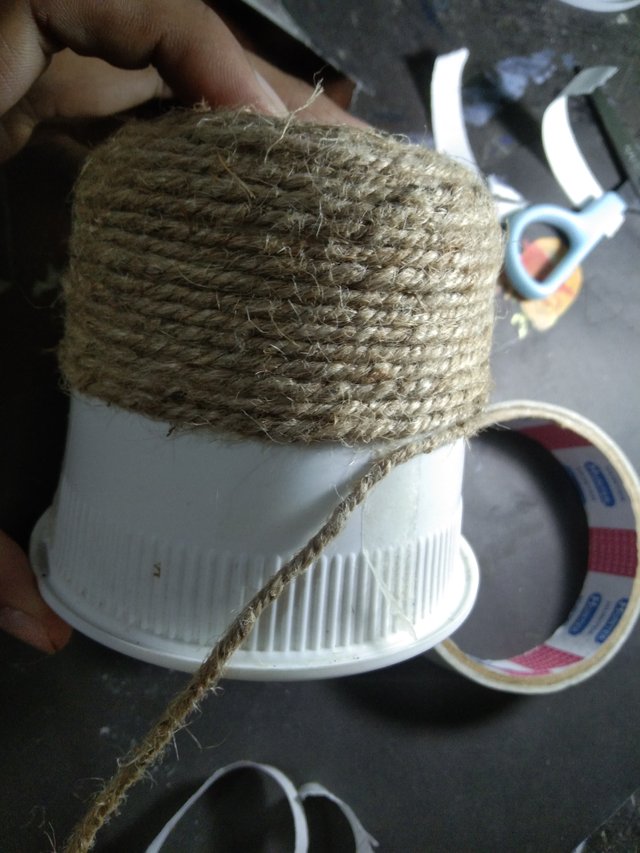
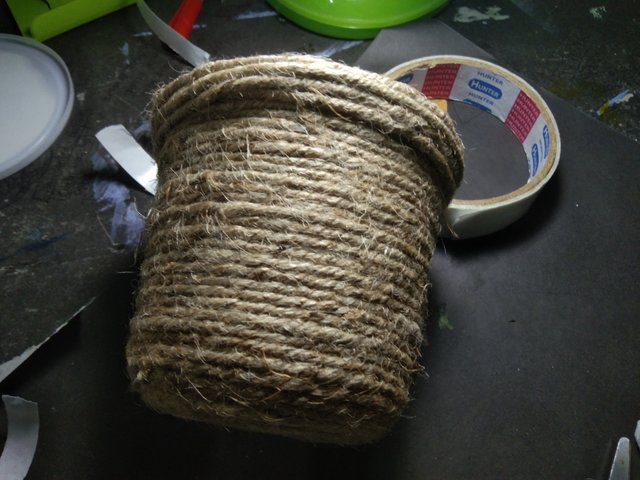
In this step I started pulling the rope from the bottom. Starting from the bottom up makes crafting a lot easier. So in the beginning I made a small part by pressing the round in my hand and placed it at the bottom of the pot. Then I squeezed a little bit. I put the rope in place by applying light pressure to the tape. So that the rope does not move out of place later. I gave it a good squeeze with my finger while pulling the rope.
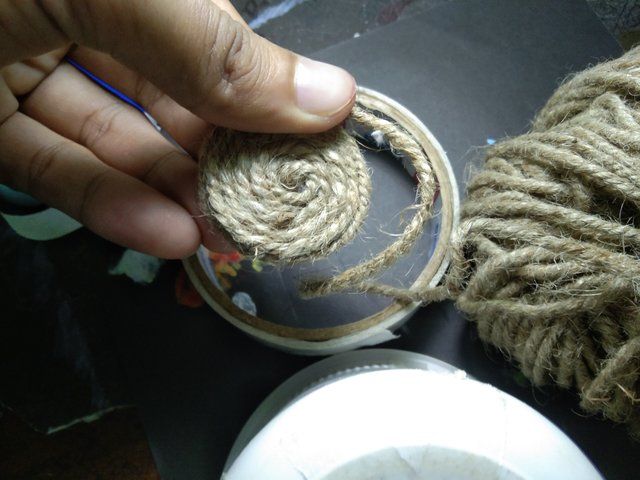

Third step : Flower Making |
|---|
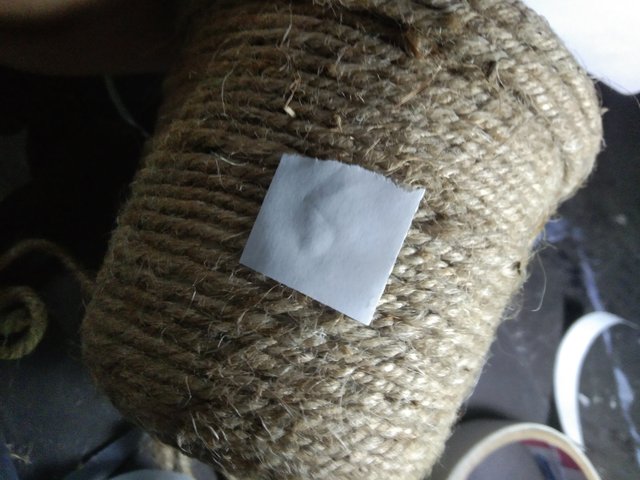
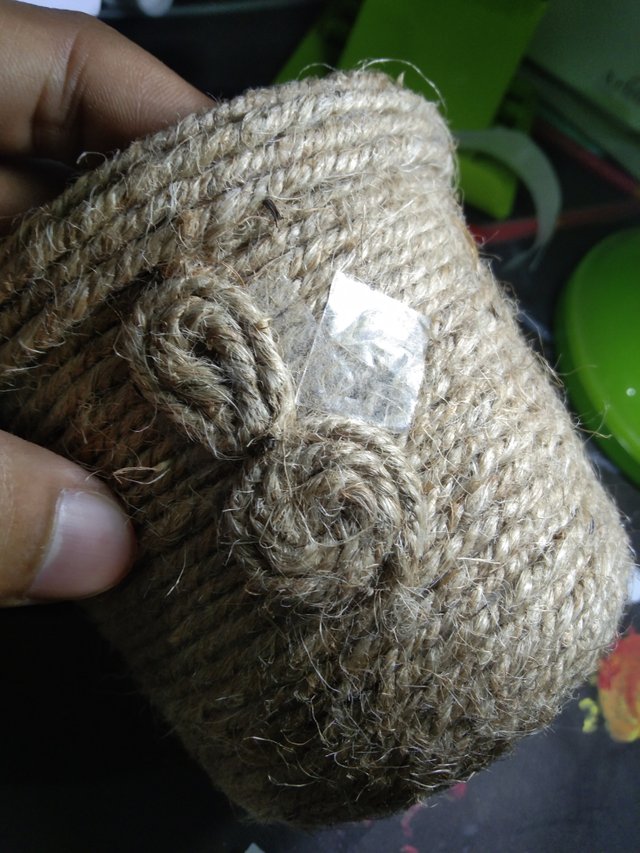
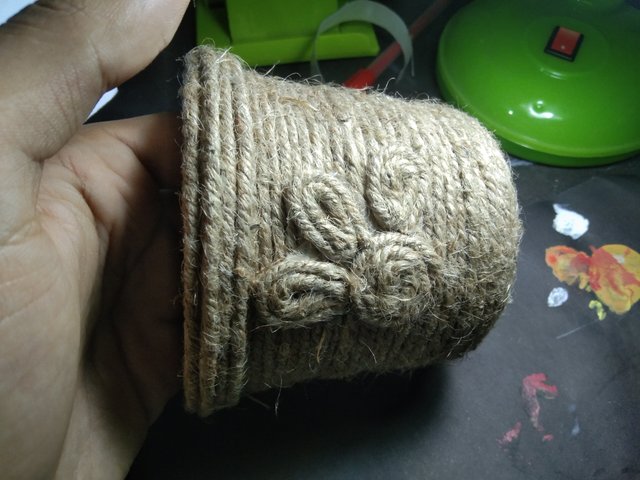
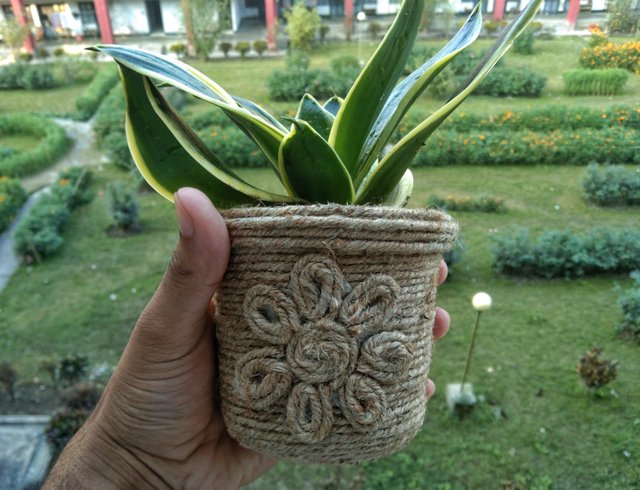
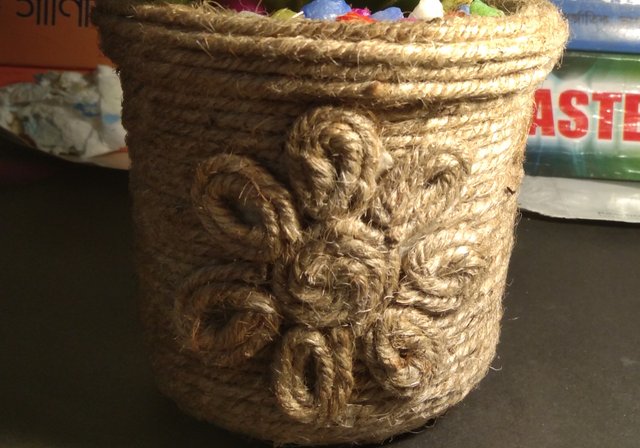
When I finished twisting the rope in the whole container, I started making flowers. First I taped one side to make the flower. Later I cut the jute rope into equal size pieces. And first I made the middle part of the flower by wrapping it around the tape that I already put on and added it. Then we added the flower petals one by one. To attach the petals, I first applied tape and then made the petals like leaves with rope. And after adding all the leaves it became a beautiful flower. I made a flower here. I just added the flower on the front side.

The final step |
|---|
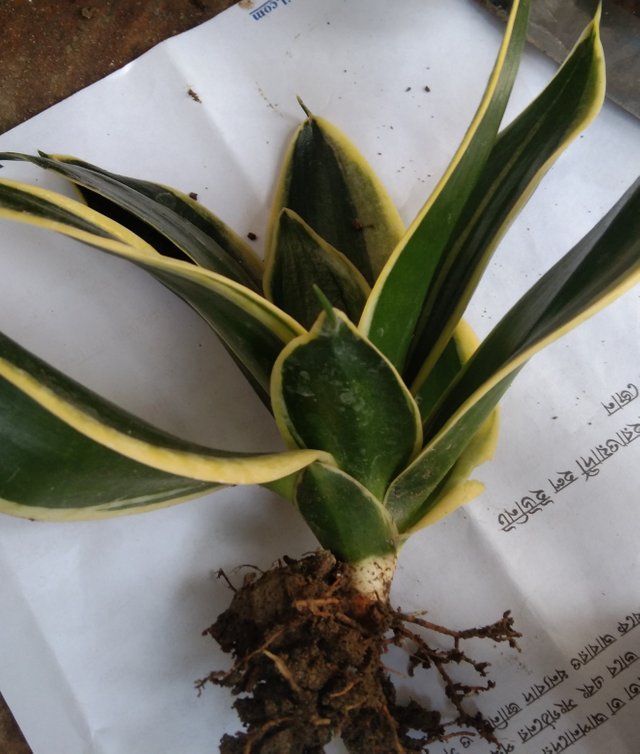
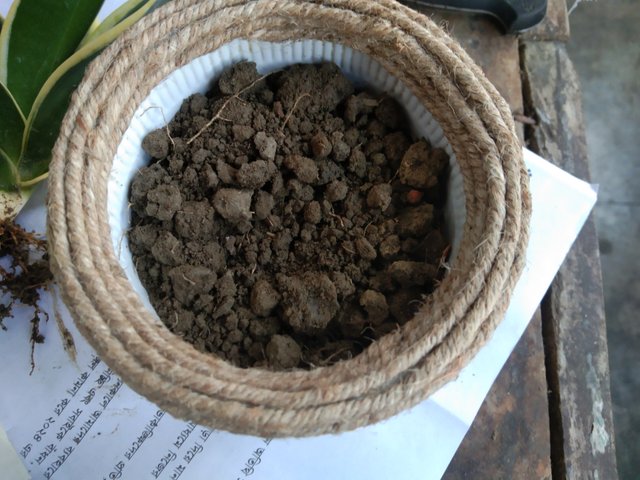
After I finished making my tub, I started planting. I selected snake plants to plant this beautiful tub. Snake plant is one of my favorite plants. I had already collected some snake plants. And from there I planted a snake plant in today's beautiful pot. To plant t this plant, I first took soil mixed with compost. And separated the plant from the previous pot. First we placed pieces of bricks in the holes of the tub and then filled them with soil. Then planted the plant well and gave it soil.
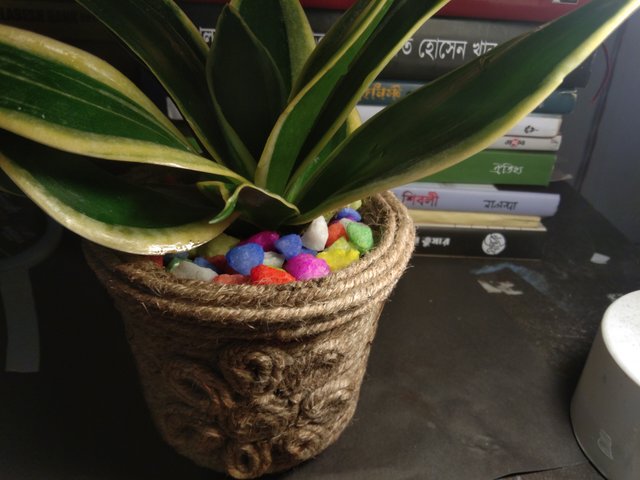
Then we I watering and after a while I put the previously collected coloring stones into the empty part of the pot. By doing this, the beauty of the tub increase much.
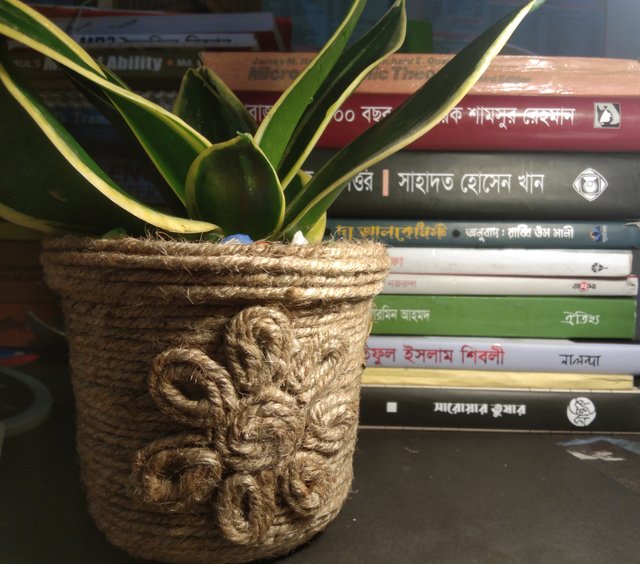
Hope you like my today's craft, must for tree lovers. I love it even more when I can customize my own beautiful design tub for my plants. No more today, see you in the next blog. Stay well and keep me in your prayers.


@tipu curate
Upvoted 👌 (Mana: 1/7) Get profit votes with @tipU :)