Let's do it...Do It Yourself👉Craft, Creativity, Drawing, origami, DIY, Recycling and more
Greetings friends!!
This is @urmilanath650 from @bangladesh
Hello everyone!! How are you all?? Hope each of my steemian friend is happy and well by the grace of Almighty Krishna. I am also well by His mercy. Today I am here in this nice community to share a beautiful paper craft with you. I have made a beautiful gift card yesterday and decided to share this with all of my steemian friends by taking part in this beautiful contest. Ok let's see the required tools and procedure to make this nice gift card...
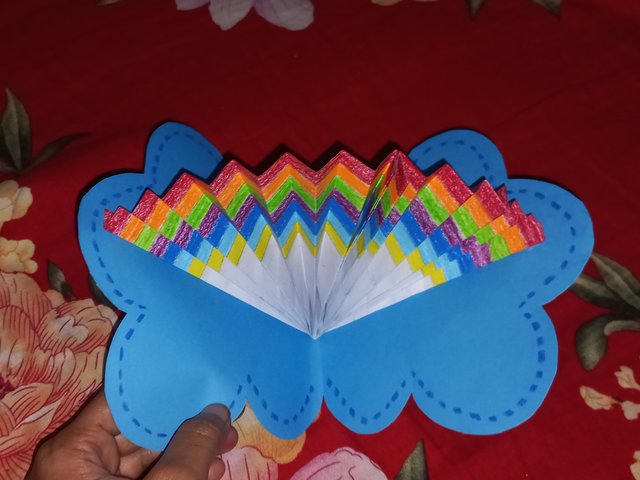
- Sky blue color paper
- White color paper
- Black color pen
- Red color pen
- Yellow color pen
- Blue color pen
- Sky blue color pen
- Orange color pen
- Green color pen
- Pencil
- Scissor
- Scale
- Glue
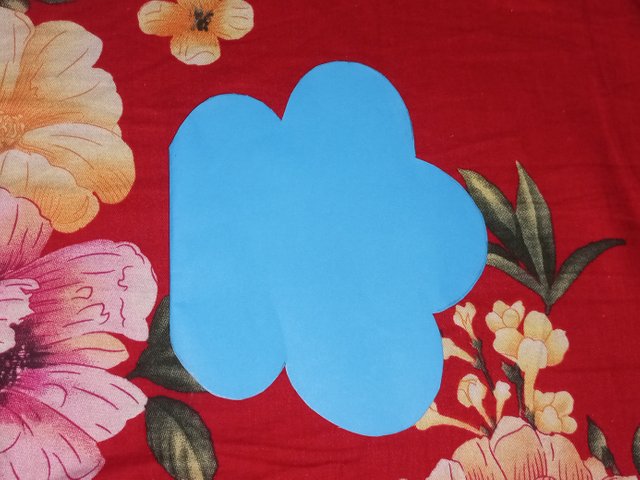
At first take a sky blue color paper and fold it at the middle position. Draw a cloud shape on the folded paper and cut the shape.
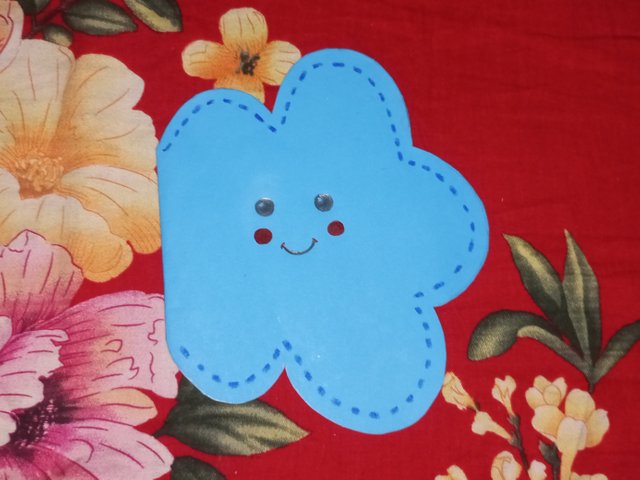
Draw a line with gap near the edges of the cloud shape. Also draw such lines in the two pages inside the card. Then draw a face if the cloud on the card. Draw two eyes and the lip with the black color pen and draw the two cheeks with the red color pen.
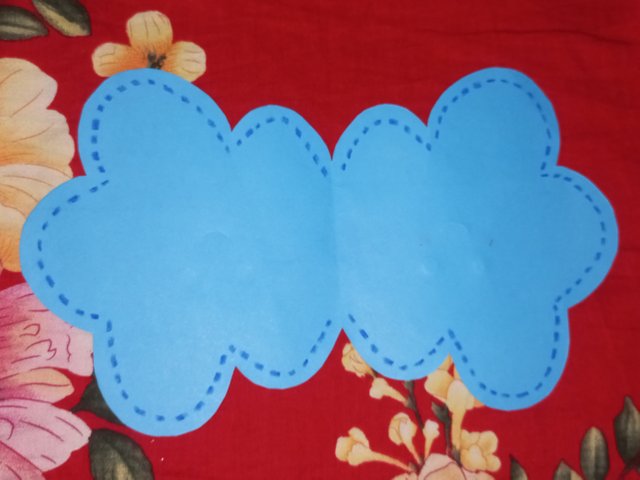
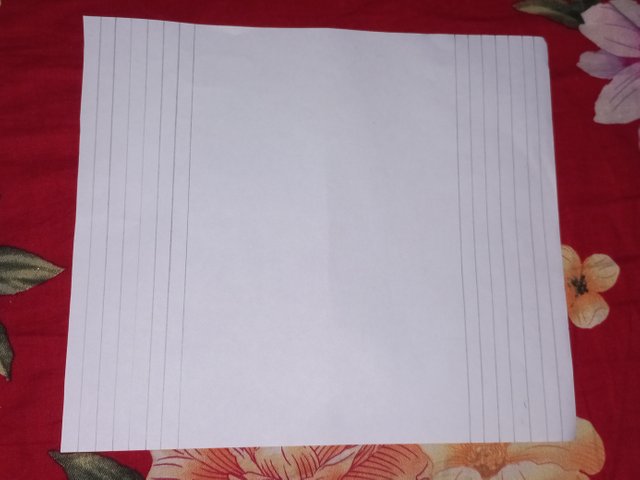
Next take a slightly rectangular shape white paper. Draw seven lines of 1 cm from the left and right sides of the white page at both sides using scale and pencil.
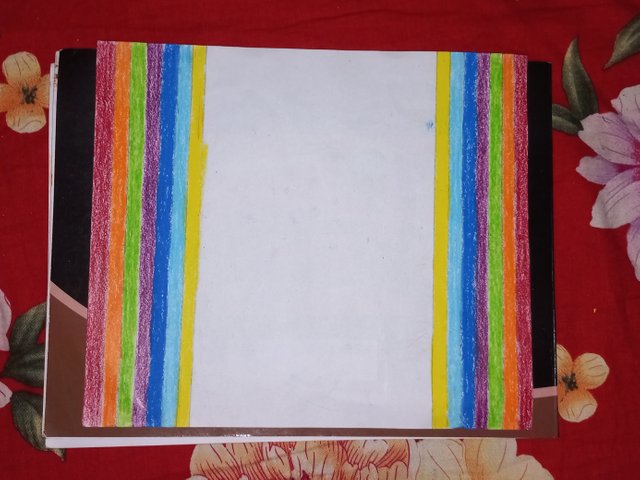
Now paint the long boxes with different colors as like as a rainbow. Paint the first portion with red color; the second portion with orange color; the third portion with green color; the fourth portion with purple color; the fifth portion with blue color; the sixth portion with sky blue color and the last portion with yellow color in both sides of the paper.
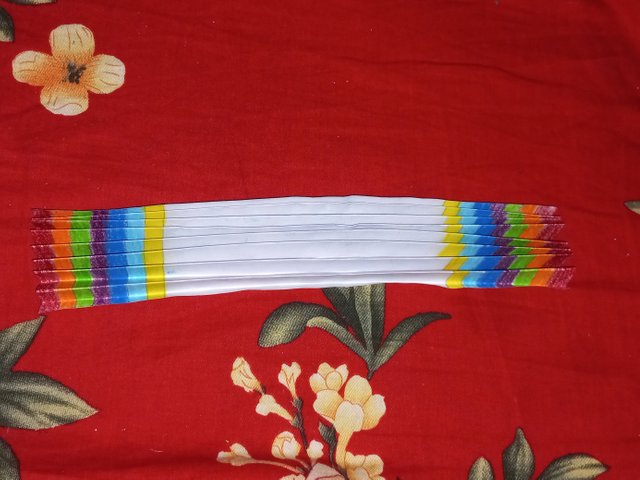
Then make small folds longitudinally of the paper. Make the folds in such a way that one fold from one side and the next fold from the other side. Next fold this many folded paper at the middle position and attach the two parts with glue. At last attach this folded paper inside the card in the way that one side of the folded white paper is attached with one of the parts of the card inside. Let the glue dry and then open the card and see the beautiful rainbow magic.
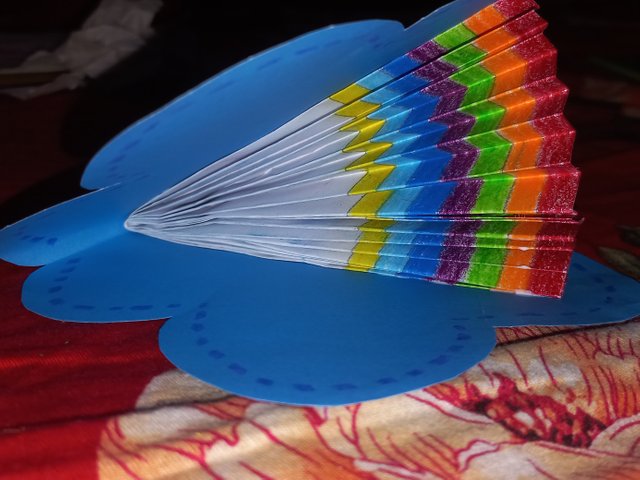

Here beautiful gift card preparation is done. I have tried to explained the full preparation process in the above five steps. Hope ypu all can easily understand the process and must try this at home. Please keep me in your prayers so that I can share such amazing works regularly with you...
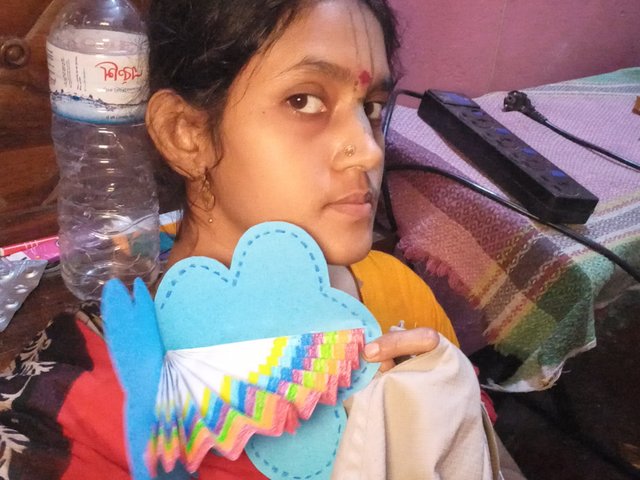
I got the idea of this beautiful gift card preparation from a pinterest reel. Hope you can easily make this by watching the reel attentively.
I invite @josepha @arinaz08 and @kuzboy to participate in this nice contest..
Regards,
@urmilanath650

x share https://x.com/urmilanath55/status/1857093966820171907
Greeting dear, amazing skill you have. I love the craft of your about beautiful gift card. You have shown every step so that anyone can try this. I'll try and let you know the result of it. Best of luck.
thank you so much friend
Always welcome
Wow your creativity is lovely and the way you crafted this piece is nice and wonderful. Wishing you all the best my friend
thank you friend
Your most welcome
Thank you for publishing an article in the Steem Kids & Parent community today. We have assessed your entry and we present the result of our assessment below.
MODs Comment/Recommendation:
Your creativity is mind-blowing. I love the way you arrange those colours and then made it in a fan form to beautify your gift card. I love and understand every step taken. Wishing you best of luck in this.
Remember to always share your post on Twitter. This POST LINK is a guide to that effect.
Many thanks for this nice evaluation...
Thank you so much sir..