CRAFT PRODUCTION [FULL VIDEO] :- MAKING A UNIQUE DESIGN WITH MY MONOGRAMING MACHINE 😇
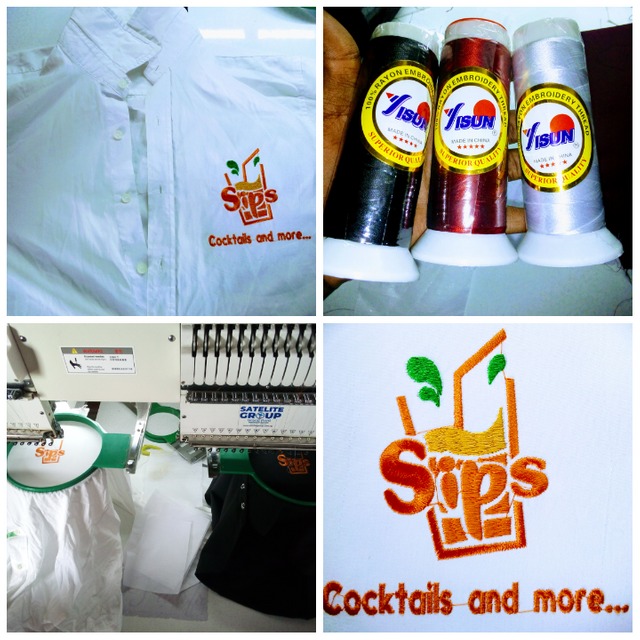
- Good day Beloves Steemians
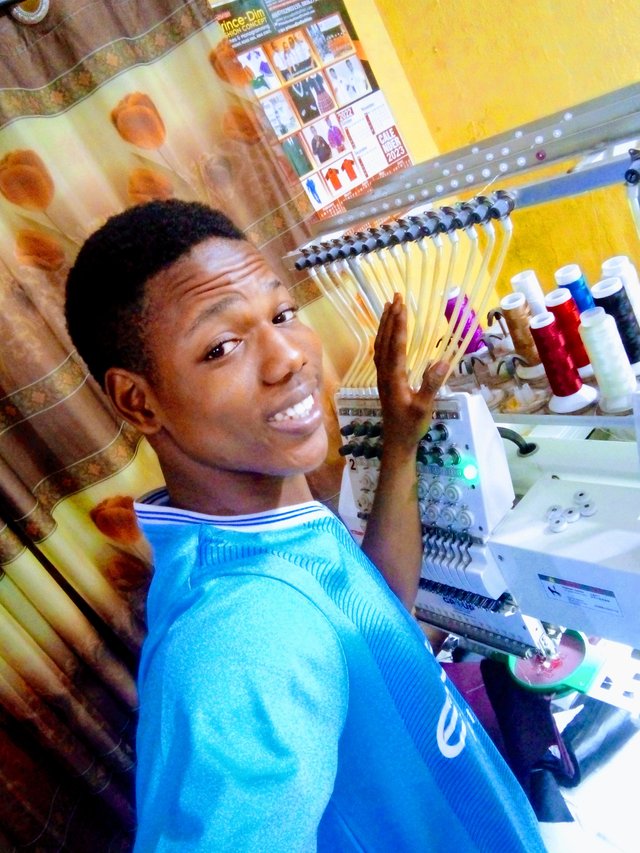
How are you all doing, hope everywhere is moving fine and good, Am awesomely welcome you all to this captivating content of mine which will stand to IMPACT more knowledge to many users, well it's another wonderful day to display another Interesting content, of my handwork and skills which is so unique and fantabulous, so below I will be giving a full details on how I produced an amazing Design using my monograming machine, Let's go...
So today will be showcasing a wonderful Design that I created using my monograming machine and also a video tutorial on how it was made, so below will be in details on how this amazing craft was produced.
- EQUIPMENT USED
- Monograming machine
- Thread (orange)
- Needle
- Plastic frames
- Computer System
- Flash desk
- And many more
- STEP ONE
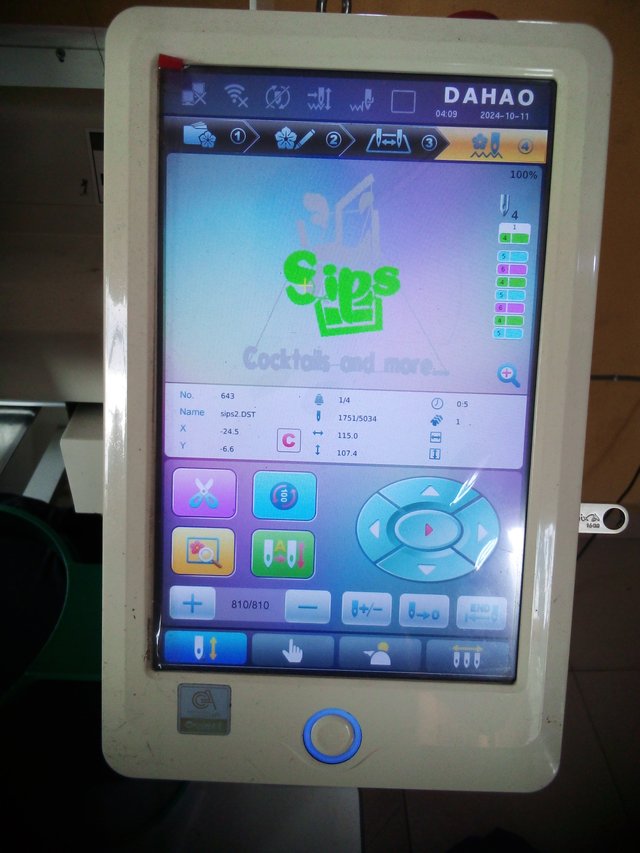
The First Step I considered was what we normally call DIGITIZING. This mean using the computer system to design any kind of logo you want to using an application known as WILCOM. So at this juncture I added my design into the computer system through Bluetooth and the Started DIGITIZING it which took me about 30 minutes.
- STEP TWO
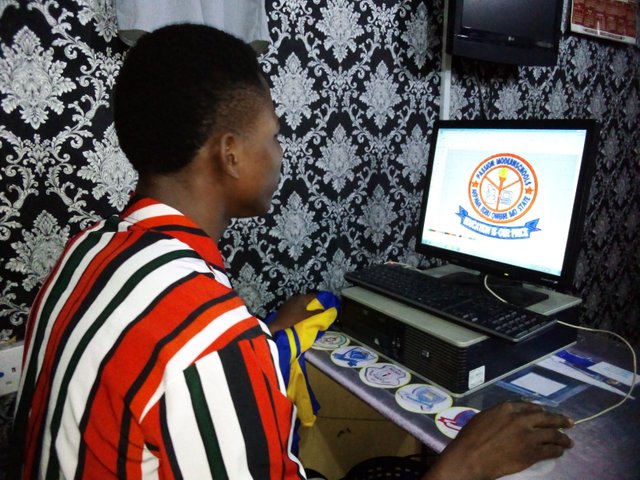
As soon as I was done with digitizing this wonderful logo using my computer system, I then added to the flash desk which is the only medium of adding it to my monograming machine, as I was done adding it I then finally added it to my monograming machine.
- STEP THREE
 |  |
|---|
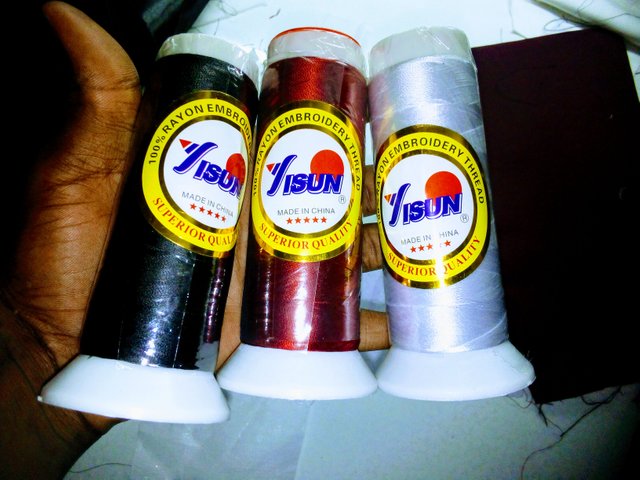
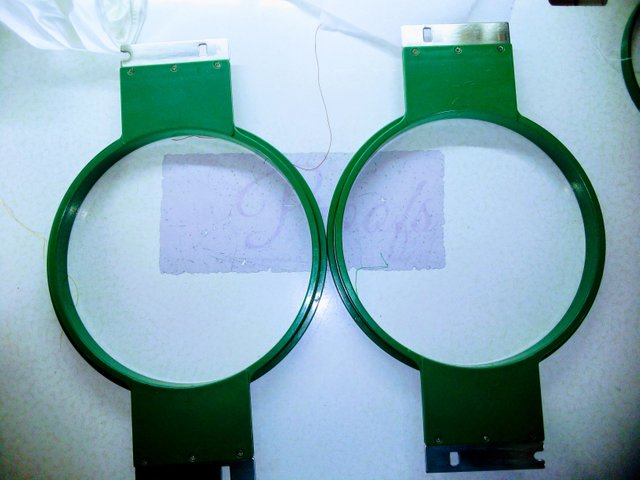
At this juncture I started a manual transmission with was Assembling my working equipment, which includes the plastic frames and threads, then I brought out my material and hook it with the plastic frame at the exact position I needed it to be, then I finally added it to my monograming machine for full placement.
- STEP FOUR
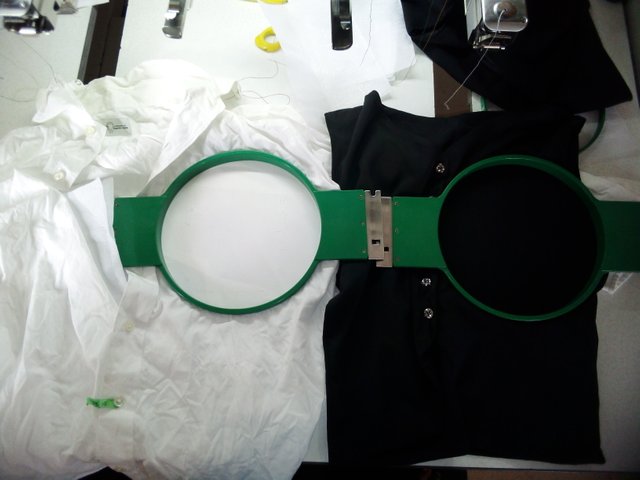
Finally, I did what we called tracing which means Making sure that the needle function is at the exact position Central middle of the frame it other to place the work at the exact position and finally I add this particular logo to the homepage, added my color function and then starts my machine and immediately it started placing the Design by itself
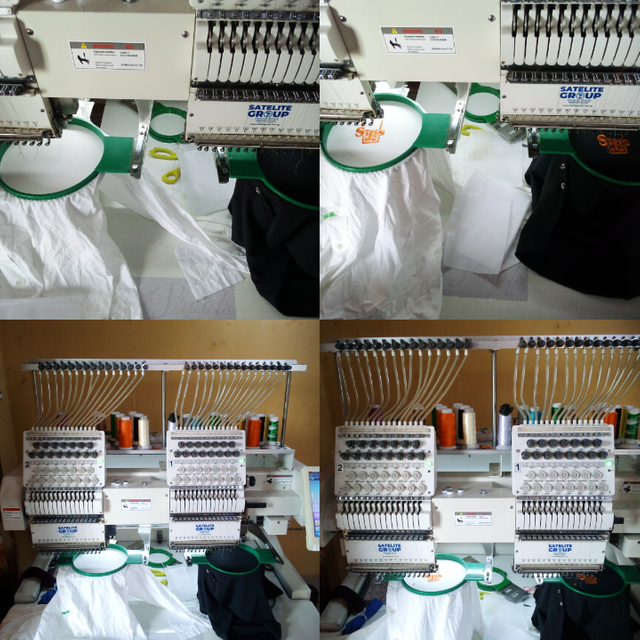
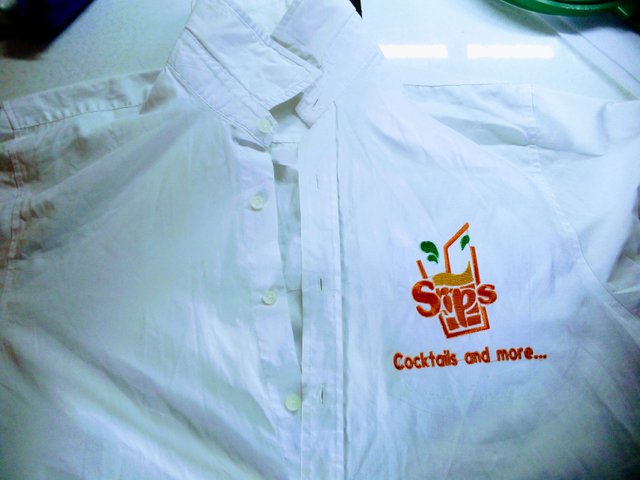
It only took my monograming machine about 7 minutes to finish Designing this particular logo and sincerely speaking it was so unique and amazing and below is my handwork.
 |  |
|---|
https://twitter.com/Manofgrace0001/status/1848441985868394963?t=CiH7VSWmeVEmih__ItmfHg&s=19
Upvoted. Thank You for sending some of your rewards to @null. It will make Steem stronger.
Thank you so much ma 😇😇. I really appreciate