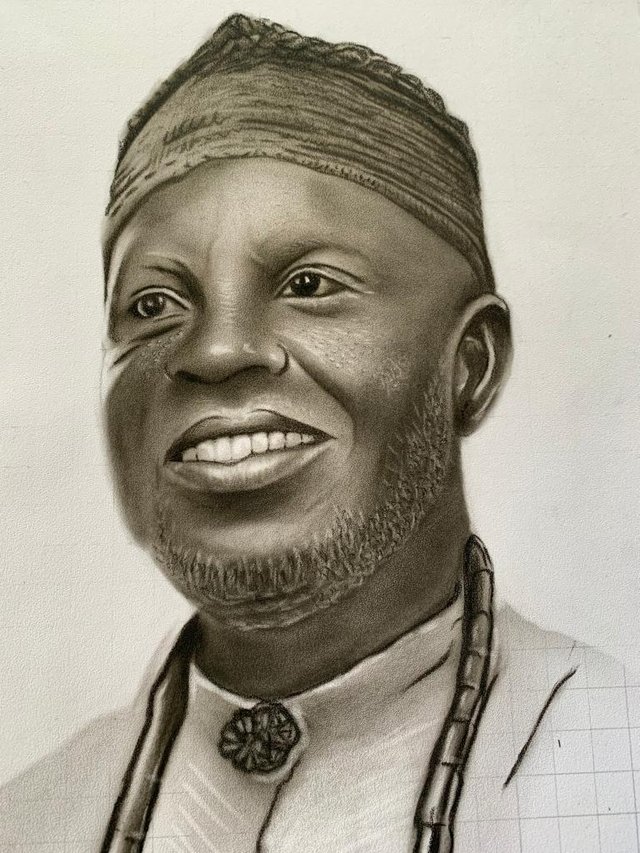
Hyper Realistic Portrait || Done With 100% Charcoal pencil..
Hello guys good morning..! Hope you all had a beautiful night rest? It's Sunday over here and I'm wishing you all terrific week ahead as I share my post with you... so if your ready just buckle up your sit belt and let's move...
I decided to go into hyper realism so I could learn and explore... This portrait took me somedays to finish up but am really glad it came out the way I wanted it to..
MATERIALS
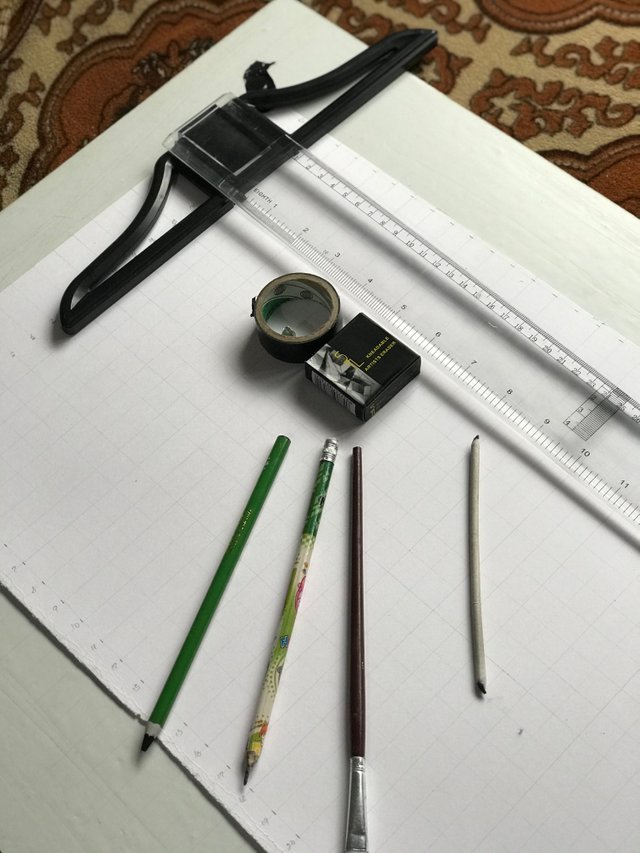
*Paper : needle point paper
*Pencils : charcoal pencil and HB
*Blending stump
*Brushes
*Duration: 48 hours...
*Ruler
Art is the only way to run away without leaving home, anything you imagine is real....
Most times when inspiration doesn't come to me, I go halfway to meet it.... "You use a glass mirror to see your face; you use work of art to see your soul".......
This are some beautiful quotes that motivates my alot when ever I want to push my limits..
So without further adoule let's move into our main business of the days..
STEPS I TOOK WHEN DRAWING MY REALISTIC PENCIL PORTRAIT..
If your a newbie or your an art lover and you wanna try something like this , it's very simple just pick up your pencils, cardboard paper and start drawing with a big smile one your face..
*STEPS 1
(Day 1)
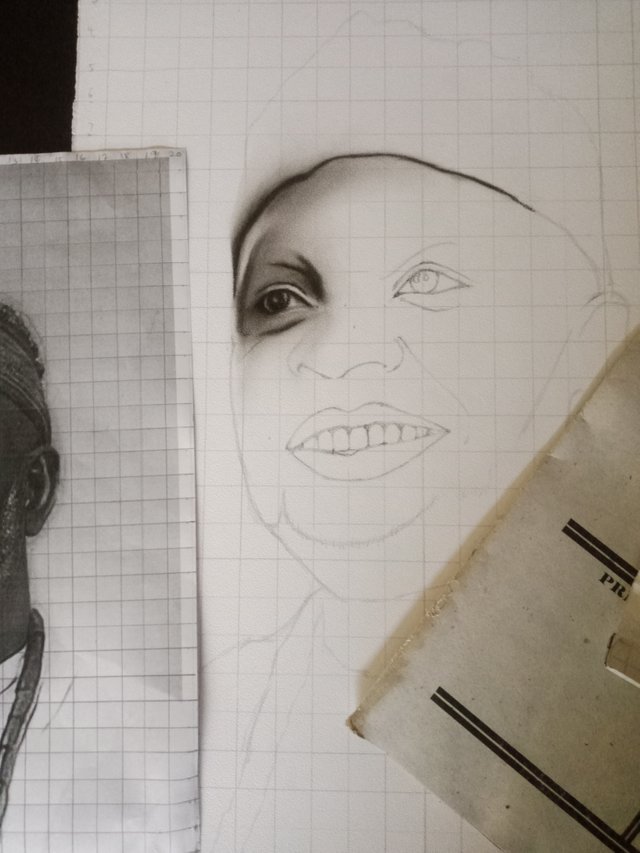
I got a needle point paper , then I measured my grid lines by 1.5cm each boxes, after doing that I had to grid my references photo... Once I finished it up I used my HB pencil then I made I sharp sketch of his face on my paper... During this process I took my time to sketch it so his resemblance will come out.. after sketching it I brought out my charcoal powder then I started shading...
*STEP 2
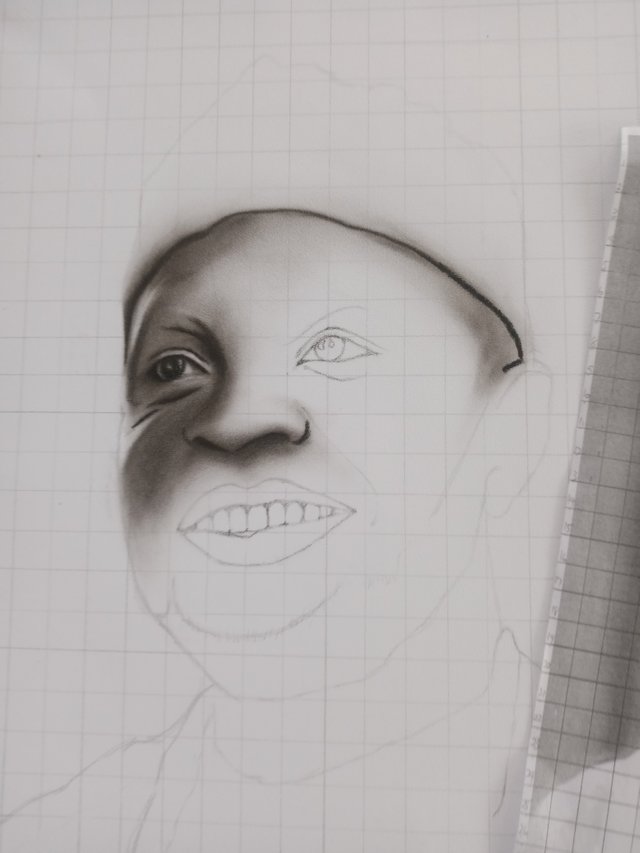
I used my pencil directly to outline his eyes, then I used my brush to bend in the pencil lines.. after that I picked up my charcoal powder and started blending. During this stage I was very careful so I could avoid a dirty background.. I then used my blending stump to blend his eye leads and his other eyes softly..
*STEP 3
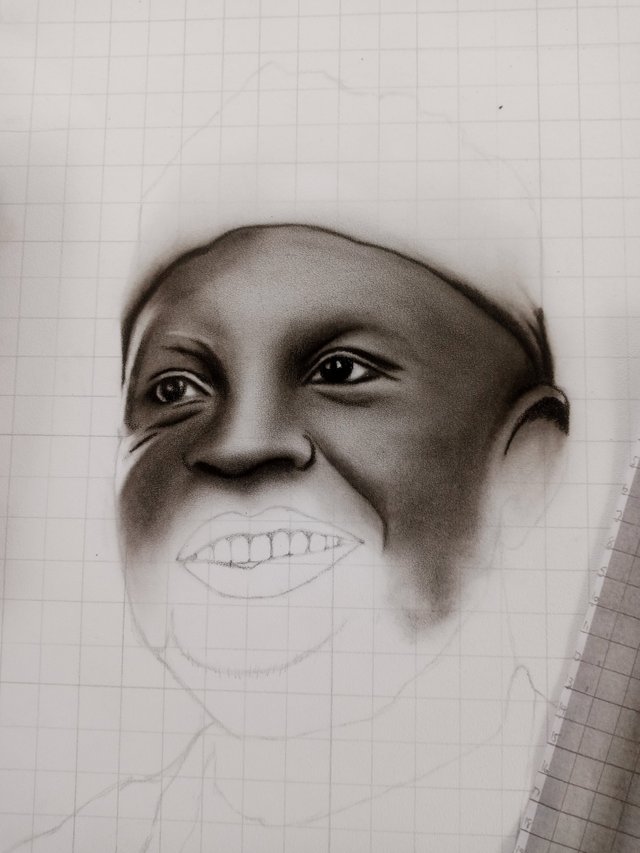
During this stage I moved to his nose and his upper check..I used my kneadable eraser to bring out some white outlines on his face so it could look soft..
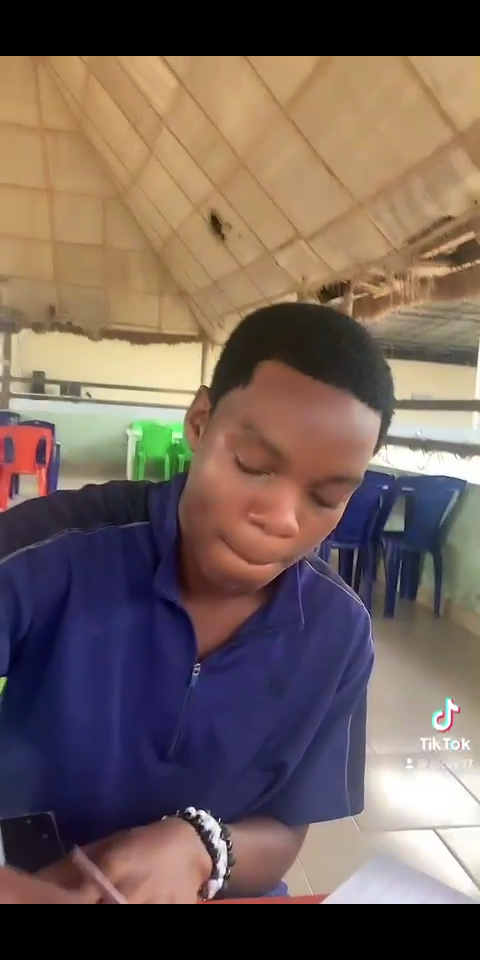
I then took alittle break so I could rest and eat abit, cause I wouldn't advice anyone to draw with an empty stomach.. the last time I tried drawing without eating it didn't turn out well at all... So after eating I had to rest...
*STEP 4
(Day 2)
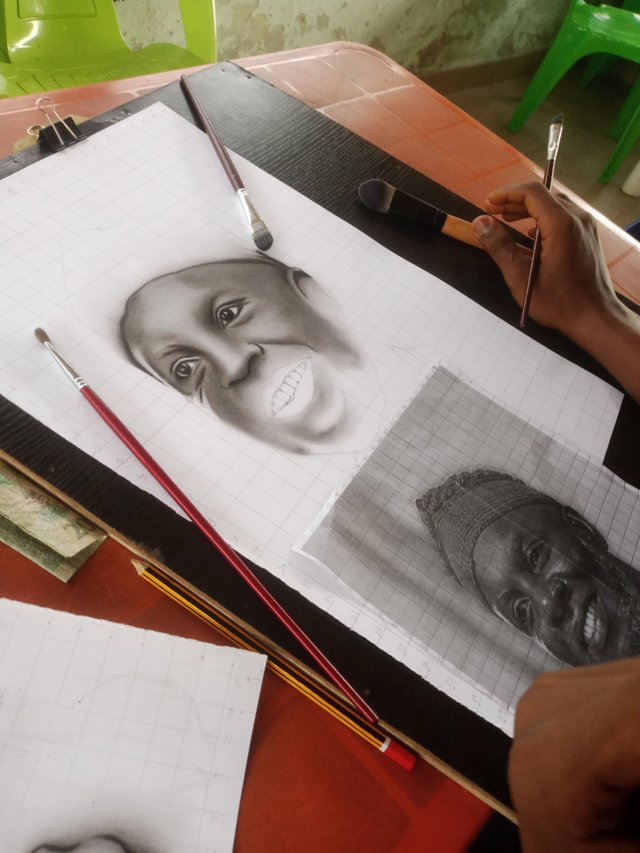
I used my charcoal dust to blend his lower chin, after doing that I still applied my charcoal dust again so it would look alittle dark and Realistic..
*STEP 5
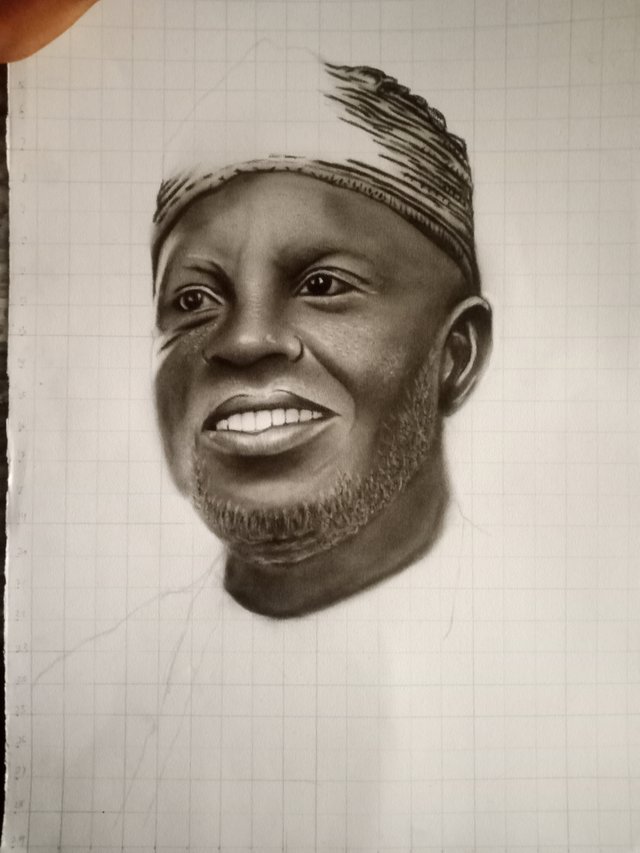
After i got the texture I wanted, I used my pencil directly to his lips and I used to brush to blend in the shades of his lips and his teeth.. then my major challenge her was making his beards look very Realistic, so I used my powder and made some dark shades then I used my eraser and brought out little highlights, after doing that I used my pencil do darken some part so it would look real... After I did that the results I got was beautiful and I loved it.. then I moved to his hat, I used my pencil directly and made some shades on it..

Done with my portrait...
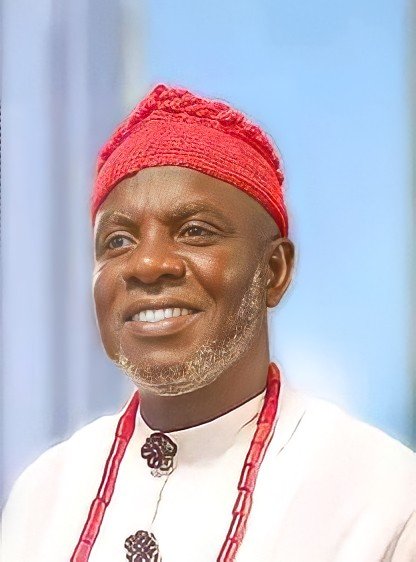
Reference photo
Cc:
@steemkidss
@ngoenyi
@benton3
@madilyn02
@goodybest
@eliany
@chimeroselam
Hope you all loved the portrait of the man I made...?
You could try it at your spare time whenever you want to...
Thanks for checking my blog and my post as well...
Happy steeming friends
This is awesome I was very happy when I received it on time and thanks so much for keeping to your promise.
Your welcome ma
Am very glad you loved it..
Woooo this is so beautiful, men you are talented, I am truly in love with the portrait
@mesola thank you very much..
This indeed looks real,it is very detailed .
You did great ,thank you for sharing the steps to this portrait art with us.
Thanks so much
WOW ¡pero que gran y hermoso talento tienes!
me encanto tu dibujo siempre e querido aprender a dibujar así y espero algún día lograrlo.