Orthographic Projection in Technical and Engineering Drawing.
 Captured with my Galaxy-A15 and edited with PhotoStudio
Orthographic Projection

Orthographic projections are a fundamental tool in technical and engineering drawing, providing a clear and accurate representation of an object's dimensions, shape, and features. It has been one of the best techniques used to describe an object to be constructed. Its among some of those instances that go a long way to prove that a picture is always worth a thousand words.
What are Orthographic Projections?
An orthographic projection is a 2-Dimensional representation of 3-Dimensional objects, created by systematically dprojecting the deffrent views of the object onto multiple planes. Typically, we should be looking at the object from six different angles: top, bottom, left, right, front, and back). These views are then combined to provide a comprehensive understanding of the object's geometry.
Let us use a scenario to explain this. Assuming you are asked to produce 1000 units of this prototype using cardboard:
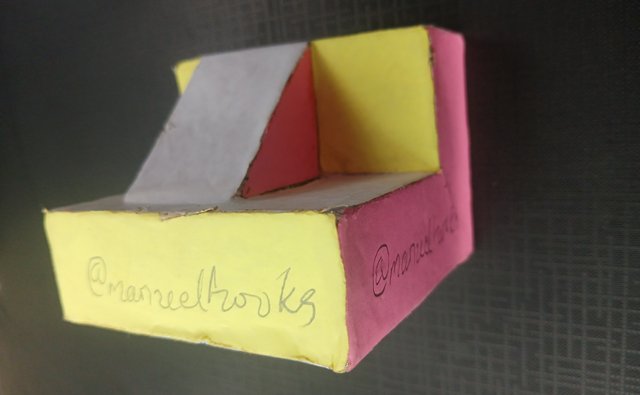
Technically, this picture alone can not provide enough data to carry out the production, with this picture you can't really tell how it looks behind, under or the left side. We really need more information, something that provides more information on the object's geometry.
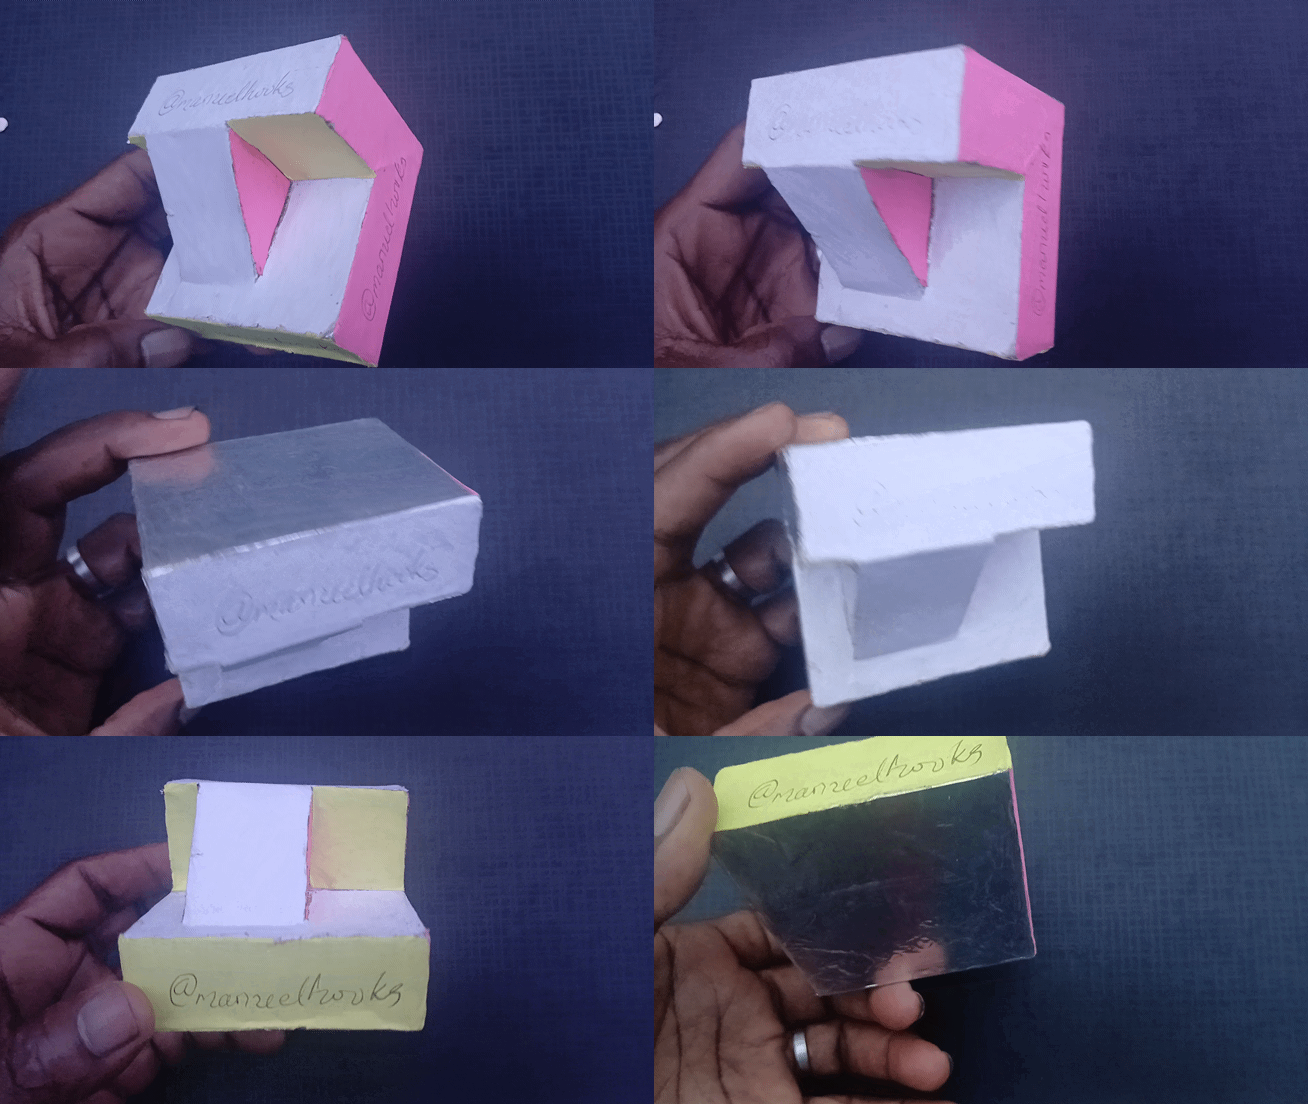
This GIF is good. We can now better tell how this sample looks. While we could see all the sides, we still have some very important parameters missing.
- How big is this thing?
- What is its height?
- Is the silver base a square or rectangle?
- How far is that triangular ramp from the edge, from the left or right edge?
These questions and more like it would be answered by an orthographic projection of this object. It's an effective way to convey complex design information, an accurate representation with precise dimensions and geometry.
Types of Orthographic Projections:
- Multiview projections: Six views showing the top, bottom, left, right, front, and back of the object. This projection is more informative but really used.
- First-angle projection: The first angle projection is a European standard, where the object is being projected onto the planes as if the person was viewing it from the inside.
- Third-angle projection: This is an American standard where the object is projected onto the planes as if it was viewed from the outside of the object.
| First Angle Orthographic Projection |
|---|
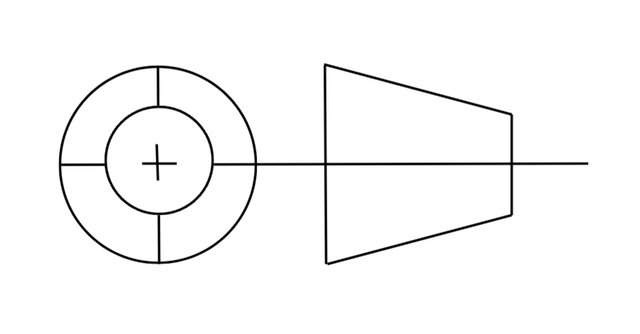 Representation of First Angle Orthographic Projection
Let's start by identifying which side will be presented as the front, top and side view
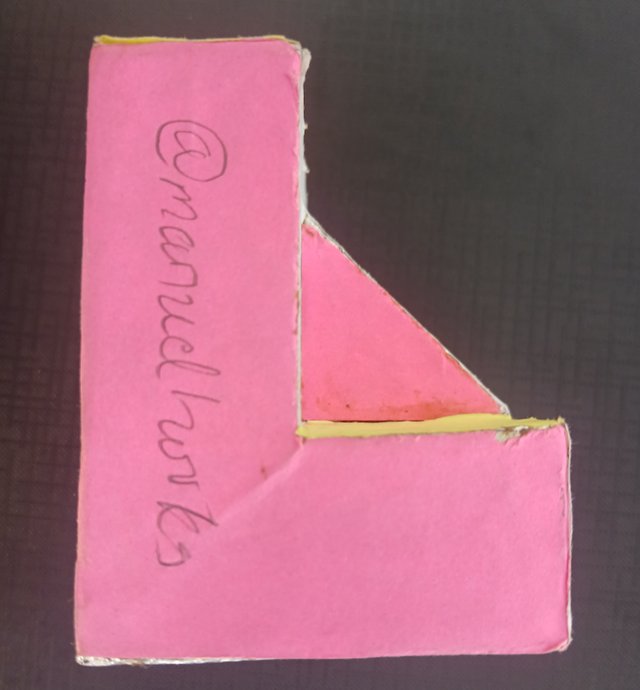 | 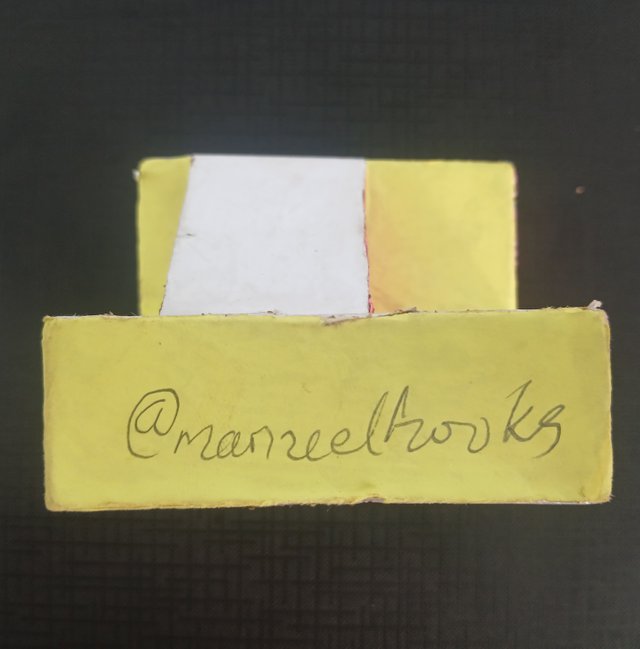 |
|---|---|
| Front | Side |
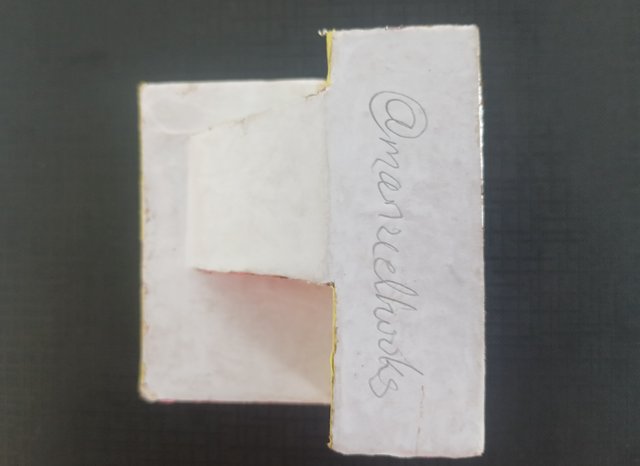 | First angle Orthographic Projection |
|---|---|
| Top |
Divide the drawing area into four quadrant and lebel them based on the side that will be drawn in them
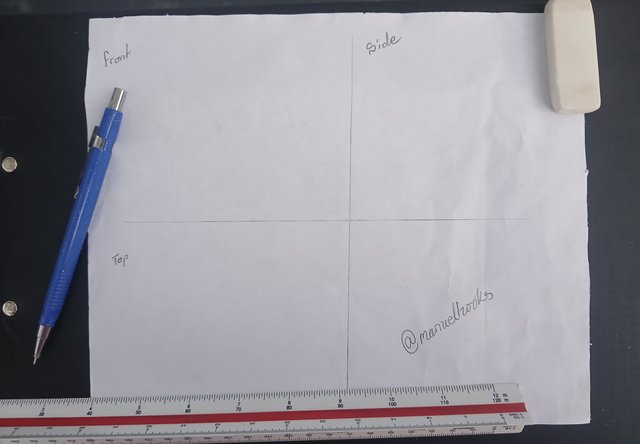
| Top Viwe |
|---|
This side has a perfect square measuring 7.5cm x 7.5cm. You may use a set square or a protractor to get perfect 90° angles.
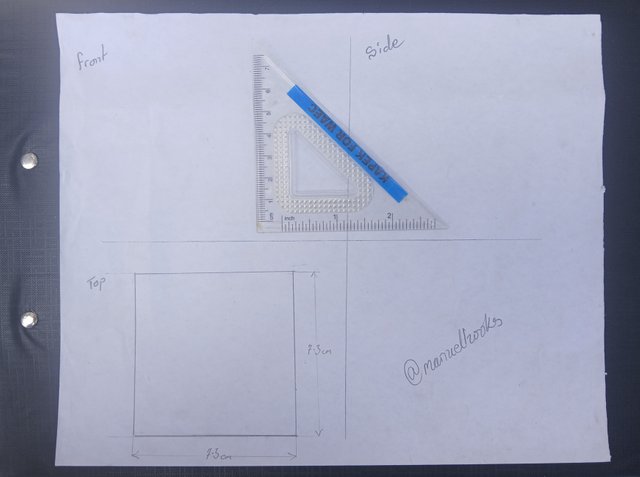
Aftet achieving the 7.5 by 7.5 square, I measure 2.5cm from the right edge of the sample so I can represent it on the page.
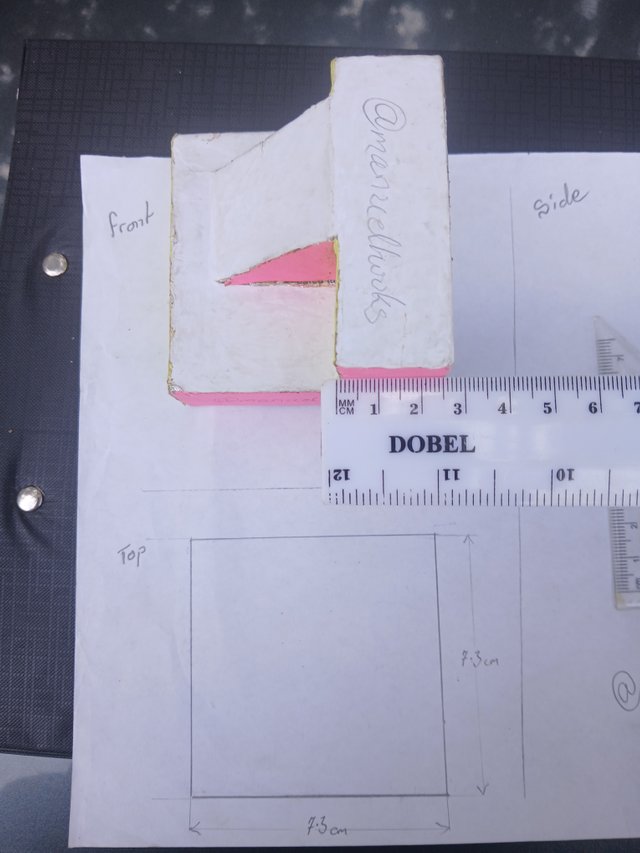 Measuring the real-life object Measuring the real-life object |
|---|
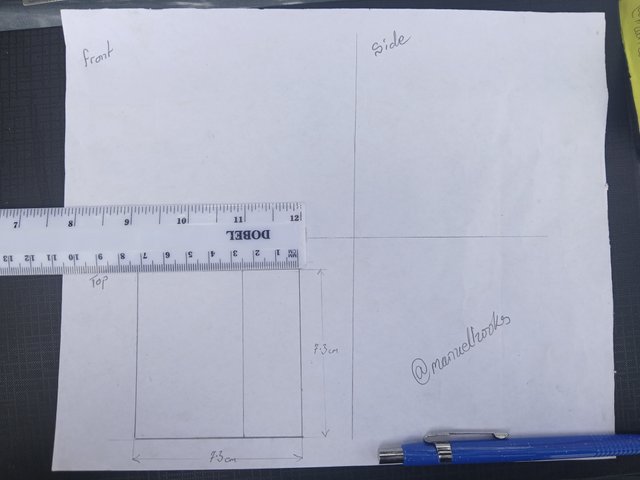 Representing it on the page Representing it on the page |
|---|
Now mark and draw another vertical line, 1 cm from the right edge. This is where the triagular ramp will stop.
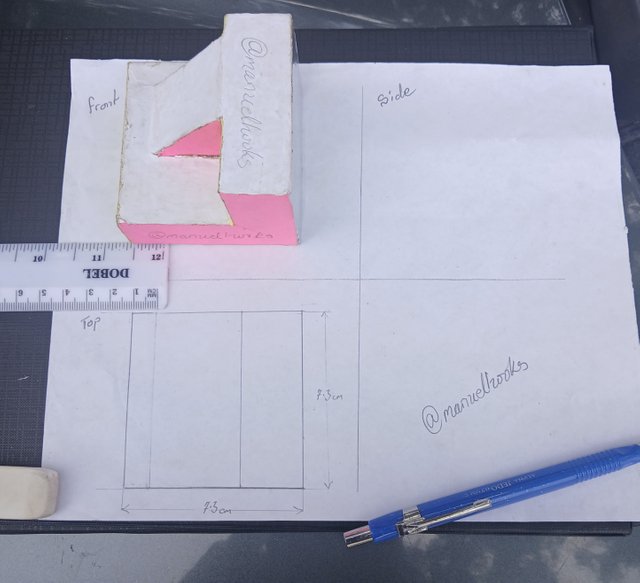
At this point, I will have to measure and position the sloping truangle. From the base, it is 3.1cm up and from the top it is 1cm down.
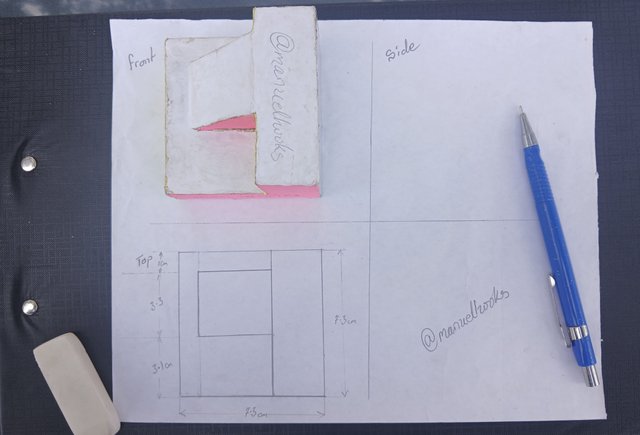
At this point, the top view is complited.
Pull construction lines up to help with the drawing of the front view. All vertical lines will have to be extended. At first, the construction lines were too lightweight for the camera, so I had to make it heavier.
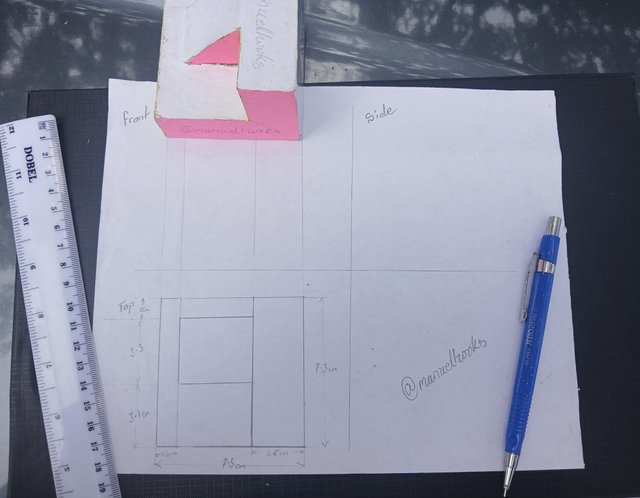
The construction lines will be very helpful when drawing the front view of this object
| Front Viwe |
|---|
We are starting with a horizontal line that is 7.3cm long, cutting across four construction lines.
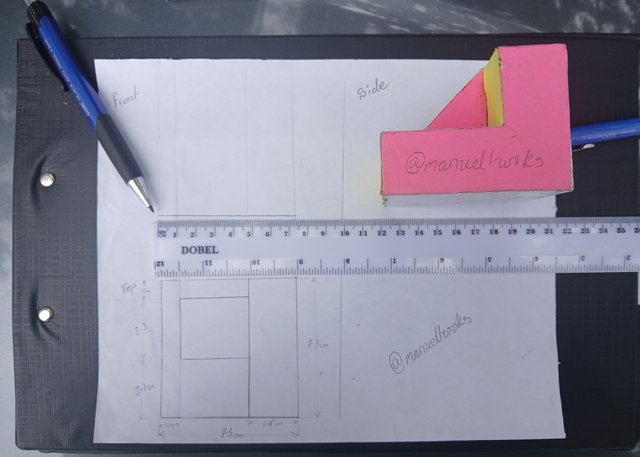
At both ends of the line, we are pulling up two vertical lines, one measuring 2.5 at the left and 5.7 at the right.
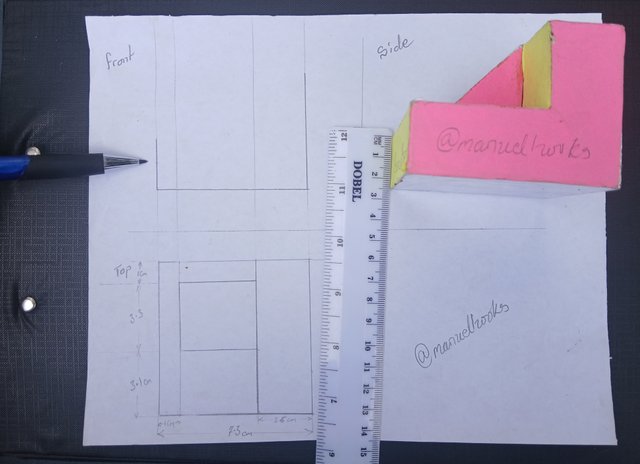
Pull a horizontal line across one construction line from the left and another horizontal line from the right to the next construction line then complete the L looking shape as shown below
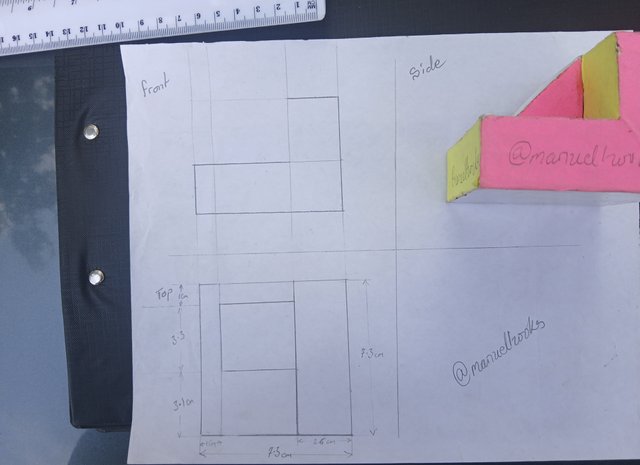
Now add the slop of the triagular ramp to complete the front view.
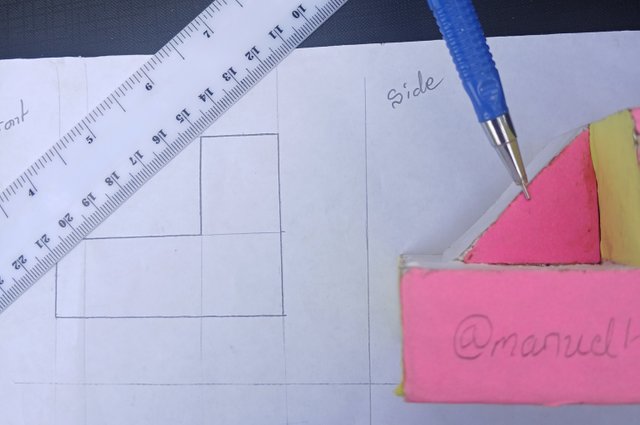
Extand both dimensions and construction lines to help with the drawing of our side view.
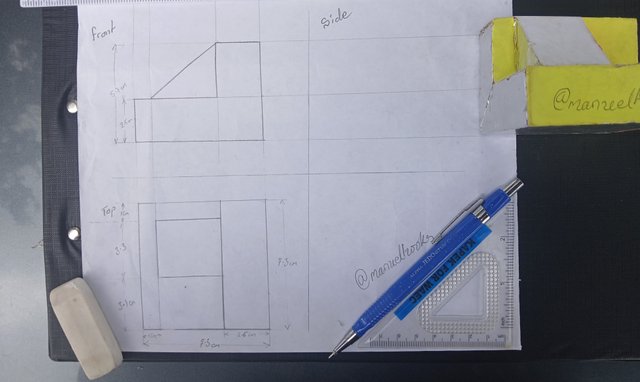
| Side Viwe |
|---|
Our side view starts with this vertical line measuring 5.7 cm, which spans 3 construction lines.
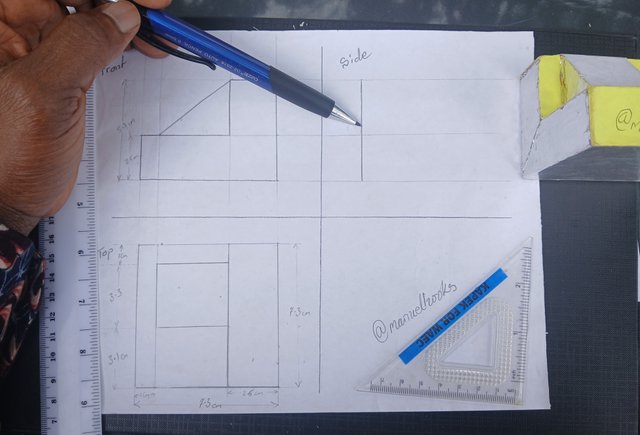
Drawing out two horizontal lines from the top and bottom of our vertical line, both lines measure 7.3cm and the ends are connected to create a rectangle. And the construction line cutting the rectangle is ticked.
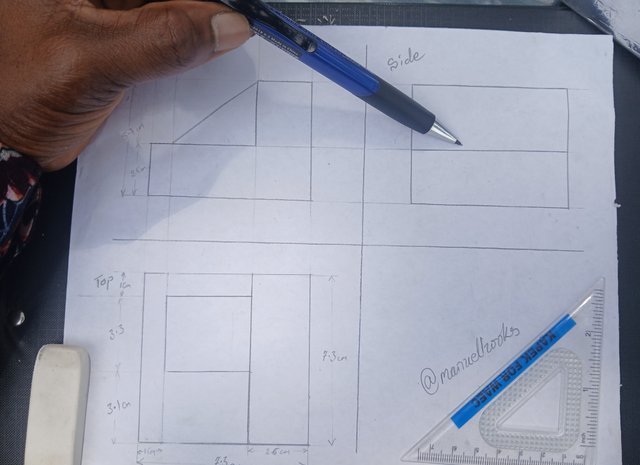
Pull down a vertical line 3.1cm from the left and another vertical line 1cm from the right
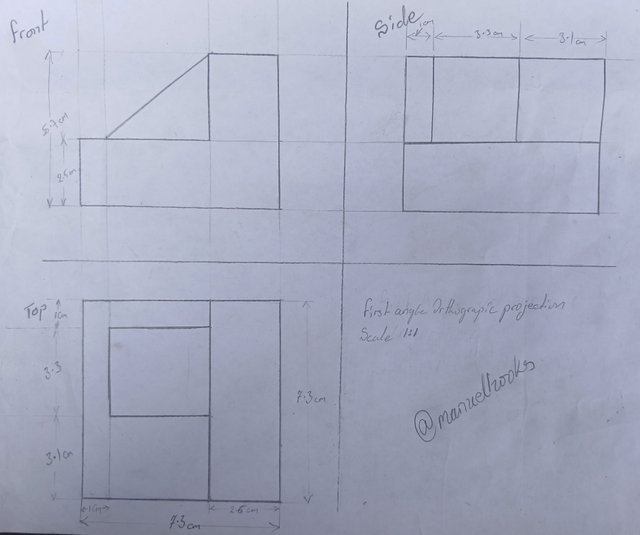
Resulting in the finished first angle orthographic projection below.
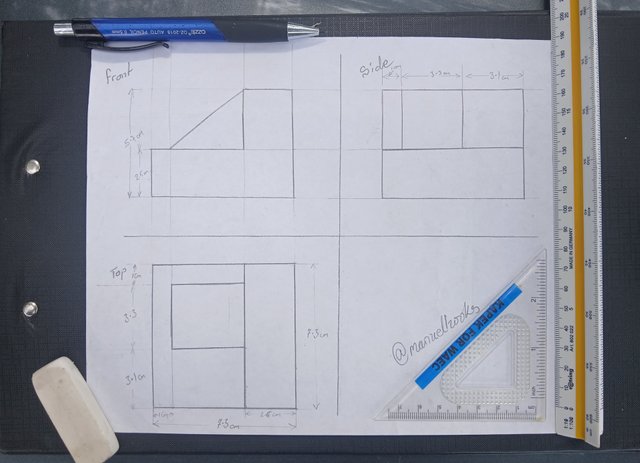
| First Angle Orthographic Projection [Scale 1:1] |
|---|
| Third Angle Orthographic Projection |
|---|
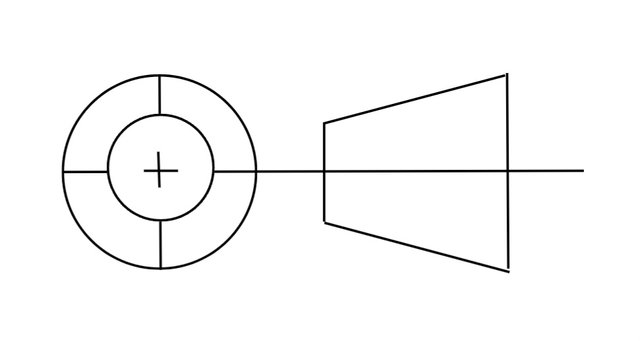 Representation of Third Angle Orthographic Projection
In this case, you have changed your viewing position. Looking at the object from above changes the position of some views, but the front view will always maintain its position
| Conclusion |
|---|
Consructing a first angle orthographic projection is a tasking exercise and requires skill and precision to accomplish.
The joy that comes with accomplishment will be yours once you take your time and meticulously craft this out.
| Lesson 1 | Introduction |
| Lesson 2 | Lines |
| Lesson 3 | Scales and scale ruler |
| Lesson 4 | Orthographic Projection |
| Up Next | Isometric Projection |
All pictures are my pictures, captured with Galaxy-A15 and edited with PhotoStudio App.
#engdrawing #drawing #burnsteem25 #learnwithsteem #steemexclusive
#nigeria #club5050
https://x.com/manuelhook41759/status/1851943916838232212
Thank you for publishing an article in the Steem Kids & Parent community today. We have assessed your entry and we present the result of our assessment below.
MODs Comment/Recommendation:
I didn't have the opportunity to learn technical drawing in my school since it wasn't taught in elementary junior and senior secondary 1. So I'll take these courses to add to my knowledge store. Thanks for sharing. I love the way you're intentional about the whole process.
Remember to always share your post on Twitter. This POST LINK is a guide to that effect.