DIY Solving Mid-term Project - Making a comical hat
Solving a Mid-term Project
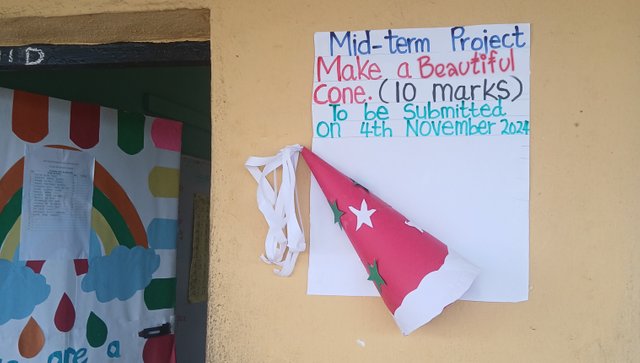
The task here is to create a cone that could be used as a hat on the head. The colplition of the task attracts ten marks, which is huge, and being part of the terminal assessment, it definitely has to be done.
I sometimes wander who is being educated here? Is it he kids or the parent? But will be a topic for another day. Right now, let's get to work
Understanding the task
This task looks straightforward, a cone that can be worn as a hat. It will have some decorative features. Made with a red material which I will be using a red cardboard for the main body and a white cardboard for the decorative effects.
Needed Materials
| Material | Function |
|---|---|
| Red Cardboard | main body |
| White Cardboard | decoration |
| Glue | bunding |
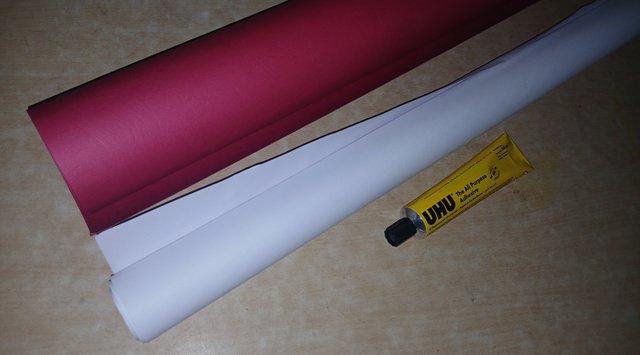
Needed tools
| Tools | Function |
|---|---|
| Scissors | for cutting |
| Ruler and tape | Measurement |
| Pencils | markings |
Procedure |
|---|
To make sure it fits well on the head, i used the tape to masure the head, I got a total of 53 cm as circumference round the head.
For accurate results, the height of the cone was not given, so I decided to use 40 cm
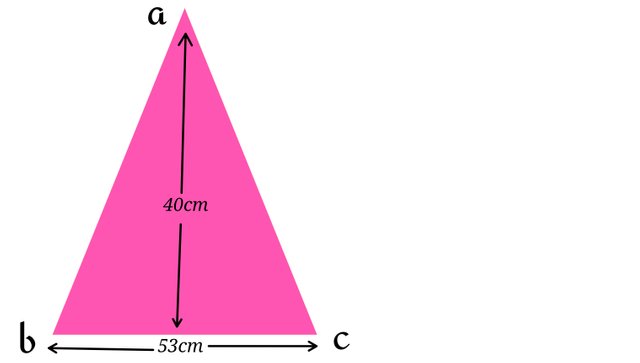
After measuring and cutting out this triangle, points a and b will be glued together, and that would include the length from a to b and from a to c.
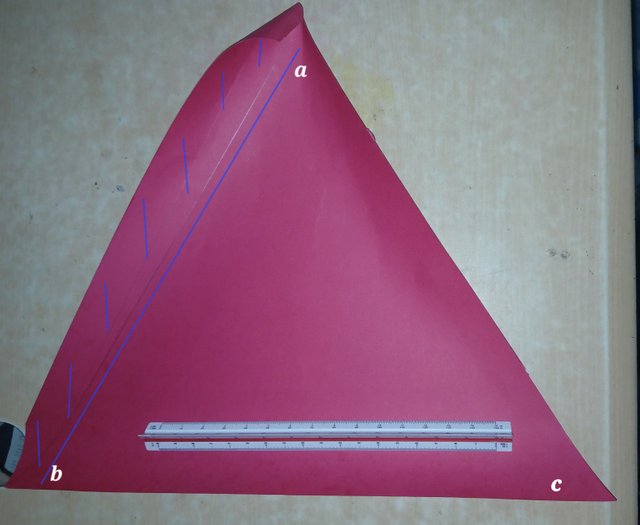
Besides the triangle, I kept some extra cardboard marked with the lines. This will be very helpful when applying glue as it creates an overlapping edge.
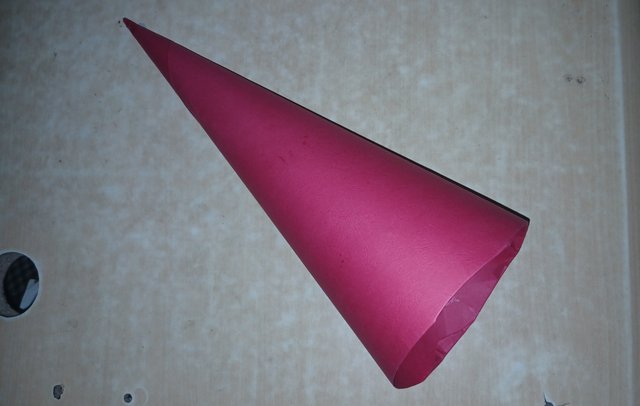
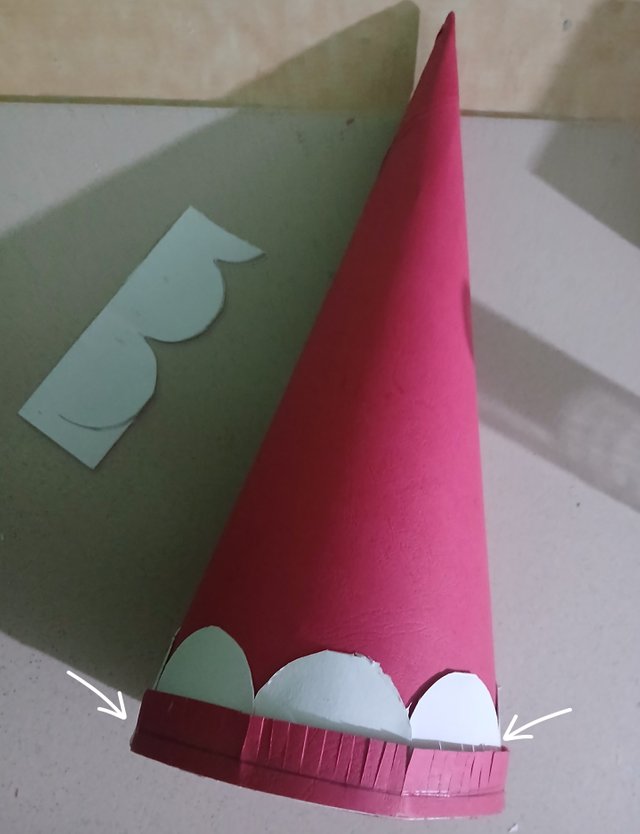
After folding and applying the glue, I got the cone as shown above. But that is not the end. It's now time for decorations.
I will start with a decoration that also straightens the rim around the base circumfrence of the cone.
I now had to cut out this star shape on the white and red cardboard paper.
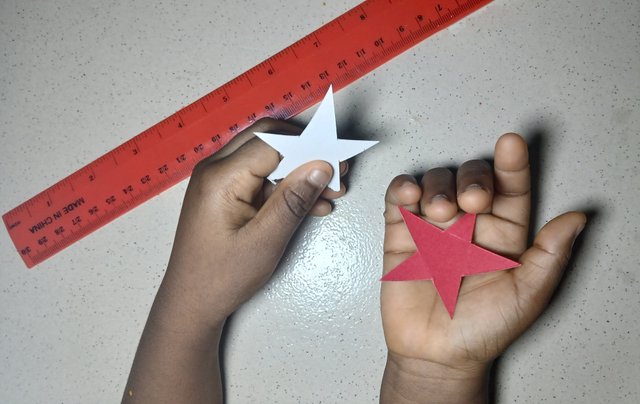
I used a stencil to mark and cut out the stars to get perfect duplicats. And I also found a new trick for drawing five sided stars during the process of marking this cone.
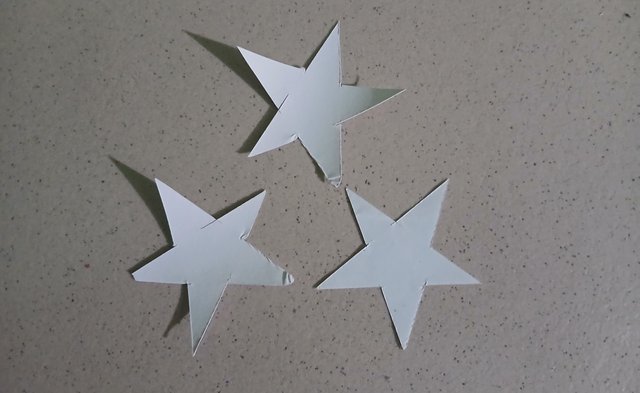
The stars will decorate the lateral surface of the cone all around it. I will try to spread it as much as i can.
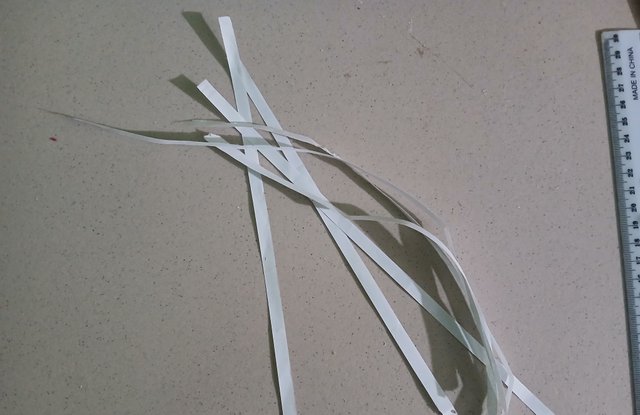
These strips will fall from the pointed tip of the cone, looking like a horse tail.
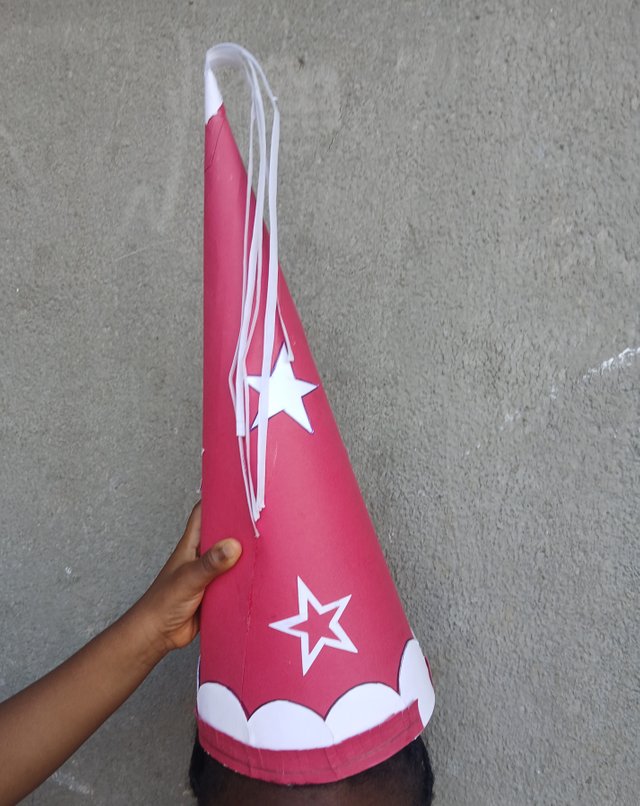
I still believe it was I who was trained by this take home project from my kids. Though I had to make sure they participated when ever the task was safe.
Smart parent - smart kids right!
At the least, they learn that one thing can be converted into another and that they can enjoy working with their hands.
Precaution |
|---|
Make sure kids are well supervised as you work. Don't have more kids than you can manage.
The glue used in this diy has a very strong order and should not be handled by kids.do the glouing yourself.
Glue must not make contact with skin or eyes and must not be ingested.
The sharp tools used for cutting the cardboard can cause injuries to kids. Do the cutting yourself.
Calculate and use the pencil to make indications on the cardboard before cutting to avoid wastage.
Some glues are quick to dry, so work quickly and only apply glue to a few areas at a time.
Kids are usually less carfully, so take away all that can serve as a trip hazard for them.
Media Credit |
|---|
| Captured with | Galaxy-A15 |
|---|---|
| Captured by | @manuelhooks |
| Edited with | PhotoStudio App |
| For Verification | My Achievement 1 Link |
| To view links | Use Edge or Chrome for better results |
#burnsteem25 #craft #education
#learnfromsteem #nigeria
#steemexclusive
#club5050
https://x.com/manuelhook41759/status/1853548175447183716
Congratulations!!! because your post has been upvoted by Team 7 using steemcurator09. Keep up the good work and keep making quality posts. Curated By <@lhorgic>
Thank you for publishing an article in the Steem Kids & Parent community today. We have assessed your entry and we present the result of our assessment below.
MODs Comment/Recommendation:
I believe your kid was so happy seeing you making this beautiful hat
Remember to always share your post on Twitter. This POST LINK is a guide to that effect.