Greetings the lovers of graphic design, i believe you're all enjoying your day as mine is going smooth, it's my pleasure to welcome y'all to my participation in the last week of graphic design lecture. This is my sixth time attending this class and I appreciate y'all for having my back.
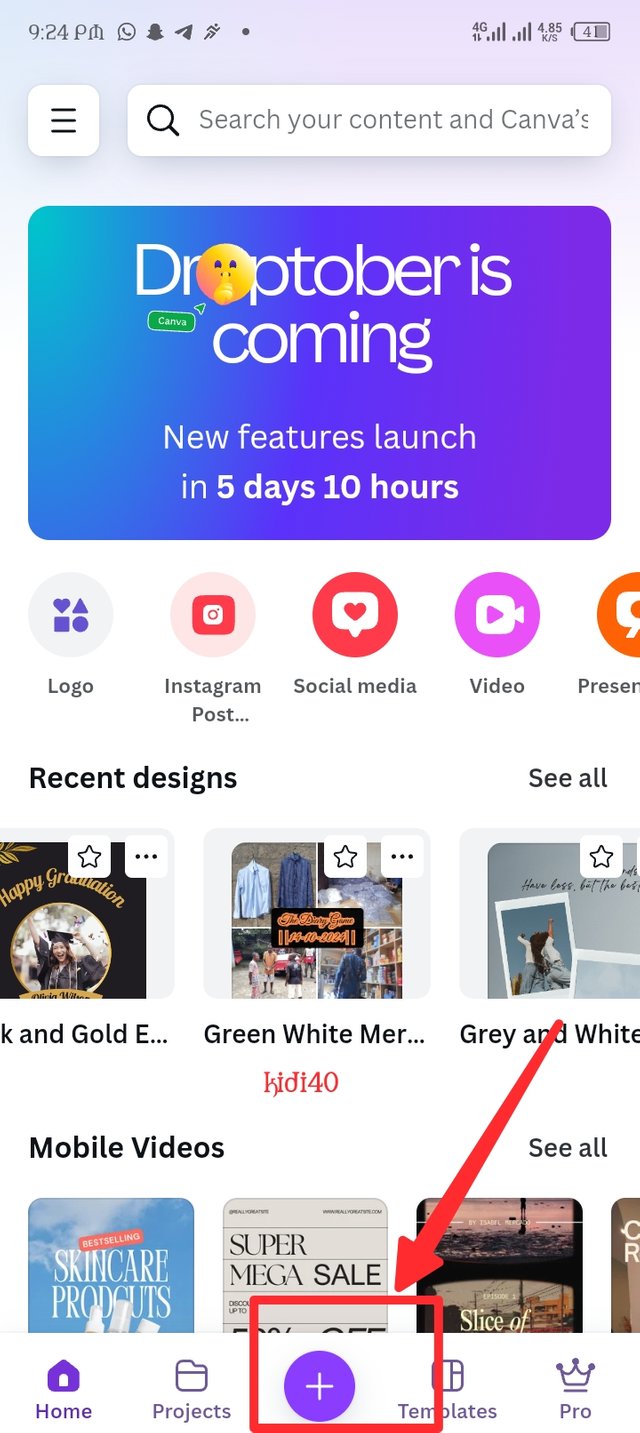
We're still on the graphic design hands - on practice 3. This week, we're instructed to create a celebration design, journey with me as i engage 11 steps to create my celebration design.
Graphic Design Hands - On practical 3 |
|---|
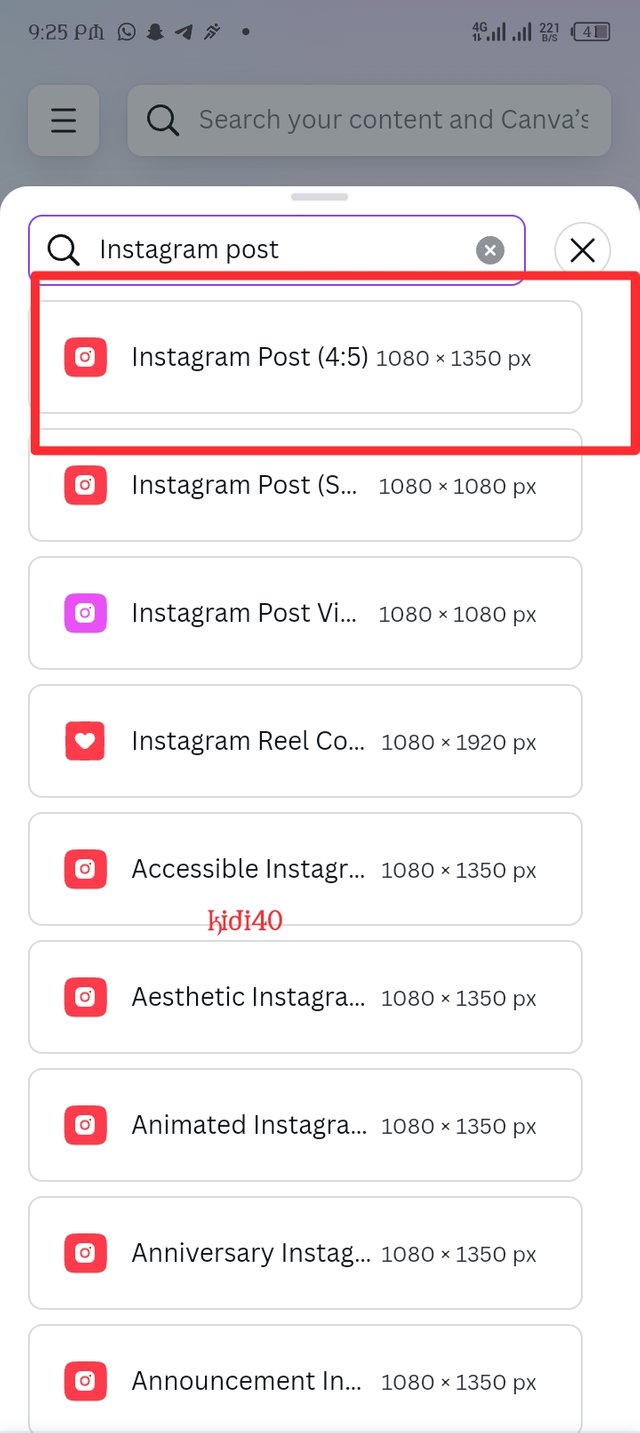
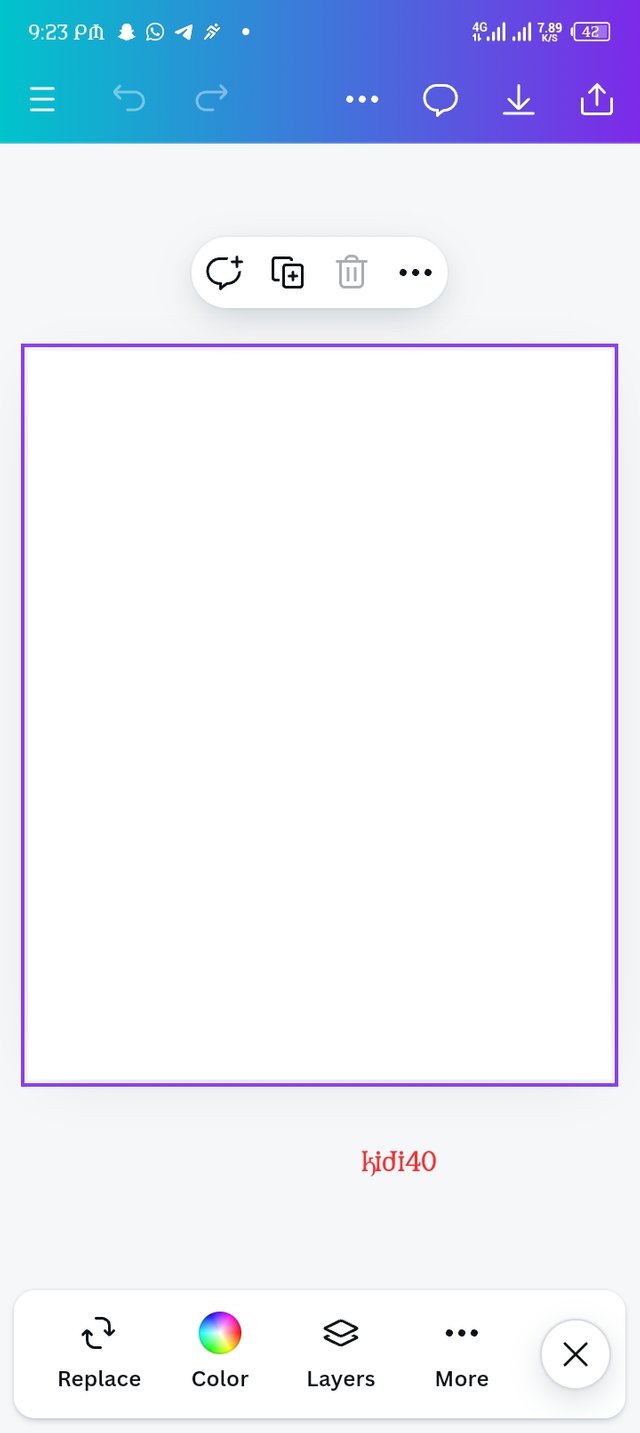
I begin my design process by first launching my canva application and locating the plus button which is coloured purple, i click on it and search for my desire workspace which is Instagram post 1080 × 1350, now have my workspace ready as seen in picture 3.
 |  |  |
|---|
| Picture -1. | Picture -2. | Picture -3. |
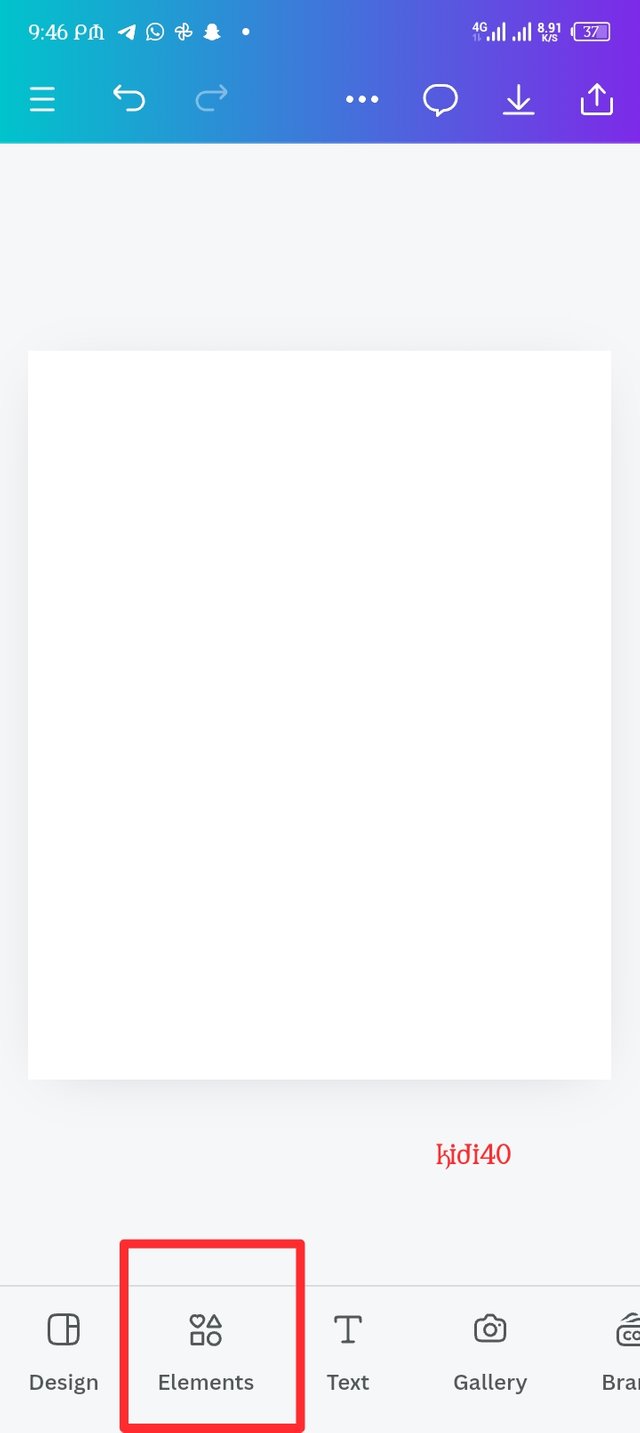
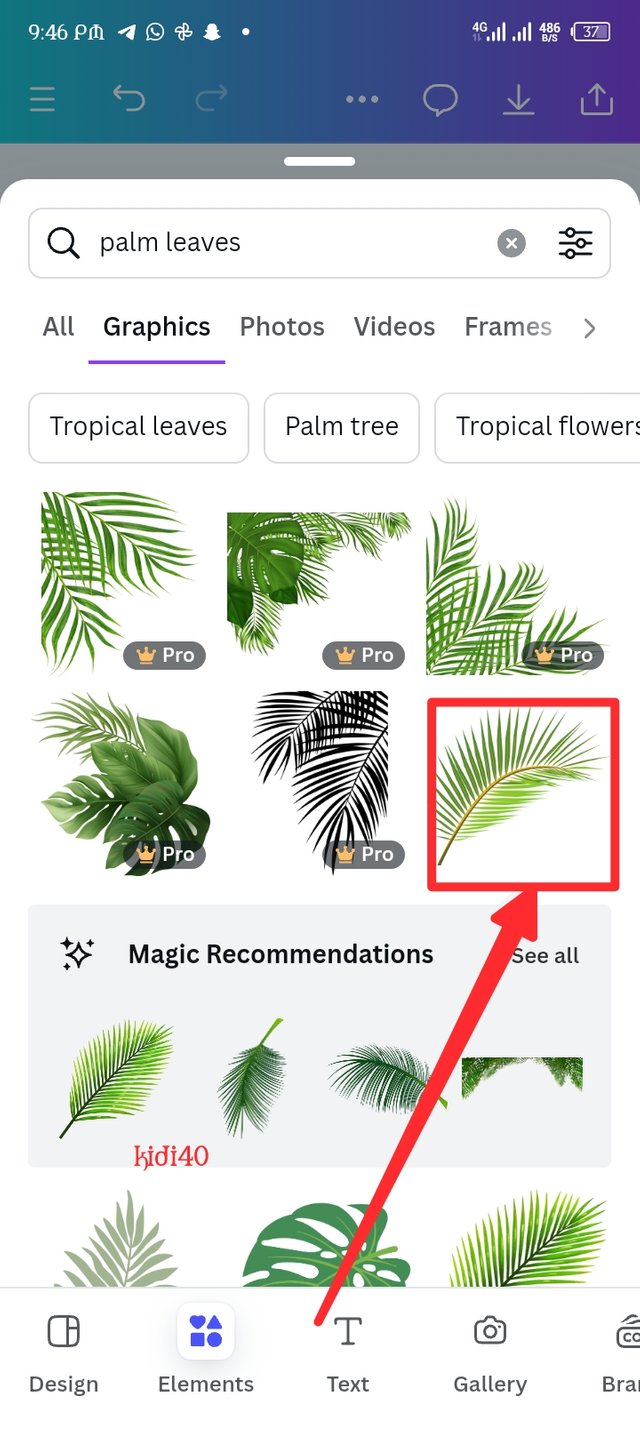
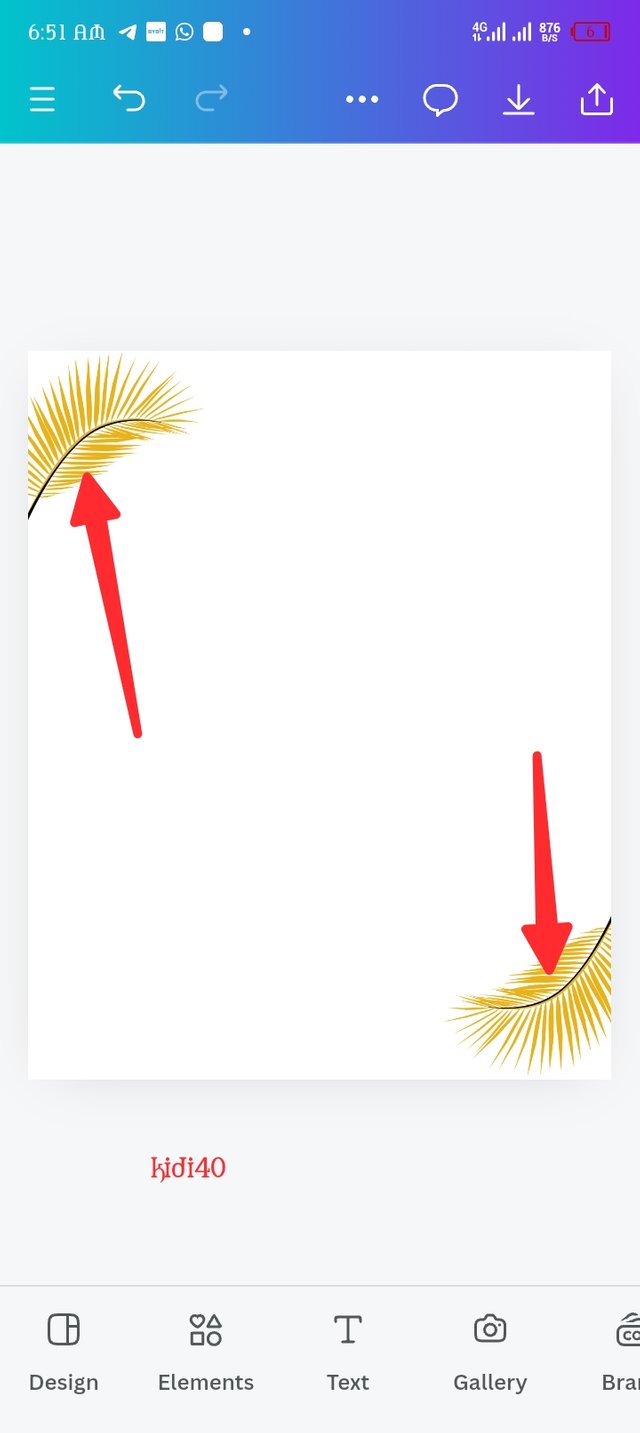
So after creating my workspace, i focus on designing my work space so I locate the element button to add any elements of my choice. I search for palm leaf and different types of palm leaf display so i select my choice. Here in picture three i have the element in my work space.
 |  |  |
|---|
| Picture -1. | Picture -2. | Picture -3. |
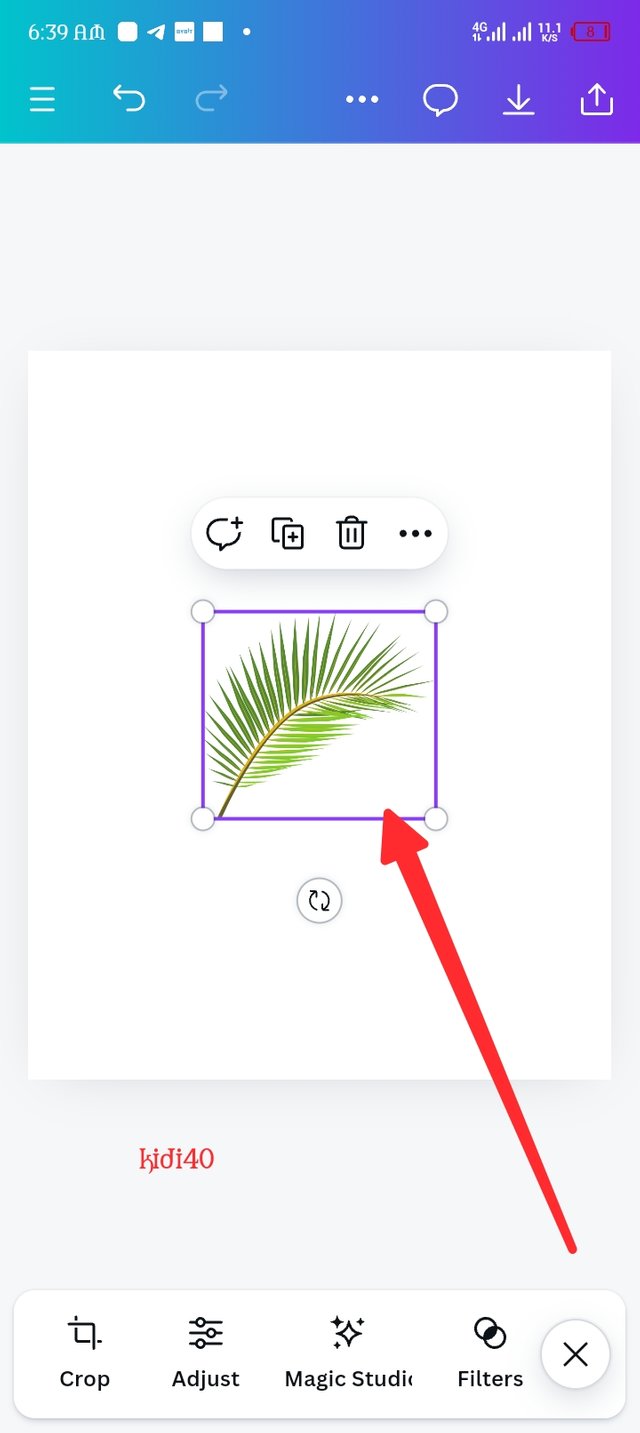
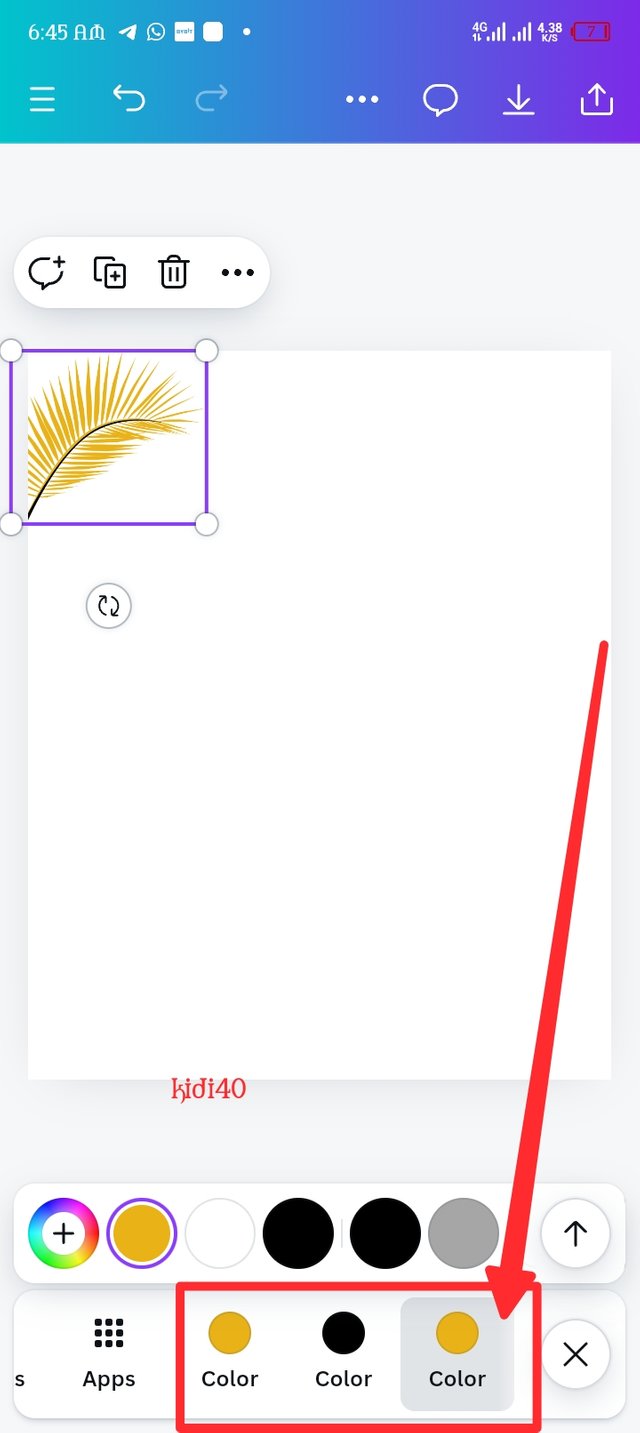
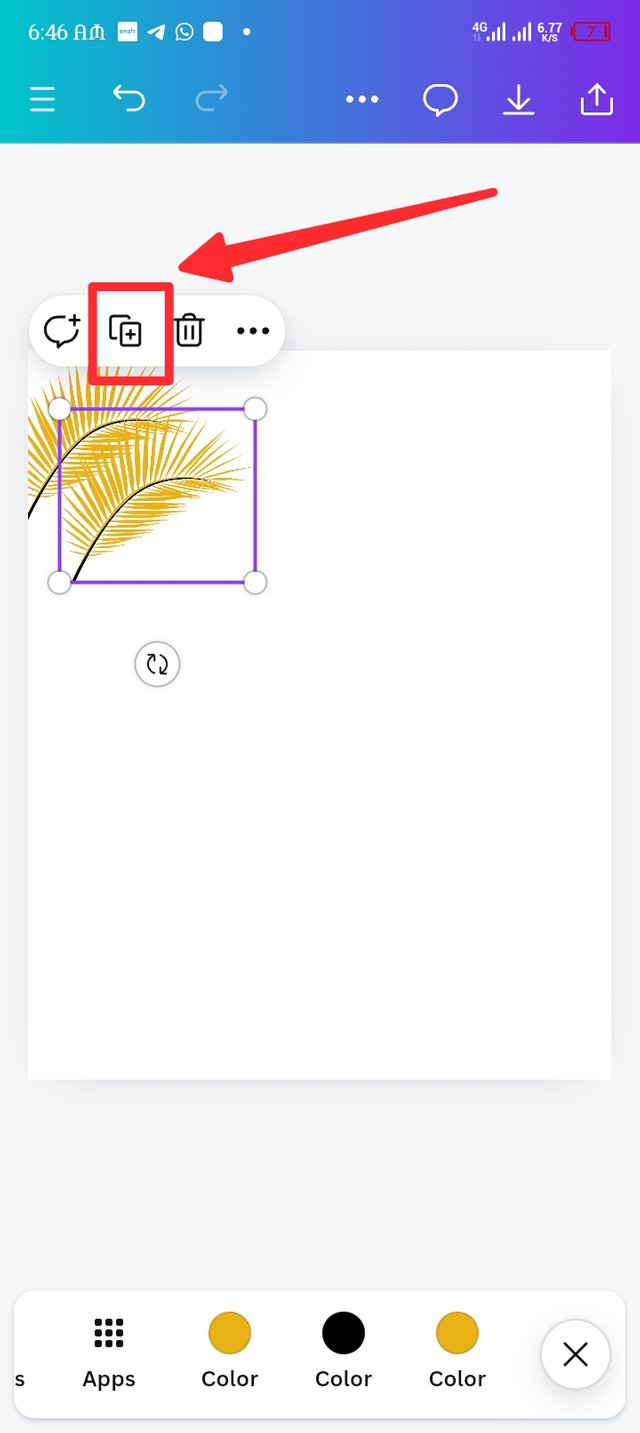
Here i focus on resizing the Palm leaf element which i deployed to my workspace, i resize it to my taste and position it at the corner. I changed the colour from the original green to my desired yellow then i click on the double rectangular plus shape to duplicate the element and position it at the corner, opposite to the first element.
 |  |  |
|---|
| Picture -1. | Picture -2. | Picture -3. |
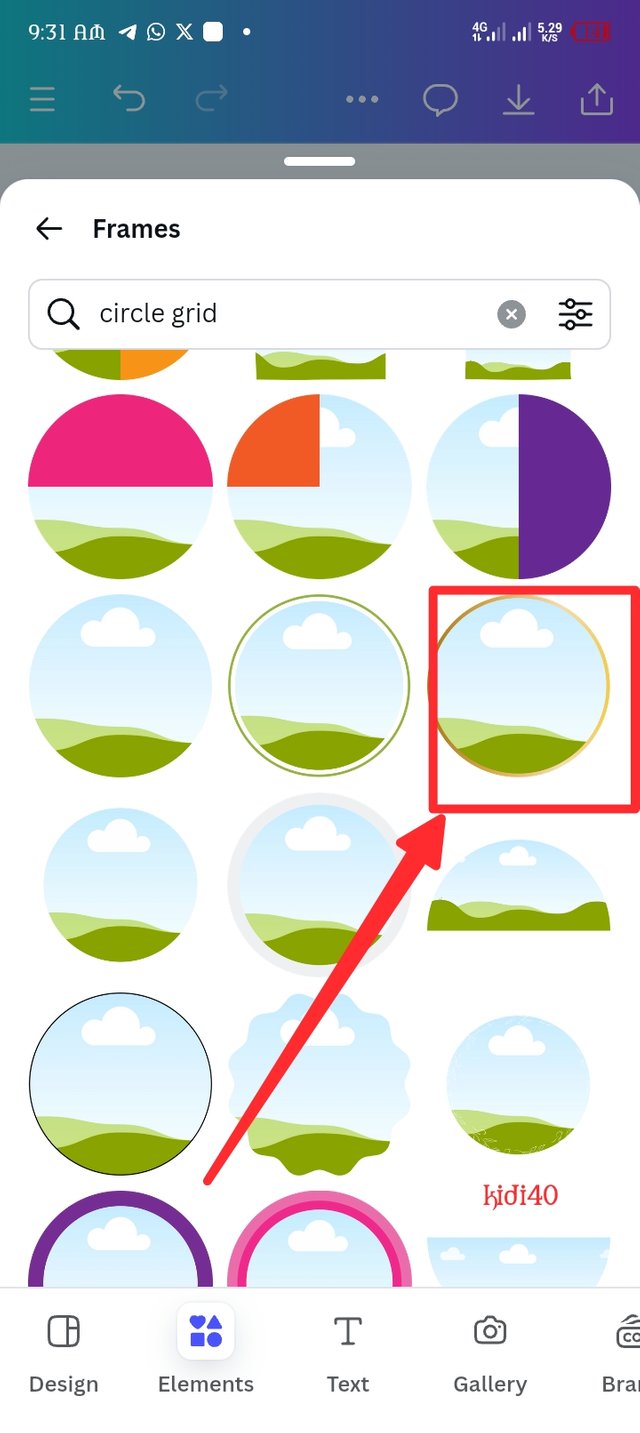
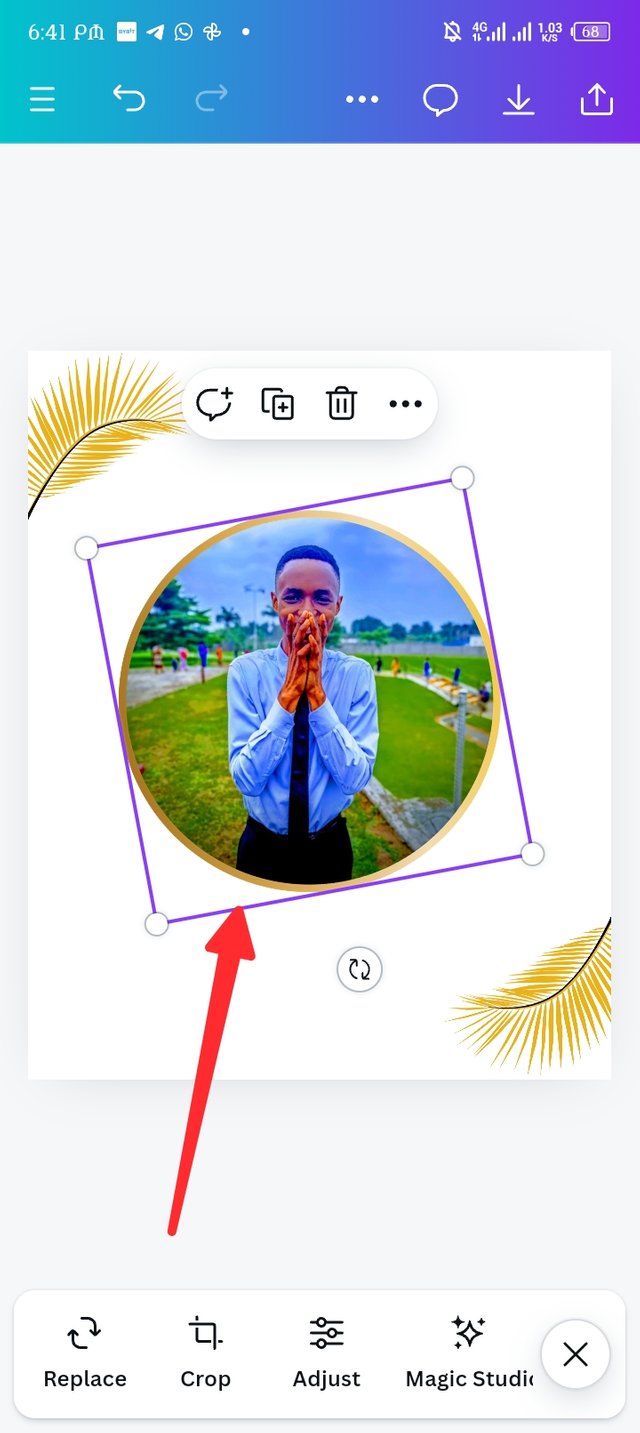
I repeat the adding elements method but this time around, I search for a circle grid and select circle among other shapes. Now I have my circle grid appear in my work space, I now locate gallery as seen in picture three.
 |  |  |
|---|
| Picture -1. | Picture -2. | Picture -3. |
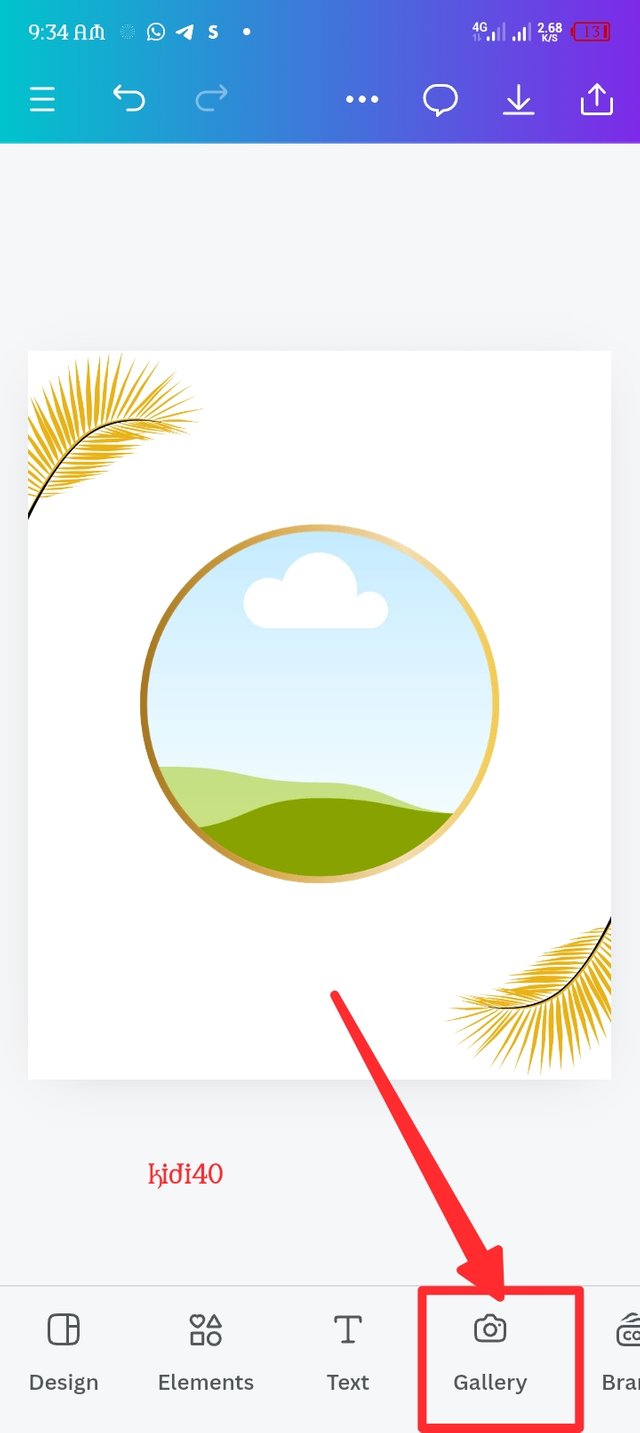
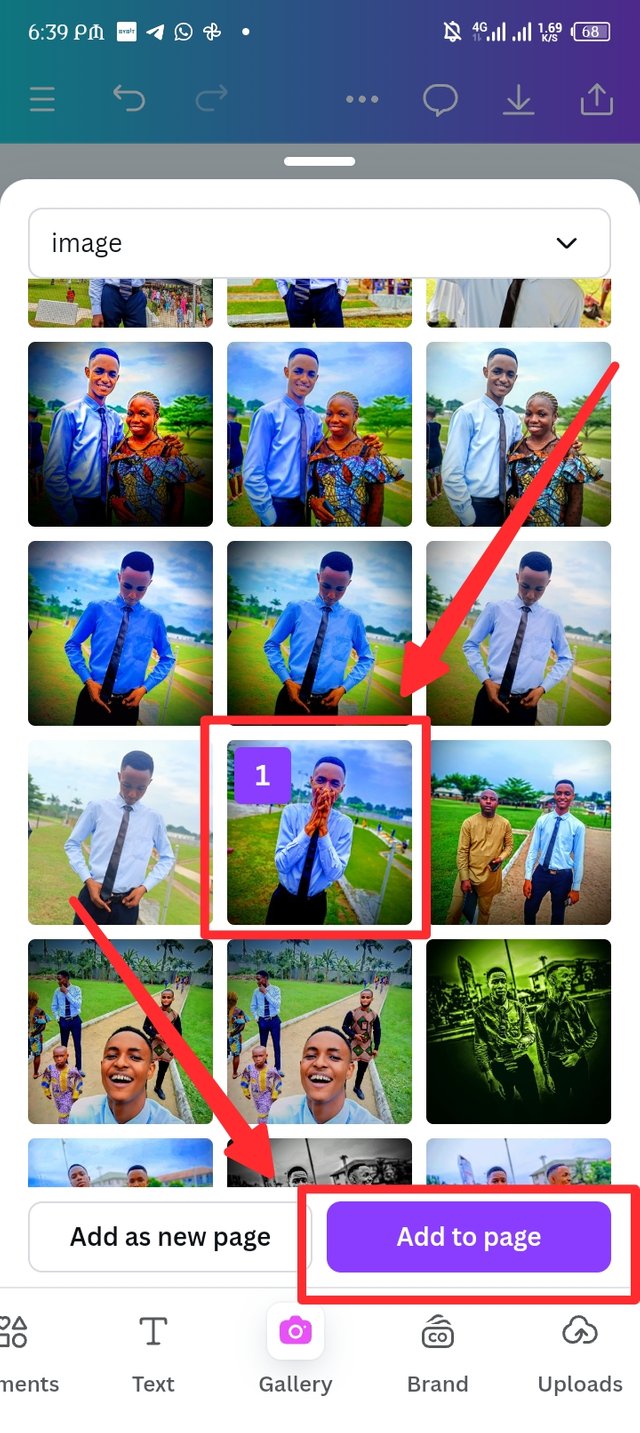
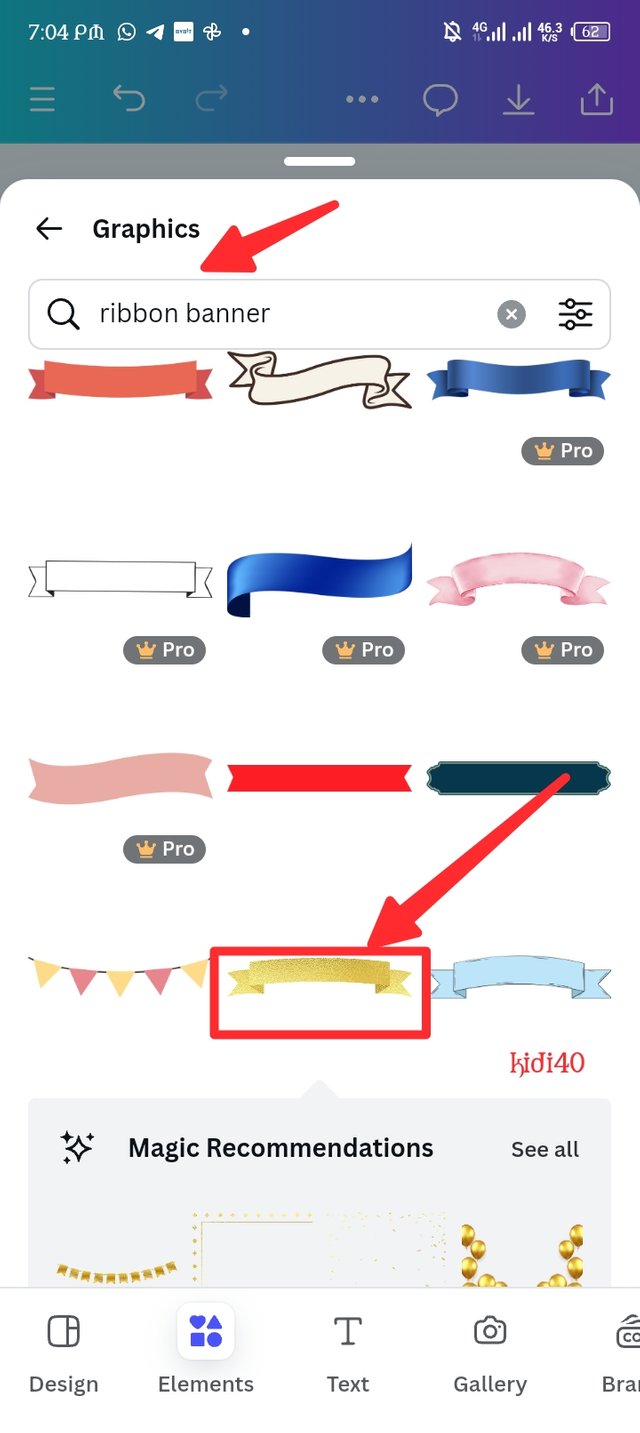
After clicking on the gallery button, my photo gallery display where I have to select a picture of my choice, after the selecting process i click on add to page as seen in picture-1. I drag the picture to the circle grid icon immediately it appear in my workspace as seen in picture -2. In picture -3, i repeat the adding element method and search for ribbon banner.
 |  |  |
|---|
| Picture -1. | Picture -2. | Picture -3. |
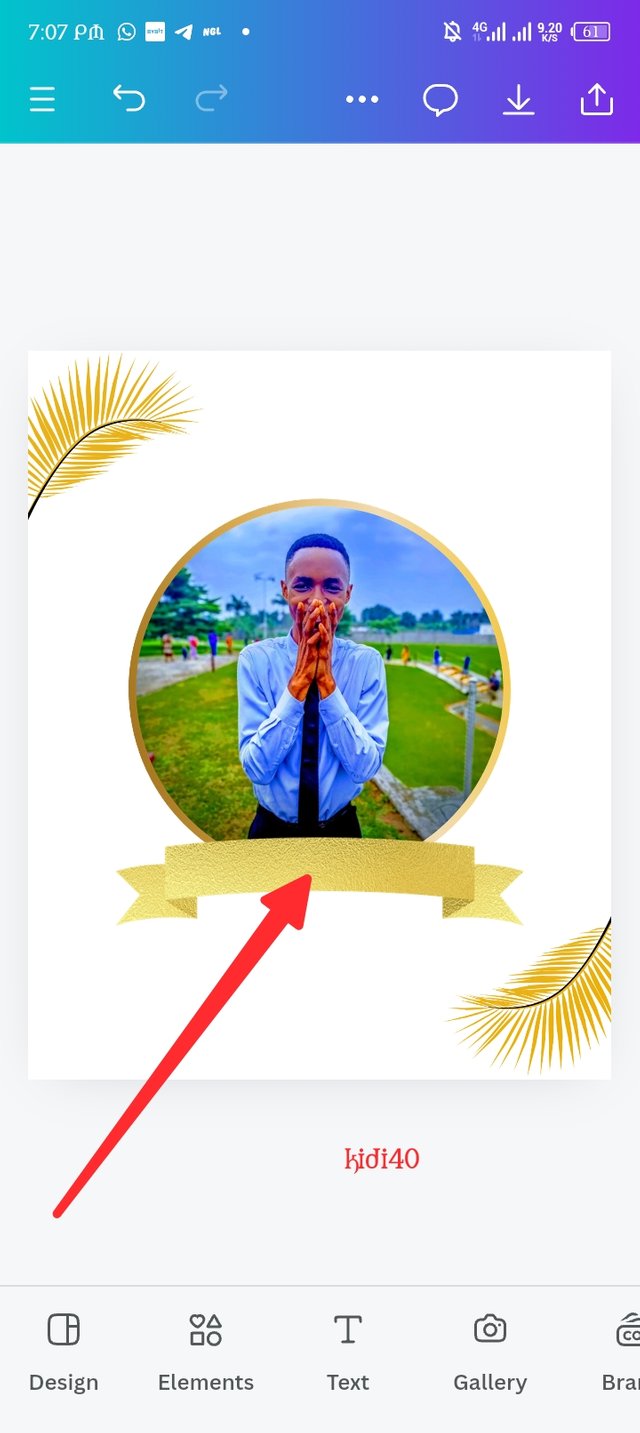
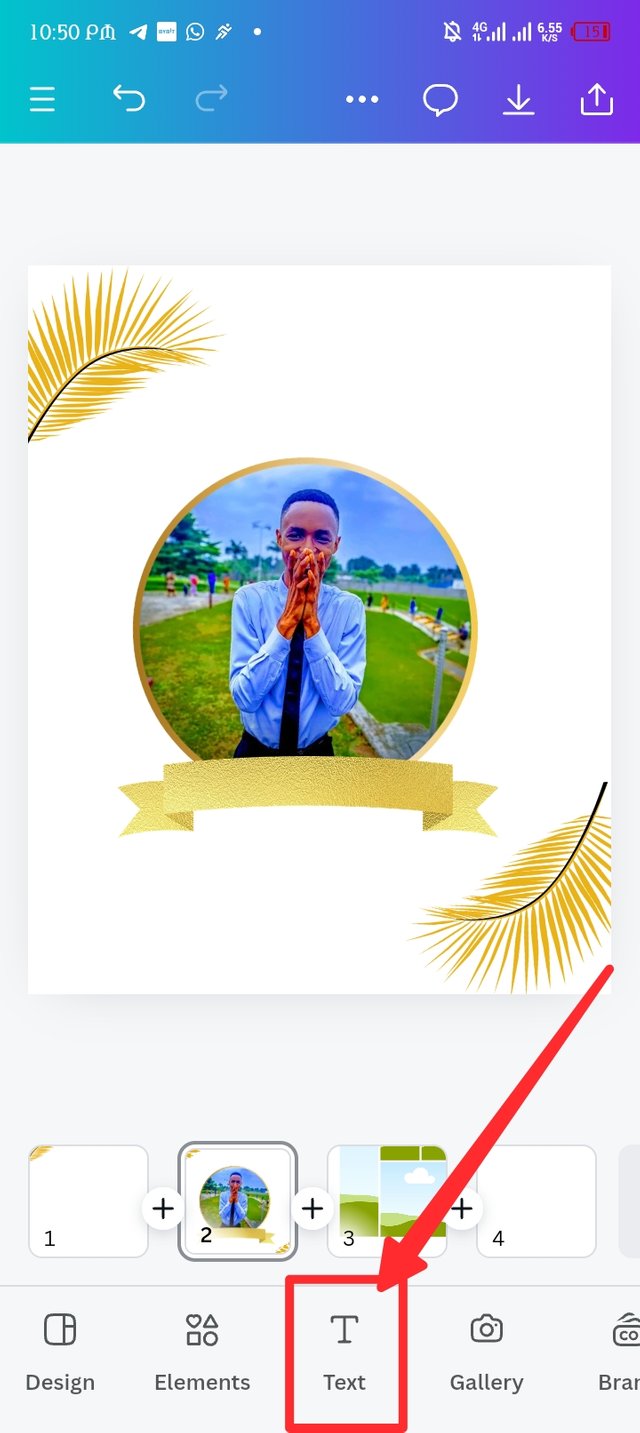
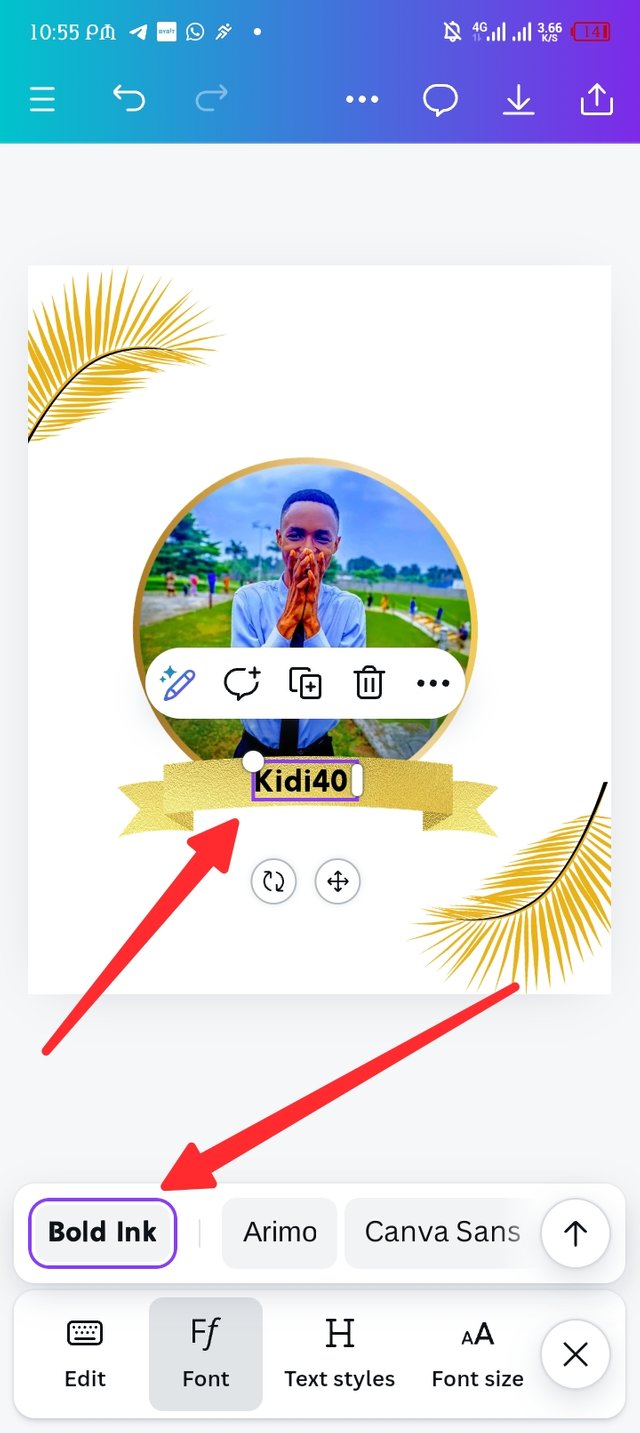
I now attached the yellow ribbon to my design then position it in where I want, in picture -2 i introduced the text button using the bold ink font i type my username and attach it to the ribbon as seen in picture -3
 |  |  |
|---|
| Picture -1. | Picture -2. | Picture -3. |
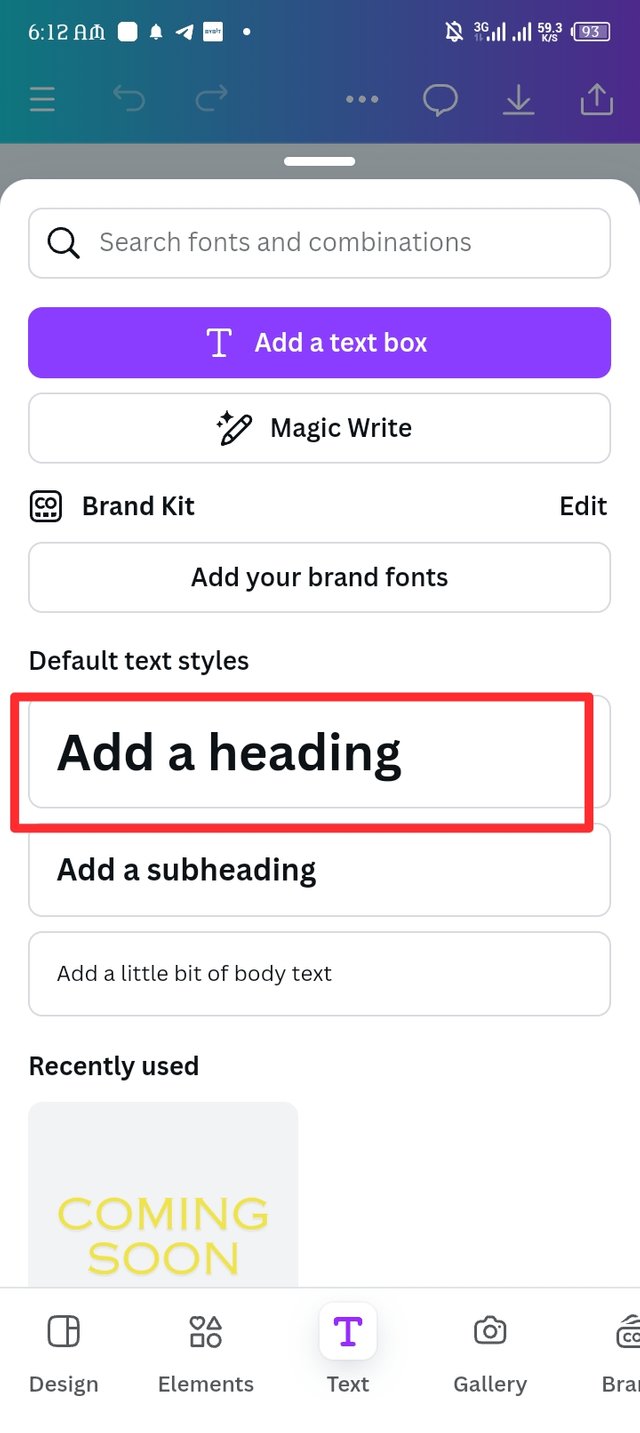
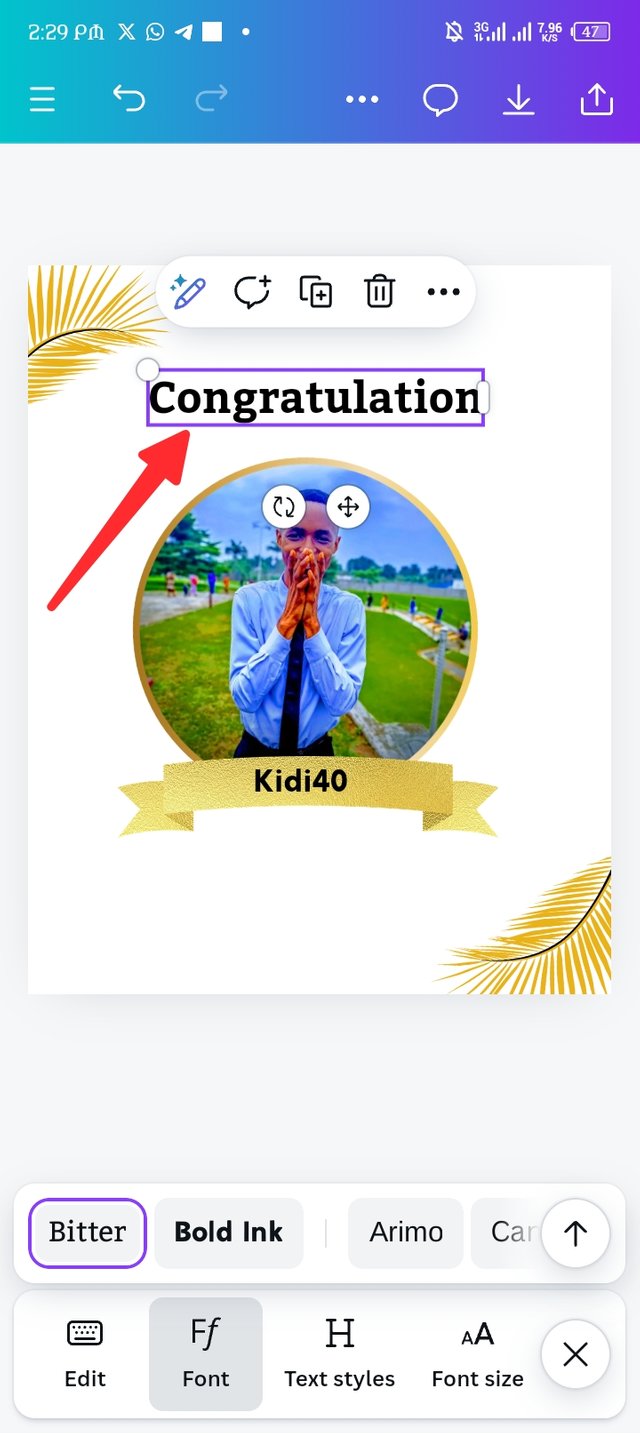
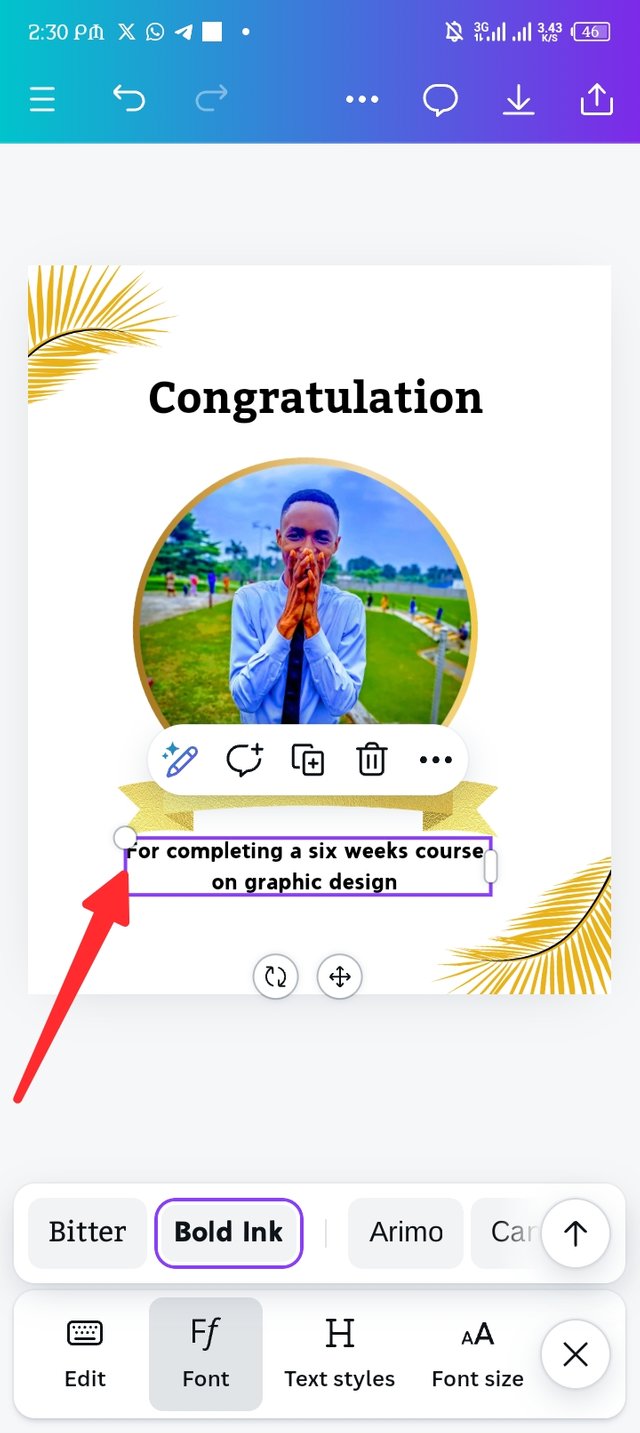
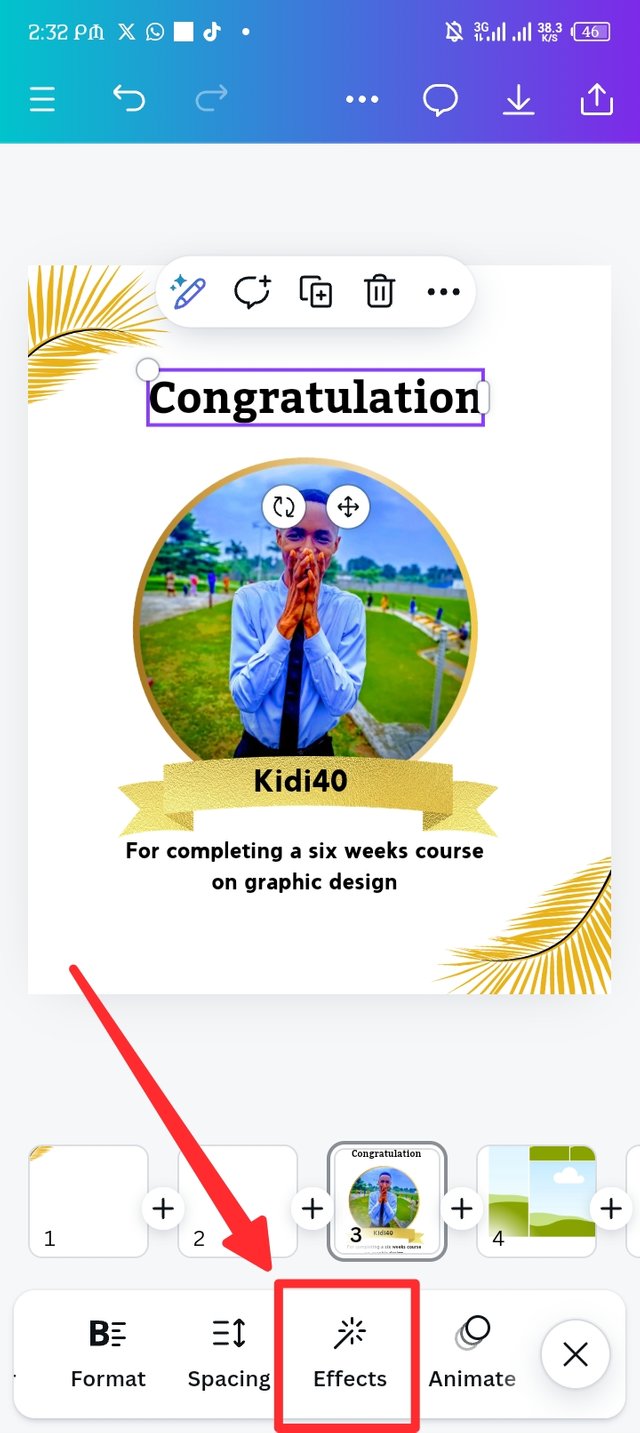
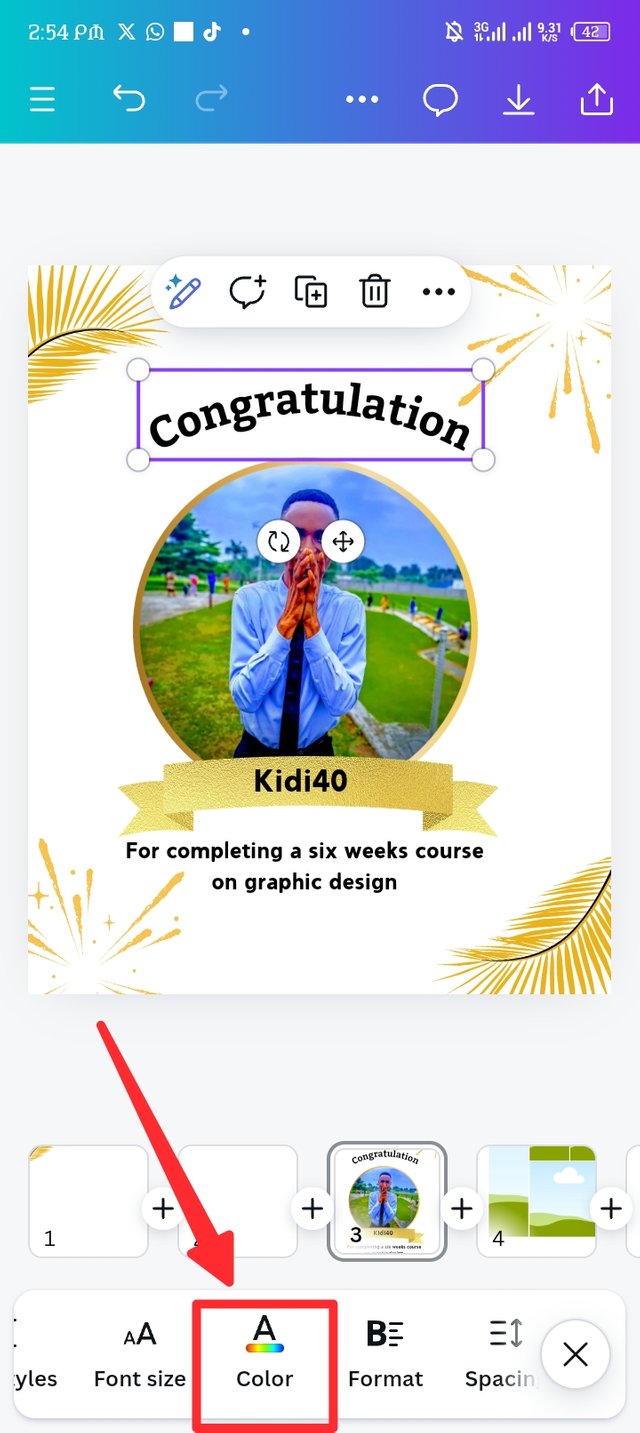
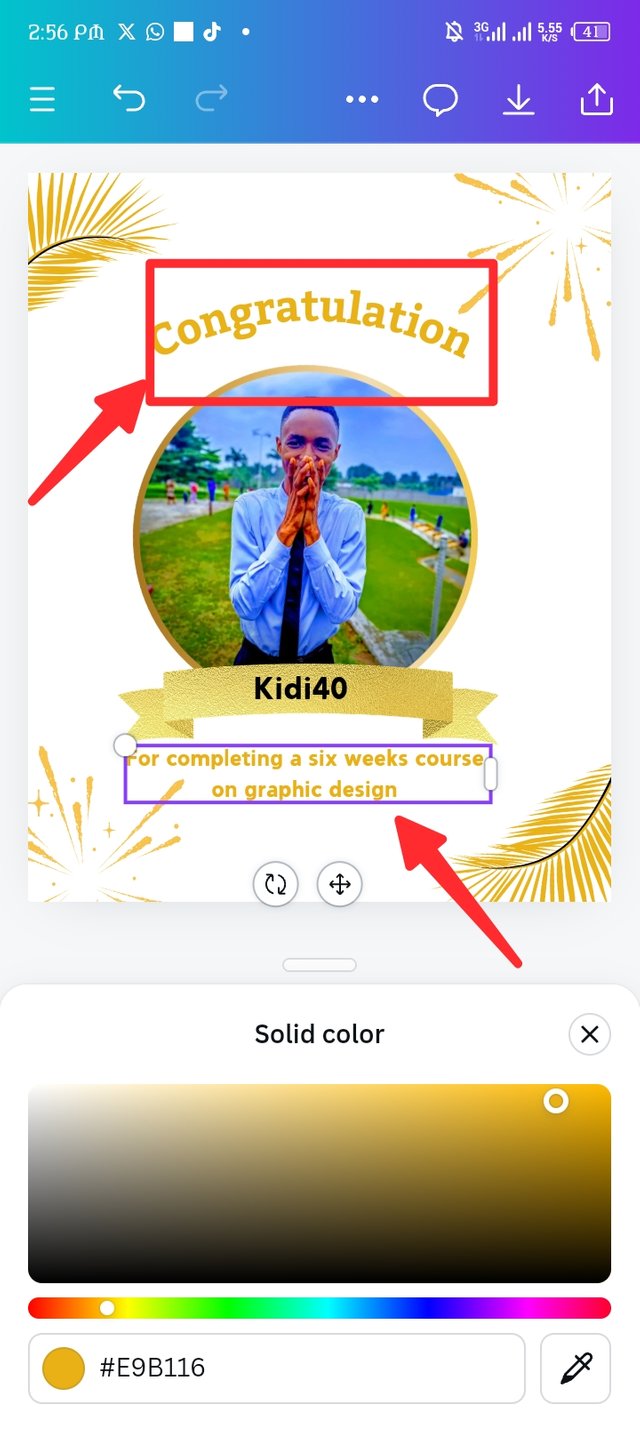
I repeat the text adding method to make use of the add a heading feature, i use the Bitter font to add my congratulation in the upper design as seen in picture-2, then i repeat the adding text again but use the bold ink font to attach a new text which is for completing a six weeks course on graphic design as seen in picture-3.
 |  |  |
|---|
| Picture -1. | Picture -2. | Picture -3. |
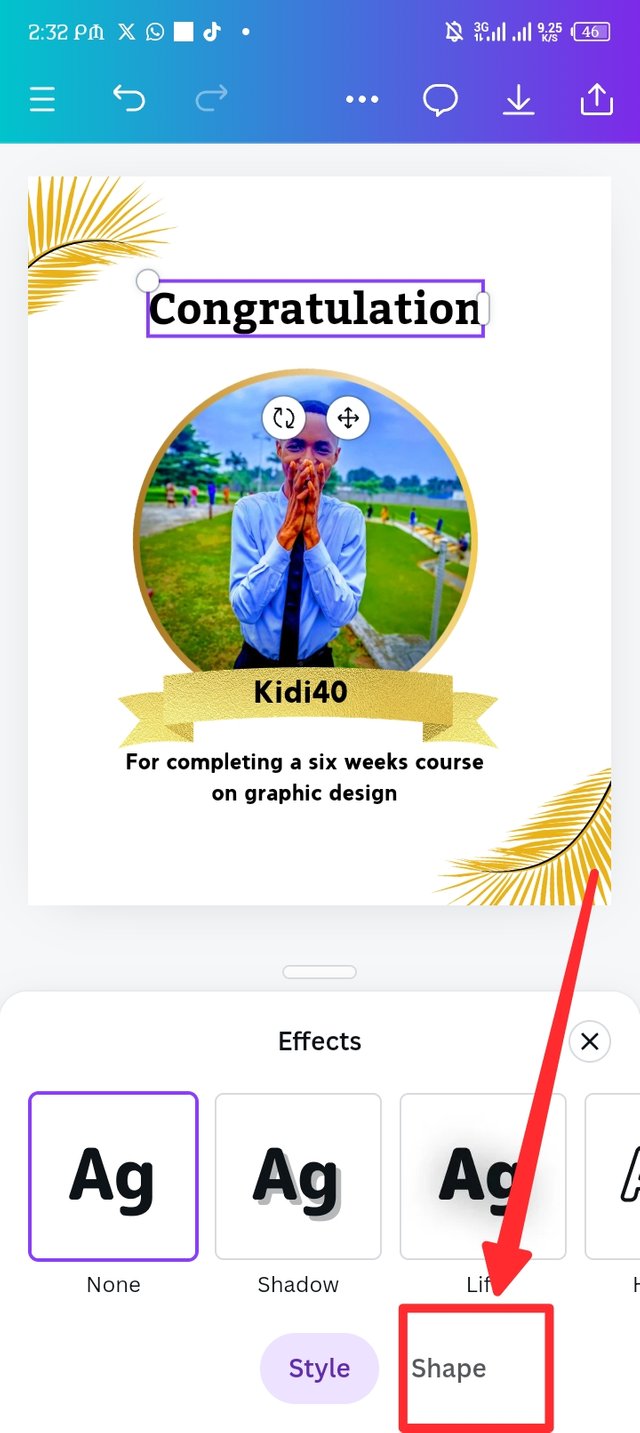
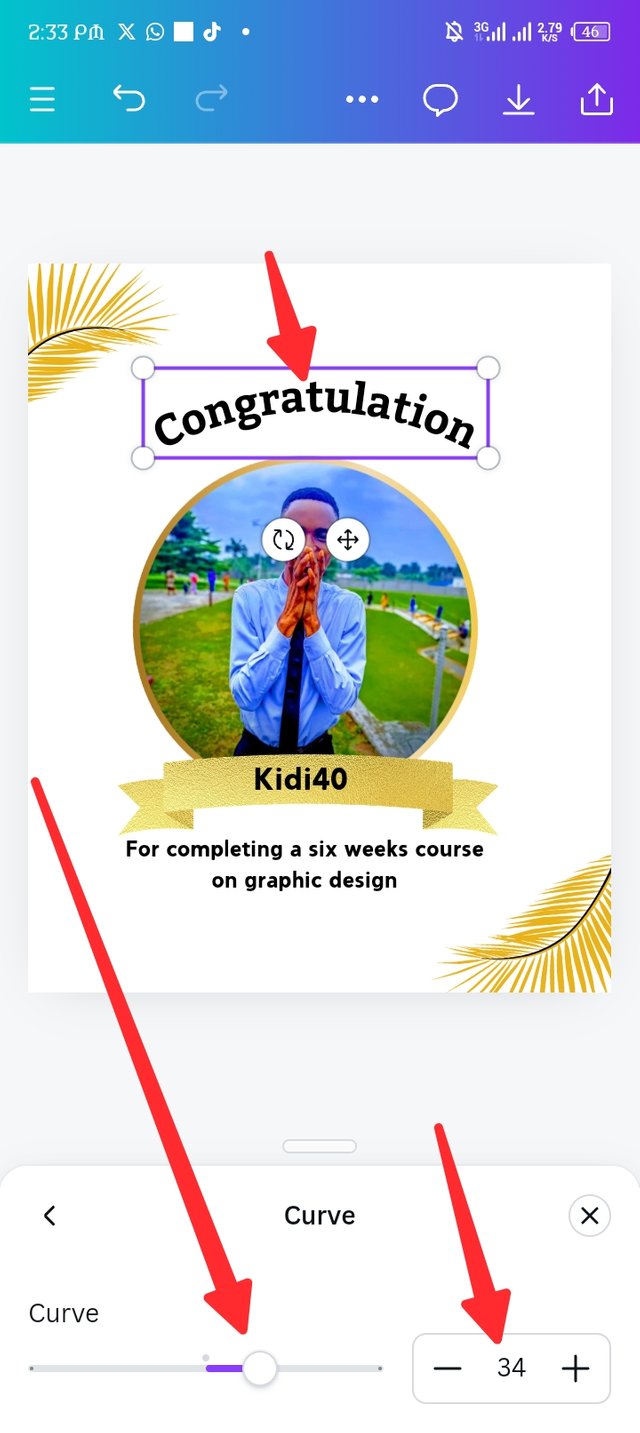
Here i locate the effect button to rotate my congregation text. After clicking the effect button, a new page display where I have to click between style and shape, i click the shape button then another two option display none and curve, i click on curve then it cause the congratulation text to rotate, there's a slider as seen in picture-3, i reduce the slider to 34, that keep my congratulation text in a normal position.
 |  |  |
|---|
| Picture -1. | Picture -2. | Picture -3. |
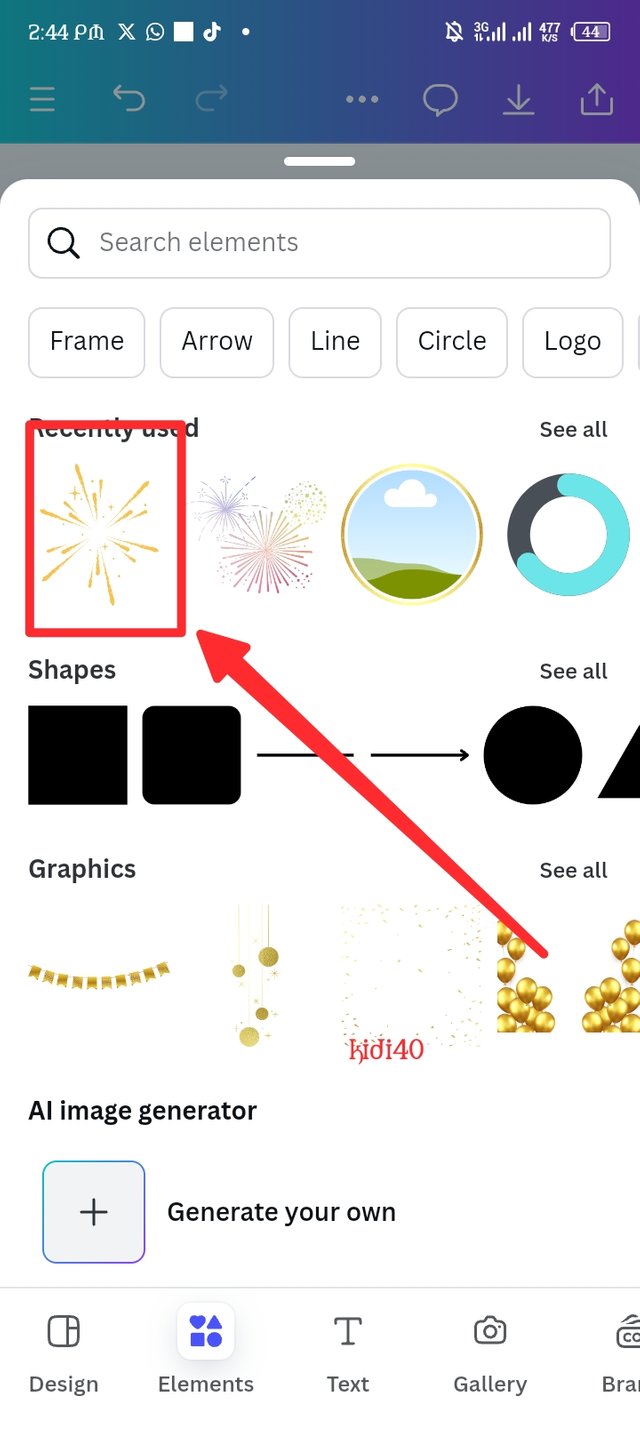
After rotating the text, i introduce a firework by repeating the element adding method, i select my firework as seen in picture-1 successfully it appear in my working. In picture-2 i click the rectangular shape as circle in the picture -2 to duplicate the firework, i then position it at the corner of my design as seen in picture -3.
 |  |  |
|---|
| Picture -1. | Picture -2. | Picture -3. |
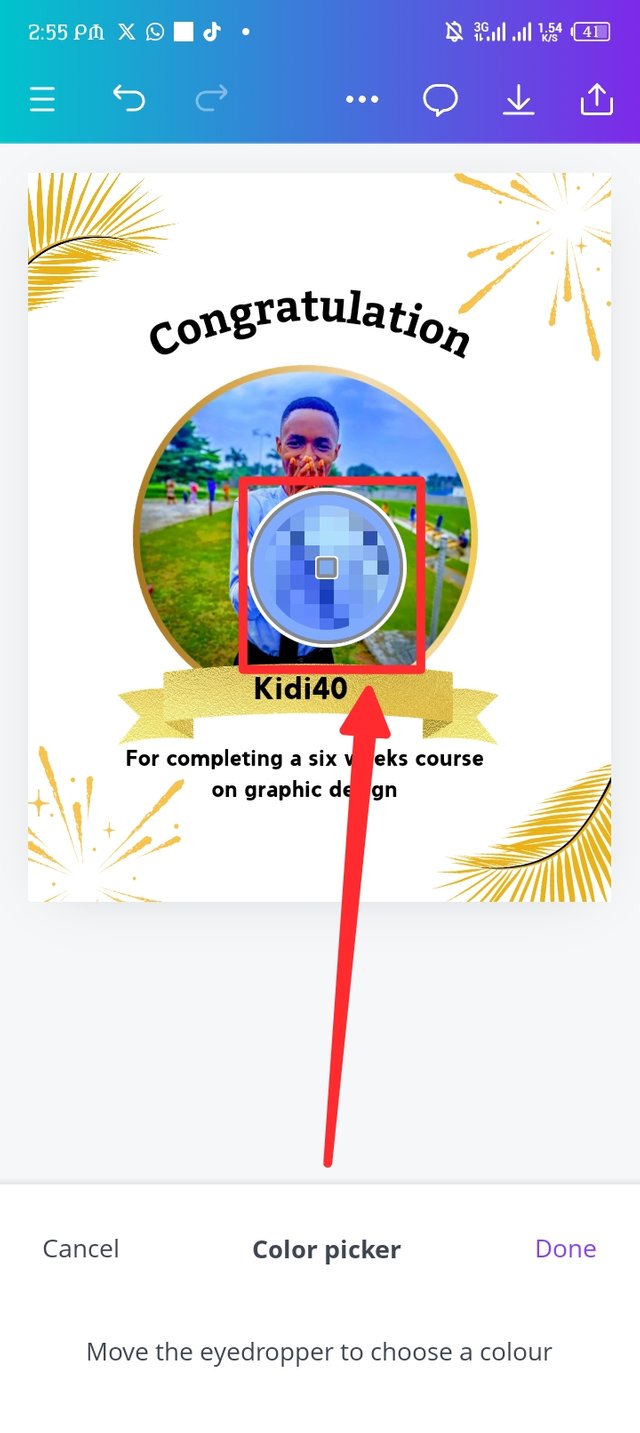
I introduced the colour button to generate a new text colour for my text. As taught in week- 2 of this season, i make used of the colour wheel to generate the hex code E9B116, i apply the colour to my text to have the yellow colour.
 |  |  |
|---|
| Picture -1. | Picture -2. | Picture -3. |
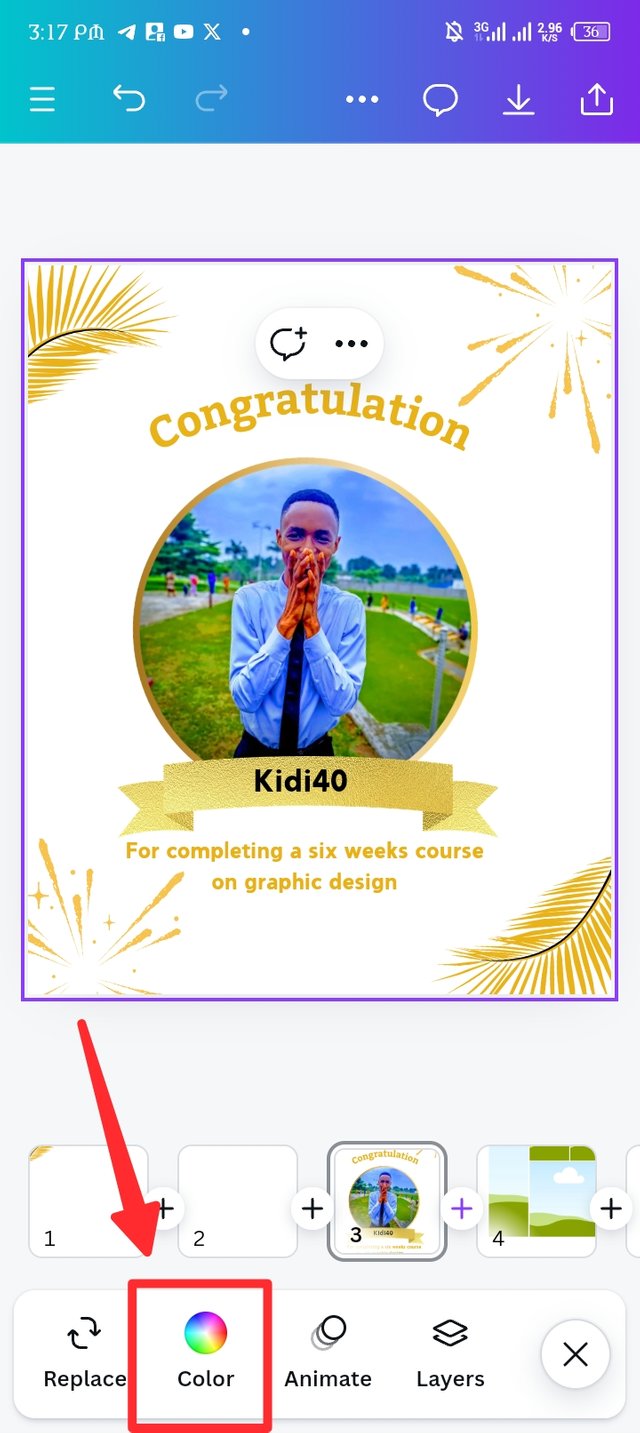
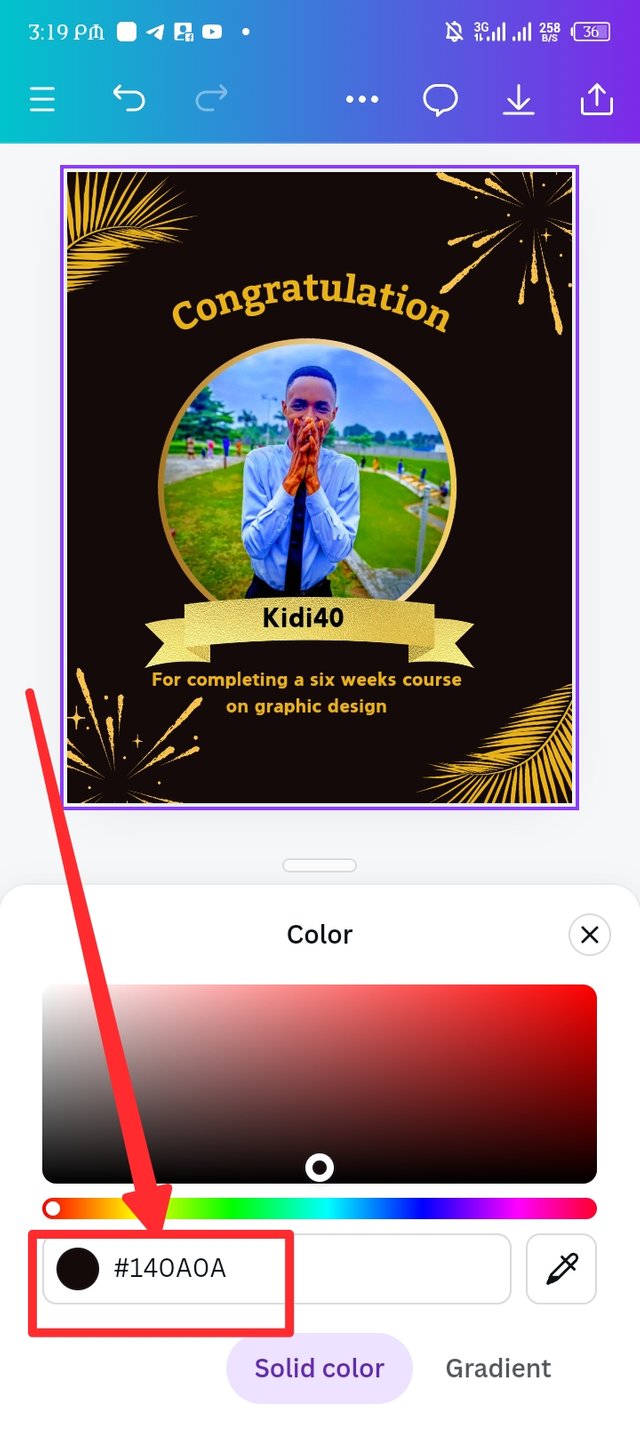
Here i come to the final steps by generating a colour hex to apply in my background using the colour wheel. 140A0A is my hex code for the background and I believe it compliment the design.
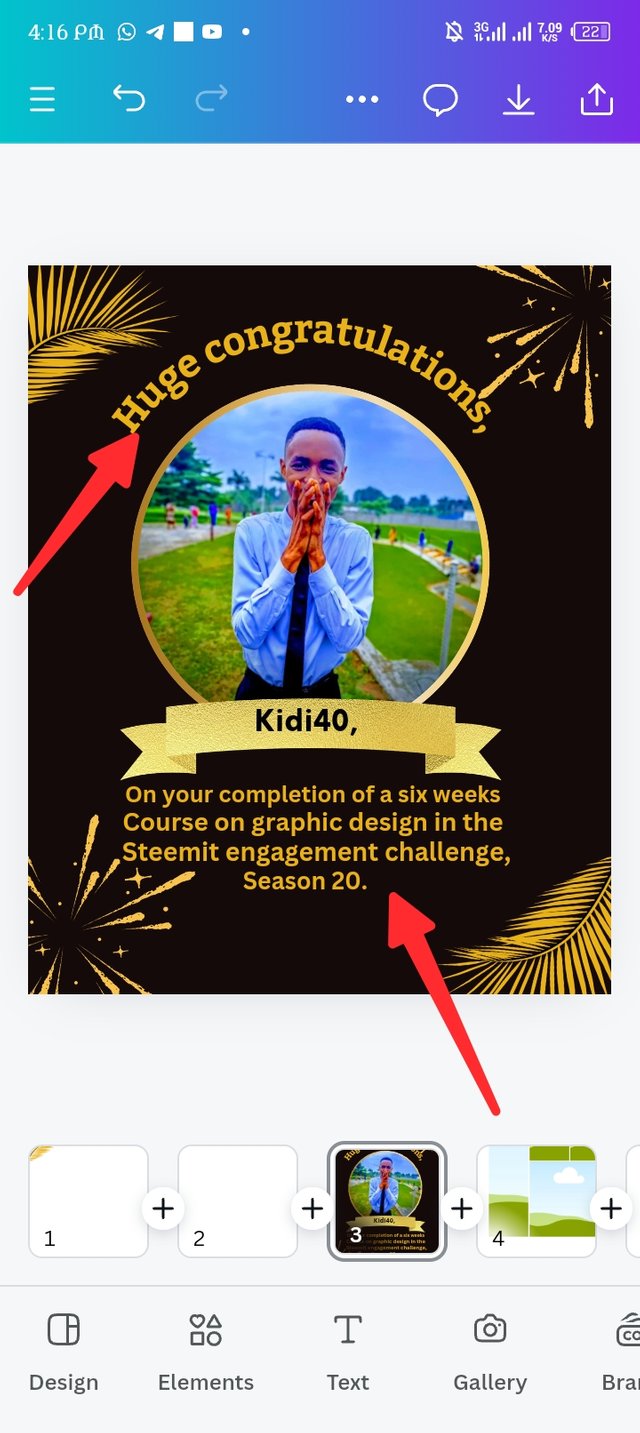
After looking and reading my text, i consider making some changes in my text, for instance, i changed congratulation to Huge congratulations and for completing a six weeks course on graphic design to on your completion of a six weeks course on graphic design in the steemit engagement challenge sec-20. I also apply comma in where I feel it should be added, I'm not really good at speaking english but I believe making the changes have make my text a complete sentence.
 |  |  |
|---|
| Picture -1. | Picture -2. | Picture -3. |
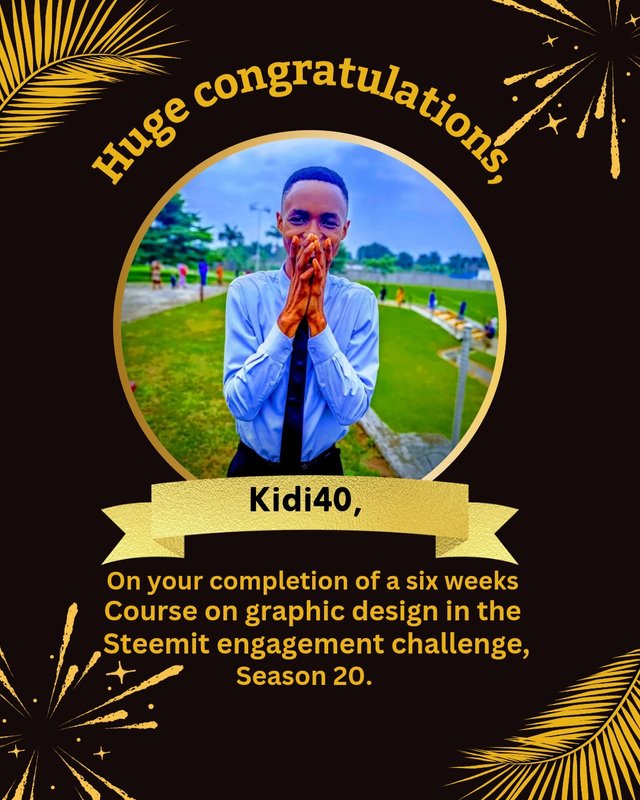
Design by me, edited on canva.
Principles i engage to create my design. |
|---|
Hierarchy.
With the help of hierarchy, you can observe my text complementing each other, for instance, "on your completion of a six weeks course on graphic design in the steemit engagement challenge season 20". This install the visual readability of my design with obstruction.
Colour theory.
Colour theory play a crucial roles in the aspect of contrast, it also helps me to generate the hex code which beautiful my design, for instance, the hex code E9B116 provides me a vibrant gold yellow which I applied in my text, the firework element and the Palm leaf element.
Using the colour wheel, I also generate the hex code 140A0A, this hex code generate a deep cherry red colour which i apply in my design background.
White space.
This principle allows my keep a blank space in my design, the text, element which made up my design aren't jam-packed, they are space enough to breath.
Typographic.
I engage different font and type setting to create my design, for instance, i use bold ink font to type kidi40 and the last text, i use bitter font to type huge congratulations.
Size and Dimension.
Looking at my workspace, i choose the Instagram post, I use size 1080 × 1035 to create my work space. The texts in my design are either reduced or increased to a minimum dimension.
In conclusion, graphic design is skill that require a careful and attentive focus, this is the best I can offer. Thank you @lhorgic for all the weeks you've lectured me and other lovers of graphic design, I'm excited and opportune to attend and benefit from your skill. My sincere appreciation to the steemit team for offering you the opportunity to showcase your skill, I'm thrilled.
ABOUT ME.
All screenshots are mine. |
|---|

Upvoted. Thank You for sending some of your rewards to @null. It will make Steem stronger.
Hola, es un hermoso d8seño el que has elaborado, es fascinante, me encanto y te felicito @kid40
Espero tengas exitos en tu presentacion.
Saludos y bendiciones.
Hi @zory23, thanks for your comments and I'm glad you loved my design.
Muy buen diseño amigo.
Deseo tengas muchos exitos
Thank you @lirvic for the support, i really appreciate 😁🙏🏽
Hello @kidi40 thank you for participating in this week's lesson. We have assessed your entry and we present the result of our assessment below.
Feedback:
Let me start by appreciating you for coming this far with me on this six weeks course and also commending you for the effort put into this practical, I love the outcome of your step, your design looks cool.
Your design is nice and of course there is always room for improvement based on what you have leant so far. Your steps are detailed and I can really see how much you've explored this design app.This design would have been detailed enough if you included in it something about steemit and Canva i.e logo to inform us about the organizers and the software/app used for the learning
In all, you did beautifully well and I must commend you for a job weldone. Thanks for staying through the whole process, I hope we continue this journey together in the next season. I wish us the very best.
Regards
@lhorgic❤️