Let's do it...Do It Yourself👉Craft, Creativity, Drawing, origami, DIY, Recycling and more

Hello kids and parents, it's another opportunity to participate here, share my idea thought as well as skill. It was interesting coming across and interesting contest titled "Let's do it...Do It Yourself👉Craft, Creativity, Drawing, origami, DIY, Recycling and more," published by @mesola here in Steem Kids and Parents.
The title alone was captivating enough, I had to scanned through the skills listed and find interest in DIY. In my today's participation, I'm going to create a magic Cube or you can choose calling it a flexible cube. The creativity after creating it will determine what you'll call it, but as for me I call it a magic DIY.
One thing that makes DIY interesting for both kids and the adults is the opportunity of allowing interested individuals to develop problem solving skills as it brings imagination and innovation. I find interest in craft and any sort of creativity which gives me the opportunities for learning and building extra skills.
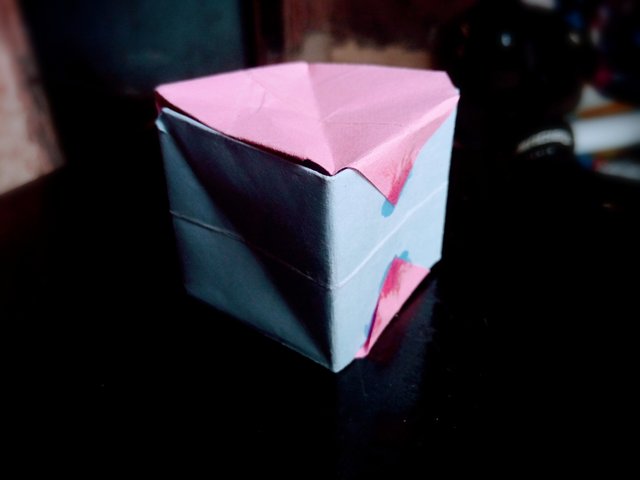
Ok guys, the above picture present a flexible cute I created with cardboards adding a touch of creativity. it's a flexible paper cube though I find out that most people call it "Origami Cube" the cute is actually foldable and manipulated to create a
the 3D cube shape presented in the above picture, you may ask⬇️.
It is made from paper: it not really a big deal though you need to be creative, the cube there is created through folding two sheets of papers and lastly ended square in shape.
Flexibility: after the my steps for creation you'll see that the paper cube can be folded, bent and manipulated without it being broken or tear.
Hollow interior: the flexible cube have a hollow interior that allows it to be folded and unfolded easily, what I meant by hollow interior is it empty vacant in it which allows it to be folded
No special machine required: this cube is only created using folding techniques, the only took required is for cutting, measuring and cuming.
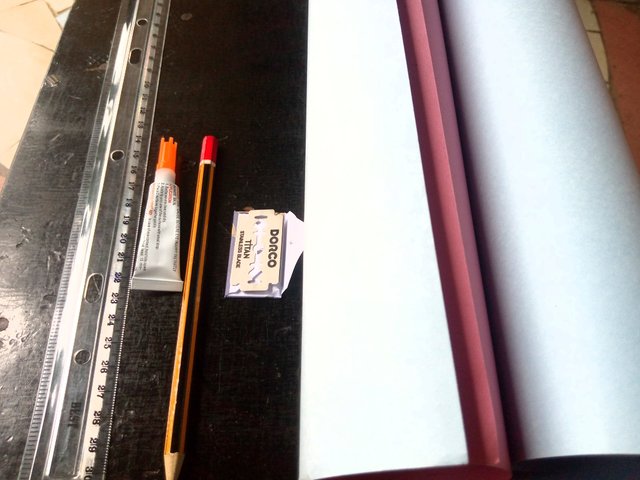
Without too waste, I'll proceed with the tools I used while creating the cube and it areas of applications, and finally the steps.
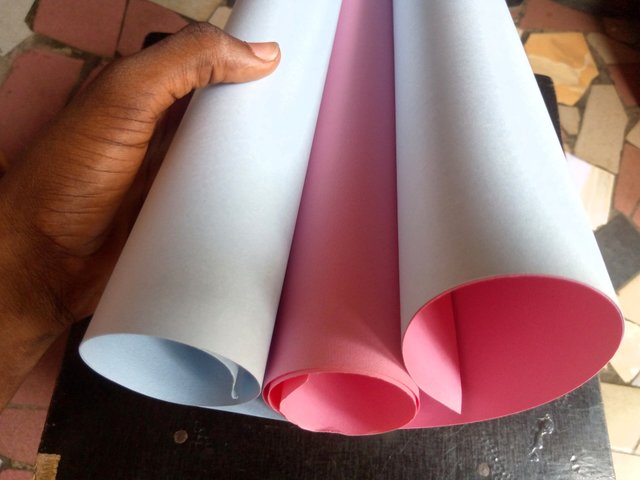
Here is the two cardboard paper I used, two with different colors.
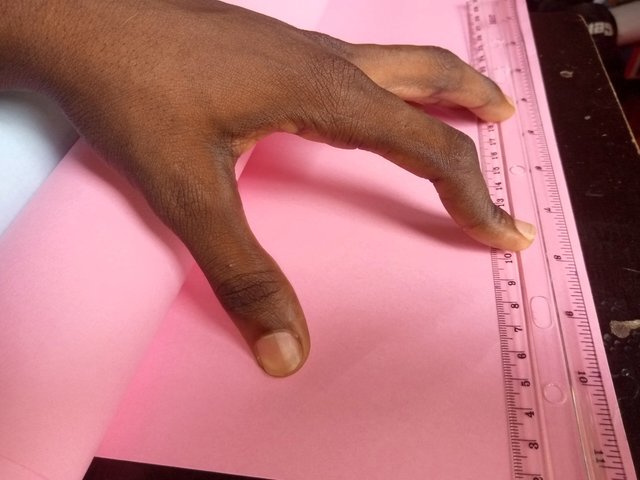
Using my ruler to measure the vertical area of the cardboard, 17mm was the vertical measurement.
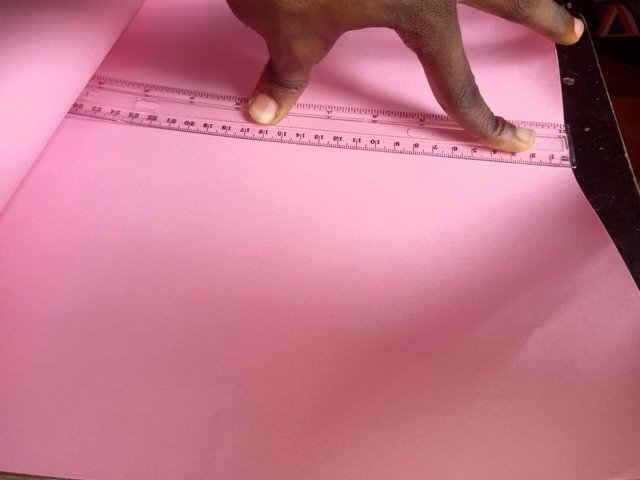
Using my ruler to measure the horizontal area, I also consider 17mm in order to maintain both the vertical and horizontal area equal. It's very important to measure the both sides equal to avoid difficulty in folding.
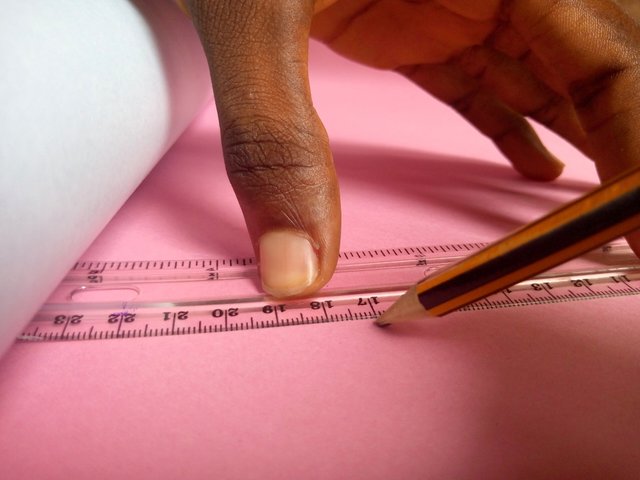
Using my pencil to mark my measurement points to avoid confusions or measurement error.
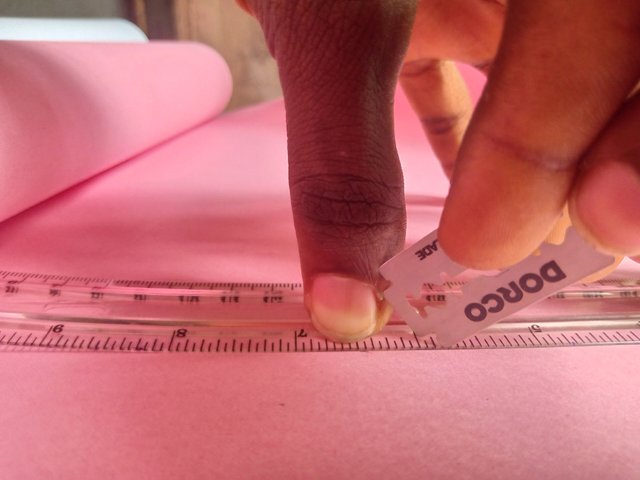
Here at this point, I utilized my rezor blade by placing a ruler on the marked point, then use my ruler to die-cut the paper according to it measurement marked with my pencil. Remember the size I used was 17x17.
 |
|---|
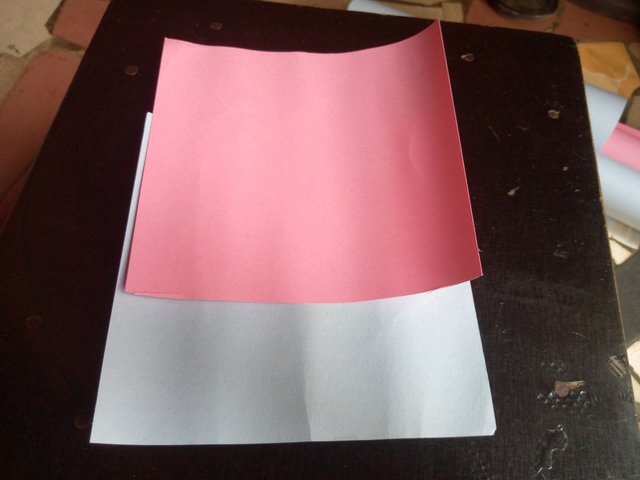
Here is the outcome after using those tools, I successfully calve out two pieces of different cardboard paper with different colors.
Note: to make it easy and fast, I merged the two cardboard papers together, then determine the size with my ruler and cut both at once.
What next?, in the below steps I'm going to present the folding techniques and how I got it done step by step. Then make it more visual and understandable in Steps that words can better details process, by embedding a video I made and uploaded on my YouTube channel.
| Step | 1: |
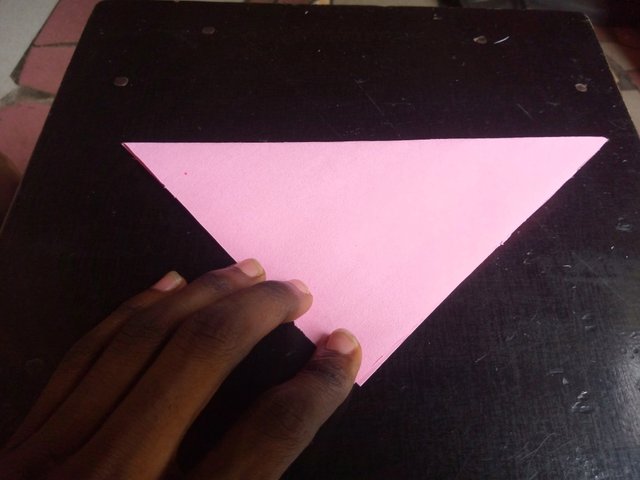
Here I picked one of the shaped cardboard paper and begin with the first fold, bent the top-right angle towards the bottom-left angle to form a triangle shape.
| Step | 2: |
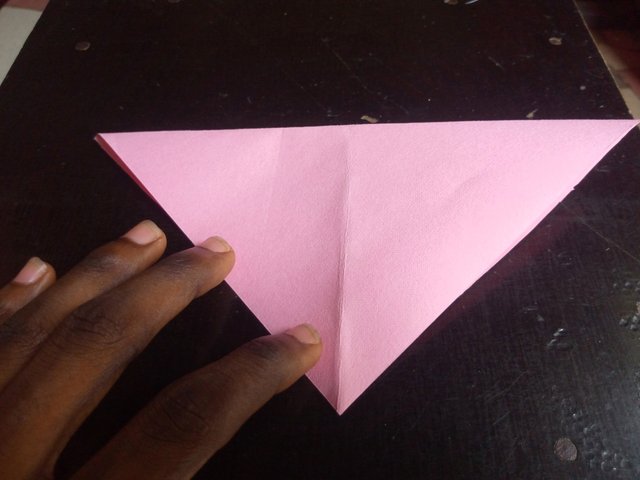
Here I repeated the same precess by bending the top-left angle towards the bottom-right.
| Step | 3: |
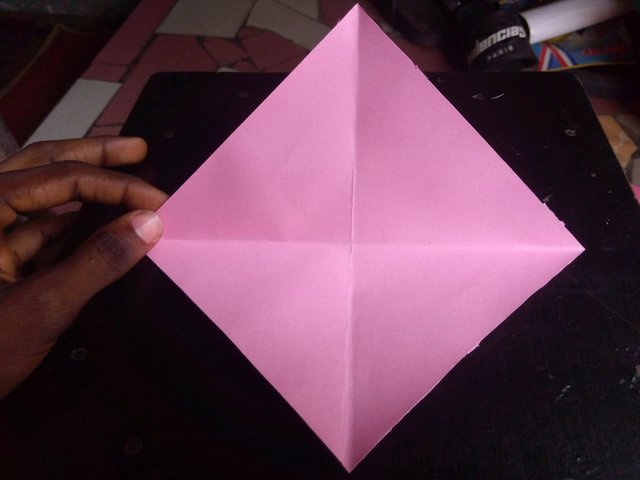
Then I open the folded paper after surpassing the steps above.
| Step | 4: |
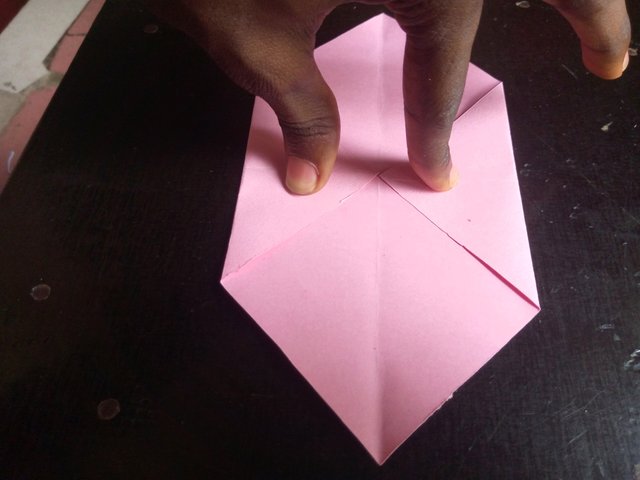
Then I stretched the paper and begin folding two angles of any choice as shown in the picture.
| Step | 5: |
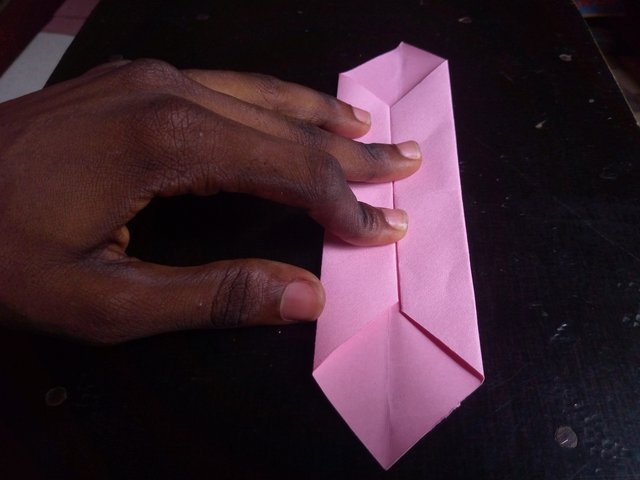
Here, I doubled folded the two angles from the the previous step just as show in this picture.
| Step | 6: |
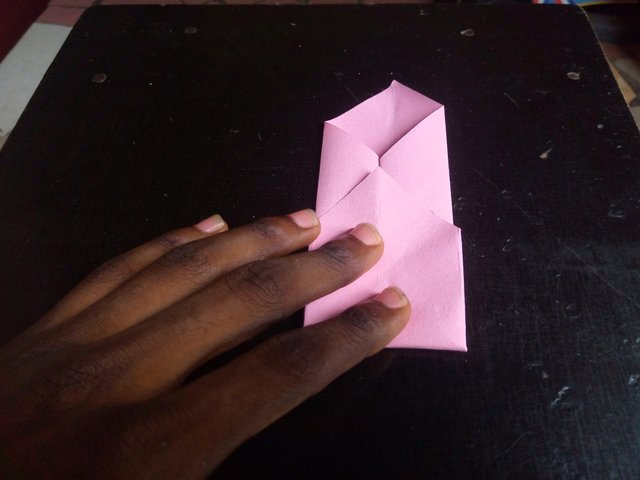
Here in this step I folded the paper almost equal to the upper angle but not, please follow as it is in the picture in other not to miss.
| Step | 7: |
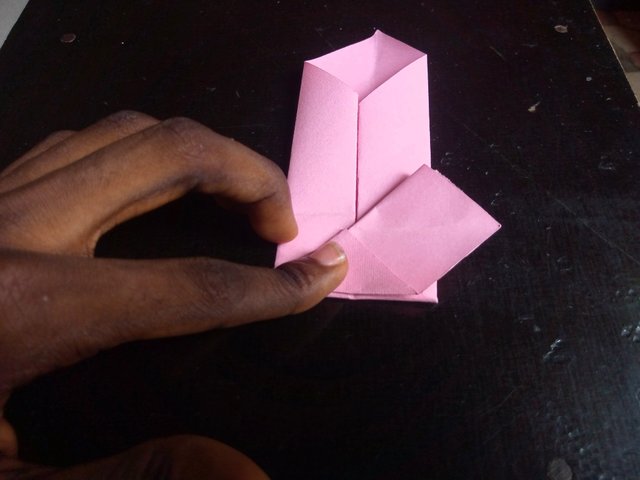
Here I bent back from the previous step, but this time towards right just as show in the picture.
| Step | 8: |
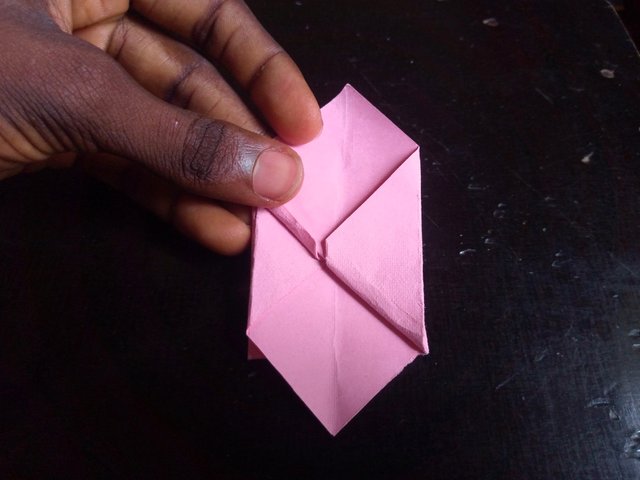
Here in the step I repeated the steps in step 6 and 7 from the upper angle to achieve this shape.
| Step | 9: |
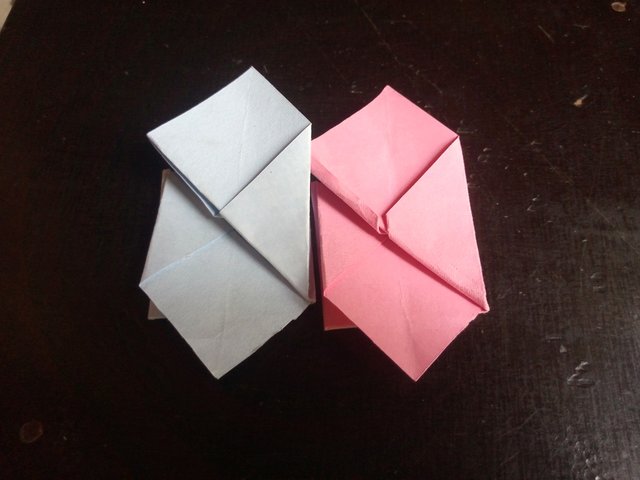
Here, remember I had two pieces of cardboard papers, the blue and the pink. Now I repeated all the steps in the blue one too to have the same outcome as show in this picture.
| Step | 10: |
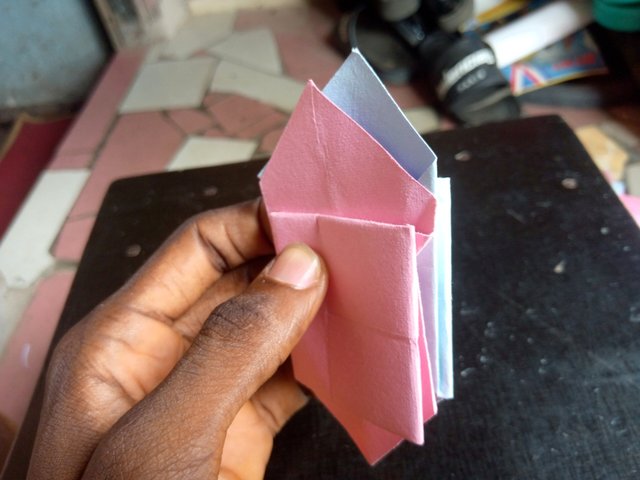
Here in this step, I merged the liked two sides of the shapes. In this step you might find it confusing, to avoid that I'll embed my YouTube video to prevent my steps till conclusion.
That was all the steps from the video, I really believe in visual learning. And felt instead of complexing the steps with just text, I decided to make a video to best display those steps that would have seems difficult to understand with just a mere text.
I believe we all enjoyed my today's post the spirit of craftsmanship it evokes, if yes, I'm very happy learning with you.
To learn more, I'll love to invite my creative friends
@goodybest
@shiftitamanna
@wirngo
@chant
to participate in this contest. I'll be humbly waiting to reading and leaning from your entry.
| Snapped with | Tecno spark8c |
| Snapped by | @jozzie90 |
Congratulations, your publication has been supported using @steemkidss, our official account! Keep active! Keep publishing quality publications in our community!
Shared on tweeter
https://x.com/JosiahO32942/status/1881522776710012994?t=44owAr6r3R-eHg36JTigWg&s=19
We support quality posts and good comments Published in any community and any tag.
Curated by : @edgargonzalez
Thanks very much @edgargonzalez for the support, I really appreciate 🙏.
Nice one
Thank you for publishing an article in the Steem Kids & Parent community today. We have assessed your entry and we present the result of our assessment below.
MODs Comment/Recommendation:
You have definitely shown a beautiful craft well produced, I also learnt a lot from this and you have also given a well detailed description on how it was actually produced. Thanks for your unique Participation It is highly recommended. 😊
Remember to always share your post on Twitter. This POST LINK is a guide to that effect.