Week 38 Let's do it...Do It Yourself👉Craft, Creativity, Drawing, origami, DIY, Recycling and more
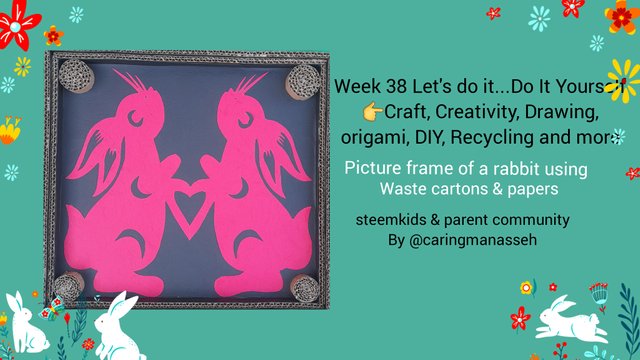
Edited using GridArt
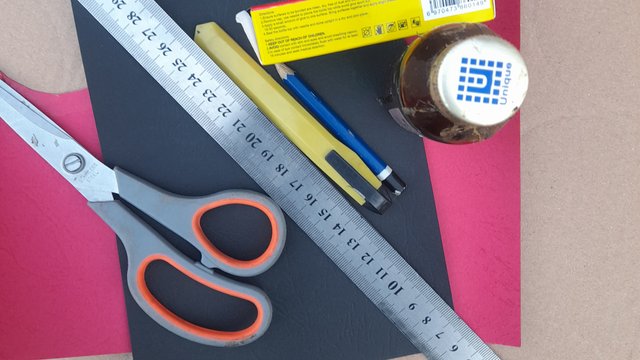
Materials for construction
- Waste carton
- Black & Red embossed paper
- adhesive gum
- Evostik gum
- scissors
- paper cutter
- Ruler
- Pencil
- Black permanent marker
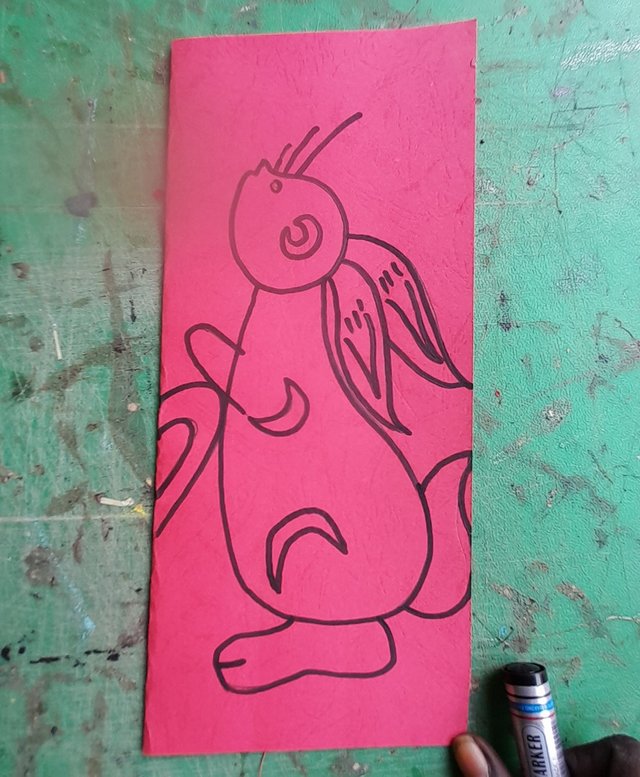
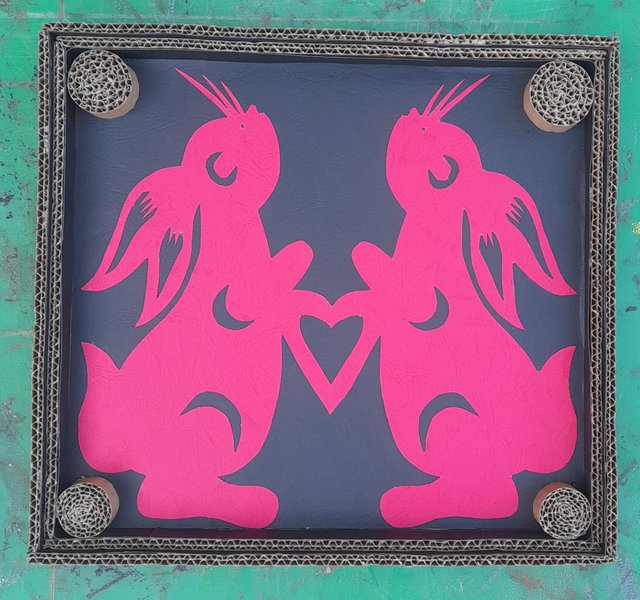
Step 1
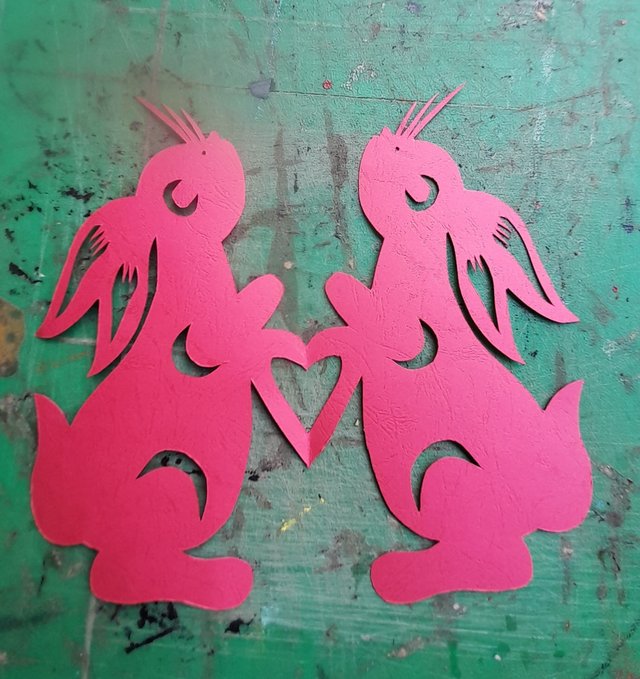
I folded an A3 red embossed paper into two and on it, I drew my rabbit. I began the drawing of the rabbit from the head down to the stomach, the back and the leg. I also drew the tail, the hand, the ears, the eye and the long hairs around the mouth. I used my pencil to make this drawing and then traced it with a black marker
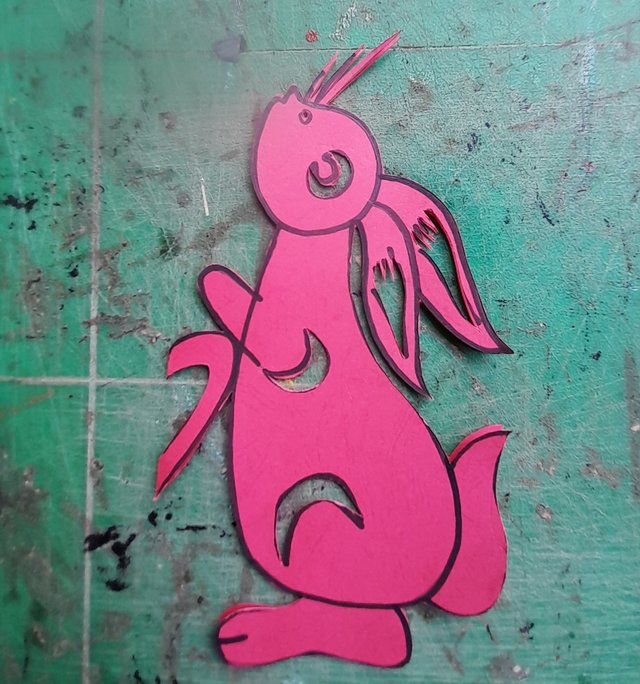
Step 2
I used my paper cutter to cut out the drawn rabbit as shown below
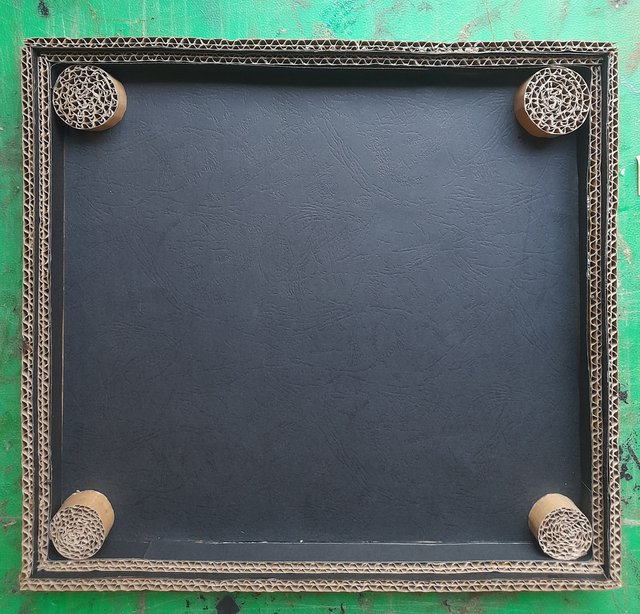
Step 3
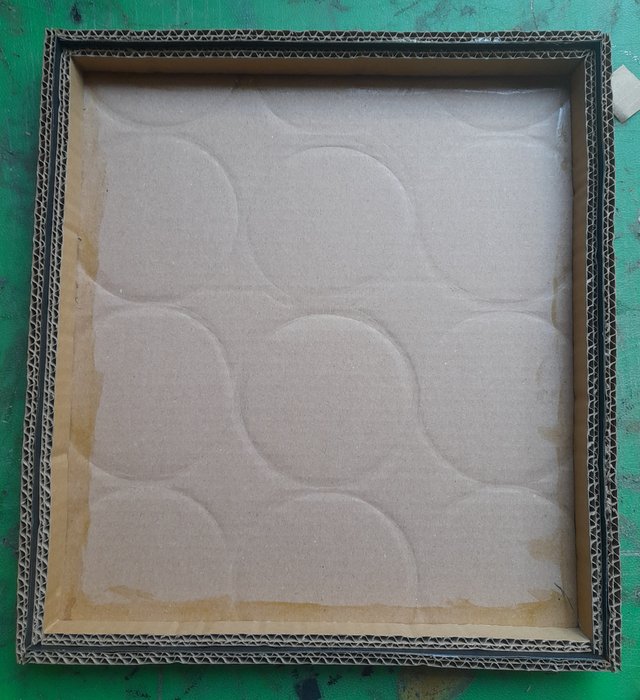
I cut a rectangular piece of of waste carton measuring 13 inches by 10.5 inches considering the size of my rabbit to serve as the size of my frame.
Step 4
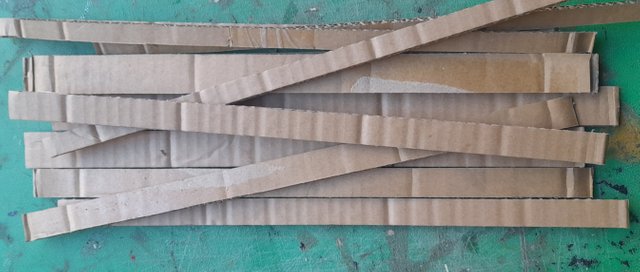
I cut my cartons in two different sizes. Four (4) pieces is measuring one inch wide each and eight (8) pieces is measuring 0.75 inch
Step 5
I used the cartons cut in step four (4) above to form the edges of my frame. I used both adhesive gum and evostik gum to glue it. I also used my black embossed paper to cover the inner side view of the edge.
Step 6
I cut a black embossed paper to cover the floor of the frame. I used my evostik gum to glue it.
.jpg)
Step 7
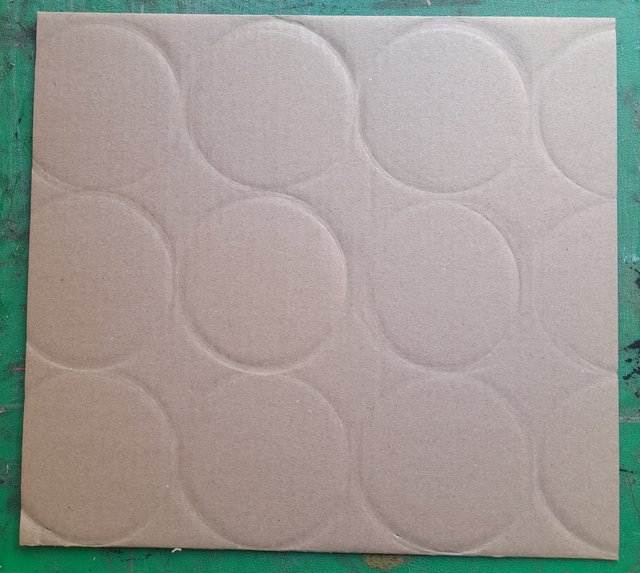
I cut some cartons measuring 0.75 inches. I peeled one side of the carton and folded it to form the shape below.
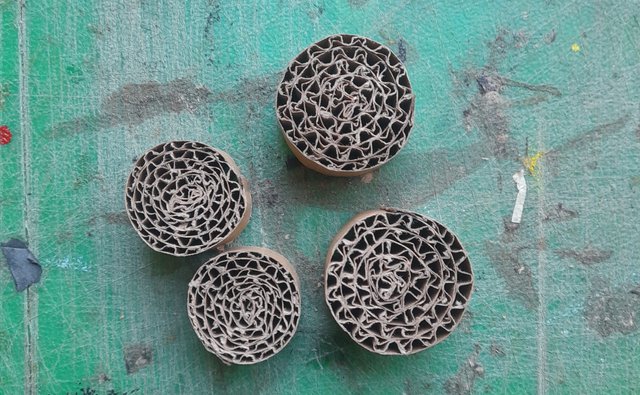
Step 8
I glued the circular shapes formed in step 7 at the four corners of my frame.
Step 9
I gummed my rabbit on the constructed frame using evostic gum which brought me to the end of my construction for the day.
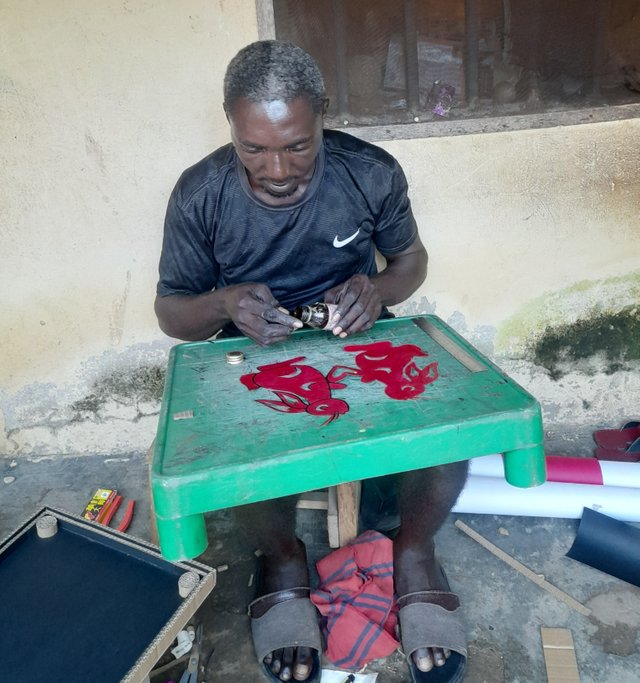
My selfie
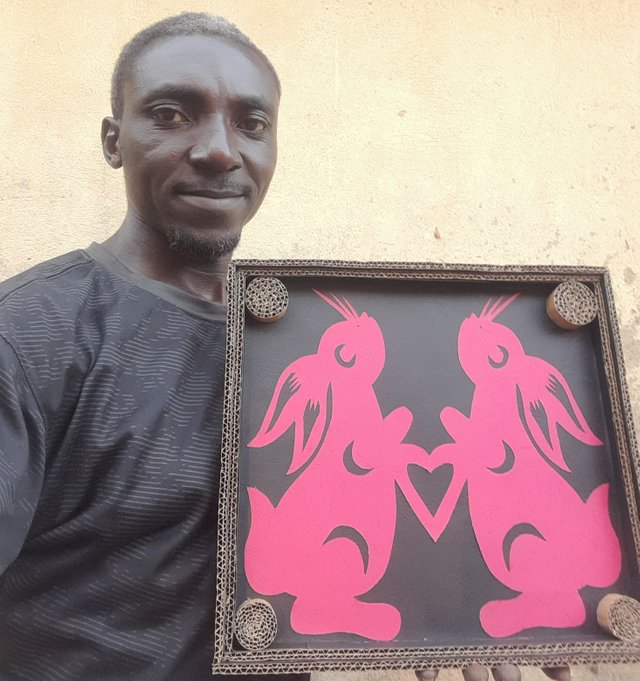
Conclusion
Thank you friends for visiting my blog and for your valuable contribution. I hope my rabbit picture frame is Good. I hereby invite my friends to also participate in this contest:
@zisha-hadiz
@enrisanti
@muhammadikramm
10% beneficiary to @steemkidss
Cc
@mesola
X Share (Twitter)
https://x.com/Manasseh3600/status/1840889036413489524?t=MYpNS5UfDm9aMdrxvzUpFw&s=19
Thank you
Hola amigo.
Hermosa creación.
Y me llamo la atención porque usaste unos conejos actualmente tengo uno en casa muy pequeño pero es un animal que me ha robado el corazón.
Te deseo éxito en la participación
Thank you
It is beautiful. Your rabbit picture frame is very beautiful. You have good skills. Keep it up.
Thank you ma'am
Pleasure☺
Amigo me enca está cuadro hecho con materiales reciclado, los conejos te quedaron geniales, los amé. Suerte🍀