Week 36 Let's do it...Do It Yourself👉Craft, Creativity, Drawing, origami, DIY, Recycling and more
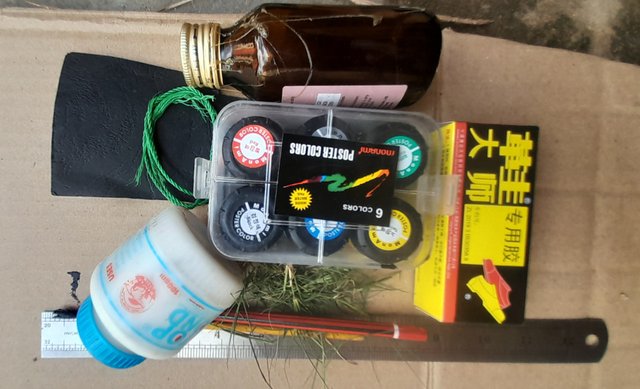
Materials used in construction
- Cardboard
- pencil
- Eraser
- Evostic gum
- Ruler
- Top bond
- poster colour
- embossed paper
- rope
- Scissors
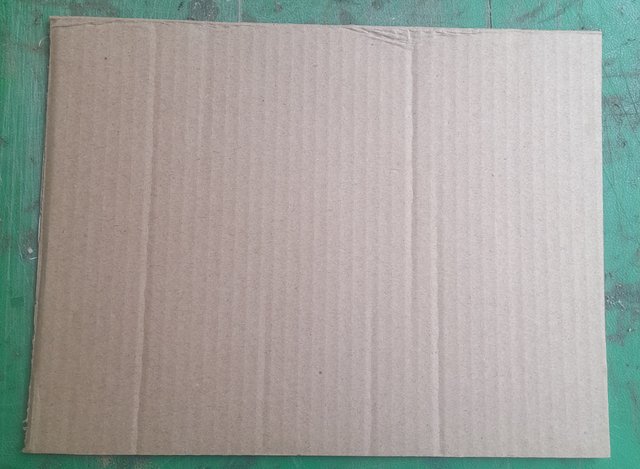
Step 1
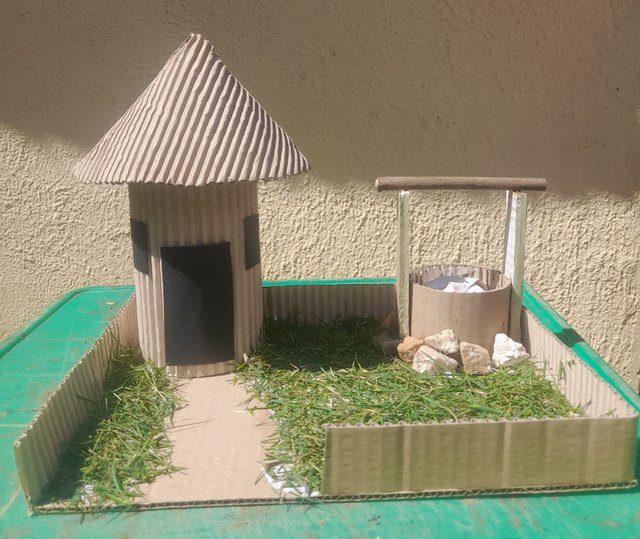
I cut a rectangular cardboard measuring 30cm by 25cm to serve as the size of land on which I will make my construction.
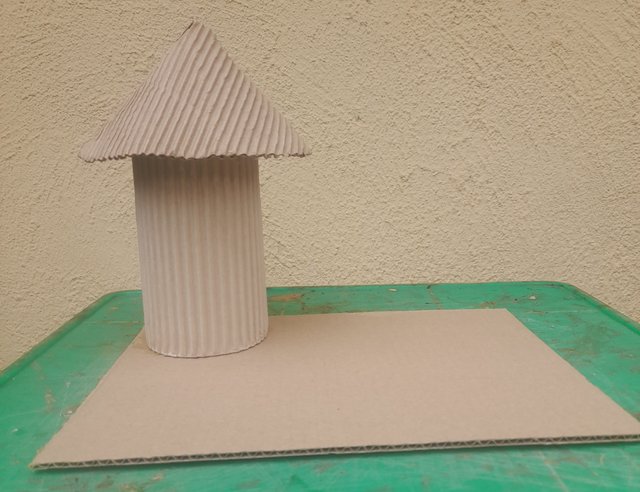
Step 2
I used a cup to draw a circle and cut it out using my scissors. I also cut a rectangular cardboard measuring 19cm by 30cm. I then pilled one side of the cardboard to make it fold easily. Finally, I used my Evostik gum to glue the rectangular cardboard around the circled cardboard. This formed the round hut.

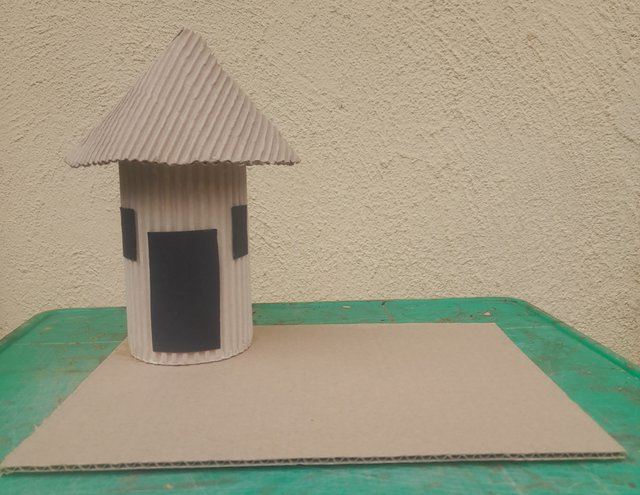
Step 3
I use a round plate to draw a circle and cut it out with scissors. I then peeled one side of the cardboard, folded it into a cone mounted it on the round hut as a roof and then placed it on the rectangular cardboard (land)
Step 4
I cut black embossed paper of two different sizes. One measured 9cm by 5cm which served as the door of the hut while two others measuring 2.5cm by 4cm served as the windows of the hut. I used my Evostik gum to glue the door and windows respectively.
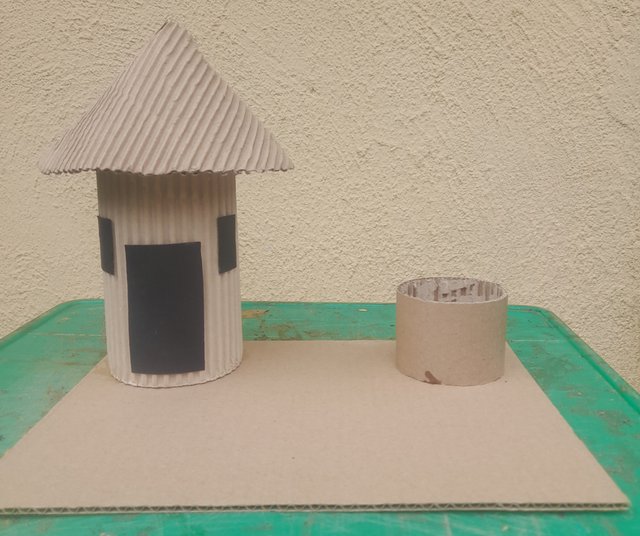
Step 5
I cut a cardboard measuring 5cm by 20cm. I peeled one side of it and folded it around to form a well.
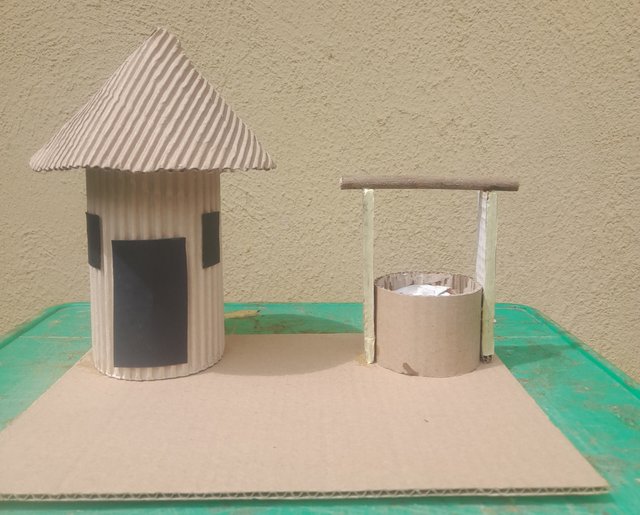
Step 6
Here I constructed a pulley for the well. I cut two cardboards 9 cm high as the vertical stand while a 13 cm long stick as the top crossbar of the pulley.
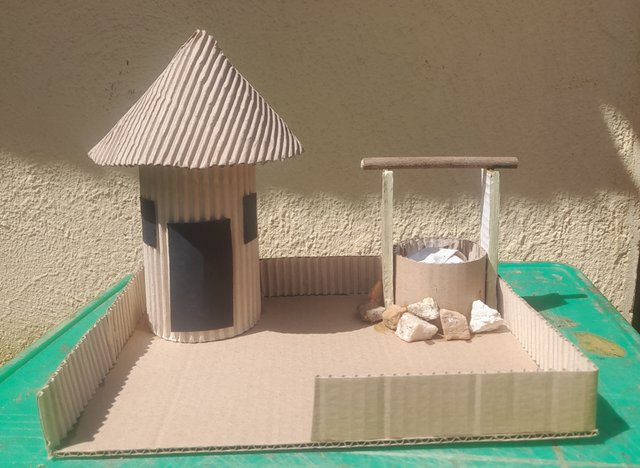
Step 7
I cut a cardboard 5cm high and peeled one side. I then used it to fence the house. I also put stones to surround the well and gum them appropriately.
Step 8
I put grass in the compound with the help of a top bond.
Step 9
I coloured the folded paper in the well with sky blue to serve as the top water level. I also coloured the body of the well with black colour.

Step 10
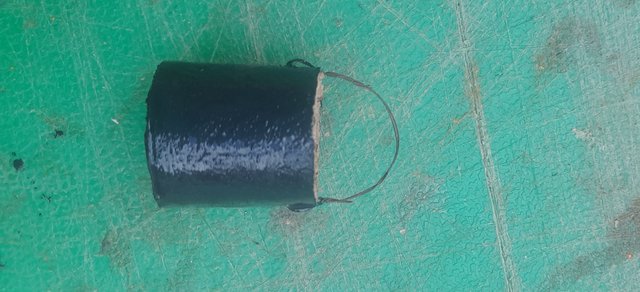
I constructed a fetcher using cardboard a light wire as the handle and then colour it back.
Step 11
I tied a rope on the fetcher and mounted it on the pulley which made it set for fetching water. This brought me to the end of my construction.
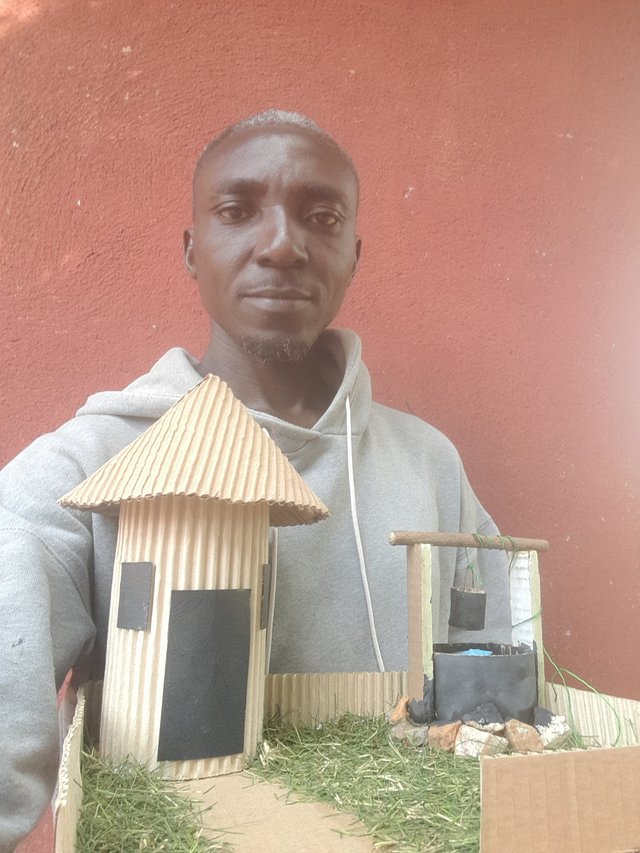
My Selfie
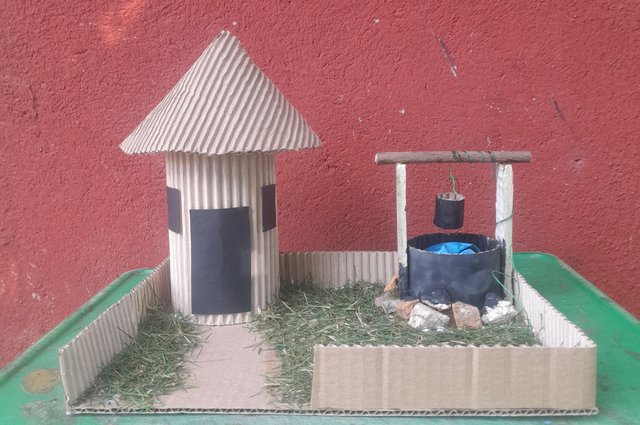
Conclusion
This is a miniature village house. I hope you like it. I want to employ the kids in this community to replicate this in their schools as a craft. Finally, I invite my friend to also showcase their skills in this contest:
@okere-blessing
@mini80
@emishael60
10% beneficiary support to @steemkidss
X Share (Twitter)
https://x.com/Manasseh3600/status/1834571003902521759?t=0A6QP8k9Q0tcLT8X2ML1ng&s=19
Friend, creativity definitely has no limits, with it we can create wonderful things no matter how simple they may seem. Thank you for the invitation to this challenge of creativity expressed in crafts, arts and more.
Success to you in this challenge. Good day
Thank you
Your creativity always stands out and I recommend you for that, it's is really amazing and wonderful how you made such a beautiful craft from cardboard indeed you are a master of your work. Success to you and keep walking in the world of creativity
Thank you friend
Your most welcome
Thank you