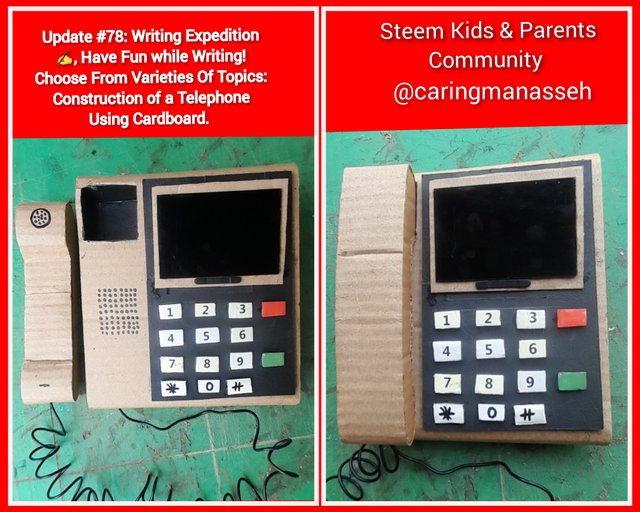
Update #78: Writing Expedition ✍️, Have Fun while Writing! Choose From Varieties Of Topics: Construction of a Telephone Using Cardboard.
Edited using GridArt.
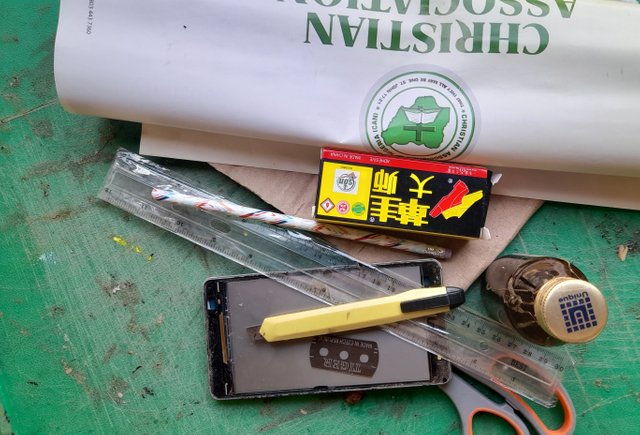
Materials for construction
- Cardboard(Carton)
- Evostik gum
- Super glue
- Calendar
- Spoiled handset
- Electric cable
- Pencil
- Razor blade
- Sharpener
- Paper cutter
- Black embossed paper
Steps In Construction
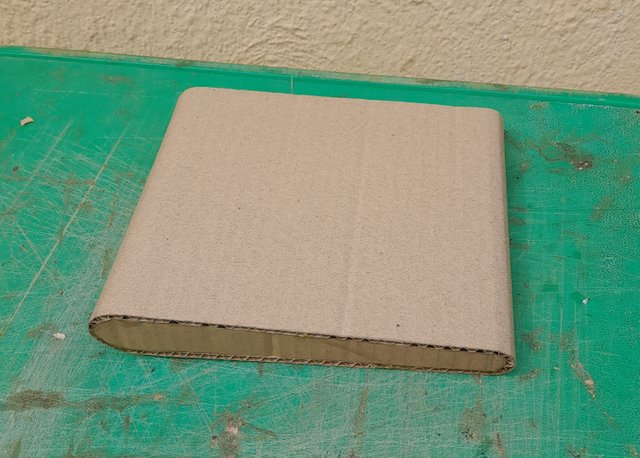
Step 1
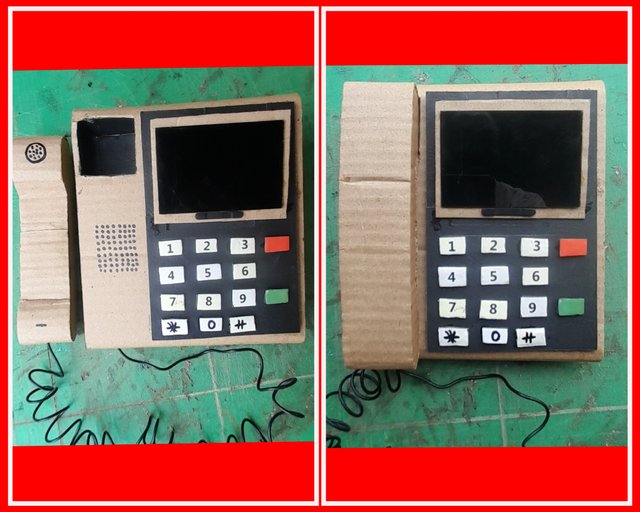
In this step, I constructed the frame of the telephone. I first cut the side measuring 15cm long. One end is measuring 1.5 inches wide and the other is 1 inch. I then cut another cardboard measuring 20cm wide. I peeled one side of the cardboard and had it gummed around the two sides.
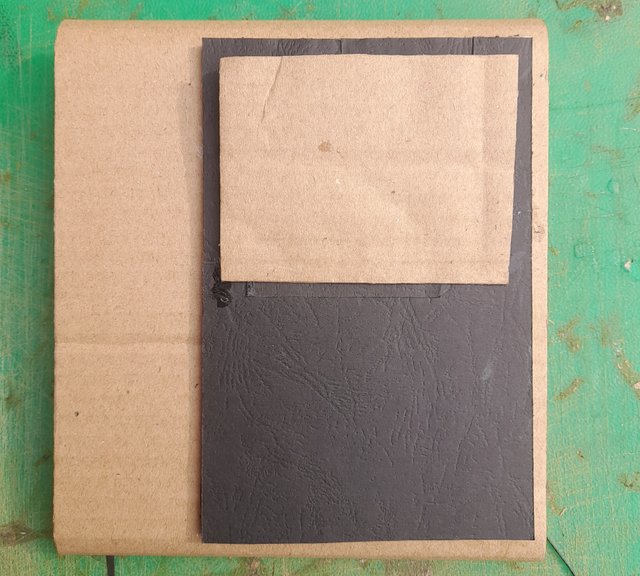
Step 2
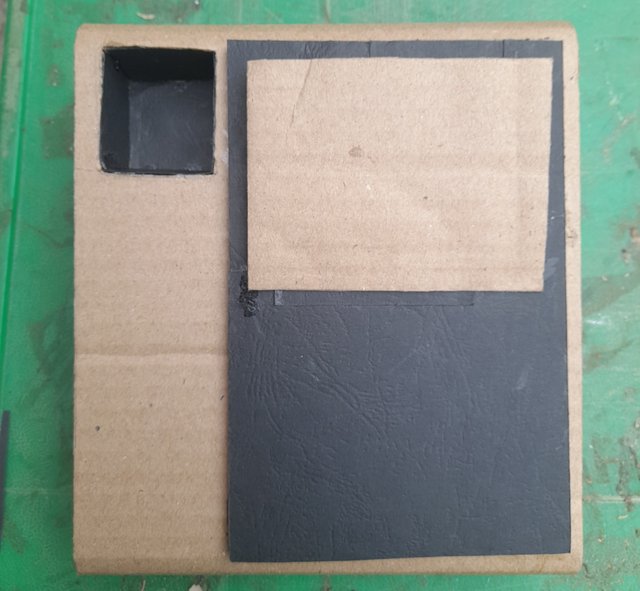
I cut a cardboard 15cm wide and 13cm long and have it gummed on the frame of the telephone using an elastic gum. I also cut a black embossed paper of the same size and gummed it to make that layer have a different colour from the remaining body. I cut another cardboard measuring 5cm by 7cm and gummed it on the black embossed paper.
Step 3
I constructed the portion for the switch hook by creating a small hole and used black embossed paper to tile the inside of the hole.
Step 4
I cut the screen of a spoiled Android phone and have it gummed as the screen of the telephone
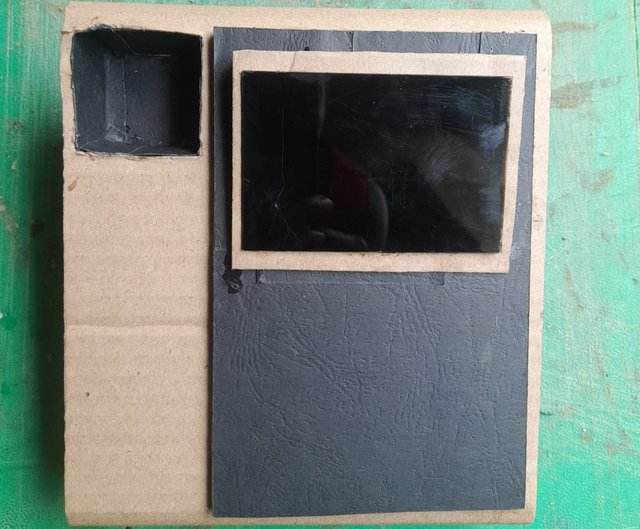
Step 5
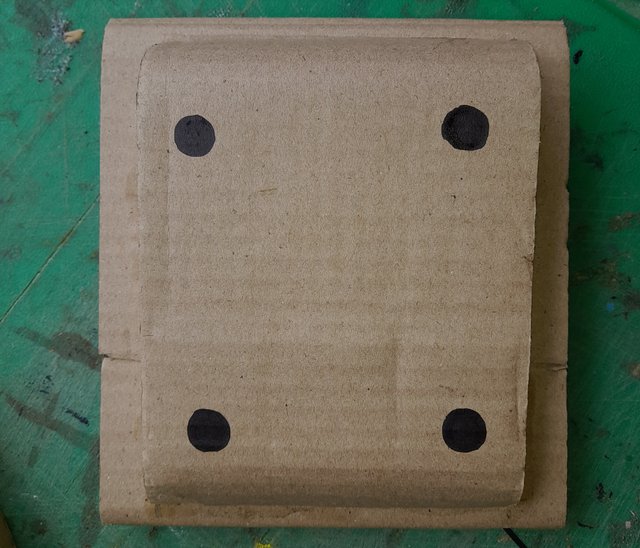
I constructed the base of the telephone using cardboard.
Step 6
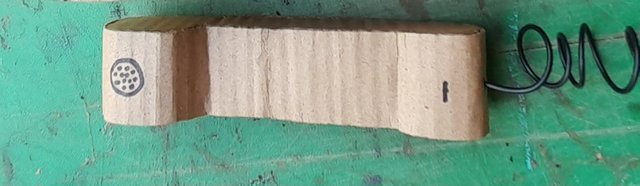
I constructed the handset of the telephone. I measured the length of the Handset to be 13cm, drew the side view on paper, cut it and made a duplicate. I also cut the cardboard 1.5 inches wide and gummed it around the side view. I connected the wire cable and also indicated the mouthpiece and earpiece on it.
Step 7
Here, I constructed the dial pad. I cut numbers from 0 to 9 from a calendar. I also cut the green part of the calendar to serve as the answering key while the red to serve as the end key. I also indicated the loudspeaker on the telephone. Finally, I drew a star key, and hash key and also connected the handset to the entire body of the telephone.
Edited Using GridArt.
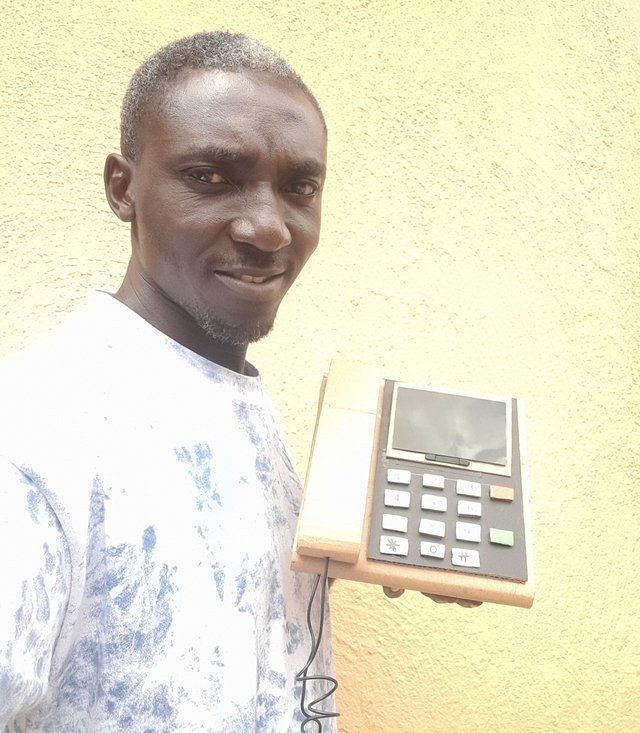
Selfie
Conclusion
This is the telephone I have constructed for the kids and parents in this community. I hope this work is appreciated. Thank you for visiting my blog. I want to also invite my friends to participate in this contest:
@pandora2010
@mamun442390
@eluustanley
10% beneficiary support to @steemkidss
Cc
@steemkidss
👏👏 bravo to you i am really impressed by your creativity, nice work and keep it up my friend
Thank you
X Share (Twitter)
https://x.com/Manasseh3600/status/1836096774869528685?t=cAHRHhlpS3LtOq0u2TVmHA&s=19
Wow.... my brother your talent is amazing 👏. Best of luck bro
Thank you
Hi, friend.
You have done excellent work with this craft, I congratulate you.
Success and more success.
Many blessings..🙏🏻
Thank you ma'am